
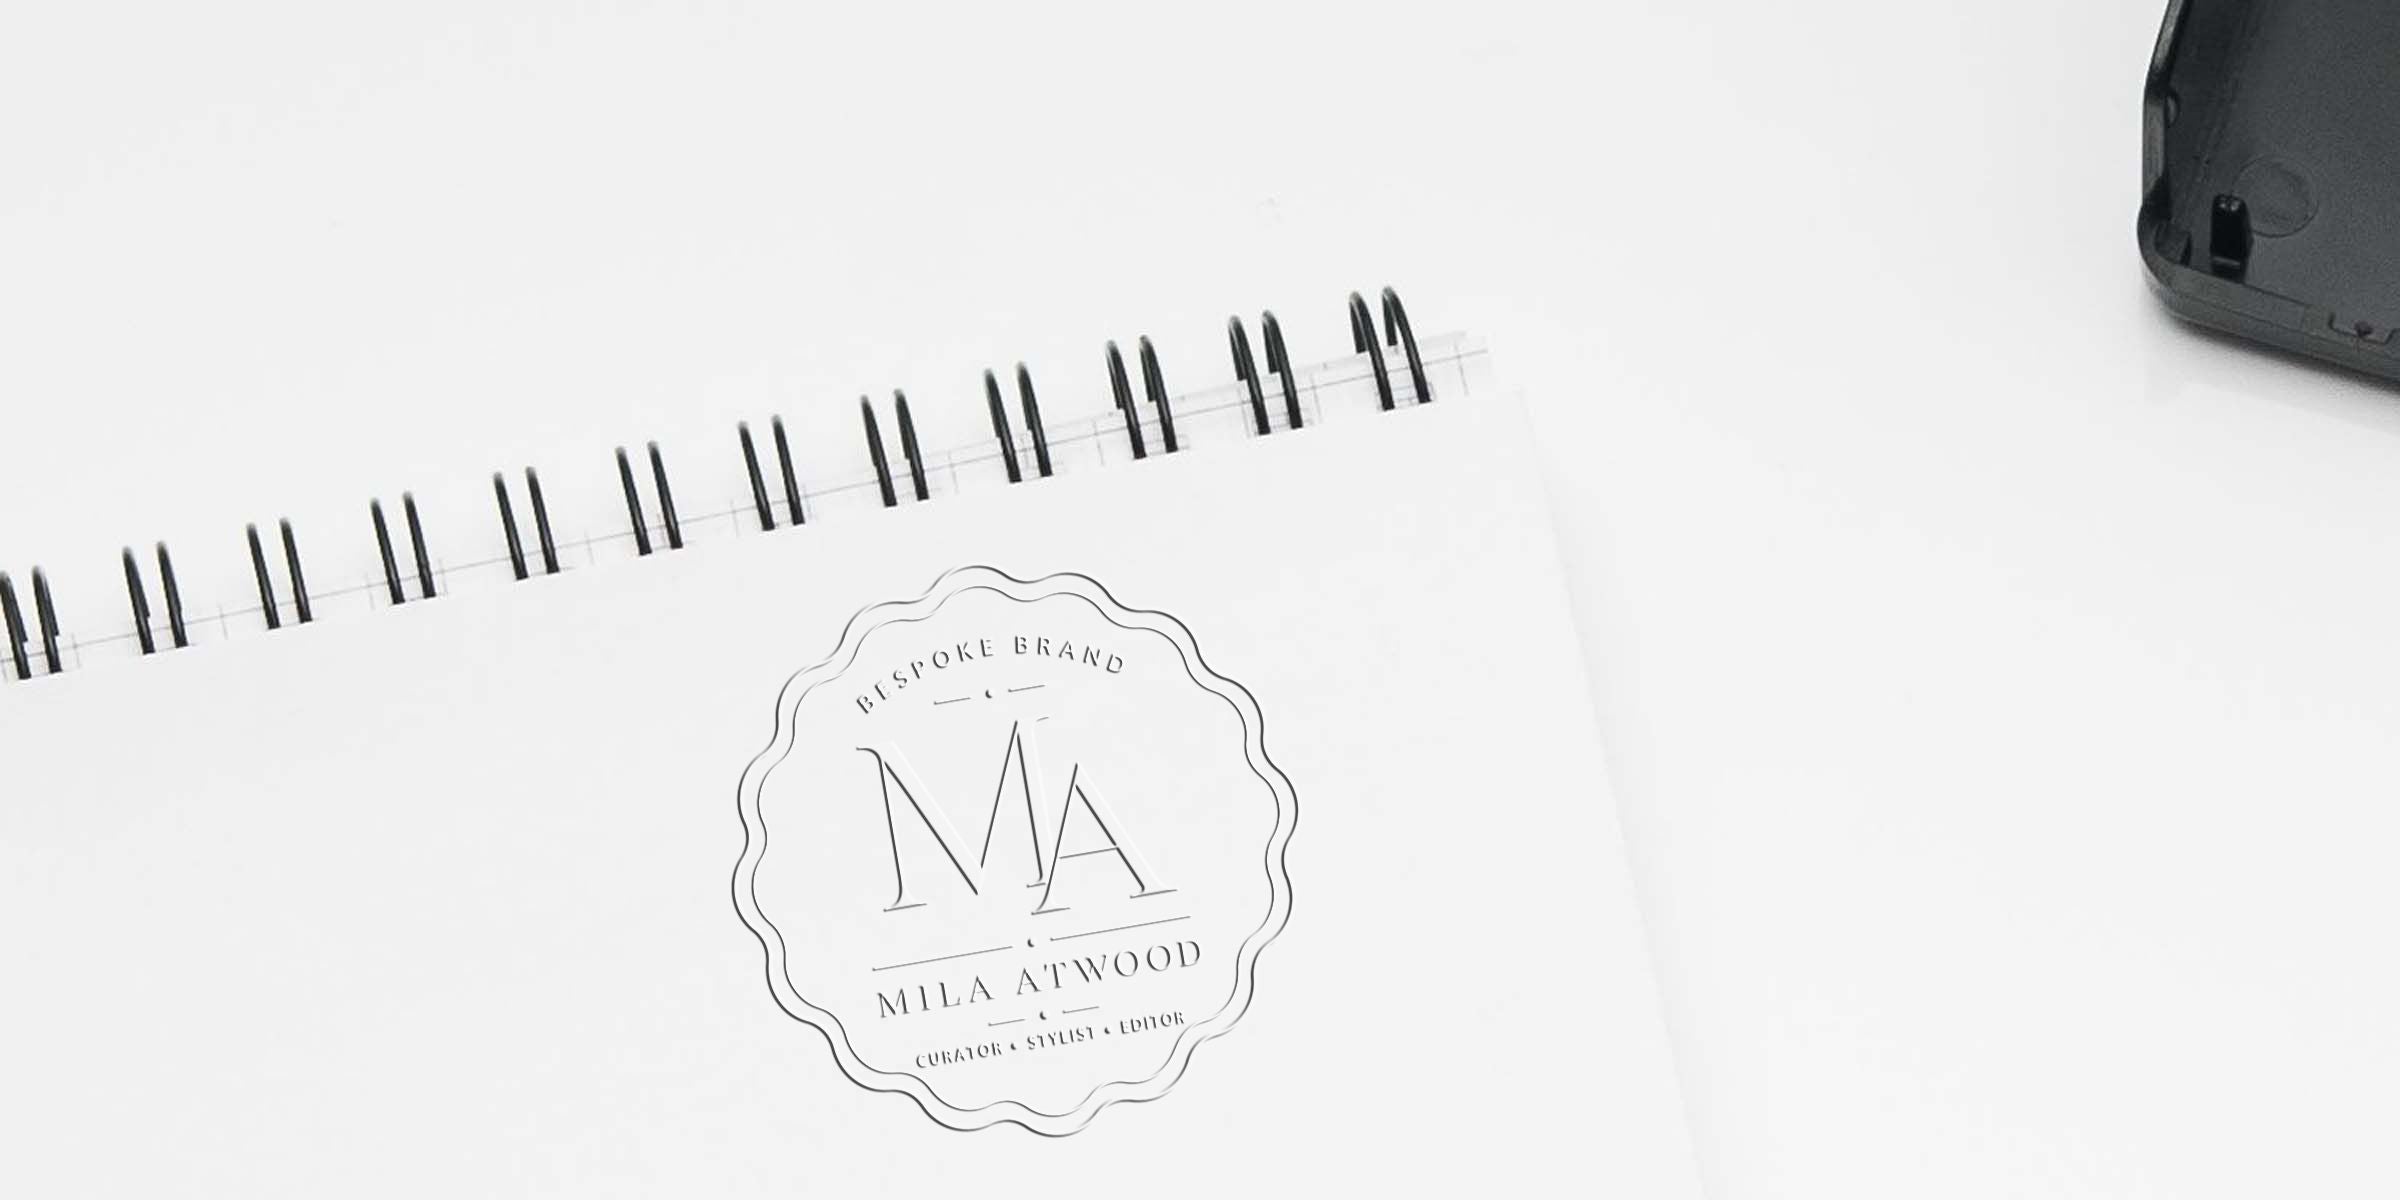
Imagine you’re penning a heartfelt note to a friend, or sending a professional letter to a business partner. You sign your name with care, but something still feels missing. That’s where an embossing seal for letters comes into play. An embossed imprint transforms any piece of correspondence into a charming work of art. It’s like adding a personal signature handshake that elevates the experience for the recipient right from the moment they open the envelope.
But how exactly can you make the most of an embosser? And which design is right for you? In this guide, we’ll walk through everything you need to know, from selecting the correct embosser to caring for it long-term. By the time we’re through, you’ll be ready to add a crisp, raised seal to every letter you send.
Use an Embossing Seal for Letters
Embossing might sound fancy, but the main idea is simple. You use a specialized tool to press your chosen design into a paper surface, leaving a raised impression behind. That subtle texture adds status, authenticity, and a bit of whimsy to ordinary paper. It’s perfect for personal stationery, business letters, invitations, and even scrapbooking projects.
Why Embossing Matters
- It makes your letter stand out the moment it’s opened.
- It helps audiences recall your brand, whether personal or professional.
- It secures the authenticity of documents, preventing easy duplication.
Even if you’re new to paper crafting, an embossing seal offers a user-friendly route to creativity. You just slip the paper in, press down, and voilà, an instant impression that leaves people thinking, “Wow, that’s classy.”
Where to Use Embossing
- On envelopes, right on the flap or front corner.
- At the top or bottom edge of business stationery.
- Off to the side on invitations or event programs.
- On gift tags or packaging for personalized flair.
An embossed seal doesn’t just look great, it also shows you care about fine details. Whether you’re writing to a friend or a client, that extra effort speaks volumes.
Pick the Right Embosser
Now that you know an embossing seal for letters can bring a memorable touch, the next step is selecting the right tool. From desktop models to smaller handheld units, you’ve got plenty of options. Each type offers slightly different features that cater to various needs, so let’s dig in.
Consider the Style
-
Handheld Embosser
- Compact and easy to grip.
- Perfect for on-the-go or for consistent, light use.
-
Desktop Embosser
- Larger base ensures stability and control.
- Ideal if you frequently emboss a high volume of documents.
Both styles produce crisp results, but if you need heavy-duty stamping or plan on embossing thick cardstock, a desktop model might give you the extra pressure you need.
Think About Paper Thickness
Before you pick your embosser, it’s wise to consider what types of paper you’ll use most often. Light, standard paper might not require heavy force, but cardstock or layered invitations usually need a sturdy embosser. Make sure to check the recommended maximum paper weight for the model you choose.
Align with Your Purpose
Ask yourself: “What do I plan to emboss most?”
- Wedding invitations? You’ll likely need a more decorative, classic design that complements fancy paper.
- Business stationery? A refined logo or monogram is your go-to.
- Personal notes? Maybe a playful symbol or your initials.
If you plan to create all sorts of embossed artwork, then a versatile embosser that can handle varying paper thicknesses will serve you well. Keep your main usage in mind so you can pick precisely what you need.
Design a Memorable Seal
A tool is only as good as the design it presses into your letters. Think of your seal as a tiny piece of art—one that embodies your aesthetic, brand, or message. If you’re looking for custom flair, you can even design your own logo or motif and have an embossing plate made to match your vision.
Logo or Artwork Considerations
Are you planning to use your business logo, family crest, or personal monogram? Consider how complex or intricate it is. Embossers replicate line art and shapes in relief, so a design that’s too detailed could translate less clearly on paper. Test a simplified version of your artwork if your original has very fine lines.
Font Readability
If your chosen seal includes text, think about readability. Bold, sans-serif fonts often work best. That said, a script font might also look lovely, as long as it remains legible once pressed. You generally want your letters spaced out enough so they don’t blur together.
Placement Basics
Decide where you want your impression to land. Commonly, people emboss near a corner or the bottom center. Mark a small pencil guide on practice paper to get a feel for your placement before committing. That way, you avoid misaligning your design. Once you’re comfortable, you can eyeball it for future uses.
Apply Your Embossing Seal
Now for the fun part: actually embossing your letters. This step feels surprisingly easy once you get the hang of the positioning. Here’s a simple approach to make sure you get a clean, consistent impression every time.
Insert the Paper Properly
Open the embosser and slide your paper so the design area lines up with the die. Most embossers have a small window or guide to help you figure out the correct spot.Keep the Paper Steady
With one hand, hold the paper in place so it doesn’t shift around. If your embosser is a desktop style, you can rest the paper on the base for easier alignment.-
Press Down Firmly
Squeeze the handle or lever with a steady, controlled motion. You want just enough pressure to create a crisp impression without tearing the paper. Release and Evaluate
Let the handle pop back. Check your new embossed seal. If any portion looks shallow, try adding a bit more force next time, or see if a thicker paper requires an extra-sturdy embosser.
If at first you don’t get the perfect results, don’t worry. Practice on scrap paper. With a little trial and error, you’ll quickly find the sweet spot that produces the most elegant looking impression.
Maintain Your Embosser
Like any specialty tool, an embosser works best when properly cared for. You don’t have to do much, but a few short maintenance tricks ensure your seals will remain crisp and professional for years to come.
Cleaning Basics
Dust and small bits of paper can collect on the die over time, especially if you’re an avid letter-writer. Gently wipe the metal surface with a soft, slightly damp cloth. Steer clear of abrasive cleaners that scratch metal.
Proper Storage
Avoid tossing your embosser into a random drawer without protection. Keep it in a small storage box or bag. This prevents accidental knocks or dents that might misalign the plates.
Checking Alignment
If you notice your embossed impressions look skewed, the metal dies could be off-center. Most embossers let you adjust alignment by loosening a small screw or latch. Refer to the instructions that come with your model. Typically, shifting the top or bottom plate just a hair will fix any tilt issues.
Why Trust Acorn Sales
When it comes to a custom seal embosser, you want a trusted partner. At Acorn Sales, we’ve been honing our craft since 1964. That’s over 60 years of making stamps and seals for businesses, notaries, and everyday stationery enthusiasts. Whether you need custom embossing stamps or a detailed logo you dreamed up last week, our team ensures you receive top-quality impressions with minimal wait times.
We pride ourselves on stellar customer service, so if you’ve got a question like, “Can you replicate this family coat of arms for me?” the answer is typically yes. We’ll walk you through the design process, confirm the details, and deliver a tool that adds a timeless, pressed finish to your letters. Plus, we know that speed matters. That’s why our quick-turnaround approach is at the heart of what we do.
It depends on your usage and preferences. Handheld embossers are portable and convenient for smaller projects. Desktop embossers, on the other hand, provide more leverage, making them better for heavier paper or frequent use. Think about how often you plan to emboss and the paper types you’ll use before deciding which style suits you.
Final Thoughts
Adding an embossing seal to your letters can transform a simple piece of paper into something genuinely memorable. Whether you’re sending out holiday cards, business proposals, or personal invites, this raised detail conveys extra care and attention. With a good design, proper technique, and a well-made embosser from a trusted supplier like Acorn Sales, you’ll consistently create letters that recipients will cherish instead of discard.
Ready to give it a try? Consider jotting down all the ways you see yourself using an embossing seal, from personal stationery to event invites. Once you have a plan, reach out for a custom design or pick a beautiful ready-made version. Before long, you’ll decorate letters and envelopes in a way that feels entirely your own. And trust me, your friends, family, and clients will notice the difference from the very first glance.
Frequently Asked Questions
Can I Emboss Non-Paper Materials?
Yes, within reason. Embossers are generally designed for standard paper, cardstock, or thin materials. If you attempt to emboss thick materials like leather or plastic, you might not get a clean impression. Check your embosser’s recommended material thickness before you experiment with alternative surfaces.
How Do I Customize My Seal?
You can provide Acorn Sales with a logo, artwork, or text you’d like to use. We’ll then create a custom plate that fits your embosser model. Just make sure your design is clear so we can reproduce it accurately. If you’re unsure about file types or complexity, our customer support team is happy to offer guidance.
Will My Embossing Seal for Letters Wear Out Over Time?
A high-quality embosser should last for a very long time, especially if you’re only embossing a moderate amount of letters. If you frequently emboss large batches, the metal plates will naturally show signs of wear eventually. Proper storage, cleaning, and careful use all help prolong the life of your seal.
Does Embossing Replace an Official Stamp?
Not exactly. Embossing adds a personal or professional touch but isn’t always a legal substitute for rubber stamps or official notary seals (unless it’s specifically designed for that purpose). If you need a legally recognized seal, consult your local regulations and ensure your embosser meets all the necessary requirements.
Do I Need Special Ink or Tools?
For embossing seals, no ink is required because you’re pressing a raised impression into the paper. However, if you want to enhance your design, you can add an inked stamp on top of the embossed area for added contrast. Some crafters also dust the embossed surface with metallic powder to emphasize the raised details.








