
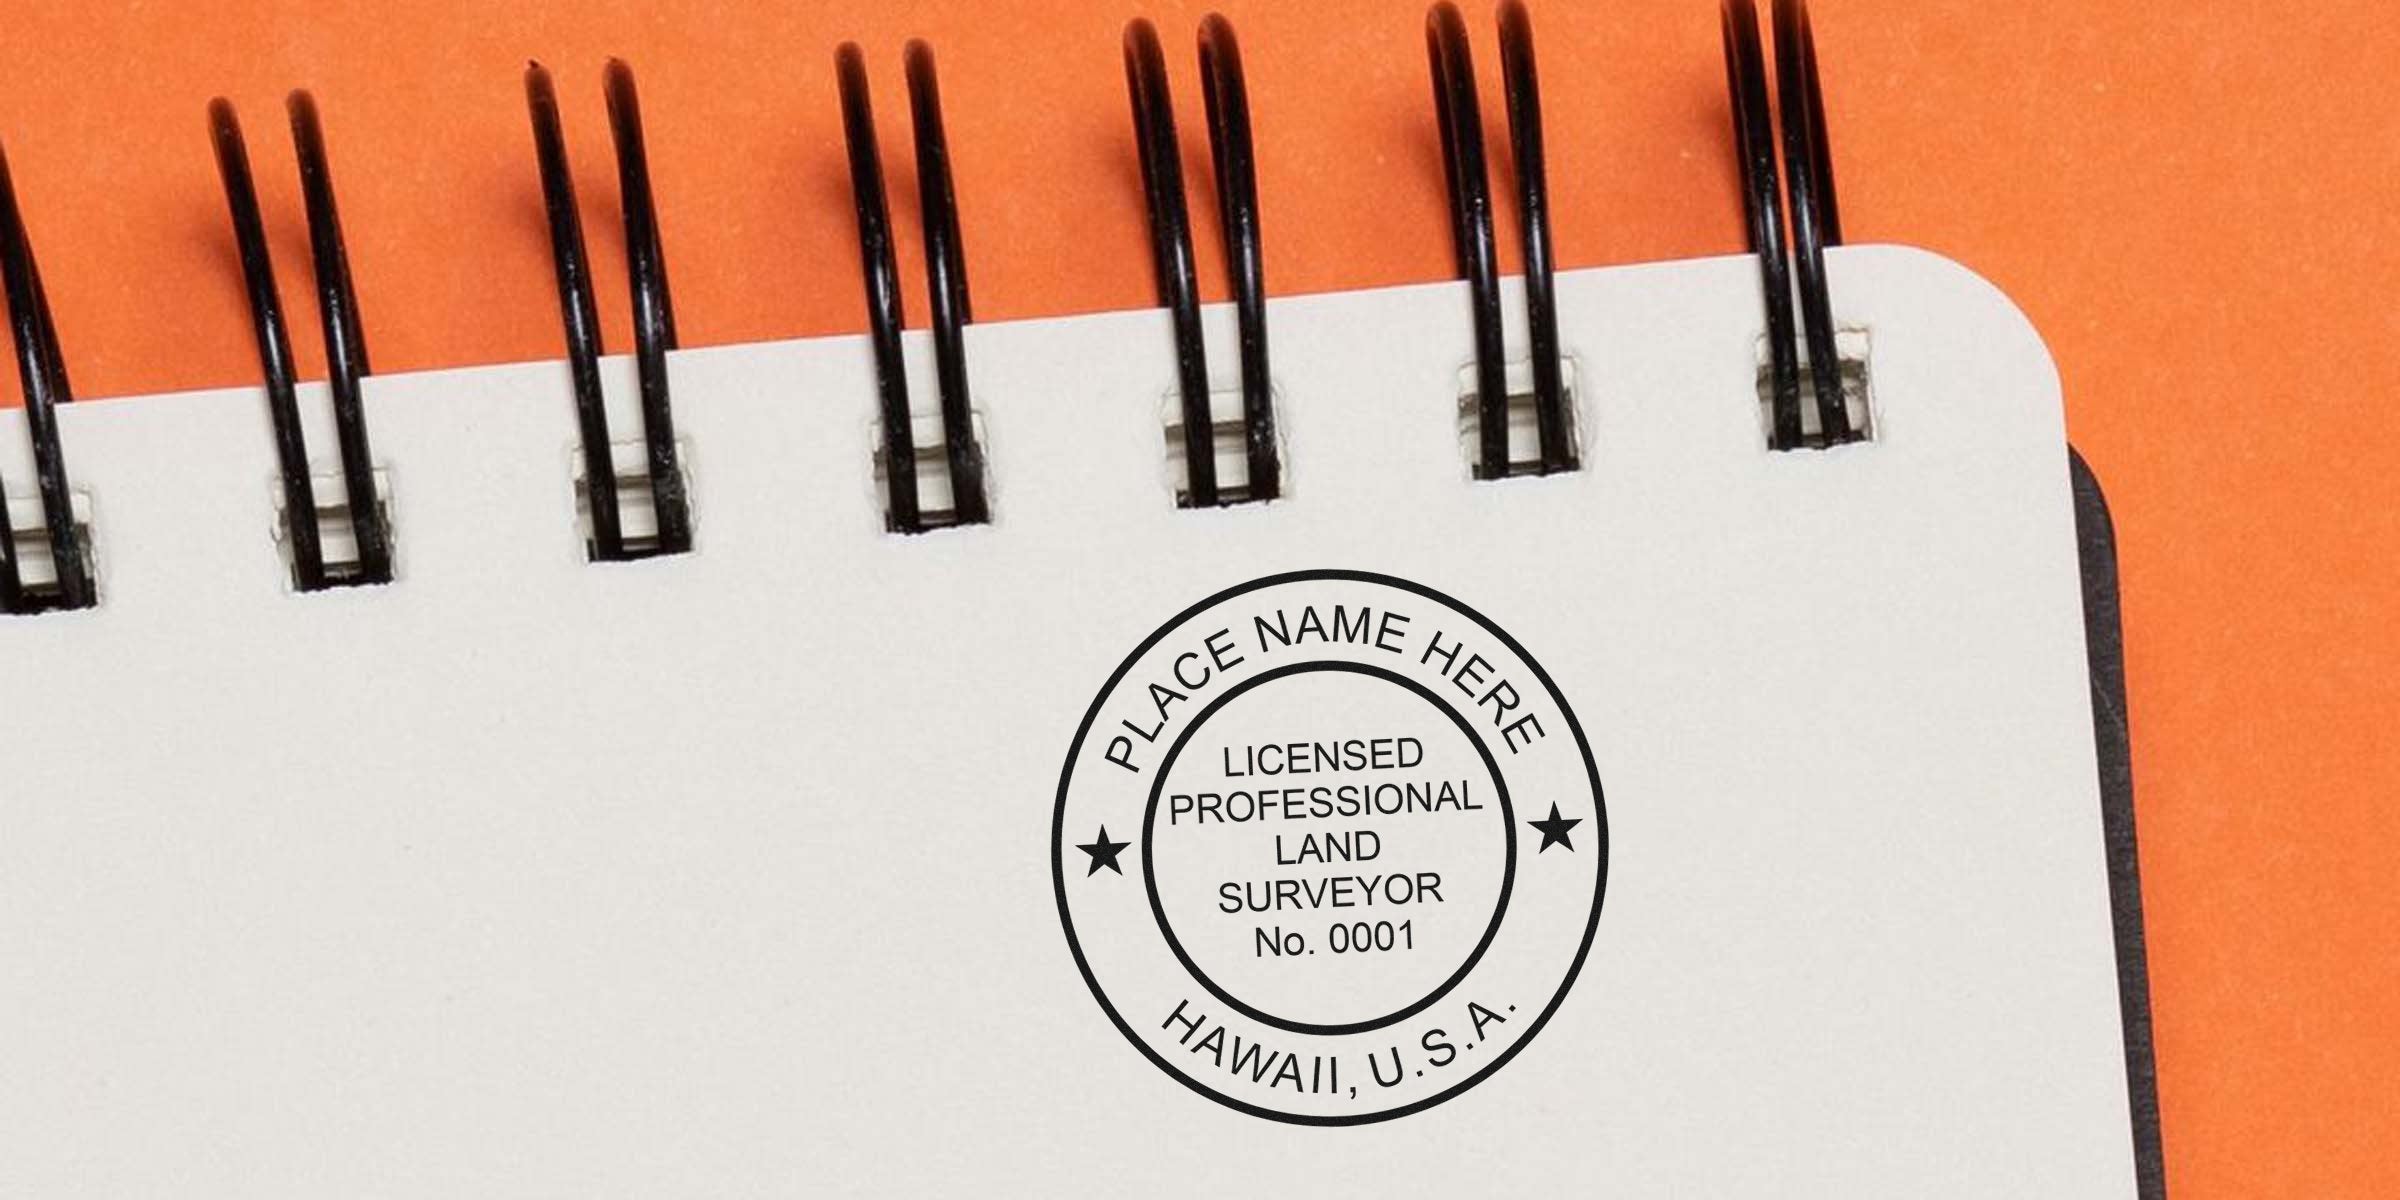
Ever wonder how to create a professional Hawaii Land Surveyor Seal design that meets every rule and still speaks to your personal style? The right seal is more than just a pretty stamp. It showcases your credibility, demonstrates adherence to state guidelines, and streamlines your workflow. In this post, you’ll discover how to plan each detail of your seal, from layout to specific requirements. By the time you’re done reading, you’ll know exactly how to make your seal stand out in a crowd—without risking compliance issues.
Review Hawaii Seal Rules
Understanding state-specific guidelines is crucial. Hawaii, like most states, requires licensed land surveyors to use an official seal on plans, maps, and other legal documents. But the rules go beyond simply having a seal. You want to ensure each element—from your name and license number to the official wording—is exactly right. Mistakes can cause delays in permit approvals or even raise questions about the authenticity of your work.
Why Proper Seals Matter
The seal instantly confirms your authority to the people reviewing your drawings or legal documents. It tells them you’re recognized by the state and have gone through the necessary education and training. Think of it like a signature on a check—without it, the document feels incomplete or even invalid. Also, you’re protecting the public interest by confirming that you, as a licensed professional, vouch for the quality and accuracy of the record.
At the same time, a well-made seal can reflect pride in your profession. You’ve worked hard to earn your credentials. Displaying them in a clean, easy-to-read seal subtly communicates both diligence and competence.
Key State Requirements
While Hawaii’s Board of Professional Engineers, Architects, Surveyors, and Landscape Architects sets specific rules, here are some basics you should keep in mind:
- The seal typically needs to include the words “Professional Land Surveyor” or an equivalent.
- Including your name as it appears on your license is essential.
- The license number must be prominently featured.
- The overall diameter or size often follows official guidelines—usually around 1.75 inches or 2 inches.
Each state’s board may update or clarify its policies from time to time. For more details on Hawaii’s stamped documents, check out hawaii land surveyor stamp requirements. Staying on top of these requirements is vital in ensuring your seal is valid and accepted.
Plan Your Seal Layout
Creating your Hawaii Land Surveyor Seal design starts with a solid layout plan. It’s not just about slapping on text in a circle. You need balance, clarity, and a professional aesthetic. Optical alignment matters, so everything looks cohesive at a glance.
Elements And Dimensions
A standard seal includes your name, your license title (“Professional Land Surveyor”), a reference to the State of Hawaii, and your license number. Many professionals opt for a circular shape because it’s traditional and meets most regulations neatly. Within that circle:
- Outer Ring: Often carries the wording “State of Hawaii” or “License,” plus your license number toward the bottom.
- Inner Ring: Houses your professional title, such as “Licensed Professional Land Surveyor.”
- Center Area: May feature your full name or a symbol that immediately identifies your credential.
When positioning the text, keep it easily readable. If it’s too cramped, you risk losing clarity, especially when transferring the design to a stamp or digital version. If it’s too large, you might exceed the official size limits.
Font And Format
Fonts matter more than you might think. You don’t want anything overly decorative because it can become illegible, especially once stamped on complex blueprints or thick cardstock. Simple, sans-serif fonts or classic serif options (like Times New Roman) handle detail well.
Uppercase is common for the outer ring to emphasize official text. For your name, consider a slightly larger point size to make it stand out, but not so large it crowds the layout. Also, pay close attention to spacing. A sealed impression should look visually balanced from top to bottom.
Get The Right Tools
After laying out the design, it’s time to think about your actual stamping or embossing tools. Even the best design won’t shine if you’re using a worn-out stamp or cheaply made embosser. You’ll want tools suited to your workflow, paper type, and personal preferences.
Stamp Vs Embosser
Choosing between a stamp or an embosser depends largely on how you plan to apply your seal:
- Self-Inking Stamp: Quick and precise, great for office use. With a self-inking stamp, you can easily place multiple seals on documents without re-inking each time. The impression is typically crisp, and the process is clean.
- Pre-Inked Stamp: Offers sharper detail than some self-inking versions. It can handle smaller font sizes well, which is a bonus for intricate seal designs.
- Traditional Rubber Stamp: Requires a separate ink pad, but lets you swap colors or replace the pad more affordably.
- Embosser: Creates a raised impression by pressing your seal design directly into paper. Embossers look highly professional on official documents but can be harder to scan or copy.
Think about how often you plan to stamp in a day. If you’re stamping a dozen documents in a row, a self-inking version might be your best bet. If you do more official certificates or formal notices, an embosser might give you just the right level of elegance.
Find A Trusted Supplier
Quality is everything when it comes to your professional seal. You’ve put considerable effort into your career, so the last thing you want is a subpar impression. At Acorn Sales, we’ve been helping professionals with their seal and stamp needs since 1964, which means we’ve seen just about everything. We offer a free digital seal with each physical stamp purchase, so you can conveniently use your seal online and off.
Digitally, having your seal file at the ready saves you time. You can insert it into PDF documents, email attachments, or electronic forms without scanning a physical imprint. This is handy when you’re sending documentation to clients or regulatory boards who need a quick check of your credentials.
Enhance Professional Appeal
A professional seal should be easy to spot on your documents. Design, quality, and clarity all play a role in making it stand out. You want people to glance at your blueprints or legal descriptions and instantly recognize your authority. Simple adjustments can go a long way toward cultivating a polished look.
Focus On Clarity
When you’re busy outlining property boundaries or verifying land contours, the last thing you need is a fuzzy seal impression. Pay attention to ink color and paper type. Crisp black ink on standard white or light-colored paper is usually the norm. It provides high contrast, saves time, and meets most regulatory guidelines.
Also, ensure you’re applying your seal evenly. Over-inking or pressing unevenly can create smudges. An inconsistent seal can cause confusion about your credentials. A few practice runs on scrap paper can help you find the right pressure and technique. Remember to check the expiration date of your ink pads, especially if they’re used for official documents many times a week.
Consider Final Touches
Sometimes you want your seal to pop, but you still need it to remain professional. If you’re designing a boundary map or final survey, consider leaving enough white space around the seal area. This approach keeps the text visible and prevents overlap with lines or text in the document.
If you do want to add a personal flourish—like a small brand symbol or stylized border—make sure it doesn’t conflict with Hawaii’s official guidelines. This subtle personal touch can help set your documents apart without ignoring state standards. As a rule of thumb, keep the main elements of “State of Hawaii” and “Licensed Professional Land Surveyor” distinct and intact. That way, your creative flair won’t overshadow essential regulatory content.
Putting together a thorough, compliant Hawaii Land Surveyor Seal design might seem daunting at first, but it’s actually a manageable process once you know the key steps. The right design communicates your expertise, keeps you within Hawaii’s rules, and shows that you care about doing things properly. Plus, with reliable suppliers on your side, like Acorn Sales, you can focus on your fieldwork rather than worrying about your stamp impressions.
Ready to finalize your seal? Double-check your state guidelines, choose a clean and legible design, and decide between a stamp or an embosser. Experiment on scrap paper to perfect your technique, and don’t forget to explore digital options for electronic documents. With the right seal in place, you’re all set to make a lasting impression on every plan and survey you produce.
Frequently Asked Questions
Does Hawaii require a specific shape for land surveyor seals?
Hawaii generally requires a circular design featuring your name, the words “Licensed Professional Land Surveyor,” your license number, and a reference to “State of Hawaii.” This shape is widely recognized as standard and ensures clarity.
Can I use a digital seal for my projects?
Yes, digital seals are often acceptable, especially for electronic documents. At Acorn Sales, when you purchase a physical seal or stamp, you get a free digital version. That way, you can swiftly apply your seal to PDFs or other files. Always confirm with your client or the relevant board to ensure digital seals are allowed for your specific project type.
How often do I need to update my seal design?
The seal design rarely changes unless the state adjusts its guidelines. However, you do need to stay on top of your licensing status. If your license number changes or you upgrade your credentials, you may require a new seal. It’s also wise to replace worn stamps or embossers if the impression becomes unclear.
Where can I buy a Hawaii Land Surveyor Stamp quickly?
Trusted suppliers like Acorn Sales have specialized in making professional stamps since 1964. We offer fast shipping, a free digital seal, and customer support to help you pick the right tools. The goal is to secure a reliable seal that’s compliant and meets your day-to-day demands.








