
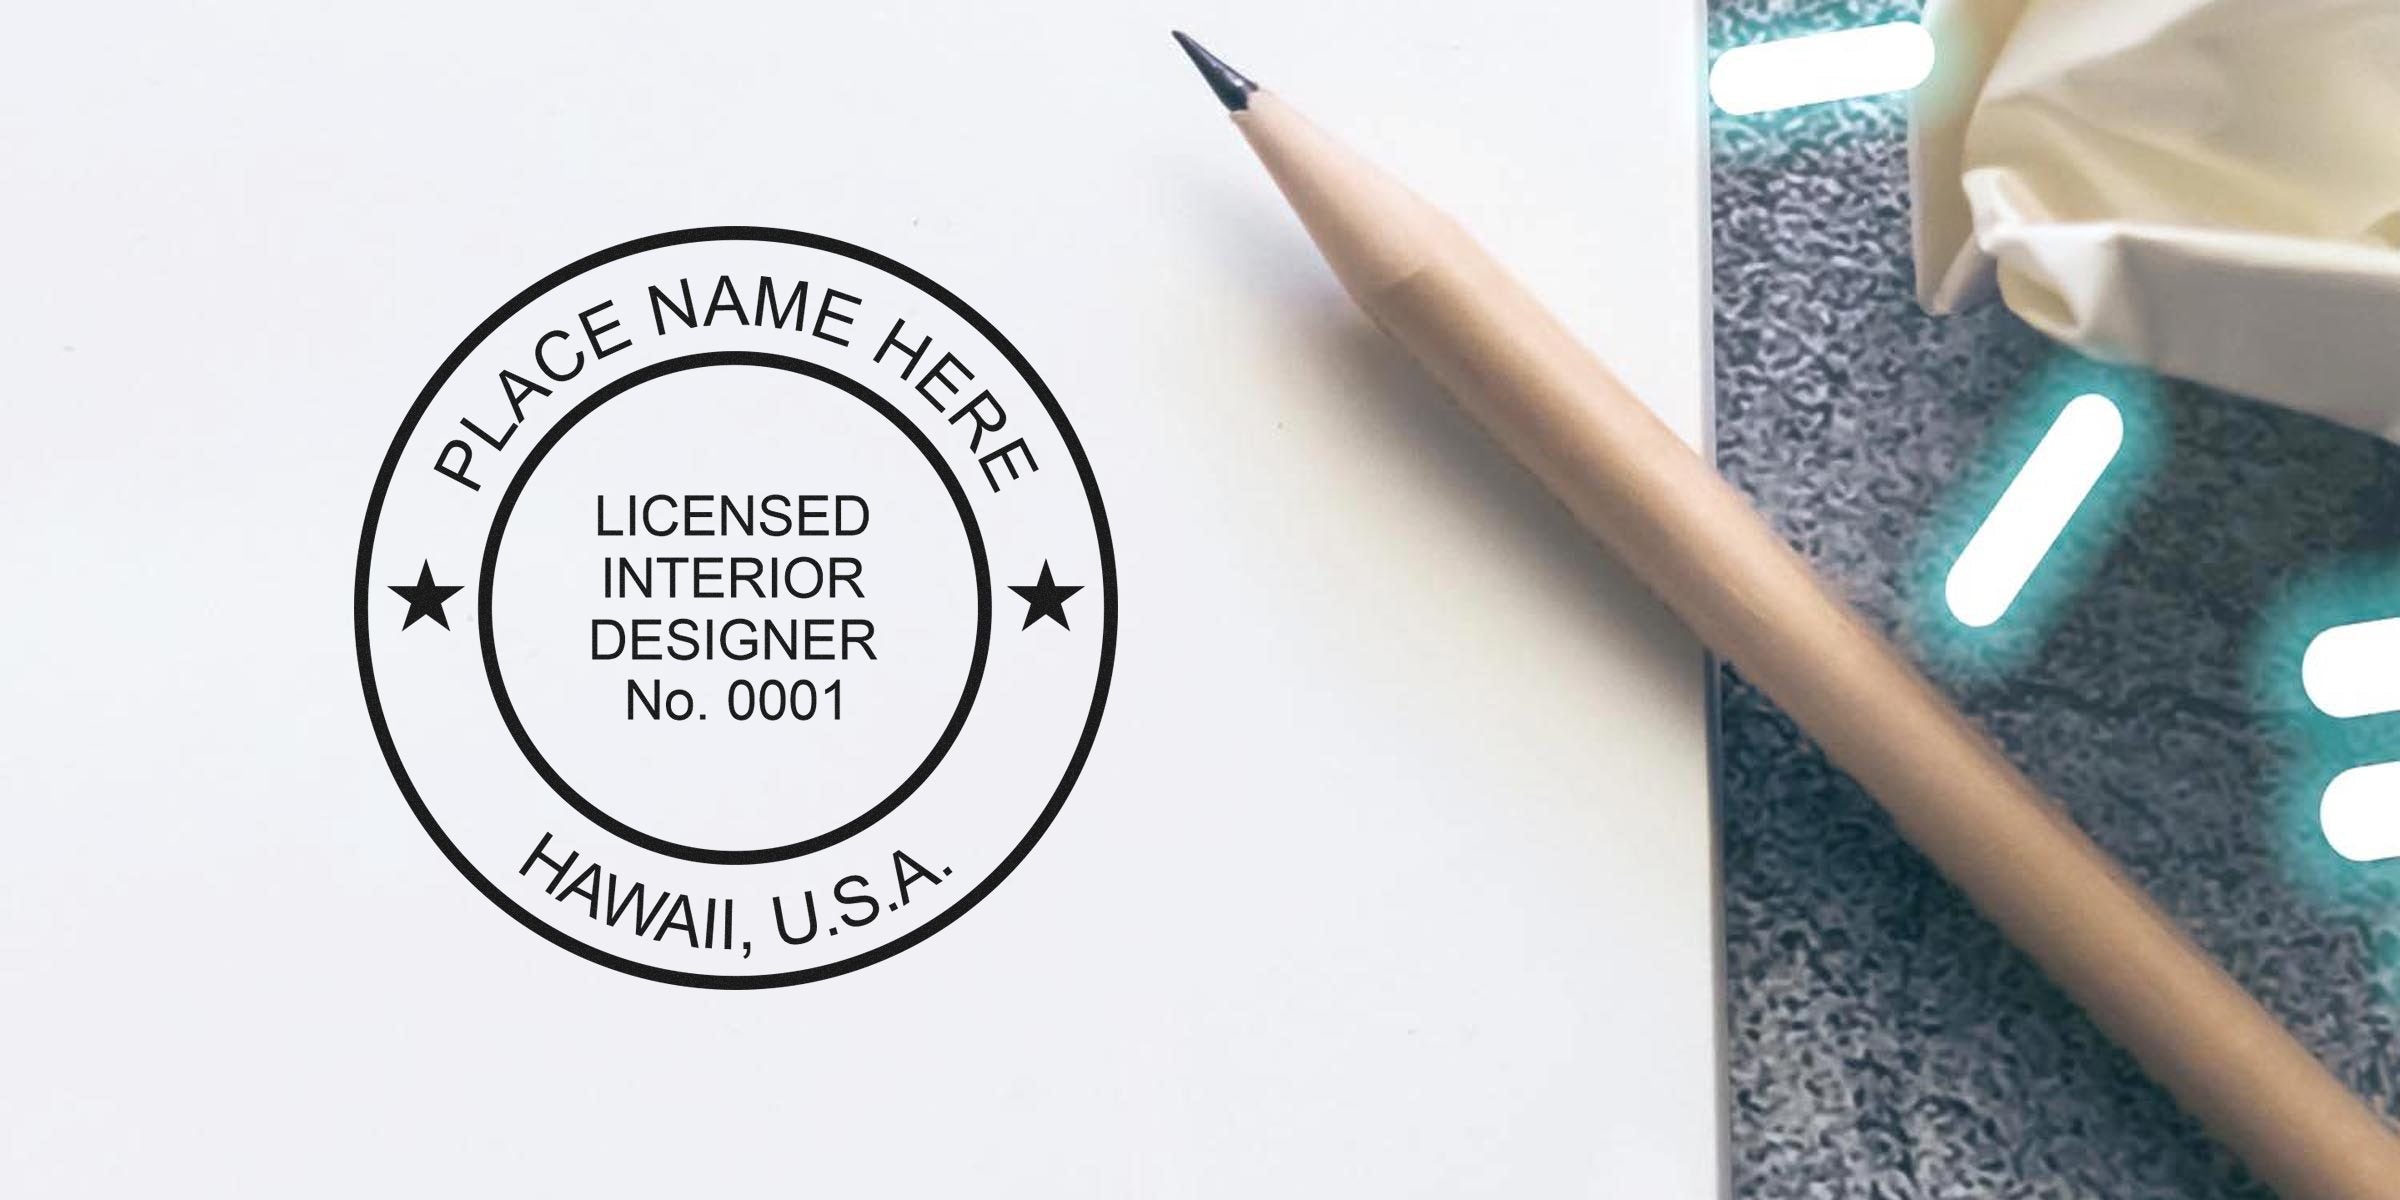
Meet The Hawaii Interior Designer Stamp
Have you ever thought, “I wish my drawings and documents looked more official”? That is exactly where Hawaii interior designer stamp embossing tools step in. When you work in a field that merges artistry and precision, you need a method to confirm that your designs meet the state’s requirements. Using a proper stamp or seal not only enhances the professionalism of your work, but also helps ensure every blueprint, layout, or plan you submit follows established regulations.
In Hawaii, interior design is a fascinating career. You can shape the look and feel of homes and commercial spaces across the state’s stunning islands. However, along with that freedom comes the necessity for accuracy, clarity, and compliance. No one wants an important design to get sidelined because it lacked the proper authorization mark. That is why selecting the best tools for your seal or stamp can be a game-changer for your business.
You might already know that each state has its own rules for interior designer stamps and seals. Hawaii’s guidelines are specific about what these stamps should look like, as well as where and how they should appear on your documents. If you are new to these details, or just need a quick refresher, it never hurts to check the Hawaii Interior Designer Stamp Requirements. With proper preparation and the right tools, you can keep your paperwork squared away, whether you are updating a cozy beach cottage or tackling a big commercial project in downtown Honolulu.
Why Embossing Tools Matter
You might be asking, “Why bother with embossing tools anyway?” After all, standard stamp pads exist, so what sets embossers apart? Embossing creates a raised, three-dimensional impression on paper. This adds security, because it is much harder to replicate or tamper with than an ordinary ink stamp. It also gives your documents a distinctive look that underscores your status as a licensed or registered professional.
More than that, embossing tools fulfill a requirement for many regulatory bodies in Hawaii. Buildings, renovations, or large-scale design projects often demand professional verification, especially if you are dealing with structural updates, permanent fixtures, or high-traffic commercial zones. When plan reviewers and clients see that crisp raised seal on the corner of the page, it signals that you are offering a design you stand behind. It might sound like a small detail, but in the world of professional services, small details build trust.
Here’s another perk of using an embosser: it can act as a subtle marketing tool. When clients hold your design in their hands, they can literally feel the extra level of polish. That sensation of a raised seal can immediately spark confidence. Whether you are meeting with a new client or sending out proposals, well-executed branding does not just come from business cards, it also appears in how you present official documents.
Gather Essential Tools
If you are ready to assemble your set of Hawaii interior designer stamp embossing tools, it helps to know exactly what you will need. Below is a quick rundown:
-
Embosser Device
This is usually a handheld or desktop contraption with a set of plates. You squeeze it (or press a lever) to make a raised design on your paper. Look for sturdy construction, especially if you have a heavier workload. -
Customized Die or Plate
Each state seal or stamp has unique requirements. In Hawaii, your seal must show specific details like your name, your license or registration number, and the words “Hawaii Interior Designer” (if the regulations stipulate that exact phrasing). You will need to order a plate custom-engraved with that design. -
Alignment Guides (Optional But Helpful)
Some embossing tools come with built-in guides to ensure you are stamping in the correct spot. That is handy if you constantly place your seal in the same location, such as the lower right or left corner. -
Ink Pad (If You Want A Dual-Function Seal)
Many interior designers opt for a dual-function seal, one that can emboss and also apply ink. This gives you flexibility. When you want raised marks, you can use the embosser. When you need a quick stamp, you can switch to ink. -
Protective Case Or Storage
Your stamp or embosser is delicate. It has moving parts and specialized plates. A sturdy (or padded) case can keep your device free from dents and dust, so every impression stays crisp.
Embossing might look complicated at first glance, but if you break it down, it is just a matter of pressing the die onto your paper. However, the quality of that final impression often depends on the design of your embosser, how you store or handle it, and whether you take the time to align everything properly.
Tips For Choosing The Right Embosser
Knowing the basic parts of an embossing system is one thing, but how do you go about picking the right embosser for your needs? Here are some tips to simplify your search:
- Decide Between Handheld Or Desktop
- A handheld embosser tends to be more compact and portable, ideal if you travel to client sites often.
- A desktop embosser is typically heavier and designed for high-volume stamping. It is great if you do a lot of plan submissions each month.
-
Check The Reach
“Reach” refers to how far the plates can go into the paper from the edge. If you plan to place a seal in the middle of a page, you will need a deeper reach than if you always stamp close to the border. -
Consider Ergonomics
Think about comfort. If you regularly stamp multiple pages, you might prefer an embosser with a long handle or one that does not require too much force. -
Review Your Licensing Requirements
Make sure the device you choose can accommodate the official seal layout for Hawaii. Some states are quite strict about outer rings, typeface size, and wording. The plate you order should match these rules exactly. If in doubt, confirm your design with the licensing board. -
Look For A Trusted Supplier
Branded or reputable suppliers can help you avoid costly errors in the stamp’s design. Here at Acorn Sales, we have been in business since 1964, and we know how to make sure your seal meets the latest Hawaii regulations. We also offer a free digital seal with every order, so you can include the same design in your electronic documents.
Remember, a good embosser is an investment. You never want to re-order plates or devices because you hurried into a poor choice. By ticking a few essential boxes, you will save time, money, and hassle in the long run.
Key Steps For Proper Use
Even the perfect embosser can leave a messy impression if you rush through the process. Here is a quick walkthrough of how to get a clean, professional seal every time.
-
Position Your Document
Before you align the embosser, figure out exactly where your state requires or prefers the seal. Does it need to be near your signature, on the title block, or toward the end of the drawing set? Check any Hawaii regulations you have on file. -
Center The Embosser
Once you know where you want the impression, slide the paper in so the plates can grip it. Many embossers have small guide marks that help you line up corners or edges. Double-check that you have the top of the seal oriented correctly. You do not want an upside-down design. -
Apply Steady Pressure
Grip the handle or lever as instructed. You should feel some tension as the die presses into the paper. Keep it steady for a moment to ensure clarity. -
Release And Inspect
Gently release the pressure, then remove your document to inspect the impression. You are looking for a clean, raised seal without any smudges or uneven lines. -
Repeat As Needed
If you have multiple pages that need your seal, stay consistent. Use the same orientation and placement across all documents. This not only looks neat, it also helps streamline your workflow.
After you finish, take note of any issues like partial embossing, double impressions, or shallow marks. If you see irregularities, it could be the paper’s thickness, the pressure setting, or the device alignment. Often, a small adjustment is all it takes to restore perfect clarity.
Maintaining Your Stamp Equipment
With the cost and effort of creating an embossed seal, it is important to safeguard your investment. An embosser can remain reliable for several years if you keep it in good condition. Here are some easy maintenance tips:
-
Clean The Plates Regularly
Use a soft cloth to wipe away any paper fibers or dust that might accumulate on the engraved plates. Avoid abrasive cleaners, as you do not want to scratch or dull your design’s details. -
Store Away From Heat And Moisture
Since Hawaiians experience island humidity and high temperatures, place your embosser in a cool, dry area when not in use. Excessive moisture can corrode metal parts or cause warping in certain materials. -
Practice Gentle Handling
If you have a handheld embosser, resist the urge to shove it into a drawer under a stack of papers. Dropping or jostling it can knock the alignment slightly off, which leads to low-quality impressions. -
Check Alignment Occasionally
If you notice that one side of your seal impression is lighter or deeper than the other, your plates might be misaligned. Many embossers come with adjustable screws or a calibration feature. If not, consult the supplier for user-friendly tips or repairs. -
Replace Worn Plates
Over time, metal plates can lose their sharpness, especially if you do high-volume work. If your impression starts to look fuzzy, it might be time for a new set of plates. This is normal wear and tear.
Give your tools a once-over every month or so, particularly if you are using them frequently. A minute or two of basic upkeep now can prevent big headaches, like faint impressions, broken handles, or an unruly design.
Collaborate With Acorn Sales
You deserve a supplier you can trust, especially when it comes to something as specialized as Hawaii’s interior designer stamp requirements. Since 1964, Acorn Sales has been helping professionals like you find the perfect stamps, seals, and embossing devices. We do more than just provide standard options. We tailor our products to your specific needs and Hawaii guidelines, so you never have to stress about compliance.
Wondering if you qualify for a free digital seal with your purchase? You do, automatically. When you place your order with us, we will include the digital version of your seal at no extra charge. That means you can also insert the same design into your digital documents, which is especially handy when you submit drawings electronically or share them via email with clients on other islands or the mainland.
At Acorn Sales, we take pride in combining old-fashioned quality with modern solutions. Our aim is to help you streamline your workflow. So if you have questions about what plates you need, how to set up your embosser, or how to verify your design, we are all ears. We have assisted countless customers with unique needs, so we know how to make the process simple.
Above all, we believe that high-value tools should give you confidence. With a dependable stamp or seal, you can pay more attention to your creative vision and less time worrying about official processes. If you have any questions about the details of Hawaii’s interior designer rules, you can always visit Hawaii Interior Designer Stamp Requirements. We also encourage you to explore the range of embossers and stamps we offer for all project sizes and budgets.
Feel free to explore different embossing options and talk to fellow interior designers, too. You might discover fresh ideas or shortcuts that simplify your daily routine. Setting up a proper stamp or seal is not just about regulations, it is about building trust, showing professionalism, and showcasing that you take pride in every design you approve.
Finally, investing in high-quality Hawaii interior designer stamp embossing tools is more than a minor administrative task. It speaks volumes about your dedication to lawful, polished, and meticulously presented work. So whether you are sketching out a bold condo renovation near Waikiki or refining a cozy B&B on the Big Island, do it with the right stamp in hand. Once your clients see that crisp, raised seal, they will know they are in good hands, and that can make all the difference in your growing interior design career.
Frequently Asked Questions
Do I Need Different Embossing Tools If I Move Offices?
Generally, your embosser can travel with you. However, if you change your professional address and your stamp design includes that address, you may need to update the engravings. Check Hawaii’s guidelines to see if your physical address is required on the seal.
Is One Stamp Enough For All My Documents?
In most cases, yes. Your official Hawaii interior designer stamp can be used on construction plans, specification documents, or any other blueprint that requires your seal. Be sure to keep track of version dates and licensing updates so the seal remains valid.
Can I Also Get A Digital Version Of My Stamp?
Absolutely. Acorn Sales includes a free digital seal with your embossing tool. This allows you to place your official mark on electronic documents, PDFs, or online proposals. It can be a real time-saver, especially for remote approvals.
How Can I Verify My Stamp Meets Hawaii’s Format?
It helps to review the official state guidelines on size, text, and design. When you order through us, we can cross-reference your seal layout with the rules, so you do not risk any compliance issues. For a refresher on requirements, see the Hawaii Interior Designer Stamp Requirements.
What Paper Types Work Best With An Embosser?
Standard blueprint or drafting paper typically works well. Just avoid extra-thick cardstock or textured surfaces, which can reduce clarity. If you must use heavier paper, consider a higher-pressure embosser or a desktop model designed for thicker materials.








