
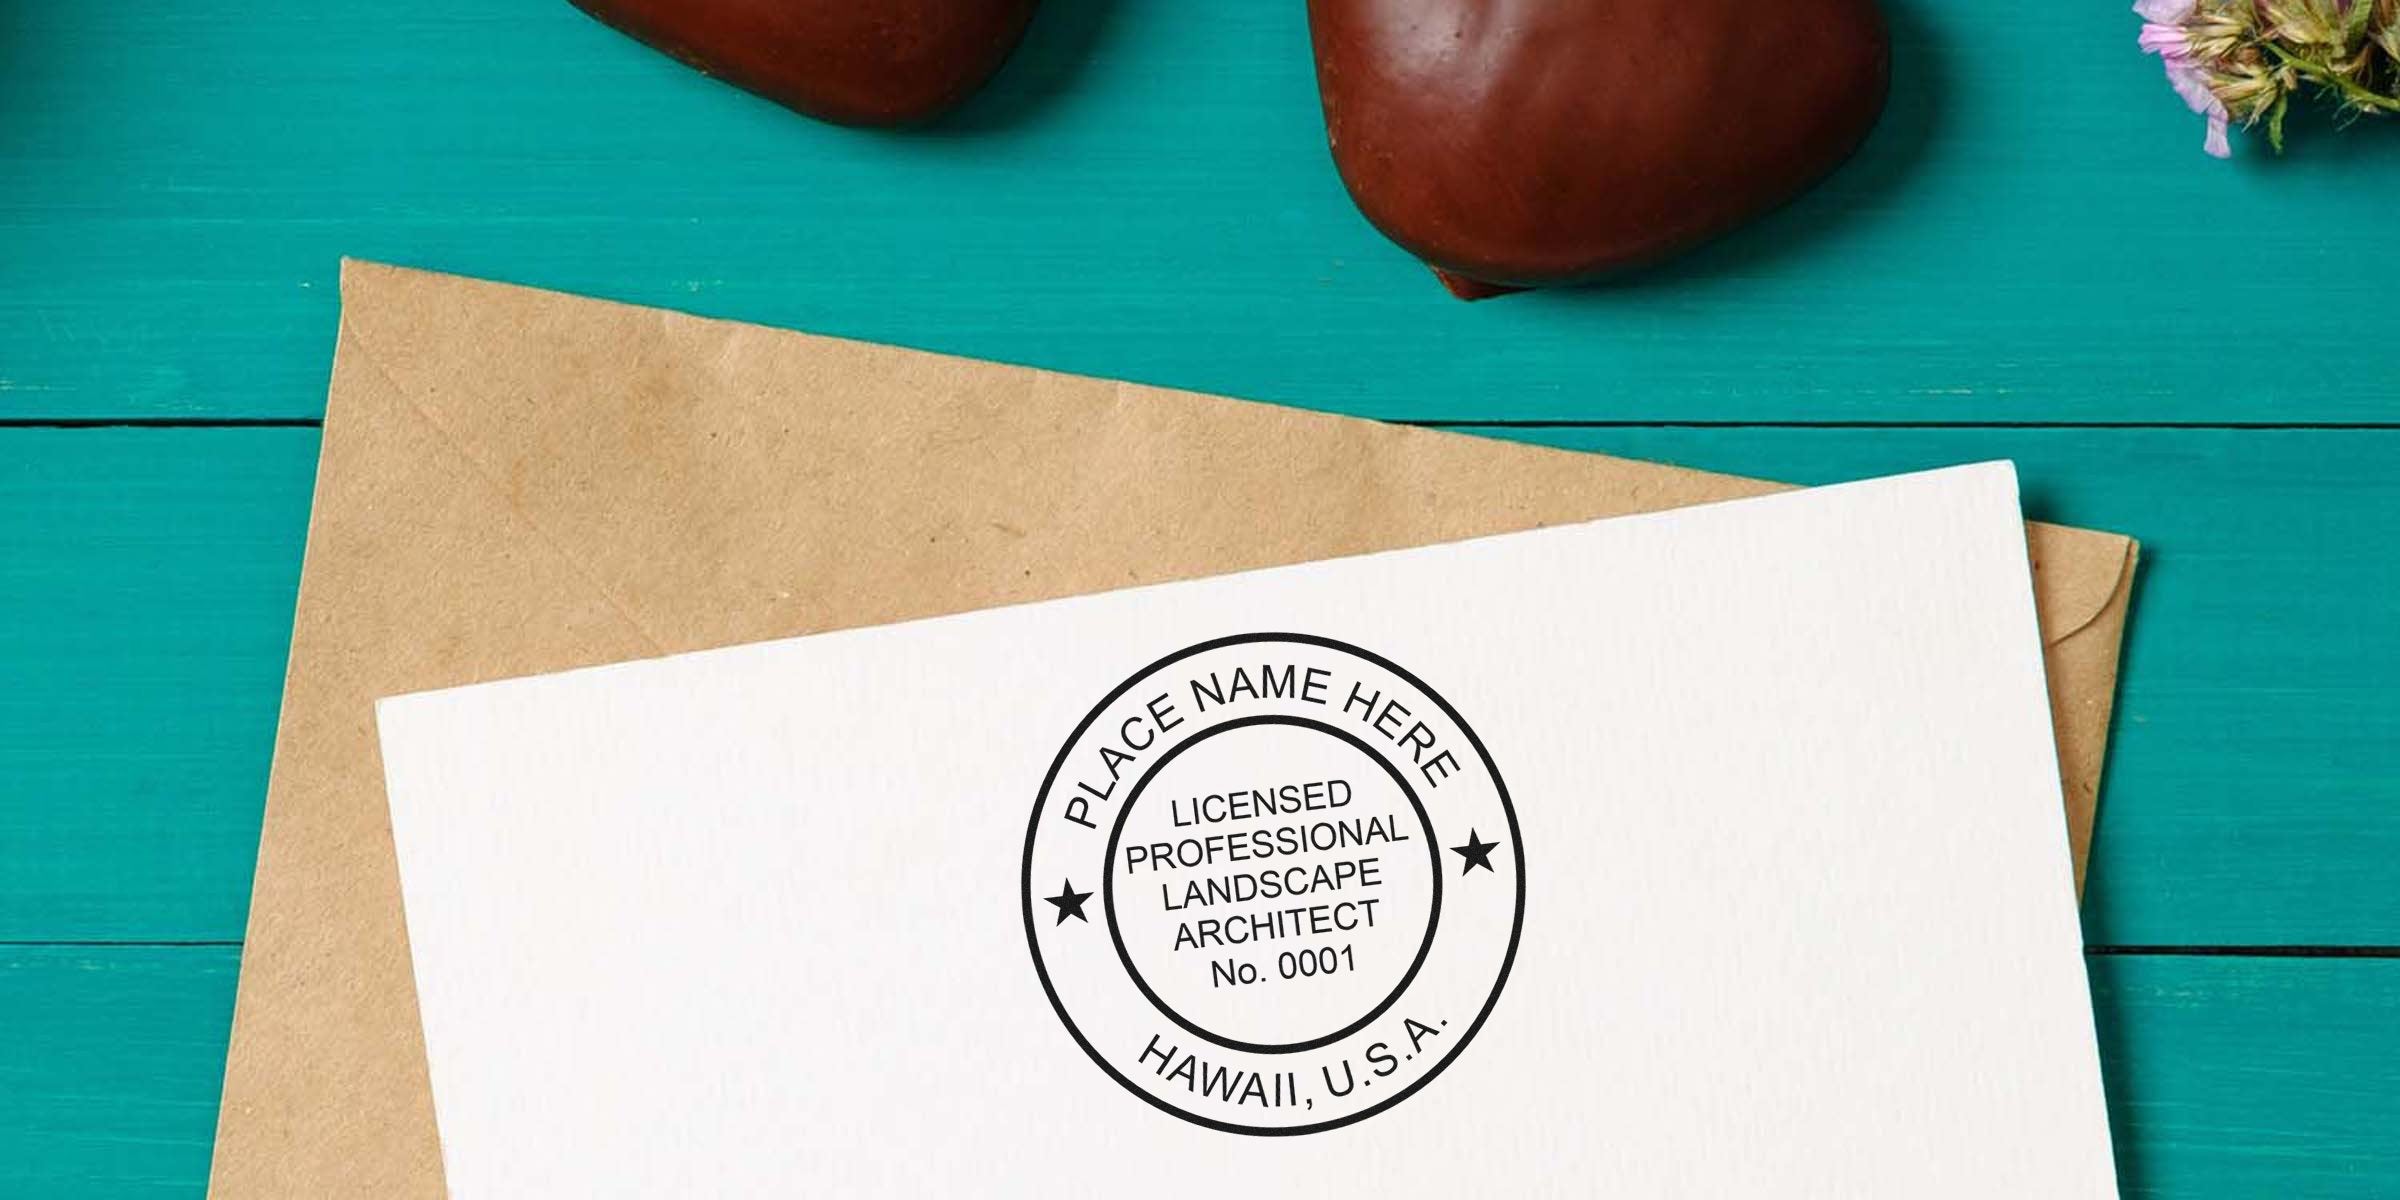
You’ve probably heard how important Hawaii landscape architect seal documentation is in ensuring your projects meet state requirements. But where do you start, and how do you avoid mistakes that could cost you time and money? In this post, you’ll discover practical tips for confirming official rules, choosing the right seal format, and mastering the documentation process so you can focus on making those spectacular outdoor designs come to life.
Know The Official Requirements
Before you even think about ordering or using a seal, it’s crucial to know what the State of Hawaii expects from you. Government authorities take their regulations seriously, primarily to ensure that each landscape architect is fully qualified to handle projects in a way that safeguards public health, safety, and welfare. Failing to follow official guidelines could mean having your plans rejected, or worse, facing punitive measures that impact your professional standing.
One key step is to double-check that your design solutions align with all necessary codes. Hawaii regulations outline specific standards that professional landscape architects must meet, from licensure updates to how and where your seal should appear on formal documents. If you submit documents without the required seal or place it incorrectly, state authorities might turn them down. You may also need to show proof of your license in good standing, so keep that information up to date.
Besides ensuring you have the correct license, you’ll also want to confirm any local or regional guidelines relevant to your particular region of Hawaii. Requirements can vary across the islands. Always check official sources or consult the licensing board for accurate information. If you need more details specifically on stamps, see hawaii landscape architect stamp requirements.
Ultimately, taking the time to familiarize yourself with Hawaiian regulations is the best starting point. The more thorough you are, the less likely you’ll need to redo or resubmit paperwork. Consider it a proactive investment in your future success.
Pick The Proper Seal Format
Having a seal is essential, but choosing the right format can be equally important. Hawaii recognizes physical rubber stamps, embossed seal devices, and even digital seals in some cases. Each option comes with its pros and cons, so you’ll want to select one that matches your workflow and meets state standards.
Physical Rubber Stamp:
This tried-and-true format offers quick application on paper documents. It’s portable, easy to store between uses, and typically more budget-friendly than an embosser. However, keep in mind that stamps can wear out over time. Always be sure your stamp contains a sharp, readable impression, because an unclear design could raise questions about authenticity.Embossed Seal Device:
If you appreciate a certain formality, an embosser might be for you. Embossing not only conveys a professional appearance, it also offers an added layer of security. An embossed imprint can’t be replicated by a common copier or scanner. The main downside is that embossers can be bulkier than stamps, making them less convenient to transport.Digital Seal:
As technology advances, a digital seal can be an excellent, time-saving alternative. Hawaii does allow electronic seals in many professional contexts, provided they adhere to the state’s electronic documentation rules. With a digital seal, you can handle approvals and sign-offs remotely. This approach can speed up processes, particularly if you’re managing large projects or working with out-of-state collaborators.
Whatever you choose, aim for a format that matches both your practice style and the state’s regulatory framework. Consider whether you present documents mostly in person or online. That will help you figure out if you need a physical device, a digital file, or possibly both.
Master The Documentation Process
Once you have the proper format, the next step is understanding the documentation workflow. Where exactly do you place your seal? When do you need to include it, and how do you ensure it’s legible?
It’s best to place your seal on every sheet of the official plan set, near your signature. In many cases, regulations require at least one sealed sheet for each significant project element, including architectural layouts, grading plans, and construction details. Double-check whether you need to add the date alongside your seal, since some states request that specifics, like the date of issue, appear clearly.
Pay attention to how your seal prints or displays digitally. If you’re working with large-format drawings, you want to ensure that your stamp or seal doesn’t lose definition. One method is to test print your design on the same paper you’d use for final submissions. Inspect the clarity of the seal. If it’s fuzzy or unreadable, adjust its size or positioning.
You’ll also want a consistent process for adding your seal to PDF or CAD files. Create a standard template that already includes your seal and signature block. That way, you won’t have to reinsert it each time you produce a new plan. This little trick can dramatically reduce administrative hours and cut back on errors. By establishing a streamlined workflow, you’re less likely to forget a seal on an important page.
Above all, make sure you keep track of which documents need the seal. You might manage multiple projects at once, so a checklist can be your ally. Once you’ve sealed a set, catalog it in a way that’s easy to find later, just in case any clarifications or reprints are needed down the line.
Store And Maintain Your Seal
Now that you’re using your seal regularly, proper storage is your next priority. If you’re dealing with a physical stamp or embosser, consider storing it in a cool, dry place, away from direct sunlight or heat sources. Excess moisture or extreme temperatures can degrade the materials, making your impressions less crisp.
For digital seals, keep a secure backup. Store files in a password-protected folder and consider using encryption software if you frequently share them with colleagues. Accidental deletion or corruption of the file can become a serious headache if you haven’t saved a spare copy somewhere safe.
Pay attention to ink levels and general wear on physical stamps. Over time, the design can become distorted. If you notice the impressions getting faint, switch to a fresh ink pad. For embossers, periodically check the die alignment. If your embossed images look off-center, or if the ridges aren’t as sharp, it may be time for a replacement. Regular maintenance ensures your seal continues to provide a clear, professional mark.
Finally, never lend your seal to anyone. Maintaining the exclusivity of your stamp or embosser helps protect your license. If someone else uses your seal without authorization, it can open you up to legal liabilities. Storing your seal responsibly and monitoring who has access keeps your reputation secure and your professional standing intact.
Understand Common Pitfalls
Even the most seasoned landscape architects can slip up with seal documentation. One of the most common mistakes is forgetting to update the license information on the seal. Make sure the text on your stamp includes your current license number and any updated details. If you moved or changed your legal name, that might require an all-new seal. Never assume you can tweak an old design without verifying with the board first.
Another frequent pitfall is inconsistent use. Perhaps you’re sealing your drainage plans but forgetting the grading plans. Or you place a seal on one page without including the date or signature. Overlooking these details can cause a document set to be rejected, complicating project timelines. A quick checklist to verify each sheet keeps you consistent.
Some architects try to rely on photocopies of an original stamped sheet. But if the seal becomes blurry in duplicates, the entire submission might be returned. Always confirm that the final copy, whether it’s a printed set or a digital PDF, shows a clear seal impression. If you’re using a digital seal, be sure the embedded security measures are intact, so the signature remains validated.
Lastly, watch out for deadlines. Sometimes, you might rush to finalize documentation without thoroughly checking every page. Under tight project timelines, it’s easy to miss small but critical details. Even something as simple as forgetting the date next to your seal can spiral into a major inconvenience. Slow down enough to verify all the essential elements are there before anything goes out the door.
Partner With Acorn Sales
When it comes to obtaining your Hawaii-approved seal tools, you have plenty of options. However, working with a trusted supplier can make a big difference. Acorn Sales has been in business since 1964, providing professional-grade stamps and embossers that meet the rigorous requirements set by Hawaii’s regulatory boards. From stamps to digital files, they’ve got you covered.
Ordering your Hawaii landscape architect seal is straightforward. Acorn Sales offers clear specifications, guiding you through the ordering process step by step. Not sure whether a self-inking stamp or an embosser is best for you? Their knowledgeable team is ready to chat about what might fit your practice. They’ll also let you know if any specific sizing rules or required text changes have come into play recently.
A key advantage to working with Acorn Sales is the free digital seal option included with many of their products. That means you’ll have immediate access to an electronic version as well as a high-quality physical device. Plus, they maintain tight quality control, so you can rely on long-lasting impressions.
In short, partnering with a reputable supplier like Acorn Sales saves you time, reduces guesswork, and sets you up for compliant documents. You’ll know your seal meets the proper standards, and you can devote more attention to the creative and technical aspects of landscape architecture, rather than wrestling with documentation logistics.
Review A Quick Summary
Let’s briefly recap the core points:
- Get familiar with Hawaii’s regulations, including licensure details and precise guidelines for seal placement.
- Choose the seal format that aligns with your work style: rubber stamp, embosser, or digital version.
- Develop a consistent documentation workflow so you never miss an important page.
- Store your seal safely, whether physical or digital, and keep it well-maintained.
- Avoid common pitfalls like outdated license data, poor-quality impressions, and missing signatures or dates.
- Consider partnering with a reputable supplier like Acorn Sales to ensure you’re using compliant products, including a free digital seal if needed.
When you manage your seal responsibly in Hawaii, it’s far simpler to move projects forward. No second-guessing, no scrambles to fix last-minute errors. Your documents stand on solid legal ground, letting you focus on designing landscapes that will stand the test of time.
Acorn Sales is a trusted supplier with a long history (established in 1964). They offer physical stamps, embossers, and free digital seals that meet Hawaii’s official guidelines. Their customer service can help you select the best option for your needs.
By keeping these FAQs in mind and following the steps outlined above, you’ll be on track for smooth sailing with all your Hawaii landscape architect seal documentation. With consistent, thorough processes, you’ll stay focused on your passion: creating remarkable landscapes that people will enjoy for years to come. And isn’t that why you got into this field in the first place? Happy designing!
Frequently Asked Questions
Can I Use My Old Seal If My License Details Changed?
No. If your license or any relevant personal information has changed, you’ll need a new seal that reflects your current credentials. Using an old seal risks bringing your documentation into question, so it’s safer to update it.
Do I Need A Seal On Each Page Of My Plans?
Generally, you’ll need a seal on at least one page for each distinct element of your project. It’s common to seal each sheet that contains critical details. However, exact requirements can vary, so consult local Hawaiian regulations to ensure full compliance.
Are Digital Seals Accepted For Hawaii Landscape Architect Submissions?
Yes, in many cases. Hawaii allows electronic seals if they meet state board standards for security and authenticity. Ensure your digital seal is clearly visible and accompanied by an electronic signature where required.
What Happens If I Lose My Physical Seal?
Report the loss to your licensing board if they require notification. Next, arrange to acquire a replacement as soon as possible. Until you have a new seal, refrain from submitting official documents to avoid complications.








