
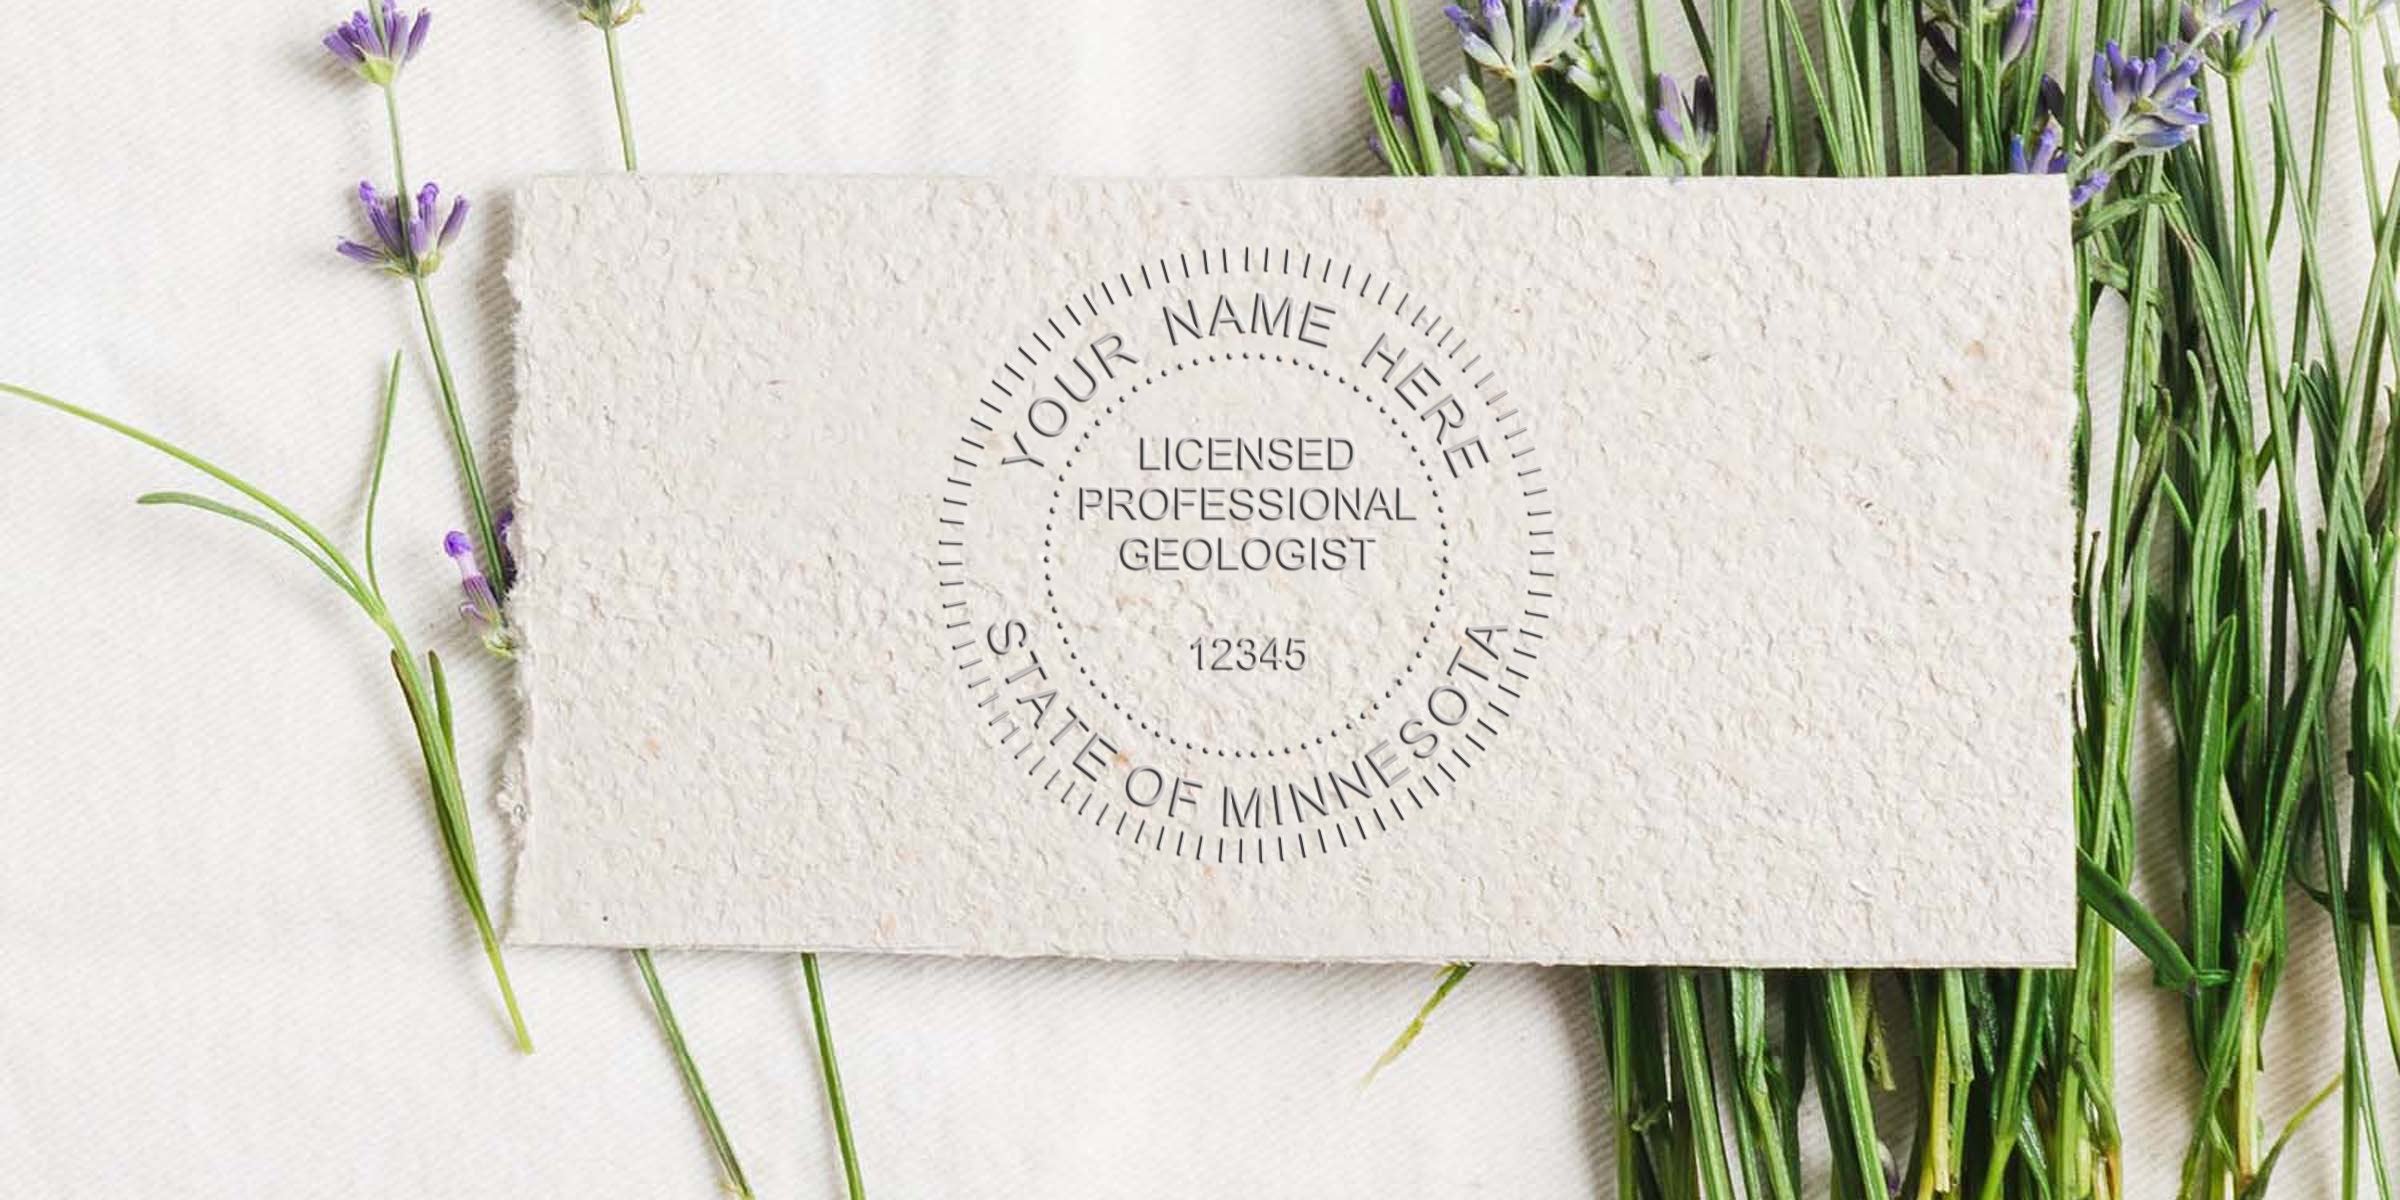
If you’re in the market for a custom Minnesota geologist stamp, you already know how important it is to have a reliable marking tool that meets state guidelines. But you might be wondering: how do you ensure your stamp is both compliant and convenient for everyday use? Choosing the right geologist stamp goes beyond just picking a design. It’s about understanding licensing requirements, selecting proper materials, and ensuring your personal details are accurate. In this article, you’ll find clarity on each step so you can make an informed decision and feel confident about your new stamp.
Below, you’ll discover why every detail matters, from the type of ink you choose to the final impression on your documents. Along the way, you’ll also get some tips on how to avoid common pitfalls. Let’s walk through each key point so you can select a stamp that meets Minnesota’s regulations and truly fits your needs.
Know the Licensing Requirements
Before picking your stamp style or materials, make sure you understand the licensing rules for Minnesota geologists. These regulations specify your name, license number, and sometimes even your professional title. Missing details can cause your documents to be rejected, so it’s worth double-checking the state board requirements in advance.
Staying Up to Date
- Minnesota’s licensing guidelines can occasionally change, so verify the most recent instructions from your state board.
- If you’re newly licensed, confirm the exact text that should appear on your stamp.
- Some rules might allow for minor variations in punctuation or spacing, but it’s best to keep everything consistent.
Why Compliance Matters
If you submit a document with an incorrect or incomplete stamp, you risk having that entire project delayed. In some cases, you could even face disciplinary actions. It’s like forgetting your ID at an important checkpoint, except the stakes are higher For professional documents. Taking a few minutes to confirm requirements upfront can save you countless hours of headaches later on.


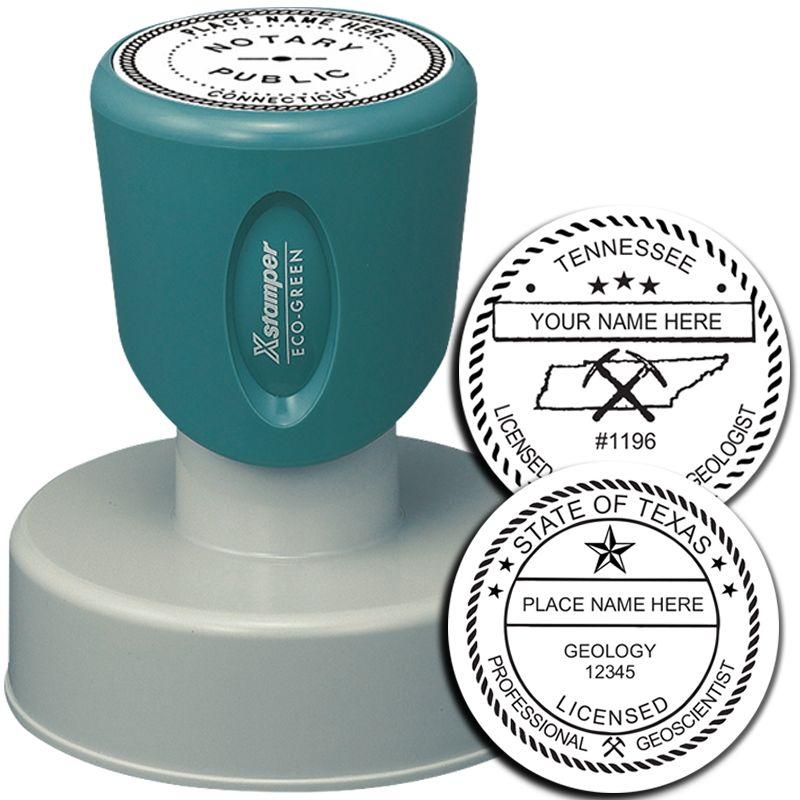



Understand Stamp vs. Seal
If you’re new to Minnesota geologist marking tools, you might hear the terms “stamp” and “seal” and wonder if they’re the same thing. Essentially, both create a visible imprint that confirms your professional certification. The difference often lies in the method used to create the mark.
- Stamp (Typically Ink-Based): Uses ink to leave a clear impression on paper. It’s easy to apply, quick to use, and ideal for multiple consecutive impressions.
- Seal (Typically Embossing): Imprints a raised mark on the page without ink. It’s more traditional and often visually appealing, but sometimes less convenient for large batches of documents.
Which One to Choose?
In Minnesota, geologists often opt for a stamp because it’s straightforward and usually meets legal requirements without additional fuss. That said, some professionals prefer a seal for a more distinctive look. If you only occasionally sign off on documents, an embossed seal might feel special. But if you’re stamping daily, the speed and clarity of an inked stamp could be a better fit.
Pick the Right Materials
Once you’ve decided on a stamp (ink-based) or seal (embossed), the question becomes: which materials best suit your workflow? Durability and clarity are the two big players here.
Material Options for Stamps
- Self-Inking Rubber Stamp: Contains an internal ink pad so you don’t have to fuss with adding ink each time.
- Pre-Inked Stamp: Uses a built-in reservoir of ink and typically gives a crisp, clean impression.
- Traditional Rubber Stamp with Separate Pad: More customizable but requires routine pad maintenance.


Material Options for Seals
- Handheld Embosser: Compact size is great if you need to move around for fieldwork.
- Desk Embosser: Sturdy, lever-style design that’s comfortable if you’re stamping large numbers of documents at once.
If you’re planning to use your custom Minnesota geologist stamp on a daily basis, self-inking or pre-inked models might be your new best friend. They’re a breeze to handle and typically last for thousands of impressions.
Locate a Trusted Supplier
Even with a clear idea of what you want, it’s important to buy from a reliable source. The last thing you need is a blotchy or illegible stamp that weakens the professional look of your documents. A trusted supplier ensures everything, from the stamp casing to the final print quality, is handled with care.
At Acorn Sales, we’ve been helping professionals secure geologist stamps and seals since 1964. We know that accuracy and quality are non-negotiable. That’s why each stamp is designed to meet licensing requirements and provide crisp impressions. When you go through a company that specializes in these tools, you’re less likely to face quality issues or compliance hiccups.
Why Supplier Experience Matters
- Consistency: An established supplier has simpler quality checks, so you get reliable products every time.
- Support: If your stamp ever needs repairs or you have questions, a reputable vendor can guide you.
- Added Perks: Look for companies that offer free digital seals with your purchase or other complementary services.
If you want more details or need to explore available product options, you can check out the minnesota geologist stamp page for specialized information.
Consider the Design Details
Designing a Minnesota geologist stamp can feel intimidating if you’re unsure about text placement or font size. But once you realize that state guidelines often dictate the essentials, it becomes simpler. You typically need to include key info such as your full name, license number, and the phrase “Professional Geologist” or something similar, depending on the exact wording required by Minnesota’s board.


Common Layout Elements
Below is a general example of what you might include:
- Your name (as it appears on your license)
- The words “Licensed Professional Geologist” or an equivalent official term
- Your license number
- The state name or abbreviation (MN) and any necessary references to Minnesota geologist laws
Helpful Formatting Tips
- Use a clean, easily readable font that won’t smudge or blur at the edges.
- Keep spacing consistent, so your license number and name aren’t crammed together.
- Place the text in a circular or rectangular frame, depending on preference or state guidelines.
A balanced layout likely helps you avoid confusion or misinterpretation. Since officials reviewing your documents might see numerous types of stamps in a single day, clarity and uniformity help ensure yours stands out as accurate and professional.
Process to Finalize Your Stamp
You’ve done your research, found a trusted supplier, and clarified the layout. Now comes the fun part, ordering and finalizing your stamp. While every supplier has a slightly different request process, here’s a straightforward set of steps you can follow.
-
Provide Your Licensing Information
- Submit your name and license number exactly as it appears on official state documents.
- Verify any specific phrases or laws you want included, like “Minnesota Professional Geologist.”
-
Pick a Stamp Type
- Self-inking, pre-inked, or traditional rubber stamp.
- Embossing seal if you want a raised imprint.
-
Confirm the Design Proof
- Reputable companies often send a digital proof for you to review.
- Double-check the spelling of your name, the license number, and all other critical text.
- Look for any stray characters, spacing errors, or uneven margins.
-
Approve and Order
- Once you’re satisfied, give the supplier the go-ahead to produce your stamp or seal.
- Note the expected shipping or production time so you can plan accordingly.
-
Test Your Stamp
- When your stamp arrives, try it on a few scrap sheets of paper.
- Check that each character is clear and legible.
- If something is off, contact the supplier immediately for assistance.
As soon as your stamp or seal is verified for accuracy, you’ll be set to mark official documents with confidence. These steps ensure everything is in top shape before you place that first official imprint.
Selecting the right custom Minnesota geologist stamp can feel like a big task, but when you follow the steps above, it’s really a matter of ensuring proper compliance and quality craftsmanship. You’ve learned why state regulations matter, how to weigh stamp versus seal, and what design elements help your credentials shine. Plus, you now know you can trust a knowledgeable supplier like Acorn Sales, who’s been in business since 1964 and includes a free digital seal with your purchase.
Go ahead and put these tips into practice. Once you have your stamp in hand, you’ll be ready to confidently seal the deal on field reports, compliance documents, and more. If you still have questions, you can check out the minnesota geologist stamp resource for extra clarity. Your professional documents deserve a mark that is compliant, crisp, and convenient, and now you have the know-how to ensure exactly that.
Frequently Asked Questions
What is the usual size for a Minnesota Geologist Stamp?
The typical diameter for a circular geologist stamp in Minnesota is around 1⅝ to 2 inches, but this can vary based on personal preference or printer designs. Check any size requirements from the state board to confirm the acceptable dimensions.
Should I choose an inked stamp or an embossed seal?
Most geologists lean toward self-inking or pre-inked stamps because they’re quick, mess-free, and accepted by the Minnesota licensing board. Seals that emboss the paper can add a more traditional look but may not be as efficient if you’re stamping a high volume of documents.
Do I get a digital seal when I order a custom Minnesota geologist stamp?
That depends on the supplier. At Acorn Sales, you receive a free digital seal with your stamp purchase, which is helpful for any electronic documents you might need to sign. This ensures consistency across physical and digital submissions.
How can I ensure my stamp is properly authorized in Minnesota?
The simplest route is to confirm your licensing details with the state board and use a reputable supplier, like Acorn Sales, that specializes in professional stamps and seals. Double-check that the text and layout match Minnesota’s guidelines before finalizing your order.








