
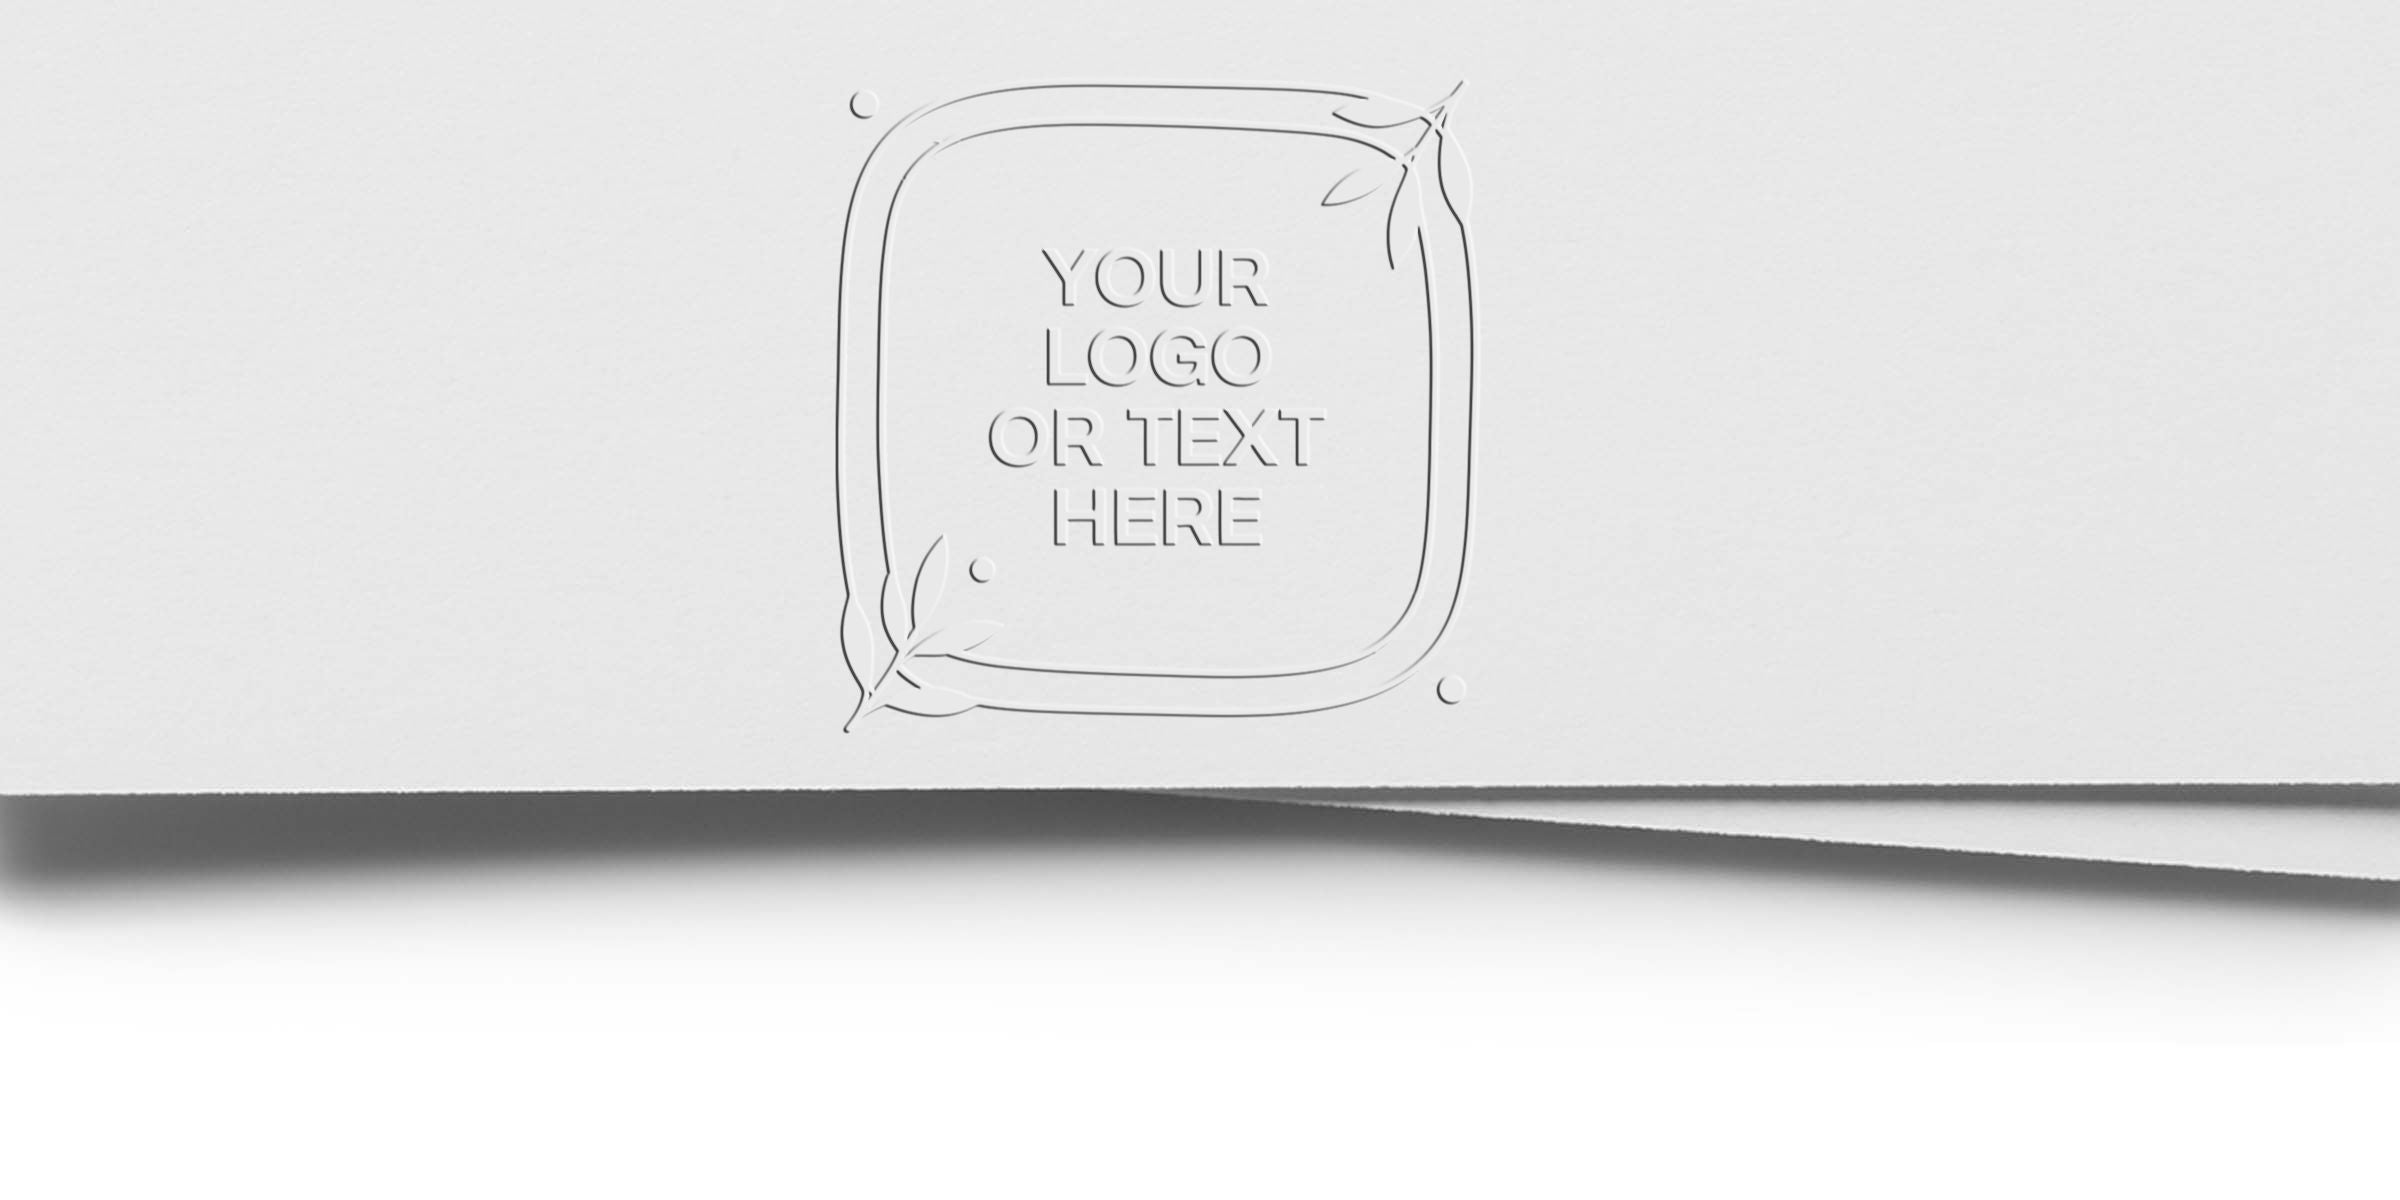
If you’ve ever wanted to add an eye-catching detail to your documents, there’s no better option than an embossing seal for certificates. It lets you transform ordinary papers into something that feels polished and official. Plus, that raised imprint never fails to make people pause and admire the detail. In this post, you’ll learn exactly what an embossing seal can do for your certificates, why it’s such a favorite among professionals, and how you can choose and maintain the perfect one. Let’s dig in!
Understanding Embossing Seals
An embossing seal is a small, handheld device that, with a simple press, leaves a raised impression on paper. This raised design can be your custom logo, special text, or any unique artwork that personalizes and authenticates your certificates. Compared to plain ink stamps or printed designs, an embossed mark gives depth that you can actually feel with your fingertips.
You’ll often see embossing seals used by notaries, corporate offices, schools, or anyone who wants extra security and flair for official papers. But they’re not limited to heavy-duty professional use. If you’re running a community club, hosting a fun workshop, or printing out recognition awards, an embossing seal can dress up certificates beautifully. Think of it as adding a little gold star, except this time, it’s a raised impression that screams quality.
Why People Love Embossing
If you’re still wondering why an embossed design is such a big deal, consider these factors:
- It’s visually appealing. The subtle three-dimensional effect catches the light and adds prestige.
- It’s secure. Fakes are tougher to produce because the raised impression is distinct, so it adds an extra layer of authenticity.
- It’s long lasting. Nothing smears, runs, or fades, because there’s actually no ink involved in the imprint itself.
Researchers have noted that tactile details often stick in a person’s memory. Recipients of embossed certificates may be more likely to keep and display them. If your goal is to highlight achievements, you want something that lasts and looks great in any frame.
Choose The Right Embossing Seal
Not all seals are created equal. From handheld models to desk-based designs, you have options. Some are designed for easy one-handed operation, while others apply pressure using a heavier mechanism on a desk or table. What’s best for you depends on how frequently you’ll use it, the types of certificates you’ll be embossing, and, of course, your budget.
Key Factors To Consider
- Paper weight: If your certificates are printed on heavier cardstock, look for an embosser that applies enough pressure. Some smaller or more budget-friendly devices might struggle with thick paper.
- Seal size: The diameter of the actual imprint matters. If your design has a lot of detail or text, you’ll want a bigger seal that can accommodate it without crowding.
- Orientation: Do you prefer a top-load or bottom-load device? Some embossers are built to create impressions along the page’s bottom edge, others along the top or side. Think about where you want that design to appear.
At Acorn Sales, we’ve been crafting custom embossing stamps for over 60 years. Since 1964, our quick turnaround and stellar customer service have helped customers pick exactly the style they need. Want to see more possibilities? Check out our custom embossing stamps to explore different shapes, handles, and sizes. We take pride in tailoring each embosser so that your certificate, seal, or logo imprint looks sharp and clean.
Working With Custom Artwork
When you want an embossing seal for certificates, you’ll probably have some kind of custom logo or text in mind. While simpler artwork usually produces the clearest impression, you can still have moderate detail in your design. Just be sure to:
- Stick to clearly outlined shapes and text.
- Avoid extremely thin lines or tiny fonts.
- Consider how negative space will appear when pressed.
Our team at Acorn Sales often advises that you send us mockups or ideas to ensure your artwork will look crisp when embossed on a thick certificate. We’ll translate your concepts into a metal die and counter, the two parts that create the raised imprint.
Create A Professional Look
Sometimes, it’s the little details that make your documents stand out. An embossed seal gives certificates a professional edge that shows you’ve gone the extra mile. Instead of simply signing your name and printing something in color, you’re adding texture and dimension.
Tips For A Cohesive Design
- Coordinate colors: Even though embossing doesn’t rely on ink, you can still match your document style with tasteful accents. For instance, if your design has a silver border, choose a matte silver foil stamp or a relevant color scheme.
- Position your seal strategically: Too close to the edge and the imprint might be partially off the paper. Too close to text, and it might obscure important details. Aim for a margin of at least half an inch around the impression.
- Balance the page layout: Align your certificate text and the seal carefully so everything looks tidy. If the seal is in the bottom-right corner, try placing the official signature or date in the opposite corner for symmetry.
Soon enough, you’ll notice how a raised seal can complement letterheads, gold or silver foils, and even digital backgrounds if you’re mixing physical and electronic mediums. Picture someone receiving your certificate, running their finger over the raised design, and thinking, “Wow, they really took the time to do this right.” That’s the kind of impression you’ll leave.
Master The Application Process
Worried that embossing might be tricky? Actually, it’s pretty simple once you get used to it. Let’s walk through how to properly apply an embossing seal so you end up with a crisp imprint every time.
- Place your certificate on a flat, stable surface: If the paper is on an uneven area, the pressure might not stamp evenly.
- Position the embosser where you want the design: Make sure it’s aligned with the part of the certificate you plan to emboss.
- Check the orientation: If your seal is bottom-loaded, the “top” of your design faces away from you. If you’re using a desk embosser, you might be sliding the certificate under the die from a different angle.
- Press firmly and steadily: A quick half-press could warp the paper or result in a weak imprint. Instead, apply firm, consistent pressure.
- Release and admire: Lift the embosser away from the paper. Touch the raised design to check if any area needs a bit more pressure. If it does, try pressing again, but be aware of potential alignment issues.
For events or large series of certificates, you may want to practice on a scrap piece of the same paper stock before you make that final impression. Muscle memory kicks in quickly. Once you find your sweet spot, each certificate can be embossed in a matter of seconds.
Troubleshooting Embossing Issues
If your imprint looks faint or incomplete:
- Try a slightly firmer press.
- Check if the paper stock is too thick for your chosen embosser.
- Confirm that the die is clean. Tiny bits of debris can interfere with a crisp impression.
If the page creases or wrinkles:
- Make sure the paper is supported by a solid, flat surface underneath.
- Don’t rush the process with a sudden slam of the handle. Slow and steady is your friend here.
Maintain Your Embossing Seal
Taking care of your seal is pretty easy, and a little maintenance pushes its lifespan well into the long term. Here’s how you can keep it in top shape year after year.
Regular Cleaning
Dust or tiny paper fibers sometimes build up in the metal die, especially if you emboss a lot of thick or textured paper. To remove it, use a soft cloth or a small brush to gently wipe away debris. Avoid heavy chemicals or water because you don’t want to risk corrosion on metallic parts.
Safe Storage
When not in use, store your embosser in a dry area away from direct sunlight. Extreme humidity can affect metal parts. If your embosser came with a protective case, use it. If you need to travel with the seal, consider wrapping it in a cloth or bubble wrap to protect it from dings or accidental bumps.
Timely Repairs or Replacement
Sometimes, the metal plates can wear out if you’ve been stamping thousands of documents over several years. Because Acorn Sales has been in the stamp and seal business since 1964, you can count on us to guide you if your embosser ever needs a replacement die or a tune-up. Our goal is to ensure you always get a clean, crisp impression that matches your logo or text perfectly.
Now that you know how straightforward it is to make your certificates shine with an embossed touch, why not give it a try? An embossing seal for certificates doesn’t just provide a more elegant design, it also offers that tactile moment of surprise and delight. Your recipients will be proud to display or keep their certificates, thanks to the professional look and feel. And you’ll have peace of mind that your documents stand out in the best way possible.
If you have any remaining curiosities or you’re ready to pick out a custom seal design, Acorn Sales is always here to help. We’ve spent over six decades perfecting the art of custom seals, combining our expertise with stellar customer service. Before long, you’ll be creating raised impressions that transform ordinary paper into something special. Happy embossing!
Frequently Asked Questions
Do I need a special paper for embossing?
Not necessarily, but using a heavier stock of at least 80 gsm is recommended. Thinner paper can tear or warp more easily. If you’re embossing very thick or textured paper, ensure your embosser is designed to handle it.
Can I emboss colored certificates or glossy finishes?
Absolutely. Embossing works on many surfaces, including glossy paper or parchment-like textures. Just remember that thick coatings might need a bit more pressure for the impression to stand out clearly.
How do I design my custom logo or text for the seal?
Keep it simple, with clean lines and minimal shading. You can use vector-based graphics or high-resolution images. Our team at Acorn Sales can help convert your files into a design that’s embosser-friendly.
What if the raised imprint doesn’t look even?
Make sure the die is clean and that you’re pressing with consistent force. If it still looks uneven, consider testing different paper weights or double-checking that the embosser mechanism is working smoothly.
How long does it take to get a custom embosser made?
At Acorn Sales, we focus on quick turnaround times. Once your artwork is approved, we work to get your custom embosser out the door fast, often within a few business days depending on order volume.
Is an embossing seal a legal form of authenticity?
It can be. For official documents, an embossed seal can help verify authenticity because it’s tougher to replicate. Specific legal requirements vary by jurisdiction, so if you need an official filing or notarization, check your local regulations.








