
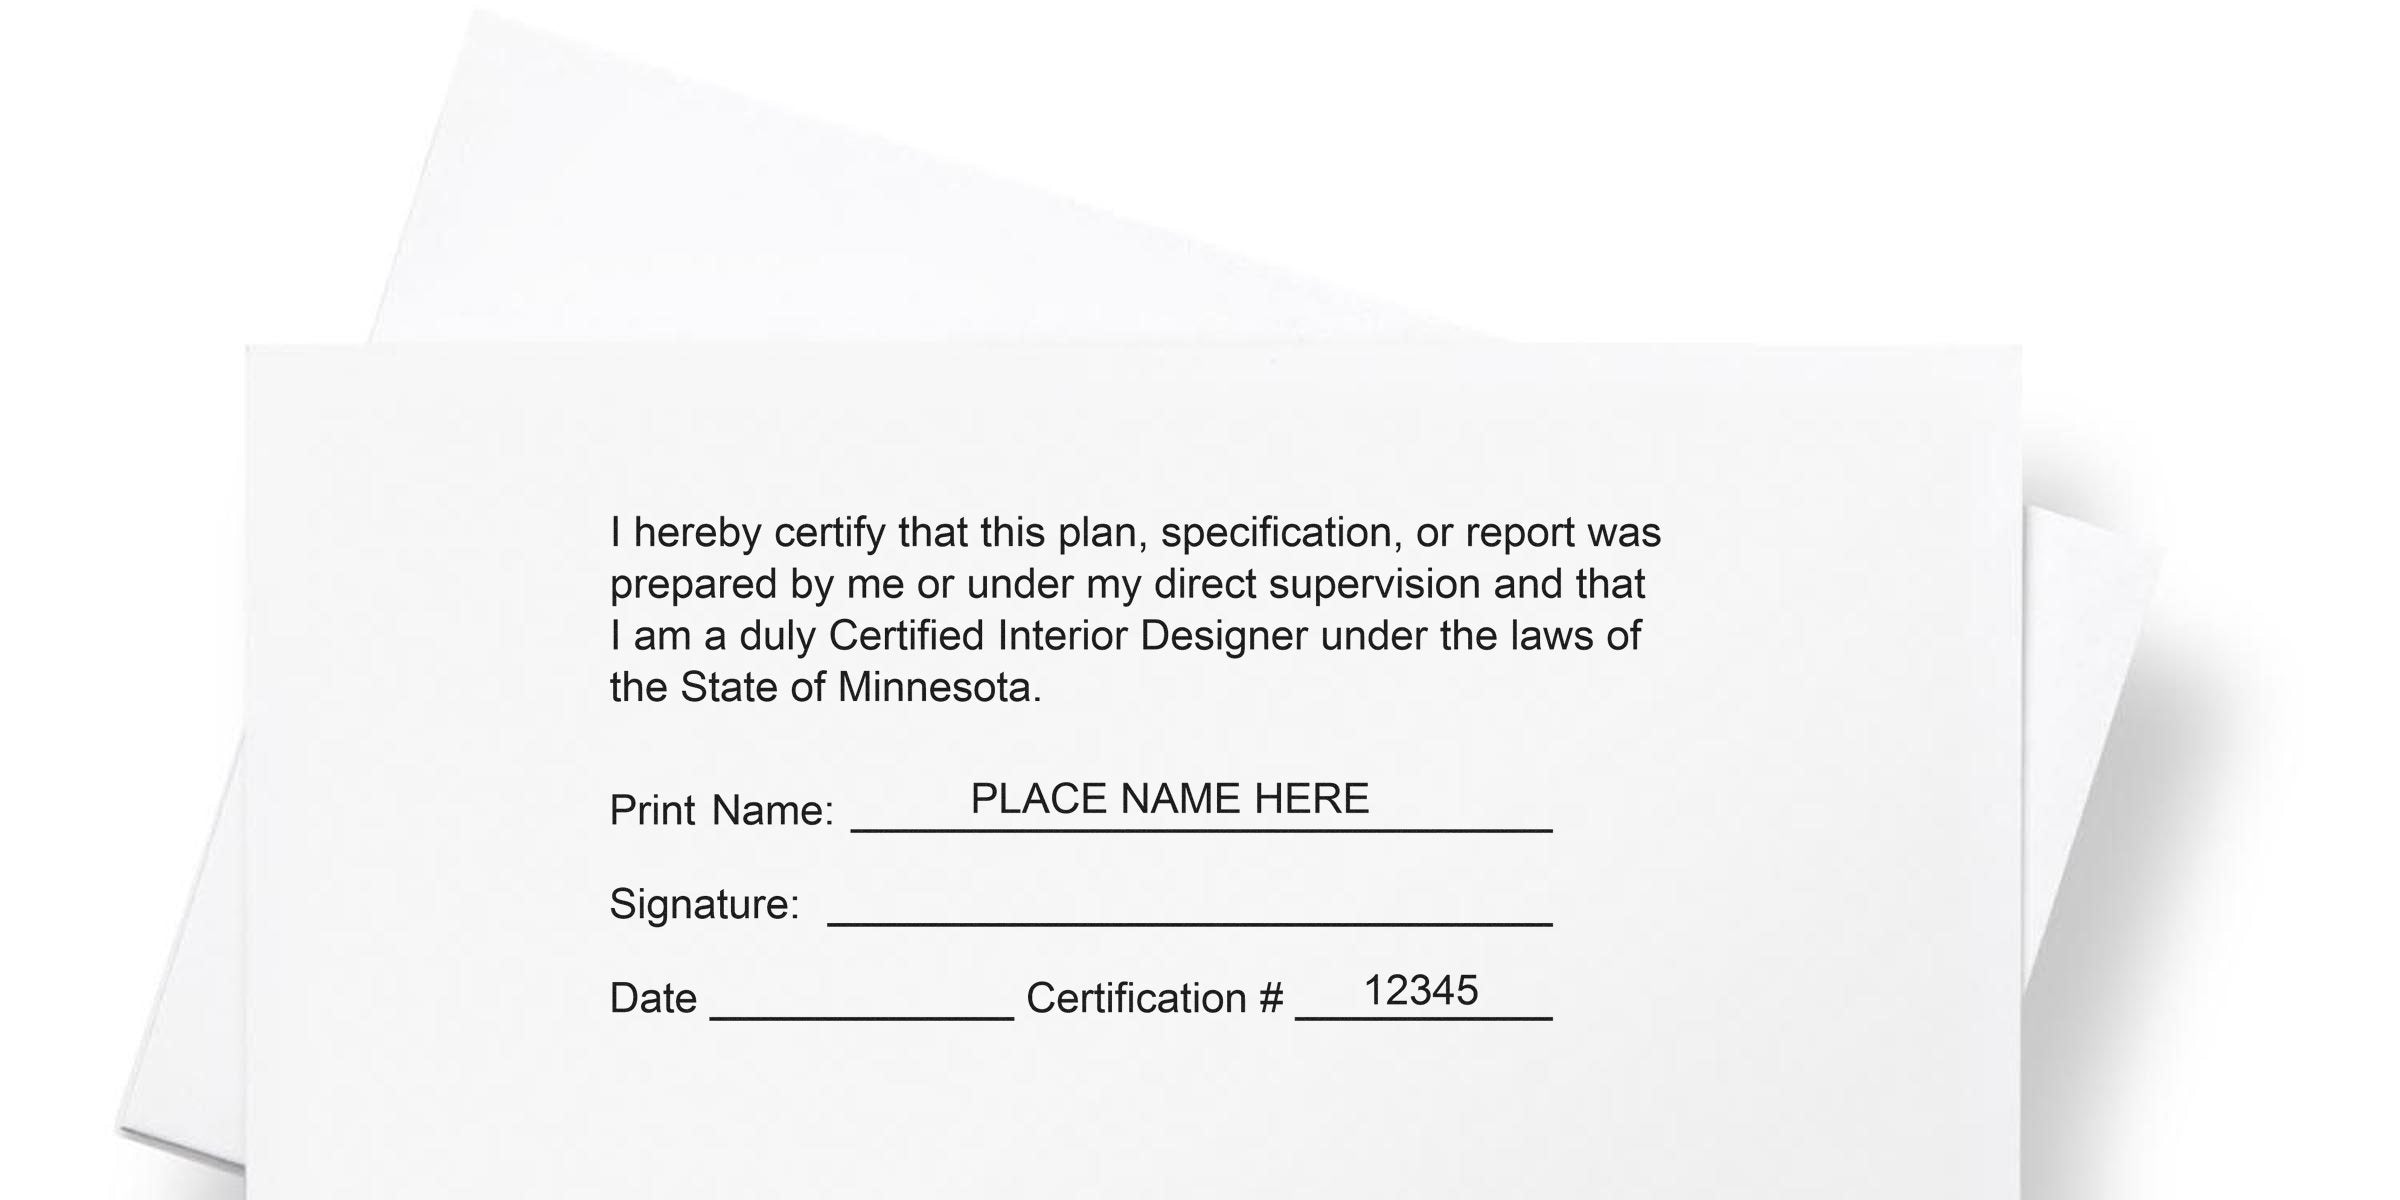
If you are a certified interior designer in Minnesota and you are shopping for an embosser, start with the part most seal pages get wrong. Minnesota does not require you to have a seal. Minn. Stat. § 326.12, subd. 2 says you may have one. What the statute does attach to your documents is a certification block, and an embosser is something you add because you want the page to look finished. This post covers what Minnesota actually asks for, what an embosser does well, how to choose between the two main formats, and how to press a clean impression.
What Minnesota Asks Of A Certified Interior Designer
Minnesota certifies interior designers through the Minnesota Board of Architecture, Engineering, Land Surveying, Landscape Architecture, Geoscience, and Interior Design. The credential is a certification rather than a license, and that distinction runs all the way down to the wording you are allowed to put on a mark.
Under Minn. Stat. § 326.12, subd. 3, the certification travels with the document. Plans, drawings, specifications, reports and other documents prepared under Minn. Stat. §§ 326.02 to 326.15 that call for a signature carry the prescribed interior designer certification sentence, your signature, your typed or printed name, the date, and your certificate number, labeled Cert. No. Those elements sit together as a block. No seal is prescribed anywhere in that arrangement.
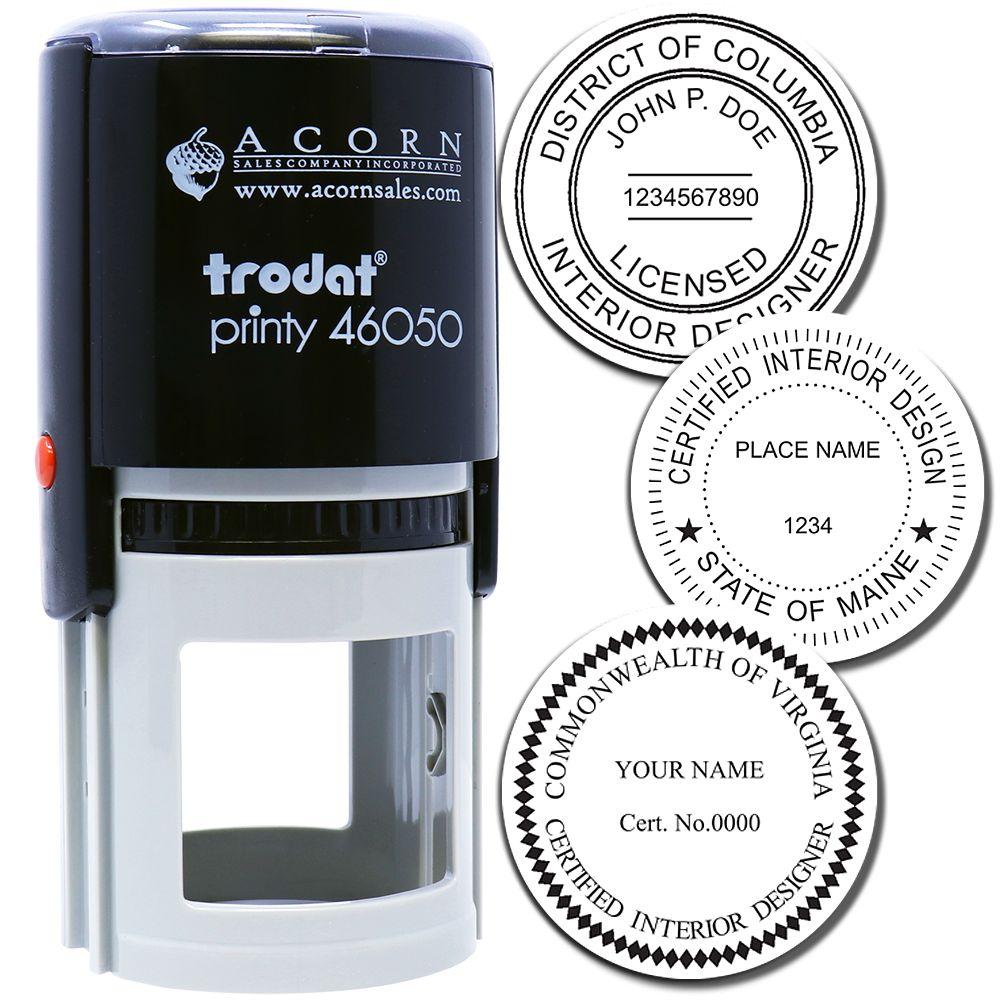
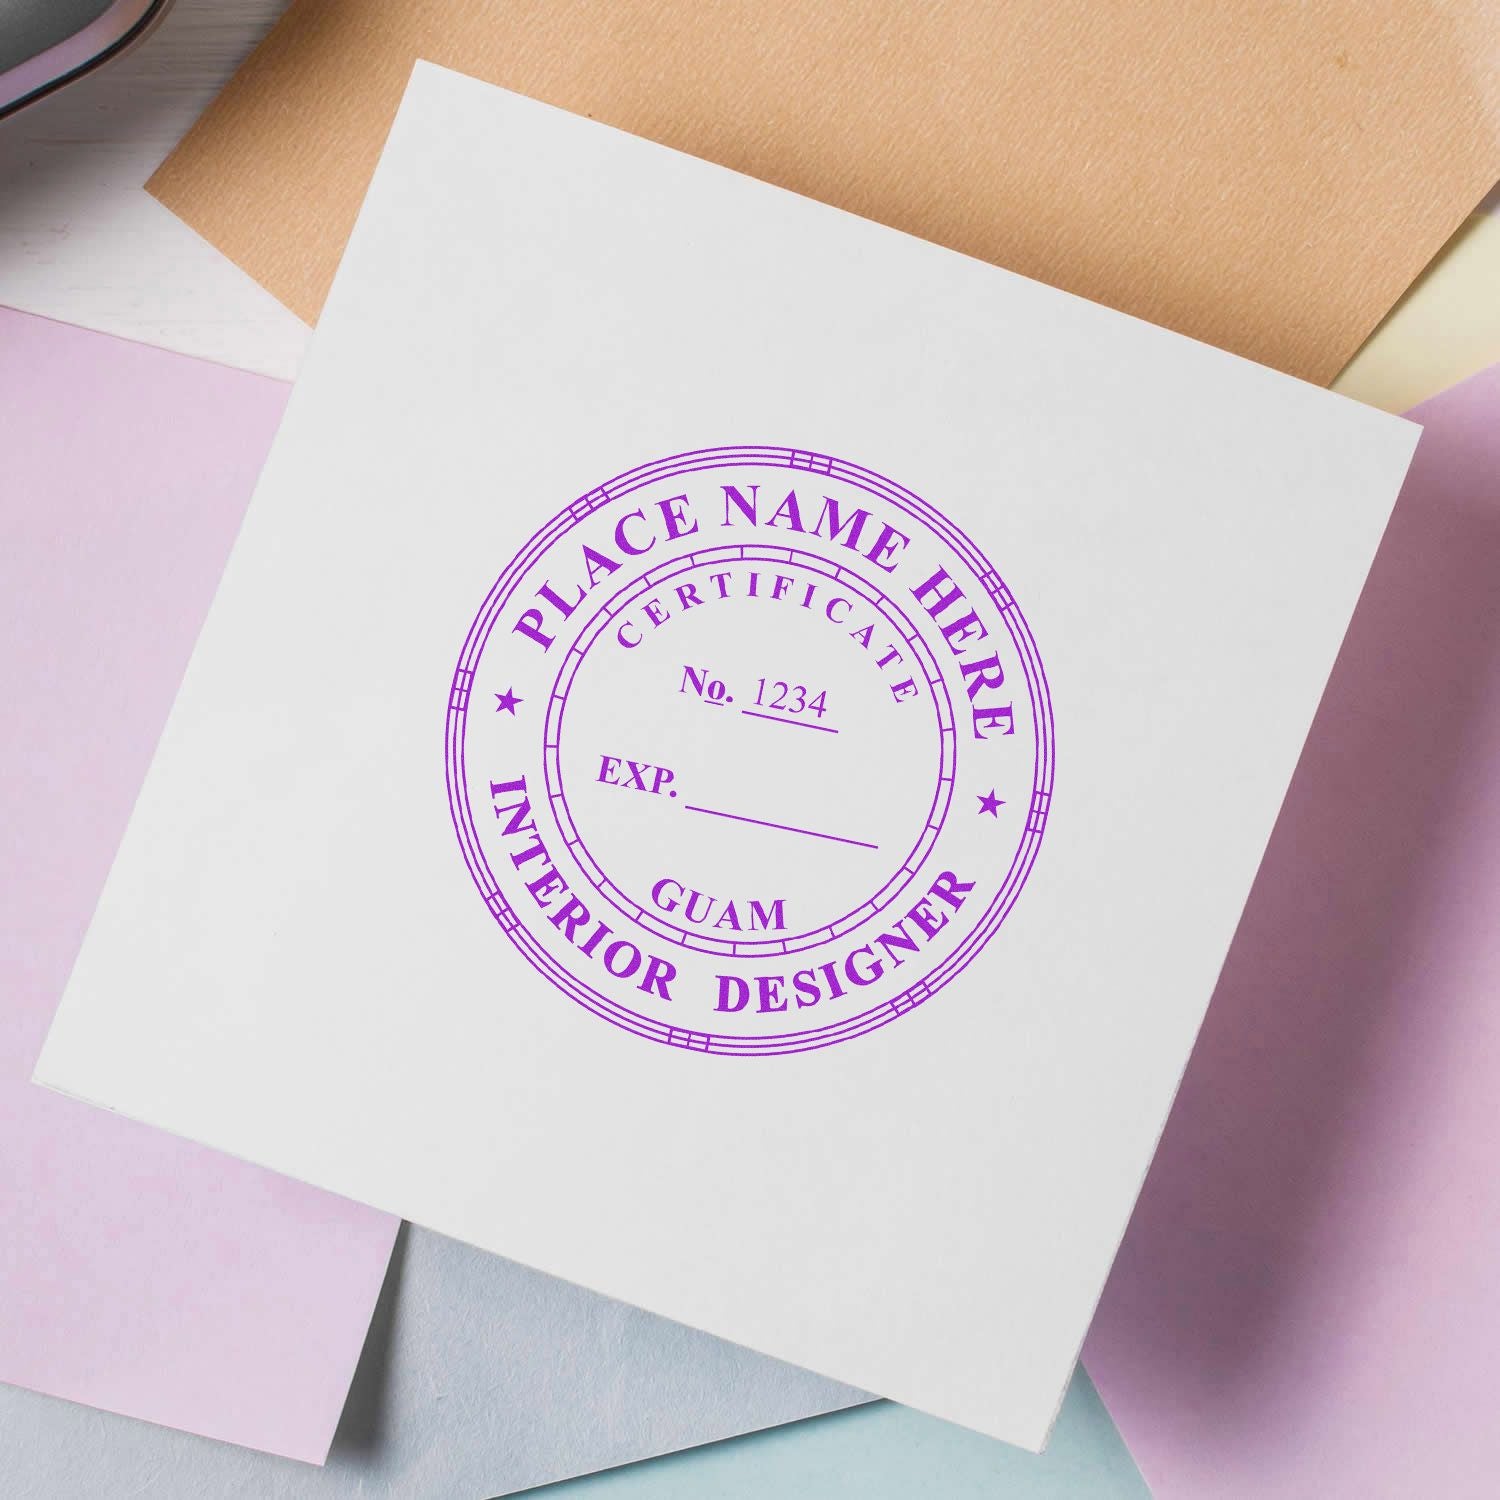
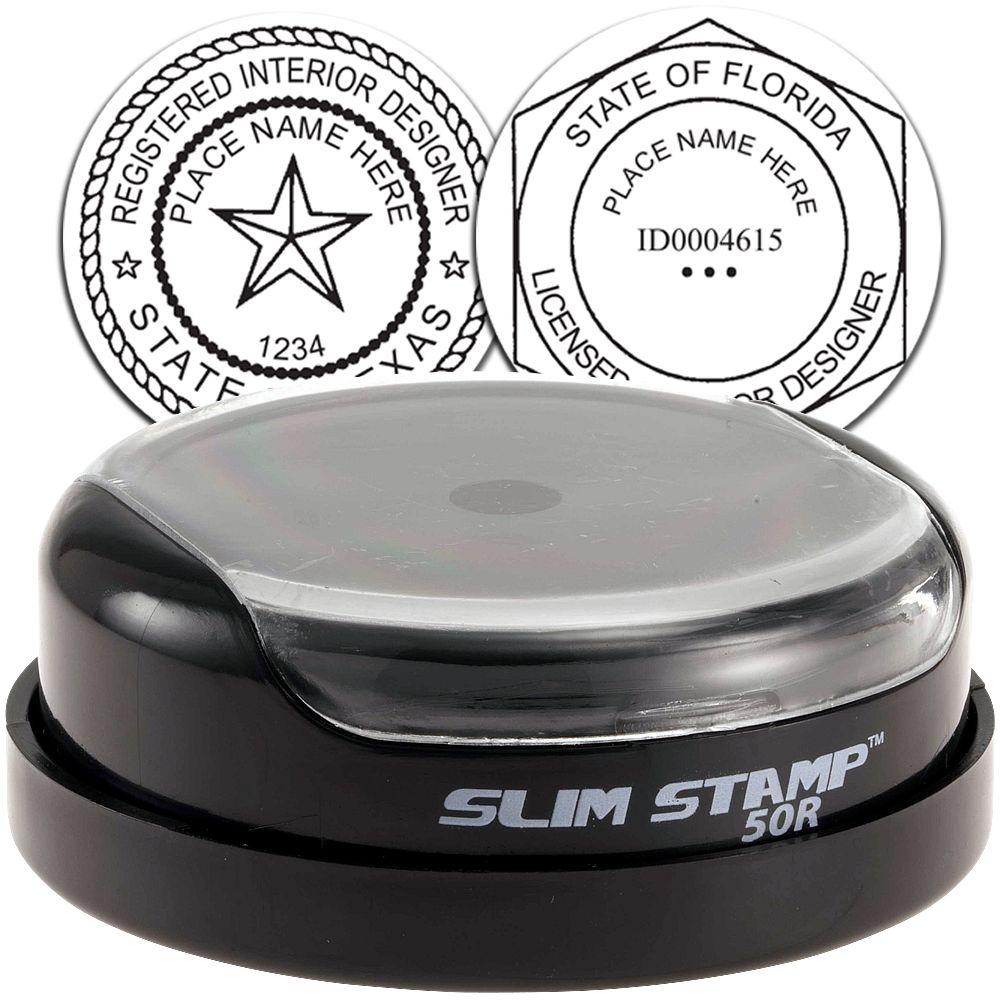
If you do choose to have a seal, Minn. Stat. § 326.12, subd. 2 and Minn. R. 1800.4300 describe what it bears: your name and the legend certified interior designer. Seven credentials sit under the same pair of board rules, and the certified interior designer is the only one whose legend and number label leave out the word licensed. A die reading Licensed Interior Designer, State of Minnesota describes a credential Minnesota does not issue, which is worth catching on the proof rather than after a hundred impressions.
For the statutory text, the exact certification sentence and the citations behind all of it, read Minnesota Certified Interior Designer Seal Rules. Minn. R. 1800.4200, subp. 1 also permits the certification and signature to be electronic, facsimile or digital, using the definition in Minnesota Statutes, section 325L.02, paragraph (h). No technology, certificate authority or tamper evidence test is named there, so digital delivery comes down to what the receiving office accepts.
A short checklist for anyone about to order:
- Spell your name on the die exactly as you sign it.
- Use the legend certified interior designer, not licensed interior designer.
- Label the number Cert. No. if you put it on the mark at all.
- Keep the impression clear of linework and text the reader needs.
Many designers end up with both devices, an ink stamp for everyday sets and an embosser for the copies a client keeps.
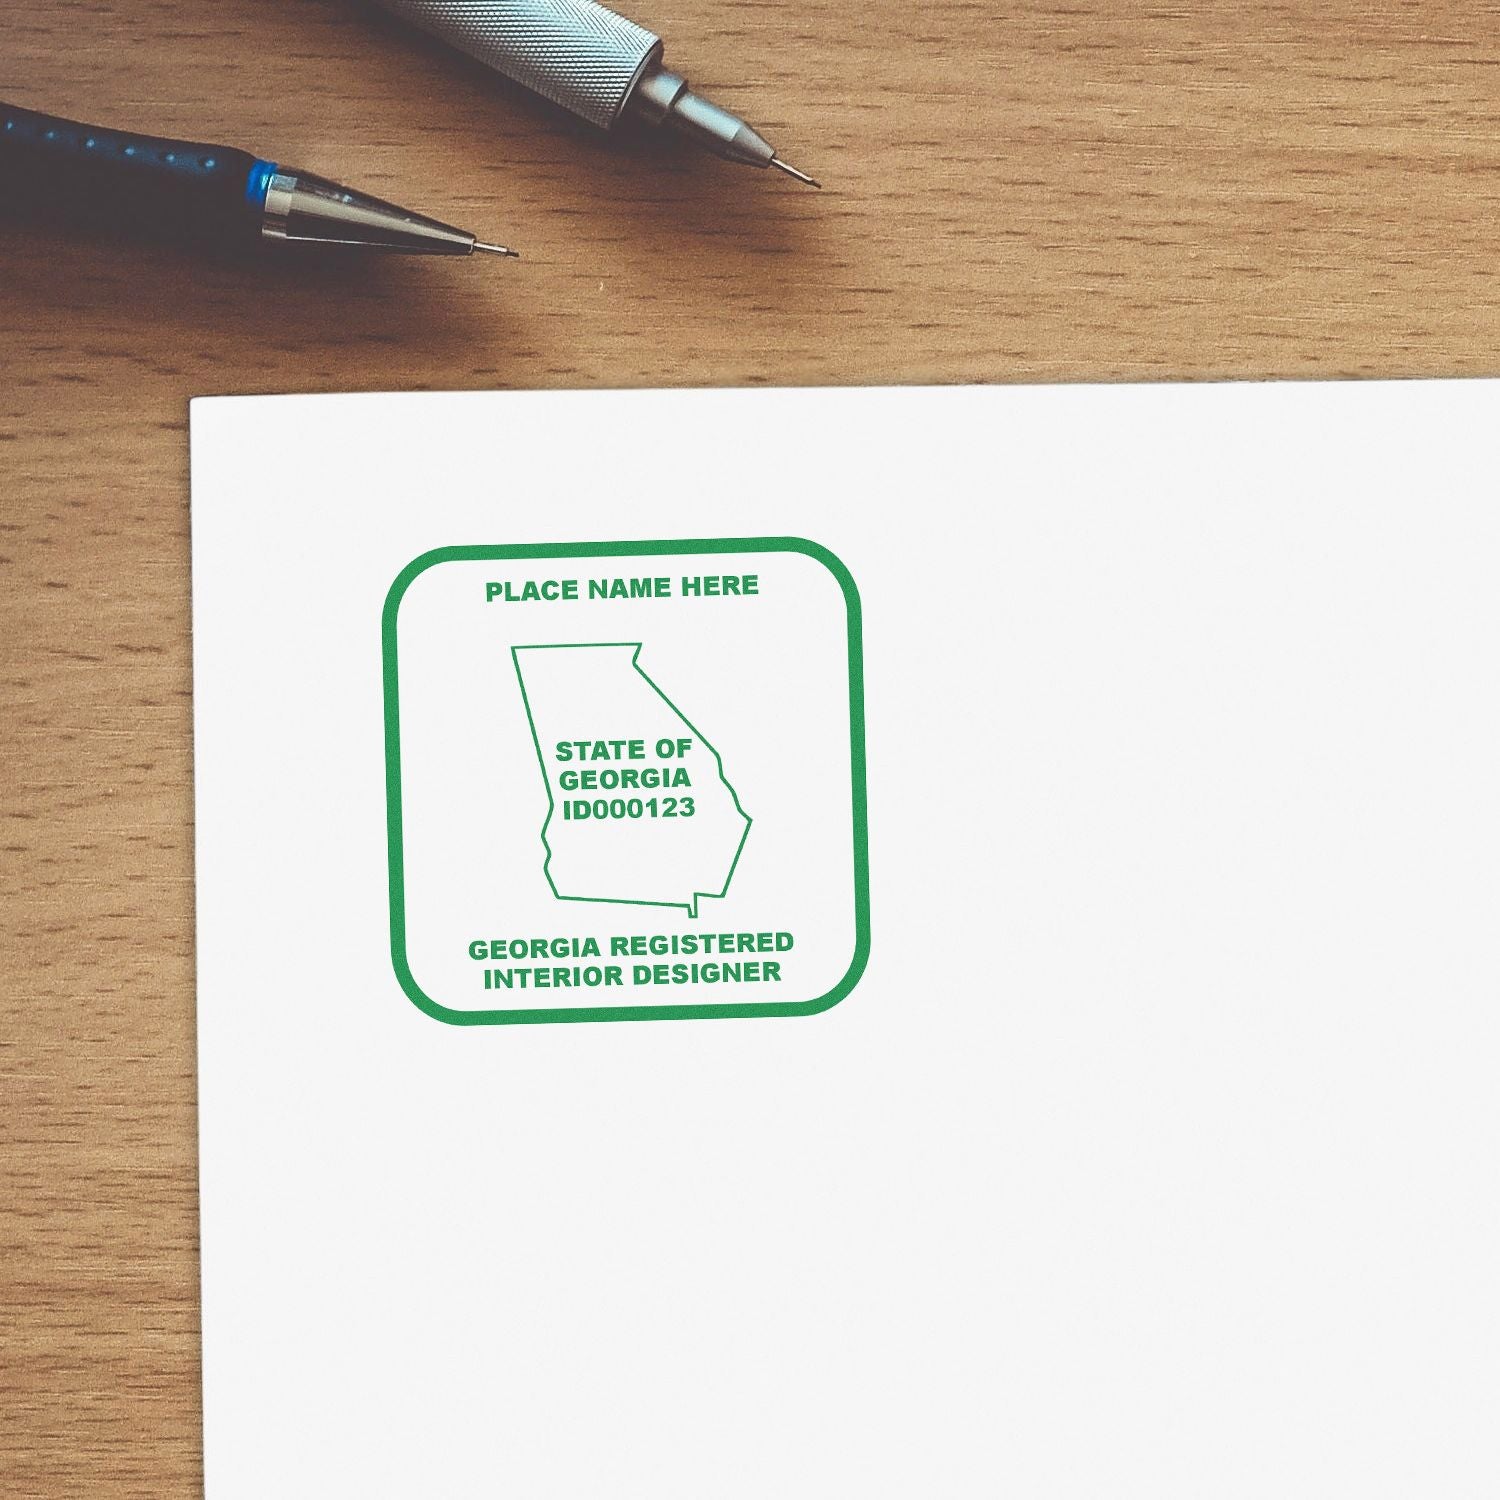
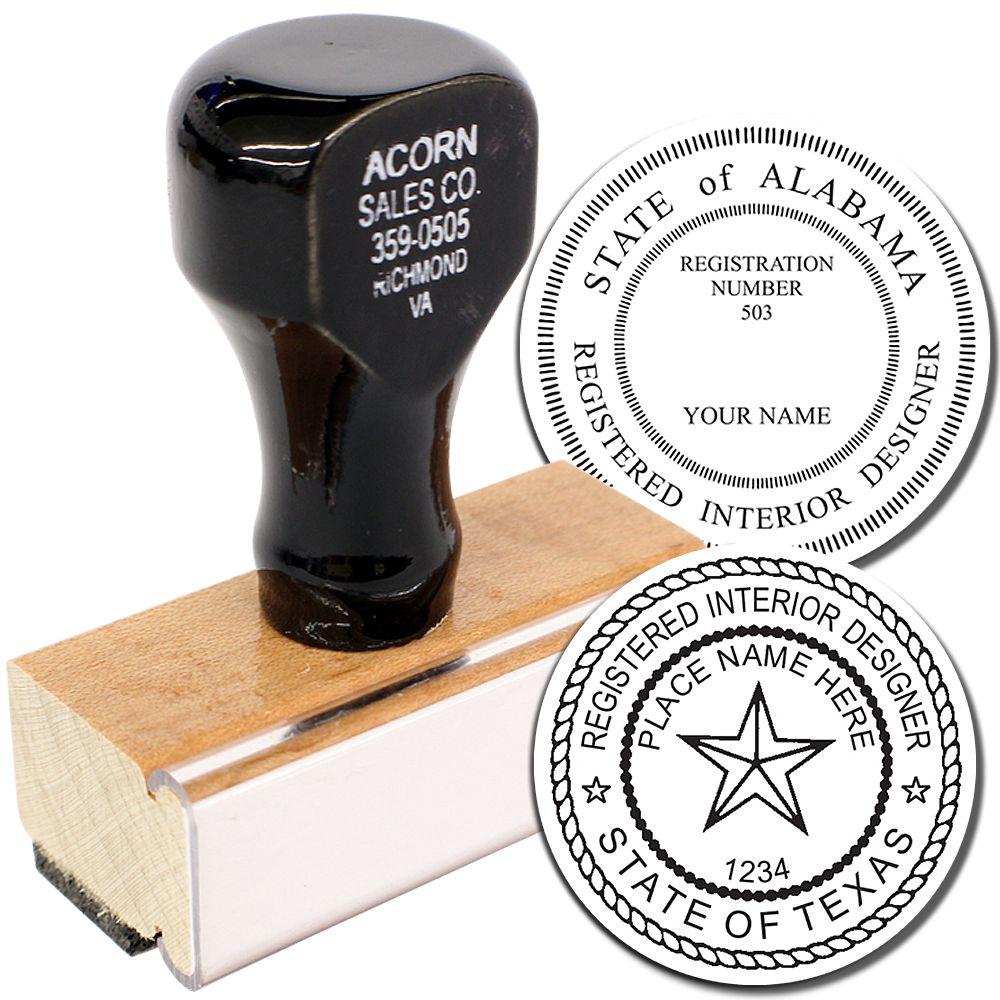

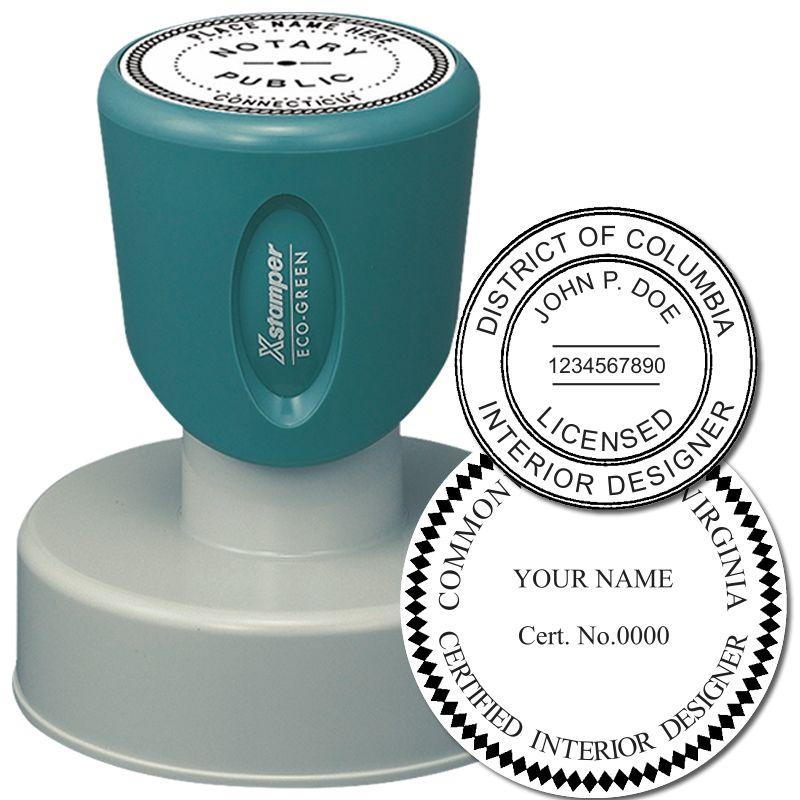

Understand The Role Of The Embosser
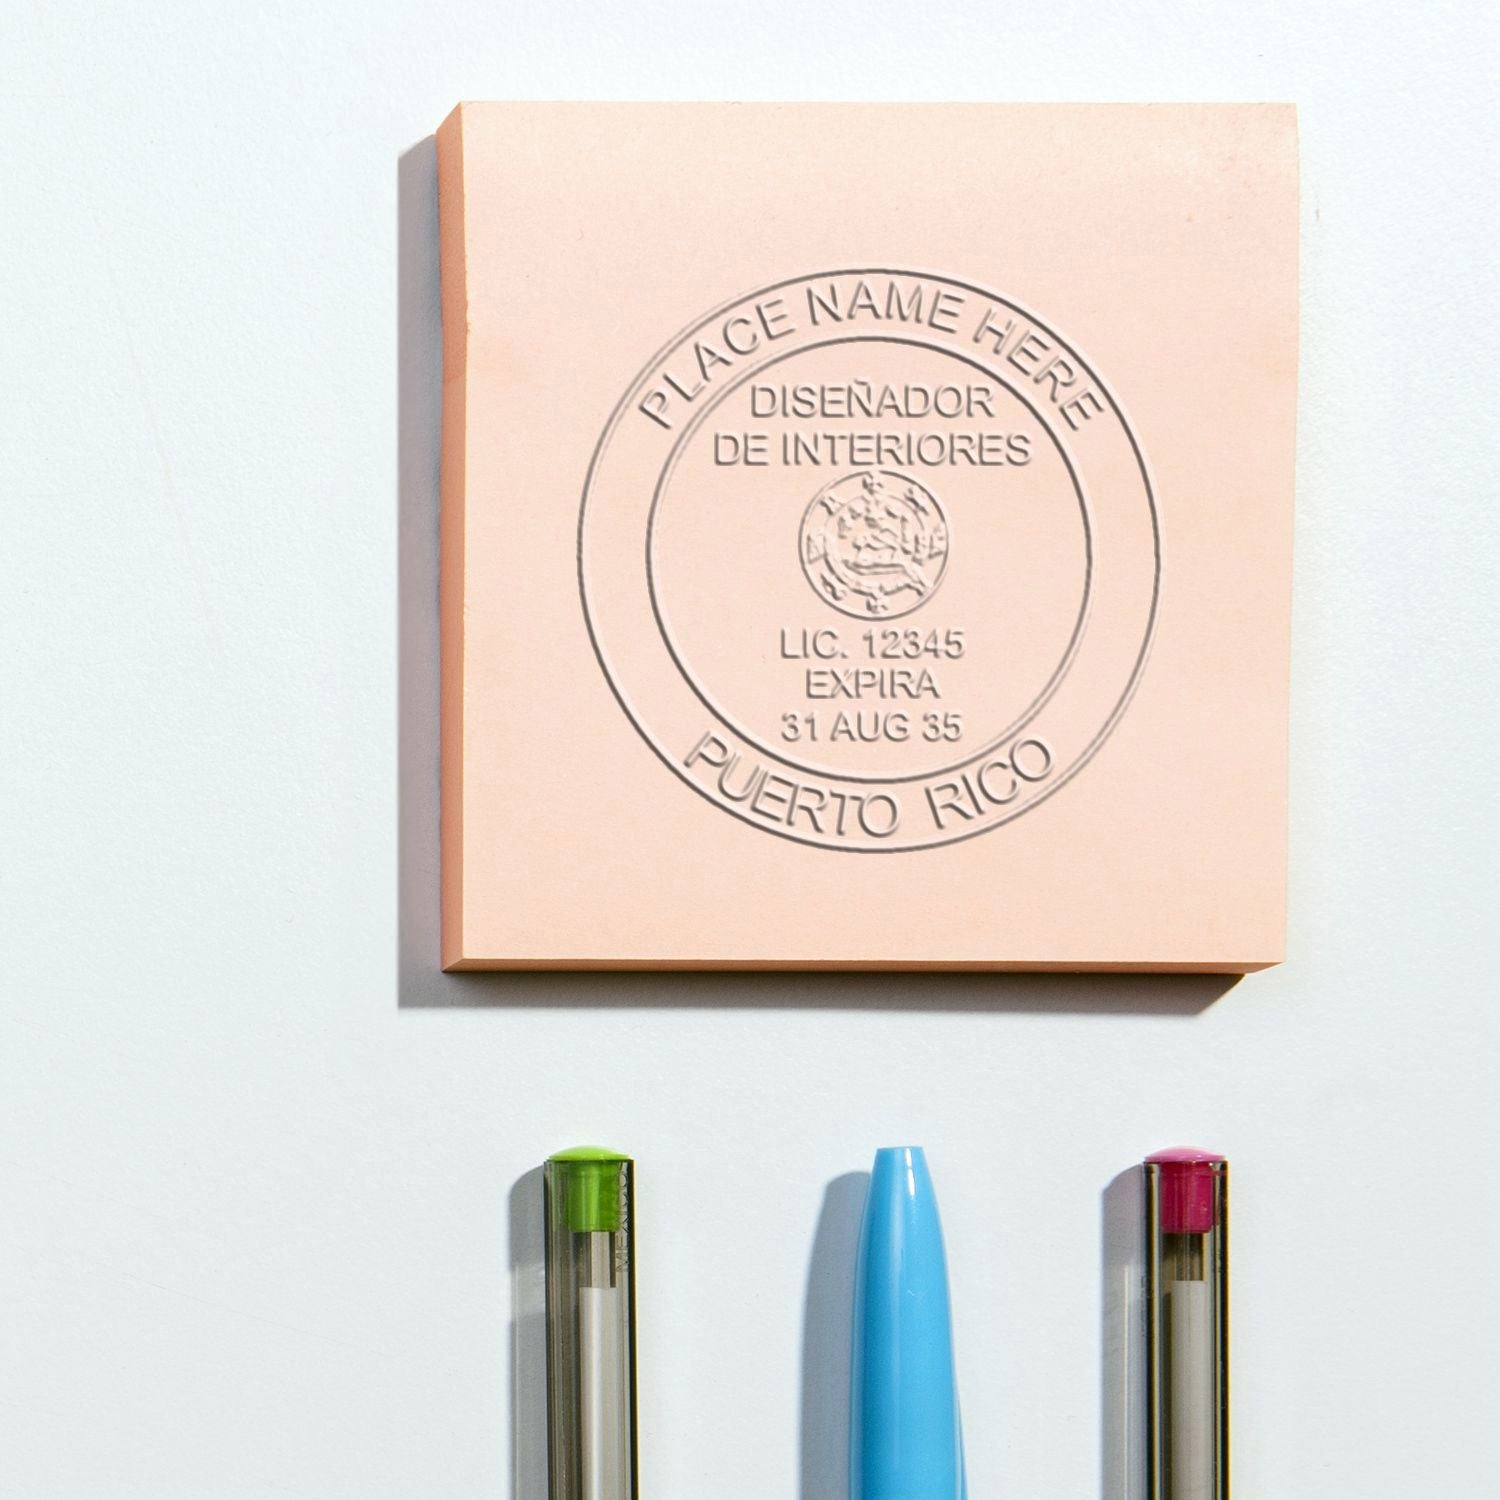
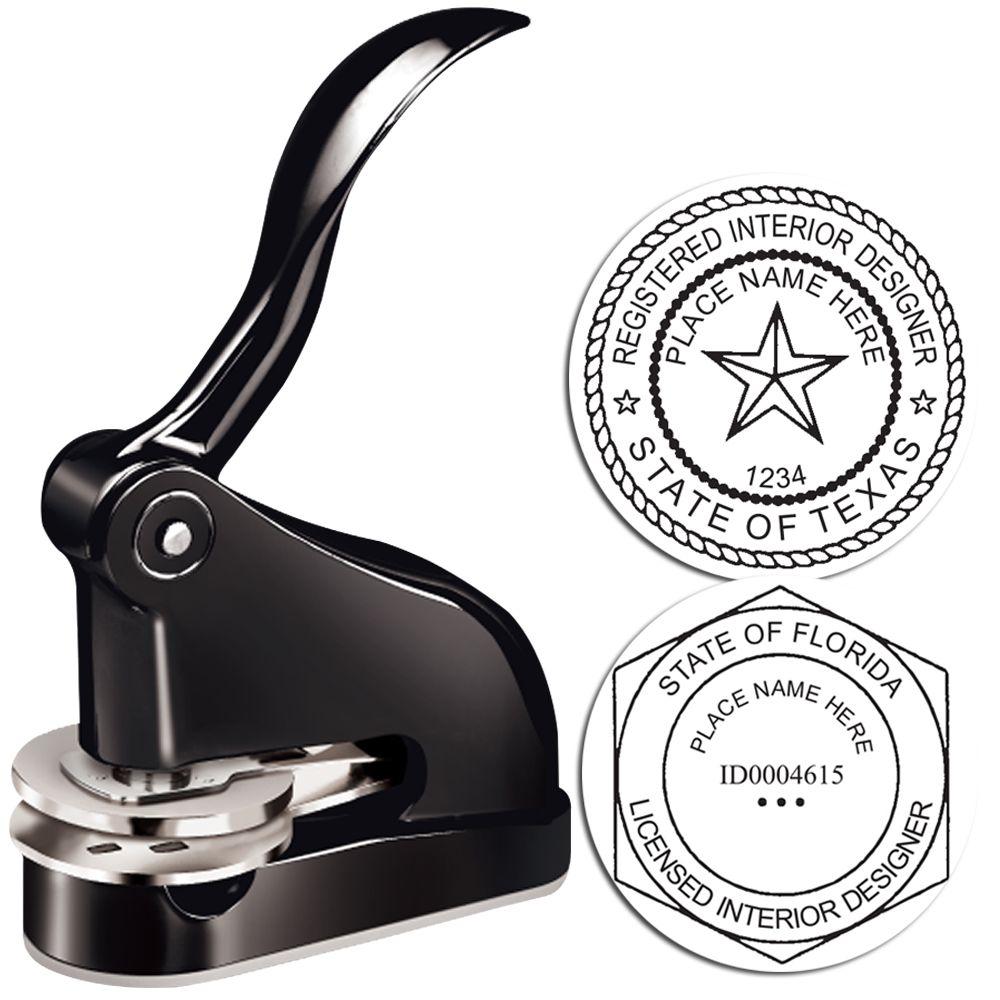
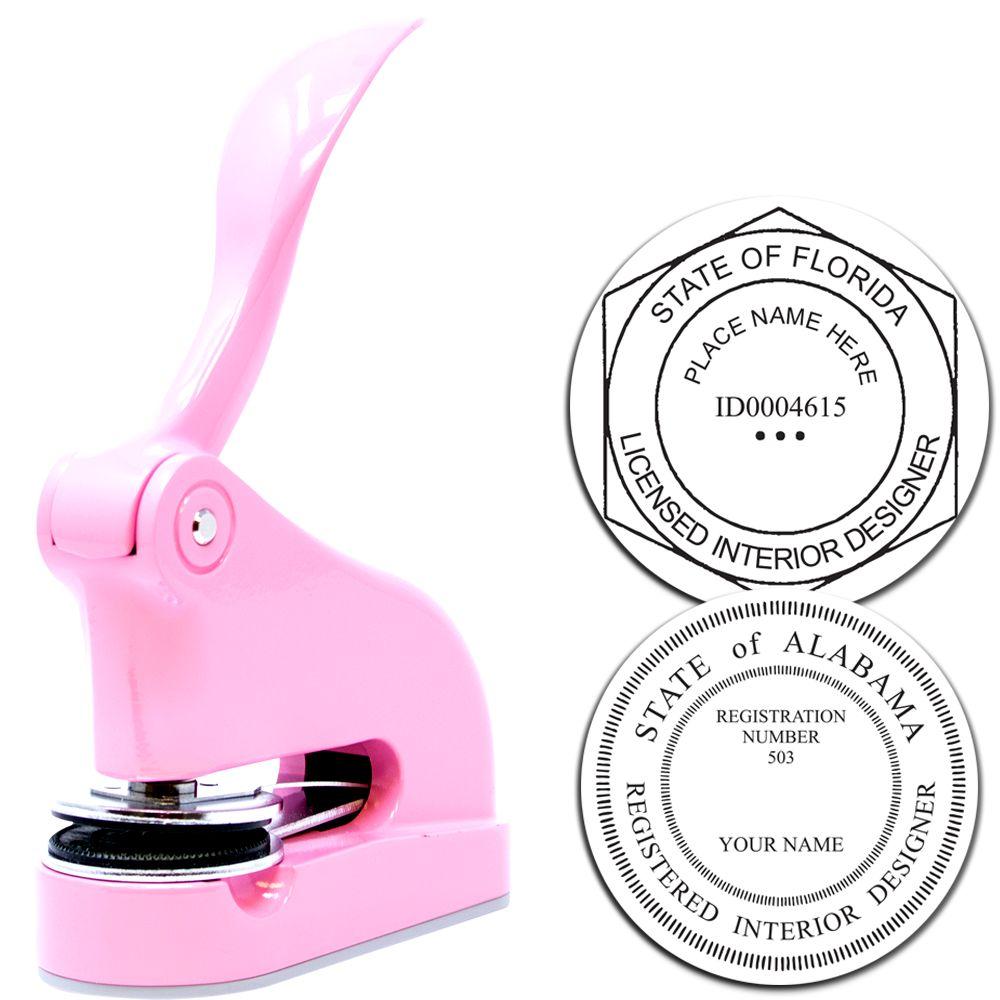
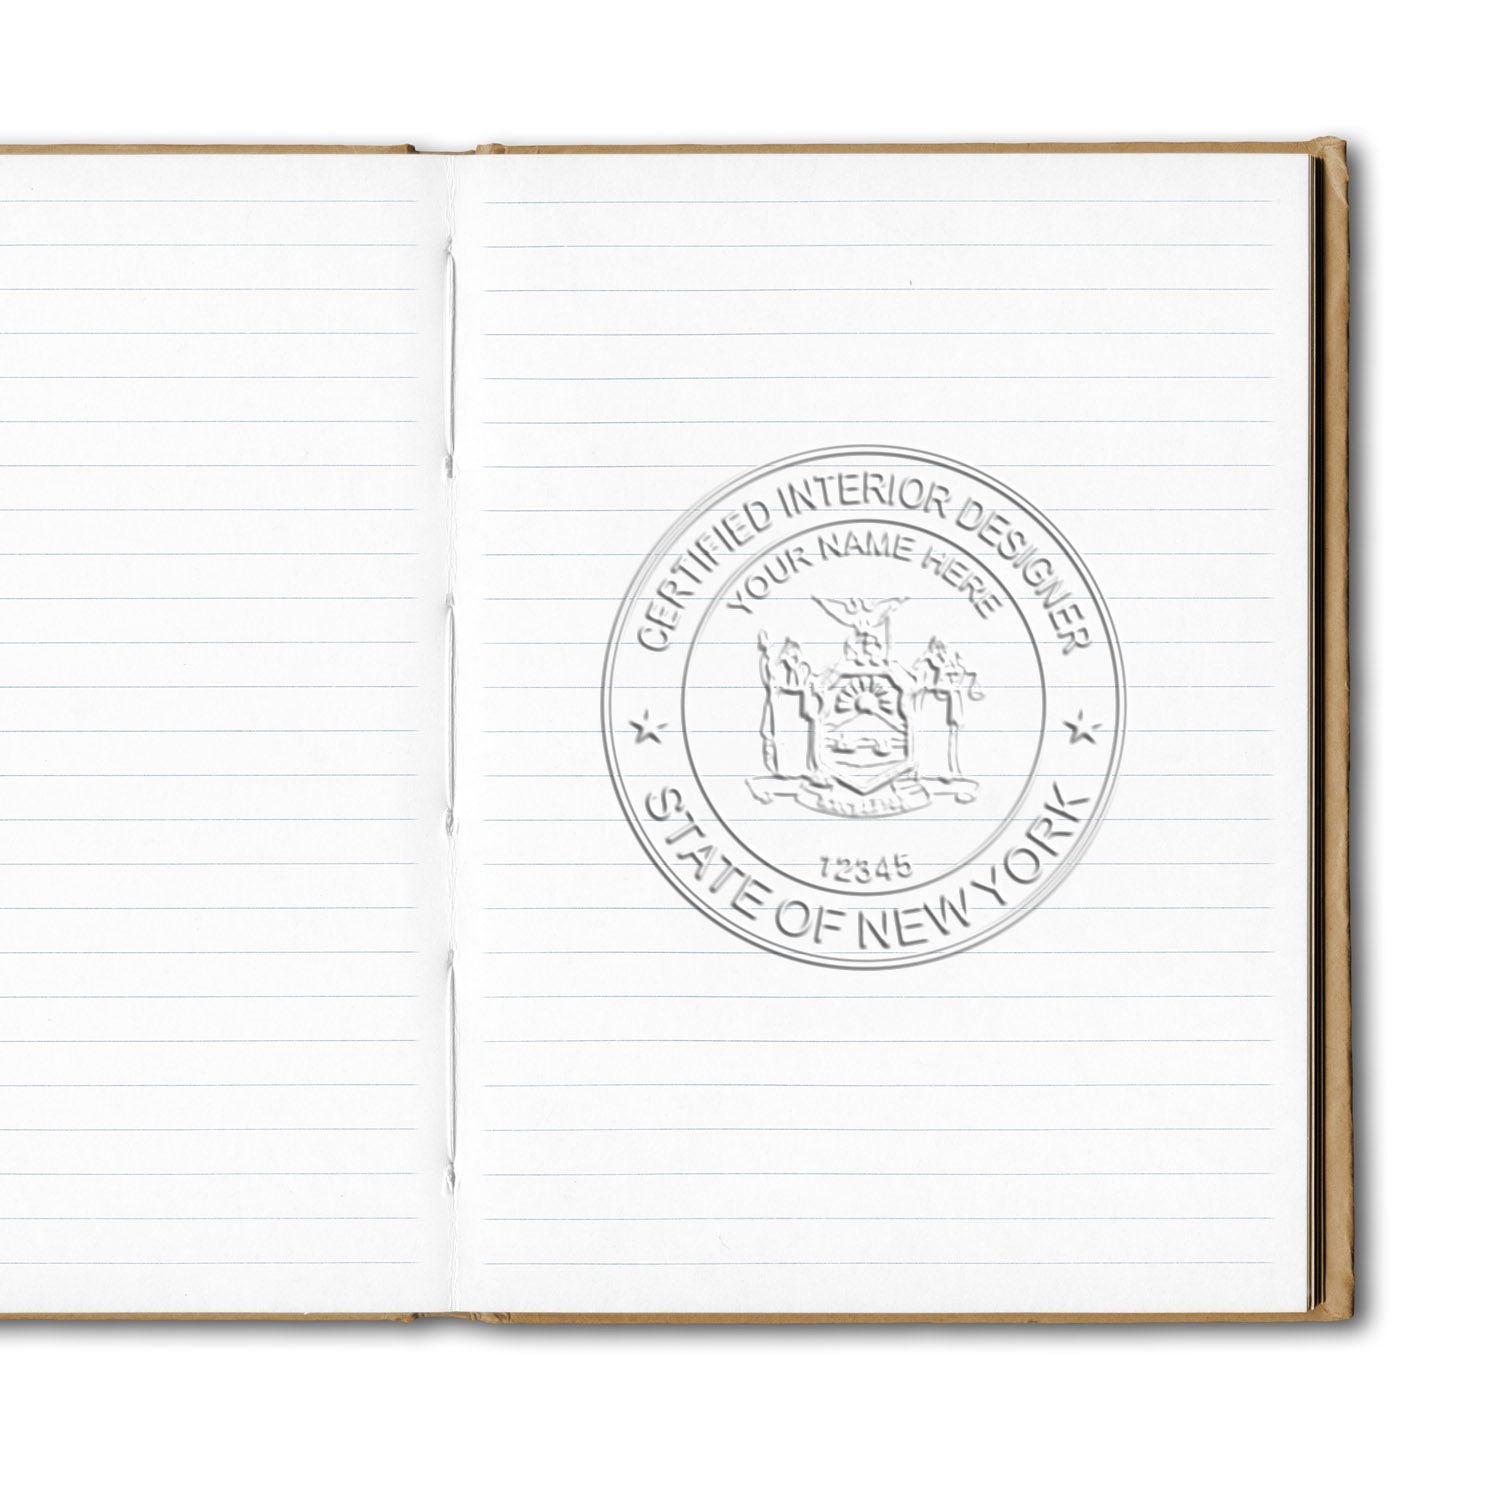
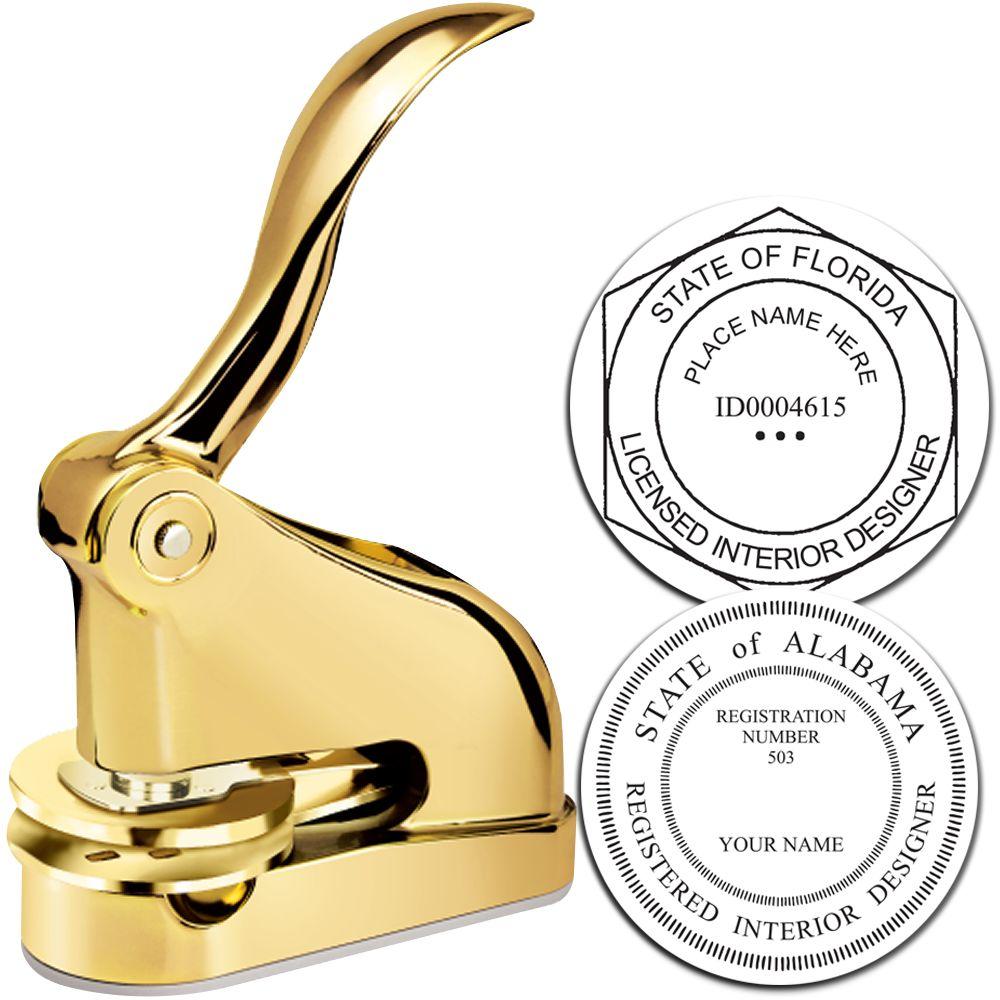
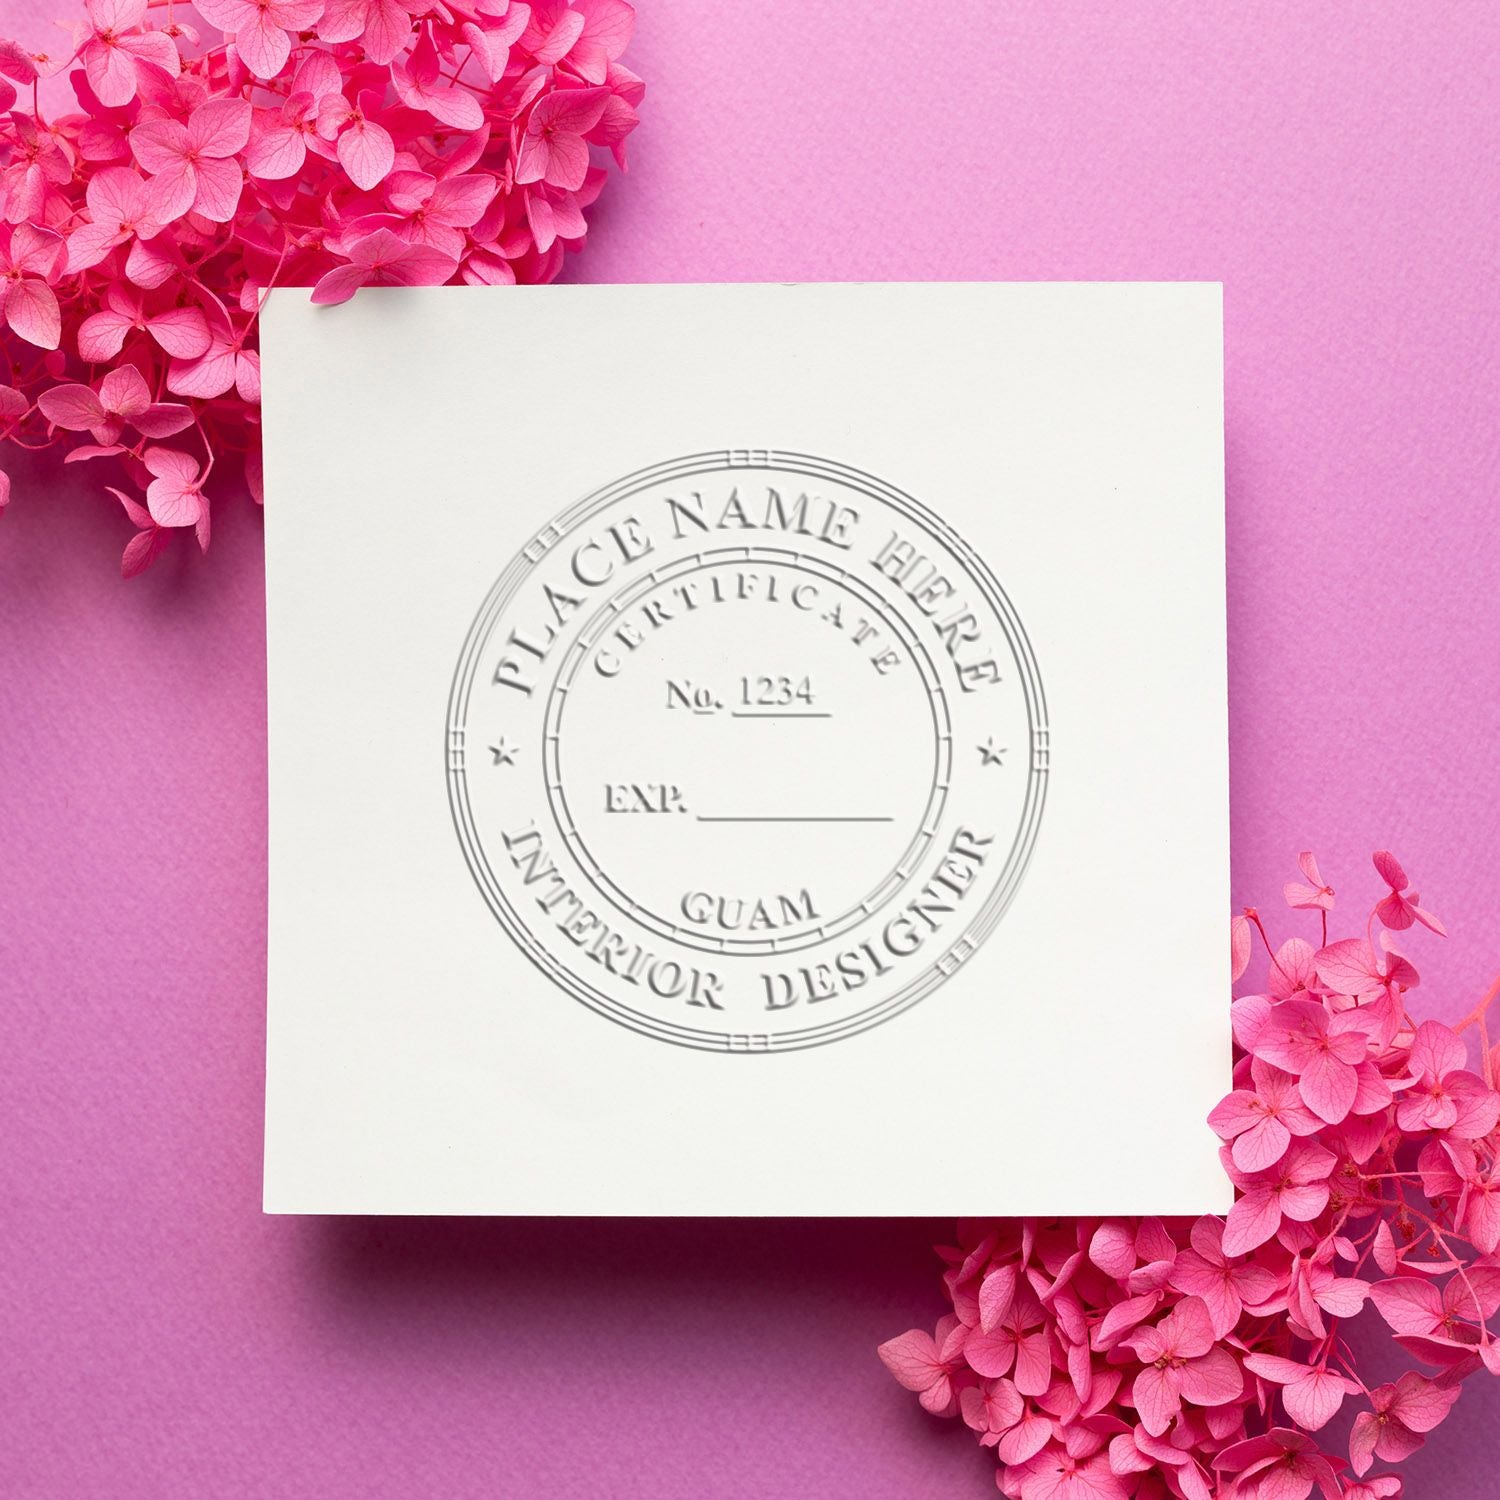
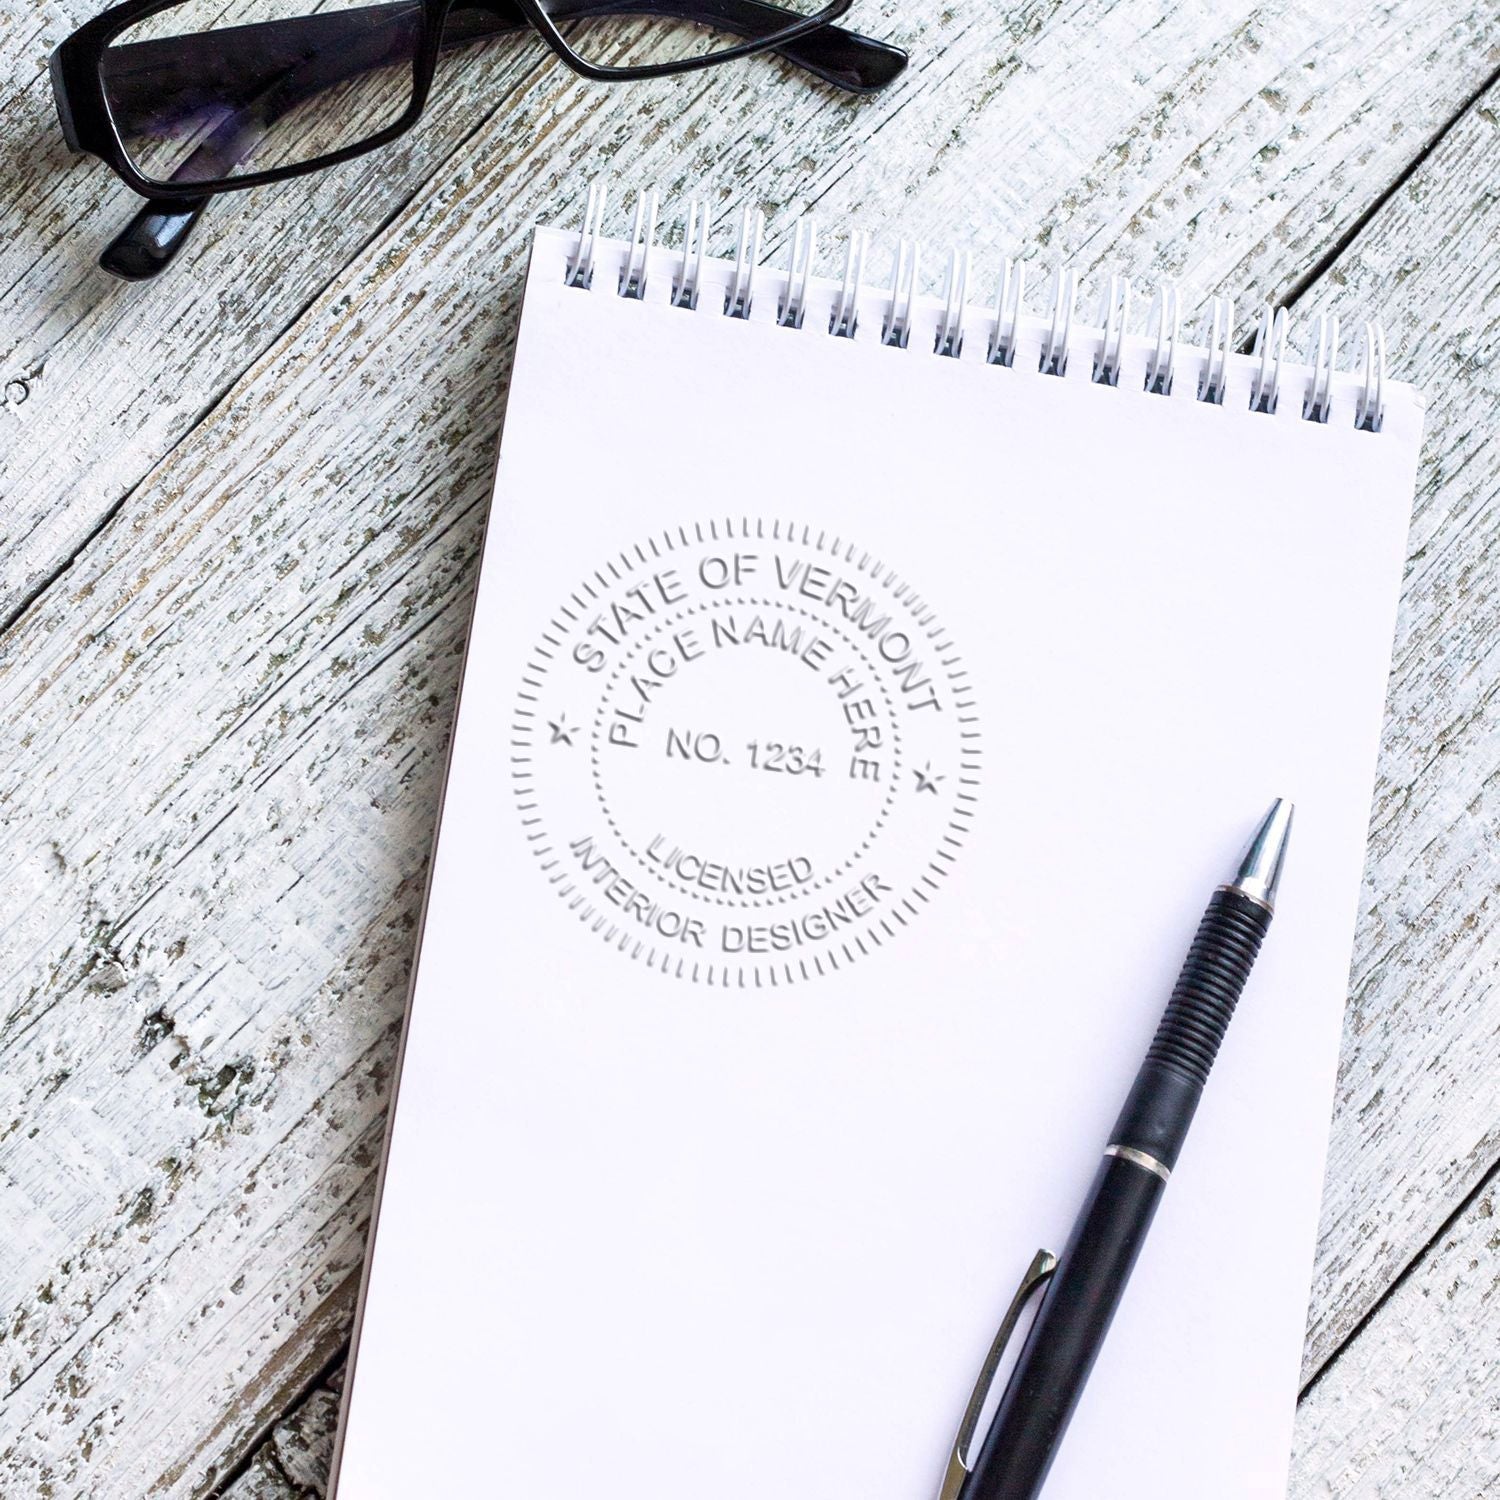
An embosser uses a metal die and counterdie to press a raised impression into paper. There is no ink. The mark is formed in the sheet itself, which is why it reads as formal on a cover page, a proposal or a signed original that someone will file.
What it gives you, in plain terms:
- A raised impression that is harder to copy convincingly than an inked one.
- A polished look on presentation sets and client copies.
- A mark that does not fade the way ink can in light or damp storage.
The trade off is reproduction. A raised impression largely disappears on a photocopy or a scan, so an embosser suits originals rather than document sets that get duplicated and forwarded. That is the practical reason designers who own one also keep an inked device, and it has nothing to do with any Minnesota rule, since the state prescribes neither.
Choose The Right Tool
Shopping for an embosser means choosing between shapes, sizes and handle types. Three things decide it: how many sheets you press, where you press them, and what paper you use.
Here is how the two main formats compare:

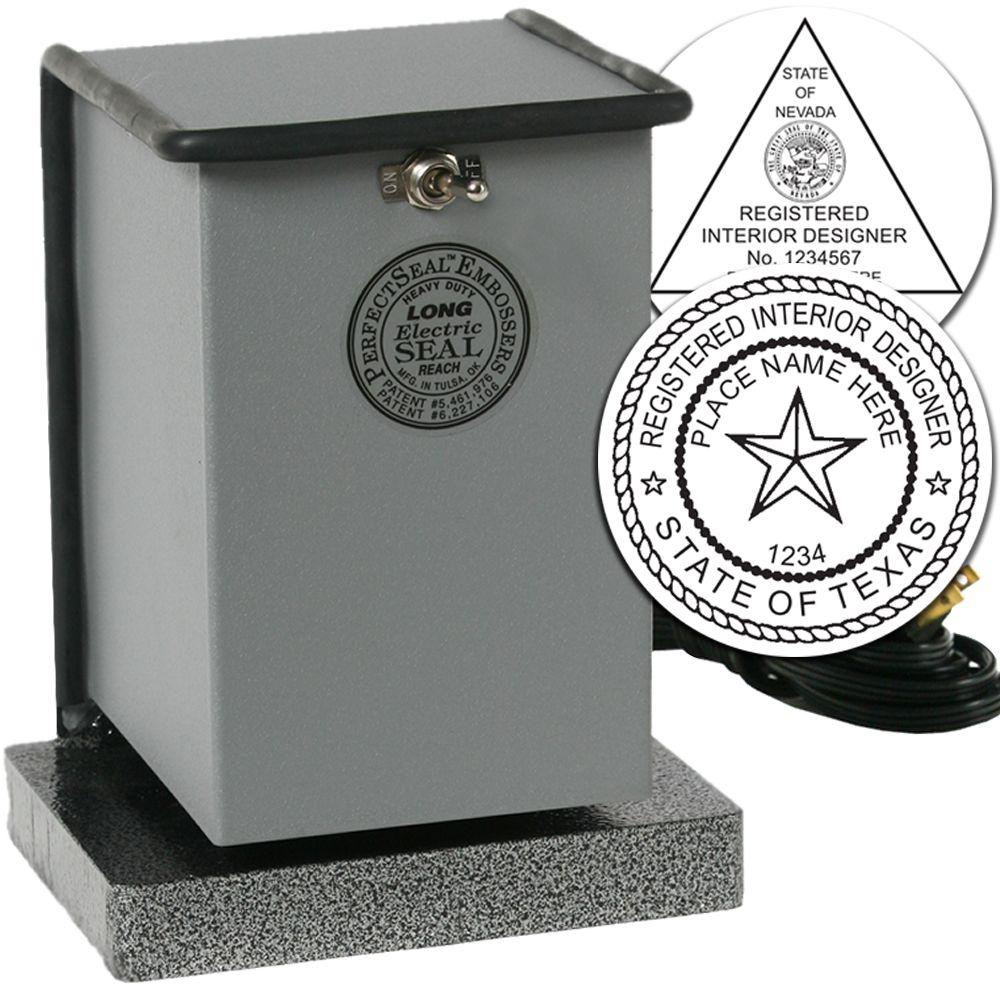

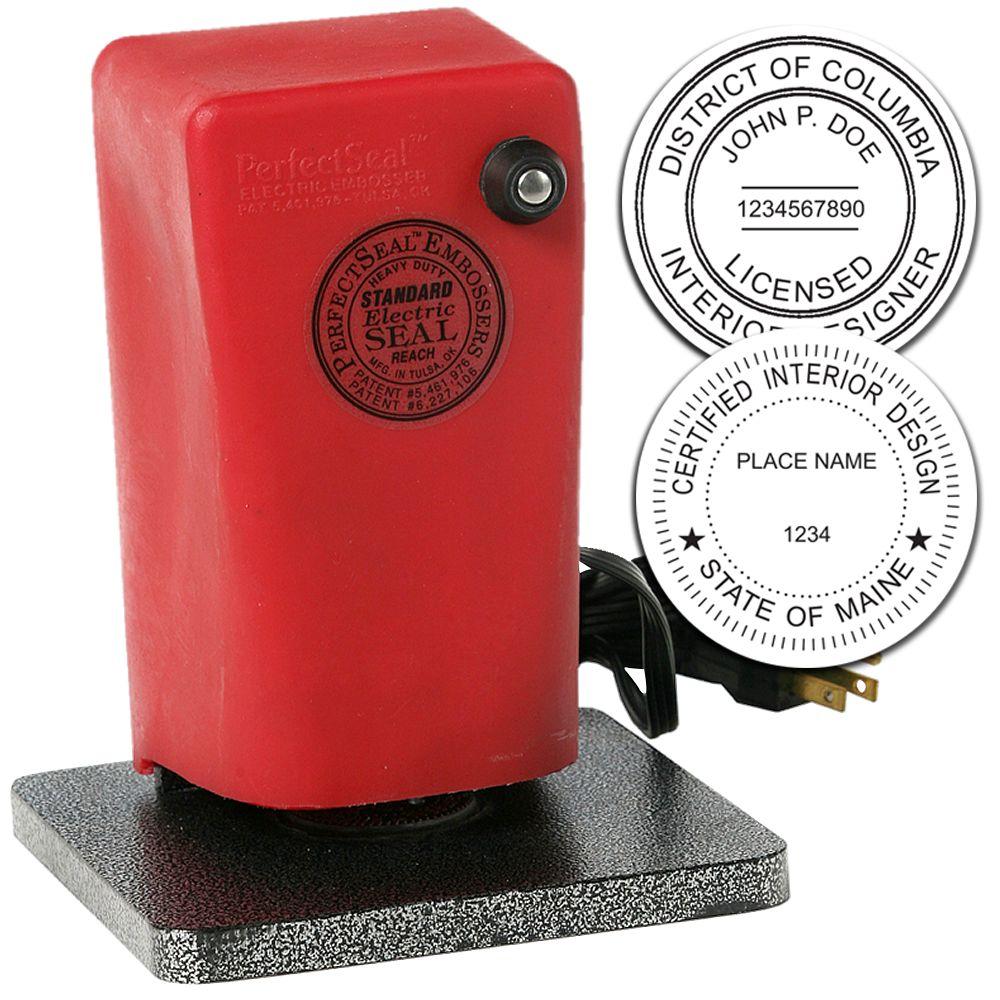

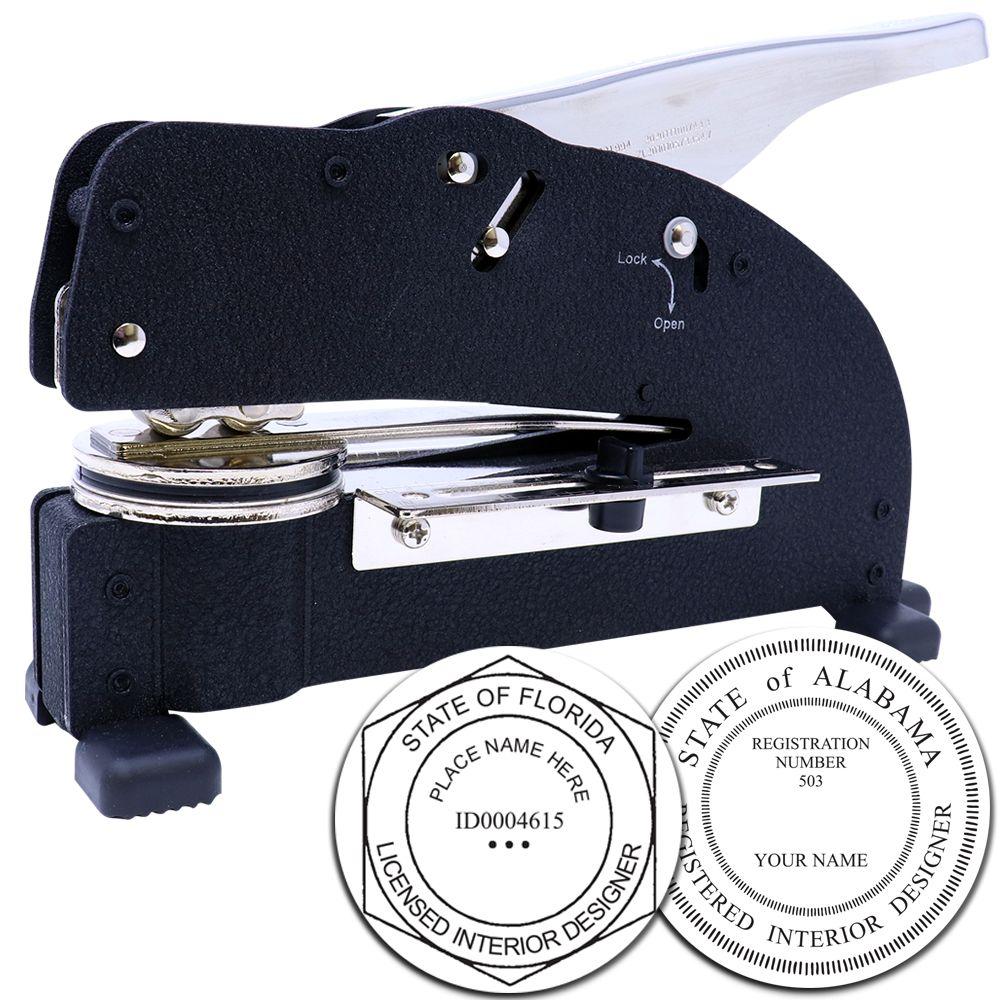
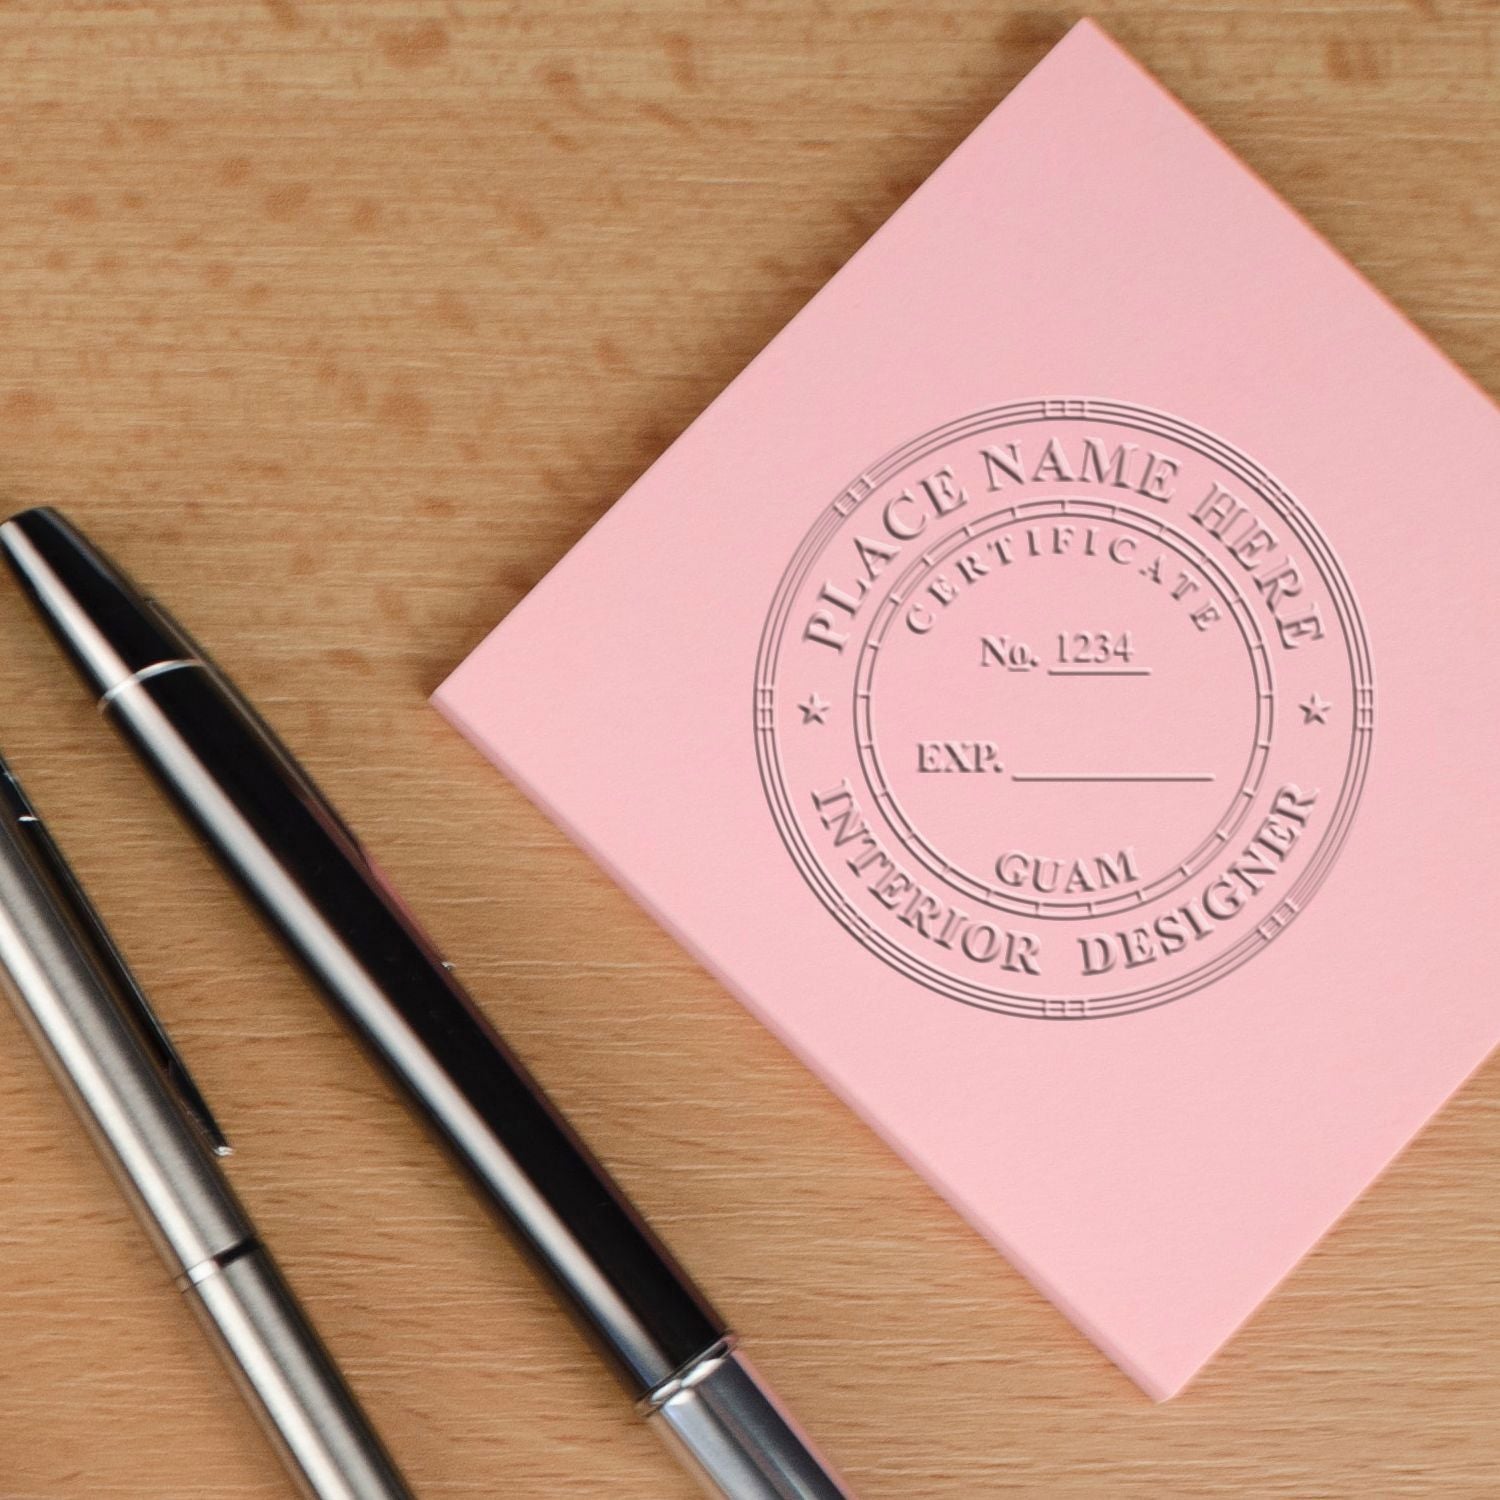
| Feature | Desktop Embosser | Handheld Embosser |
|---|---|---|
| Size | Bulkier, suited to stationary use | Compact, easy to carry |
| Effort Level | Less hand pressure needed, good for frequent or heavy use | Takes more force, convenient for occasional use on site |
| Document Positioning | Clear workspace and steadier alignment across multiple pages | Trickier alignment, less stable on large sheets or thick stock |
| Look | Often decorative, sits well on a desk | Simple design, quick to use anywhere |
A desktop embosser earns its space if you press a lot of sheets or work with heavier stock. A handheld model works nicely at lower volume or when the device travels with you. Think about your usual week, your client presentations, and where the mark actually gets applied, then pick the format that matches. You can always add a second device later.
Beyond format, look at:
- Construction. Steel mechanisms or sturdy aluminum frames hold alignment over years of use.
- Ergonomics. If you press many sheets in a sitting, a comfortable handle saves your hand.
- Paper range. Some models struggle with thick cardstock or stacked pages.
- Die detail. Small text needs a well cut die to stay readable once it is raised.
Press A Clean Impression
Using an embosser looks simple. Slide the paper in, squeeze, done. A few habits are what separate a crisp mark from a half formed one.
-
Position the paper deliberately. Put the impression where a reader will see it and where it does not collide with linework or text. A soft sheet underneath helps balance the page for an even press.
-
Use consistent pressure. Too light gives you a partial impression, too hard can tear the sheet. Run a few tests on scrap and find the point where the whole design comes up raised with clean edges.
-
Check the orientation. Some models mark from the top edge of the page, others clamp from the bottom. Confirm which yours does before the first real sheet, since an upside down impression is the classic first day mistake.
-
Stay organized. On multi page sets, flag the sheets that need an impression before you start. It saves the later question of whether page 24 got pressed.
-
Store it safely. Treat the device as a precision tool. Keep it clean and dry so dust and grit do not soften the detail in the die.
A well pressed impression signals that you take the documents seriously. That is the entire commercial case for owning one, and it stands up without any rule behind it.
Paper Weight
Standard 20-pound copy paper takes an impression well enough for everyday use, and heavier cardstock in the 24-pound to 32-pound range accentuates the raised effect. Go beyond that range, into extra thick cardstock, and you may want a desktop model or a heavy duty press to get a clean result.


Order From Acorn Sales
At Acorn Sales you will find handheld and desktop embossers along with inked stamps, and we have been making seals for design and technical professionals since 1964. Because Minnesota prescribes no seal design for certified interior designers, we set your wording from scratch at the size you choose rather than dropping it into a template, and we send a proof back before anything is cut.
A free electronic seal comes with your order. That is the file you place in a PDF when a set goes out by email, which is where an embossed mark cannot follow. Having both means the printed original and the electronic copy carry the same mark.
If you are unsure which format suits your work, or you want the wording on the die checked before production, contact us and describe how you work. We have set a lot of these layouts and can tell you what holds up at a given diameter.
What The Mark Is Actually For
Buying an embosser in Minnesota is a choice about how your work arrives, not a box the state asks you to tick. Your certification block does the statutory job. The raised impression does the other one: it identifies you on the page, it makes a proposal or a presentation set look deliberate, and it gives a client something on the original that a forwarded PDF does not have.
Get the legend right, pick the format that matches your volume, practice the press on scrap, and the device will serve you for years. On a corporate office fit out or a small residential remodel, a clean impression beside your signature reads the same way: somebody who stands behind the drawing.
Frequently Asked Questions
Does Minnesota require a certified interior designer to have a seal?
No. Minn. Stat. § 326.12, subd. 2 says you may have one. What the statute attaches to documents is the certification block: the prescribed certification sentence, your signature, your typed or printed name, the date and your certificate number labeled Cert. No. Designers buy a seal because it finishes the page, not because a rule obliges them.
What wording goes on the optional seal?
Your name and the legend certified interior designer. Avoid the word licensed, which belongs to other credentials issued by the same board and describes something Minnesota does not grant interior designers.
How often do I update my seal?
Only when something on it stops being accurate, such as a name change or a new certificate number. There is no renewal cycle attached to the device itself and no design revision to chase.
Can I use both a stamp and an embosser?
Yes, and many designers do. The inked stamp carries through copies and scans, the embosser looks better on an original a client keeps. Neither is prescribed, so use whichever suits the document.
Is an embosser usable on electronic documents?
No. A raised impression exists in paper. For files, you want the electronic seal image, which Acorn Sales includes free with your order so the digital version matches the physical one.








