
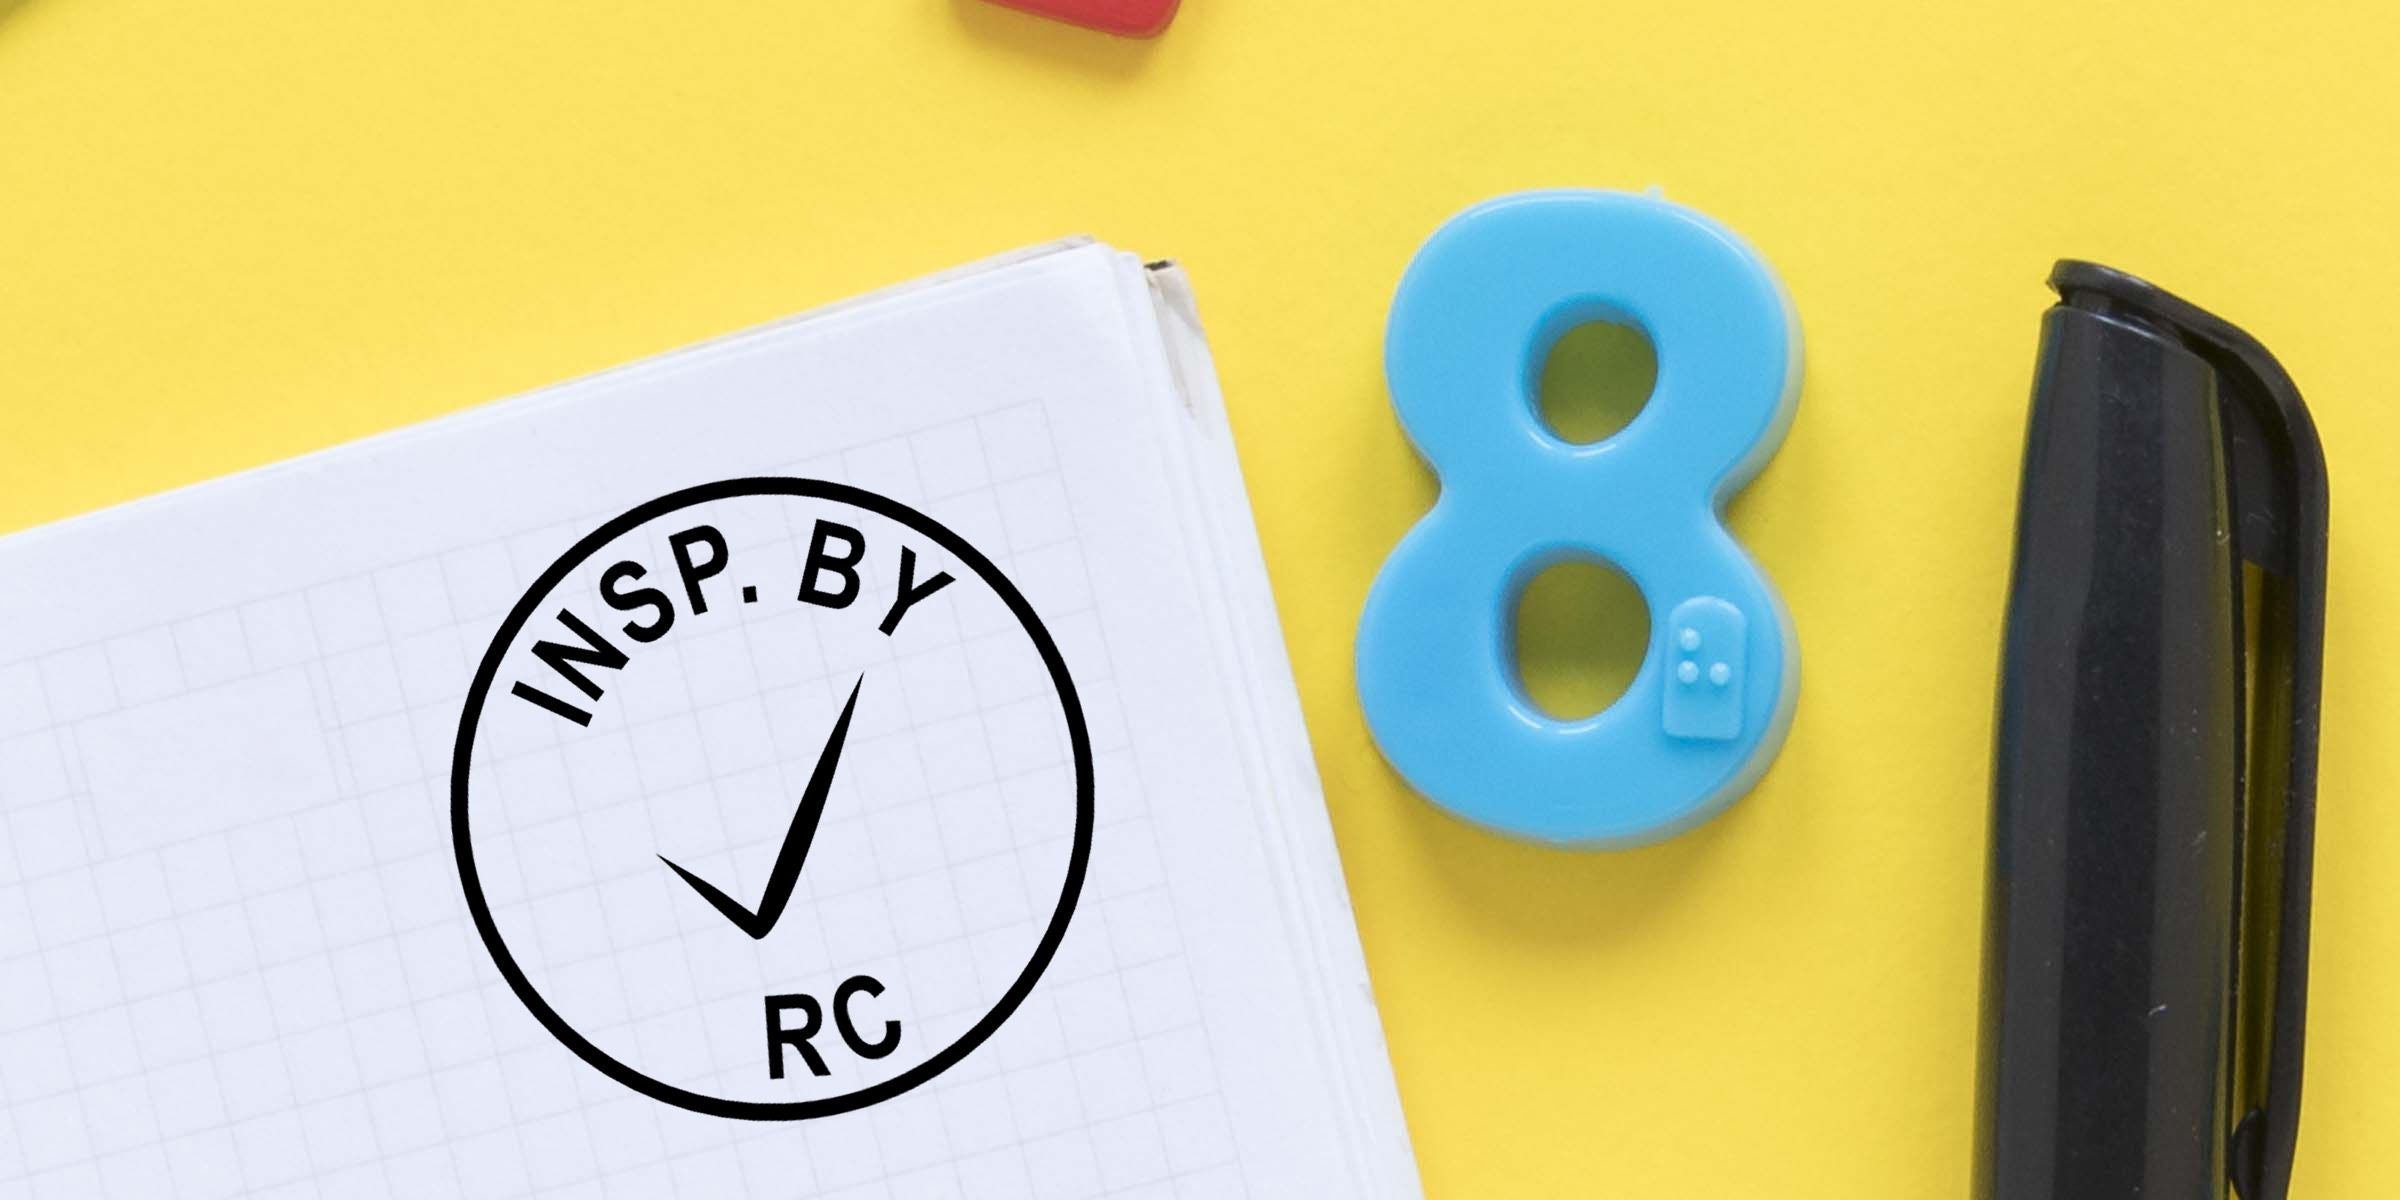
Are you looking to bring more clarity and consistency to your quality control process? Custom inspection stamps can help you confirm product standards, streamline workflows, and ensure that every item meets your requirements. Whether you’re overseeing a manufacturing line, verifying lab results, or simply aiming for better organization, a reliable inspection stamp provides a clear, consistent mark every time. In this post, you’ll find practical insights about why these stamps matter, how to create the perfect design, and what to expect once you start using them. Let’s explore how you can make each impression count.
Discover the Benefits
Before you commit to designing your own custom inspection stamps, it’s a good idea to understand what they bring to the table. With these stamps in hand, you’ll be able to standardize your quality checks, reduce errors, and help teams communicate clearly across every step of your workflow.
Enhance Quality Control
When small details are at stake, you can’t afford confusion or guesswork. By using a carefully designed inspection stamp, you confirm at a glance whether an item has been checked, approved, or flagged for further review. This is especially helpful in busy manufacturing floors or labs, where multiple people may handle the same items. A quick stamp says it all—no need for extra notes or repeated conversations.
Ensure Consistency
Imagine the struggle if your staff used random markers or handwritten notes to confirm product inspections. Over time, the variety of markings could lead to misunderstandings, product mix-ups, or incomplete logs. Custom inspection stamps eliminate these issues by delivering a familiar, standardized mark. That way, every team member recognizes the exact meaning behind each stamp, reducing mistakes and saving time.
Personalize Your Workflow
Customizing your stamps helps you tailor their appearance and function to match your specific needs. For instance, you might need stamps with space for dates, batch numbers, or signatures. You also might want different colors to indicate pass/fail statuses. Whatever your process calls for, your custom design can make it happen.
Explore Core Features
How do you decide which features to include in your design? Mini or large impressions, self-inking or classic wooden handles—there’s a lot to consider. Below are some of the main features you’ll want to keep in mind.
Stamp Types
- Self-Inking: Comes with an internal ink pad, making it quick to re-stamp without re-inking. Great for high-volume stamping.
- Pre-Inked: Offers crisp, clean marks. Typically delivers very fine detail and reduces smudges.
- Wooden Handle: Traditional style that can be paired with any color pad. Often more cost-effective but requires a separate ink pad.
Impression Size
The size of your impression should match the level of detail you need. If you’re adding multiple lines of text or large icons, go for something bigger. On the other hand, a compact stamp is perfect for small or tight spaces, like small product labels.
Ink Choices
Different inks are designed for different surfaces. Water-based ink works well on ordinary paper, while quick-drying, permanent ink fits nonporous surfaces such as plastic or metal. Choosing the right ink prevents smudges and ensures your mark stays visible—even when exposed to oils, moisture, or heat.
Plan Your Customization
When you decide to create your own inspection stamp, you’ll want to map out the essentials before placing an order. A little upfront planning saves headaches later, especially when you’re aiming for precision.
Define Your Purpose
Start by asking: “What do I want this stamp to say or show?” Maybe you need your company logo, a quality control status, or a “Passed Inspection” note with space for a date. Write out exactly what you want on the stamp, and consider any symbols or shapes that could make things even clearer.
Consider the Environment
Stamps typically face a wide range of environments—industrial floors, labs, packaging stations—so think about how they’ll be used. If you work in a high-heat or dusty setting, you might prefer a sturdy pre-inked or self-inking model. If your space requires specialized disclaimers, check out custom inspection stamps for compliance to ensure you meet strict guidelines.
Choose the Right Materials
Not all stamp materials are created equal. Here’s a quick comparison of some common choices:
| Material | Durability | Cost | Ideal Use |
|---|---|---|---|
| Wooden Handle | Fair | $ (Budget) | Casual or low-volume stamping |
| Self-Inking Frame | High | $$ (Moderate) | Busy workplaces that need many repetitive stamps |
| Pre-Inked Housing | Very High | $$$ (Higher) | Detailed impressions with minimal mess |
Wooden handles can be a cost-efficient choice if you only stamp occasionally, while self-inking and pre-inked stamps are perfect for frequent usage in manufacturing or labs.
Incorporate Branding Elements
Adding your company logo or tagline onto your stamp builds brand consistency. You can also choose fonts and colors that match the rest of your packaging or documentation style. And if your brand identity is already established, consistent inspection stamps can further reinforce professionalism across your operations.
Follow Usage Tips
Once your new inspection stamps arrive, you’ll want to get the most out of them. Simple routines and thoughtful strategies help you avoid errors, boost longevity, and save on ink over time.
Test First
Always do a quick test on scrap paper before stamping a final document or product. That way, you’ll spot any smudges or alignment issues early, and you can adjust your approach accordingly.Create a Shared Guide
If your inspection stamps are part of a larger workflow, put together a small reference sheet for teammates. Include images of each stamp impression, along with a note explaining when to use it. This fosters consistency and reduces guesswork.Prep Your Surface
Whenever possible, wipe away dust, grease, or moisture before stamping. A clean surface means clearer impressions and longer ink life. In settings where cleanliness is key, like labs, a quick wipe-down is all you need to keep your marks neat.Rotate Ink Pads
If you use wooden-handle stamps with separate ink pads, rotate your pads occasionally to promote even wear. When you restamp too often in the same spot, your pad can develop uneven “bald spots.” Shifting the pad’s orientation helps maintain a smooth surface.Store Properly
Keep your stamps in a cool, dry spot with the impression side facing up. For self-inking or pre-inked options, store them locked so they’re not constantly pressed against the internal pad. This prevents accidental inking or dust buildup that could shorten your stamp’s life.
Choose the Right Provider
There are many stamp providers on the market, but finding a trusted partner safeguards both quality and your peace of mind. At Acorn Sales, we’ve been perfecting the art of stamps and seals since 1964, offering personalized inspection stamps, QA stamps, and much more. Because we focus on fast turnaround times and stellar customer service, your final product should arrive quickly and meet (or exceed) your expectations.
If you need quick solutions tailored for specific industries, check out our range of options, such as custom inspection stamps for manufacturing or custom inspection stamps for packaging. We also specialize in personalized inspection stamps that reflect your brand identity and meet the demands of busy work settings.
Address Common Applications
You might be wondering: “How do all these details come together in everyday use?” Below are a few popular scenarios where custom inspection stamps can simplify workflows, reduce confusion, and maintain consistent documentation.
Manufacturing Lines
In a manufacturing environment, you may rely on multiple quality checks. One inspector could be responsible for verifying components, another for checking final assembly. By using dedicated inspection stamps at each station, you reduce miscommunication about which steps are complete and which still need attention. If you’d like to explore specialized designs, try looking into custom inspection stamps for production.
Warehouse Inventory
From receiving to shipping, warehouses handle constant product movement. Custom inspection stamps make it crystal clear when a package has been inspected, when it’s been tagged for internal tracking, or if it’s waiting on documentation. If you regularly handle large volumes, custom inspection stamps for warehouses could bring order to your process.
Laboratories
Whether you’re tracking samples, verifying test results, or labeling potential hazards, you want clarity at every step. By using distinctive shapes or colors on your inspection stamps, you can flag items for specific actions, like retesting or disposal. This visual cue cuts down on accidental mix-ups in a fast-paced lab setting.
Office Paperwork
In a more traditional office environment, you might use stamps to label documents as “Approved,” “Rejected,” or “Sensitive.” Standardization keeps everyone on the same page, literally. If your office deals with frequent contract reviews, a custom “Approved” stamp with space for a date or signature can come in handy.
Manage Multiple Stamp Designs
Some businesses find that a single design isn’t enough. If you oversee a complex operation, you may need several variations to address different workflow stages. Here’s how to handle multiple designs effectively:
Color-Code Your Stamps
Assign a color to each process step—green for approval, red for rejection, blue for verifying shipping details, and so on. This quick visual system leaves no room for misreading.Create a Visual Key
Hang a color-coded chart in a common area. Show each stamp impression alongside its designated purpose. New or temporary employees can reference it immediately, so they don’t need to memorize every detail on day one.Store and Label
Keep each stamp in a marked drawer so you can grab the exact tool you need without rummaging through identical handles. A small label indicating “Receiving Department” or “Packing Approval” can save tons of time.
Maintain Stamp Quality Over Time
A little preventative care not only prolongs the life of your stamps but also ensures each mark remains bright and clear. Proper maintenance is especially important if you’re using them in harsh industrial settings or in dusty warehouse corners.
Cleaning Basics
- Wooden-Handle Stamps: Gently wipe the impression surface with a damp cloth. Avoid scrubbing too hard or soaking the wood, because that can weaken the handle.
- Self-Inking & Pre-Inked: Lightly press your stamp onto a wet paper towel, then let it air-dry before storing. Some models come with removable impression dies, which you can carefully wash if ink buildup becomes a problem.
Re-Inking Tips
- Only Use Compatible Inks: Not all inks are formulated the same, so make sure you purchase refills designed for your specific stamp.
- Watch for Over-Inking: If your stamp starts leaving smudges or unnecessary blotches, it might be overloaded. Blot it on scrap paper to remove excess ink.
- Set a Refill Schedule: For heavy usage, you might need new ink every few months. Keep track of how many impressions you get from each refill, so you can anticipate when you’ll need more.
Compare Stamp vs. Label
Before you settle fully on custom inspection stamps, you might wonder if labels or stickers could do the same job. While they can be useful in certain situations, stamps often stand out in terms of speed, reusability, and cost.
| Criteria | Custom Inspection Stamps | Labels or Stickers |
|---|---|---|
| Application | Quick, direct impressions | Requires peeling and sticking |
| Reusability | Re-ink and reuse for thousands of impressions | Single use per label |
| Customization | Text, images, colors, brand logos | Generally limited by label printing set |
| Cost Efficiency | High once purchased (just re-ink) | Recurring costs (need to re-order rolls) |
In many cases, inspection stamps provide faster, cleaner results, especially when you’re stamping hundreds or even thousands of items a day. Labels can be handy for larger surfaces, but stamps remain a go-to for smaller or oddly shaped pieces.
Streamline Your Workflow
When you introduce custom inspection stamps into your operation, think about the bigger picture. It’s not only about marking items, but about creating a consistent, trackable workflow. Here are some steps you can take to make sure your stamps integrate smoothly into your existing processes:
Standardize Procedures
Outline exactly when each stamp gets used and who has the authority to use it. This eliminates gray areas where items might skip a verification step.Integrate Hand-offs
After one person stamps an item as “Approved,” do they physically hand it off to the next station, or leave it in a designated area? Having a clear workflow ensures no item is misplaced.Track Your Data
Some businesses keep an electronic log matching each stamped item with who inspected it, when, and any special notes. Over time, these records can reveal patterns, helping you improve quality control even further.Update Regularly
Operations evolve, so keep your stamps and processes updated. If you adopt new safety protocols or shift your product line, you might need new stamps or text adjustments. Revisit your designs every six months to a year.
Shop With Confidence
When you’re ready to order your custom inspection stamps, it’s worth investing in a supplier you trust. Acorn Sales has been creating stamps and seals for over 60 years. We take pride in offering:
- Fast, reliable turnaround times
- A wide range of customization options
- User-friendly ordering and reordering processes
- Exceptional customer service, always ready to answer your questions
We understand that inspection stamps aren’t just a novelty—they’re key to quality. Each impression you make leaves a traceable record of your performance, so it pays to get them right.
Final Thoughts
Custom inspection stamps are more than just handy office tools. They anchor your quality assurance processes, unify your team’s workflow, and offer a professional, easy-to-read mark on anything you produce or inspect. By choosing a trusted partner like Acorn Sales—an experienced provider since 1964—you’ll have the freedom to create exactly what you need, with reliable delivery and customer support at every step.
So, go ahead and make your mark on every product, package, or lab sample that crosses your path. When you invest in well-made custom inspection stamps, you’re making a statement about how seriously you take quality—and isn’t that the best impression you can leave? If you’re still on the fence, try starting small with one stamp design. Once you see how much more organized and efficient your QA process becomes, you’ll wonder how you ever managed without these handy tools. Happy stamping!
Frequently Asked Questions
What’s The Difference Between An Inspection Stamp And A Standard Rubber Stamp?
An inspection stamp is specifically designed for quality checks or documentation. It often includes a certification note, date, or other details. Standard rubber stamps could be used for anything—like marking “Paid” on bills—but lack the specialized design features for QA.
Can I Use Custom Inspection Stamps On Various Surfaces?
Yes, as long as you have the right ink for your surface. For example, water-based ink works well on paper, while permanent, fast-drying ink is better for plastic or metal.
How Many Lines Of Text Can I Include On My Stamp Design?
It depends on the stamp size. Larger stamps can hold multiple lines, logos, and even signature spaces. Smaller stamps are best for concise text or symbols.
How Do I Clean And Maintain My Inspection Stamp?
A simple wipe with a damp cloth keeps the impression area free of dried ink or dust. For self-inking and pre-inked stamps, lightly press them onto a moistened paper towel to remove residue. Make sure they air-dry fully before storage.
How Quickly Can I Get A Custom Inspection Stamp From Acorn Sales?
Our turnaround times are typically quick, because we know you need your stamps in action fast. Once you provide your design specifics, we’ll confirm the details and start production. In most cases, your stamp arrives in just a few business days.








