
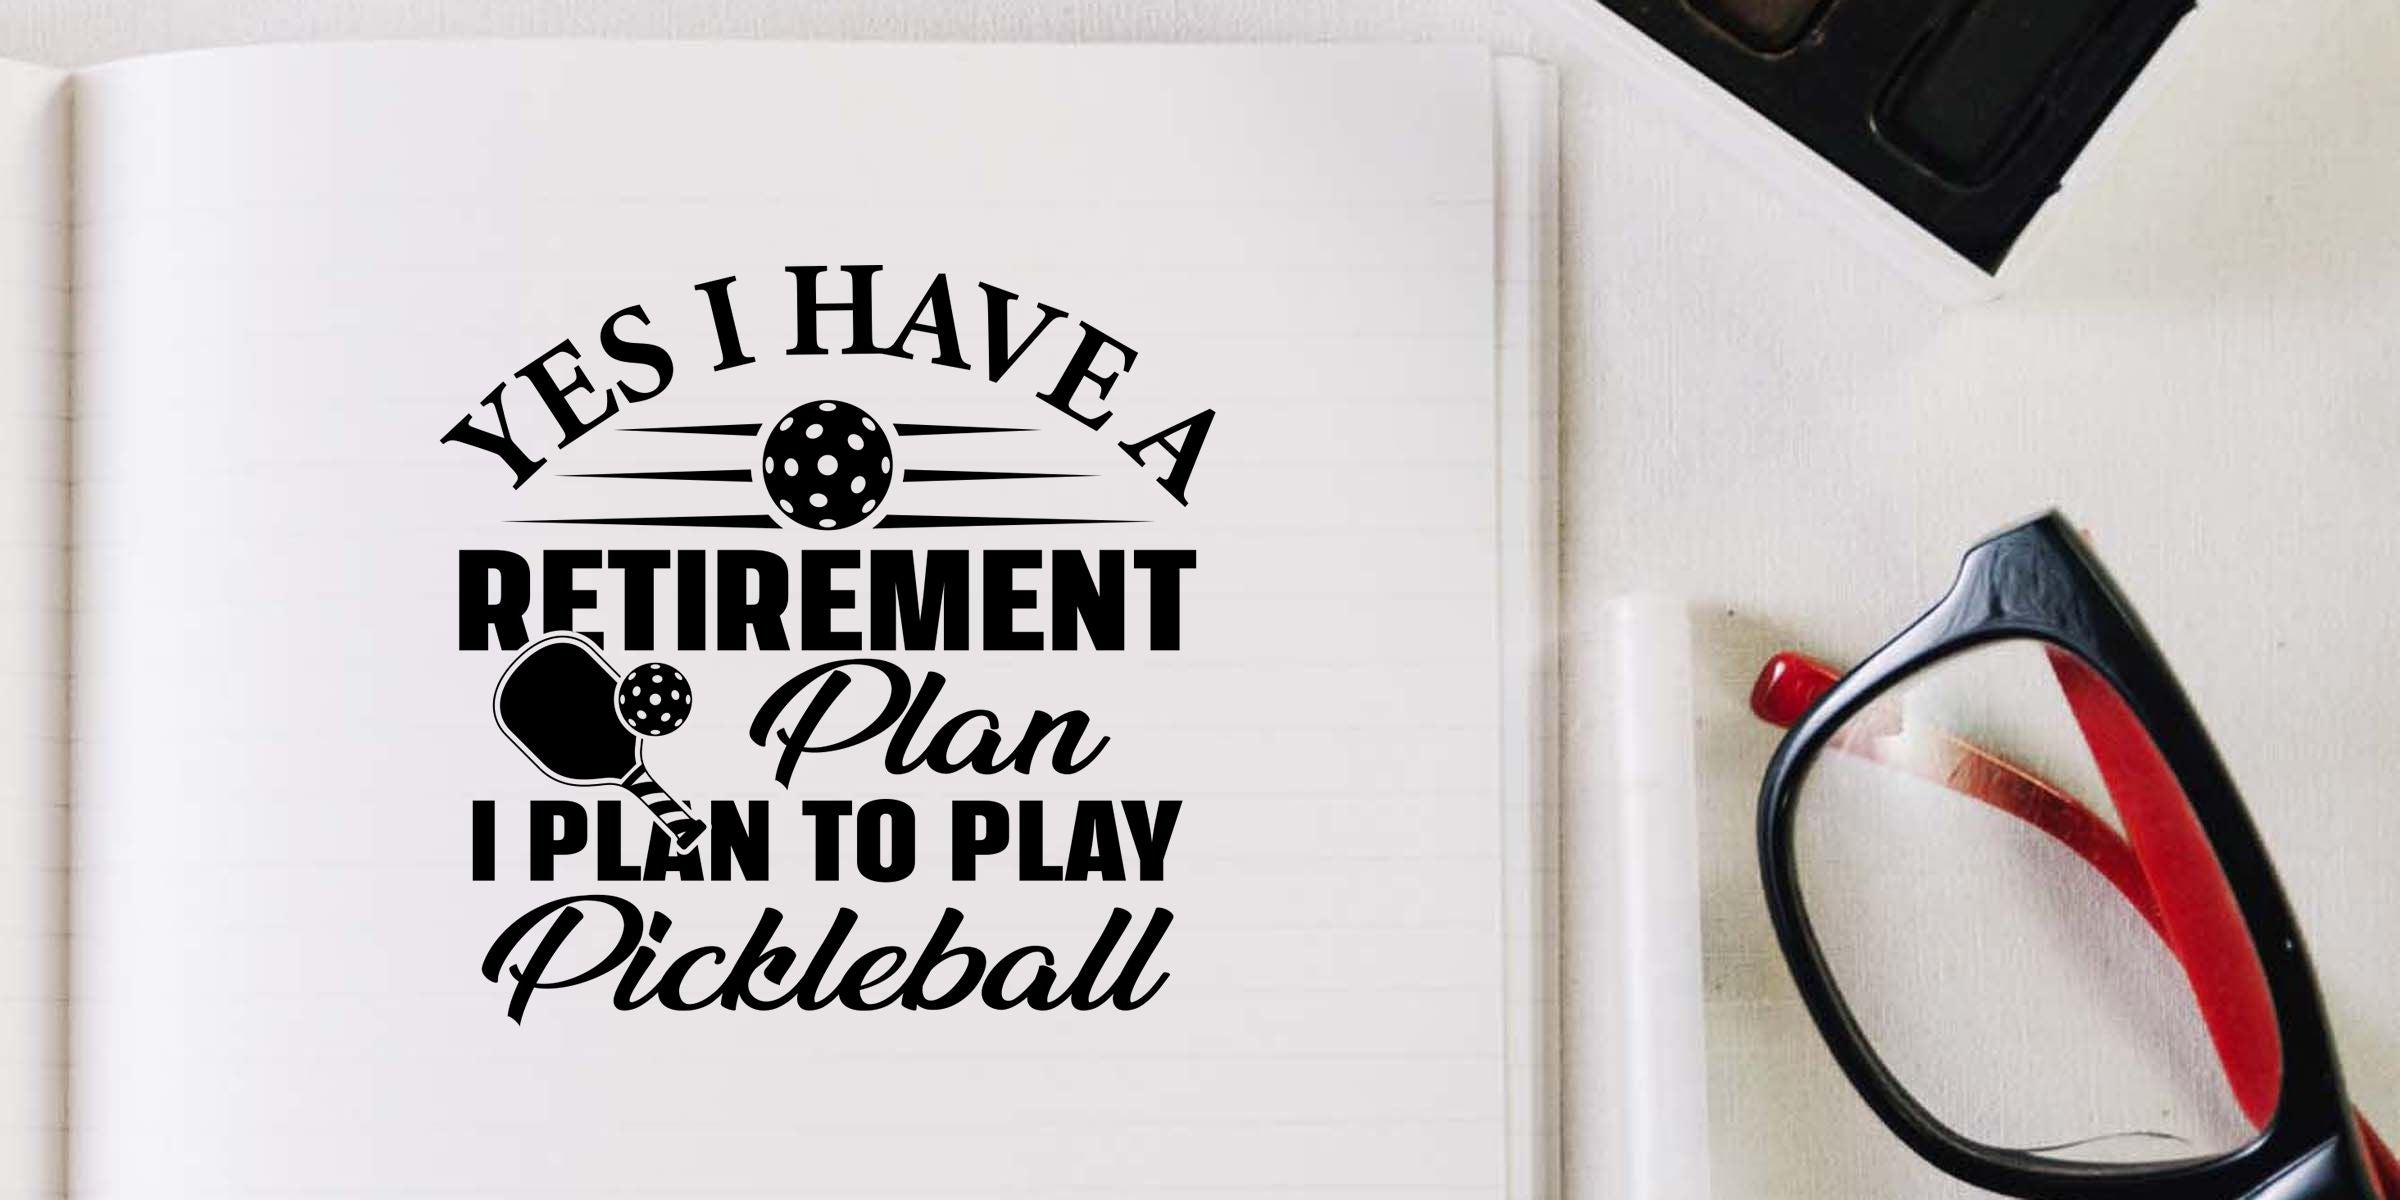
Whether you’re new to organizing your life on paper or a seasoned bullet journal aficionado, craft stamps for planners can instantly brighten your pages. They’re the perfect way to add character without a lot of fuss. In this post, you’ll discover how to select the right stamps, make them work seamlessly in your layouts, and keep your creativity alive day after day.
Discover the value
Stamps help you express ideas in your own style. Instead of handwriting everything, you can use cute images, icons, or phrases that speak to you. Think of them as handy little tools that spark excitement when you flip through your planner. Why settle for a plain layout when a fun stamp can instantly add personality?
Tip: Look for stamps that reflect your daily life. For instance, if you schedule lots of coffee dates, grab a sweet coffee-cup stamp to highlight those events. It’s a simple way to show what’s important to you.
Choose essential styles
You don’t need a massive collection to start. A few well-chosen stamps will cover most of your planning needs. Here are four must-have categories to consider:
-
Date and number stamps
- These help you quickly set up calendars and to-do lists.
- Look for adjustable stamps, so you can easily change the date without swapping sets.
-
Icon stamps
- Icons are perfect for marking tasks like workout sessions, appointments, or meal prep.
- They keep your pages consistent, and you’ll recognize the symbols at a glance.
-
Decorative borders and banners
- Place them at the edges of your pages or across headers.
- They add a unified look without taking up a lot of room.
-
Motivational phrase stamps
- Encourage yourself with uplifting words that fit your goals.
- A quick “Yes, you can” or “Keep going” never hurts.
Master basic techniques
If you’re new to stamping, here are some essential tips to get you started:
Use the right ink:
Choose quick-drying, planner-friendly inks that won’t bleed through your pages. Pigment-based inks often dry slowly, so test them first.Practice on scrap paper:
Try a few test stamps before you put ink on your actual planner. This helps you see if you need more or less pressure.Clean stamps regularly:
Wipe them with a slightly damp cloth or a specialized stamp cleaner. This prevents ink buildup from distorting your impressions in the future.
Keep them organized
An organized collection makes stamping effortless. Luckily, you don’t need a fancy system:
Clear compartments:
Choose small plastic boxes or drawers so you can spot each design quickly.Label everything:
If you have multiple sets, label them by theme (icons, phrases). That way, you’ll always know which box to open.Store ink pads together:
Keep your stamping world tidy by placing all your ink pads in one small tray. It’s easier to see what colors you have at a glance.
Add personal flair
Stamps are there to highlight your unique style. If you love layering, try mixing a border stamp with a cute icon in the same section. Looking to differentiate work tasks from personal ones? Use two contrasting ink colors on the same stamp to signal different priorities. You can even blend fun backgrounds with bold graphics—just make sure to let one layer dry before adding another.
New to layering? Start with lighter colors, let them dry, then finish with a darker outline on top. This helps you avoid smudges and keeps your planner pages looking crisp.
Bring joy to your routine
The beauty of stamps is that they make planning both fun and efficient. You’ll look forward to transforming each blank space into something delightful. Whether you’re mapping out a busy week or doodling for relaxation, those small prints and phrases will remind you that planning can be creative, not just strategic.
Give one or two of these tips a try. You’ll be amazed at how a few stylish stamps can turn your routine tasks into mini celebrations of your day. Feeling inspired? Start small, practice often, and watch how each new stamped design brings more joy into your planner life.
Frequently Asked Questions
What are planner stamps and why should I use them?
Planner stamps are reusable designs, icons, borders, and phrases that make it faster and easier to decorate your planner or bullet journal. They add personality, help organize tasks visually, and save time compared to drawing everything by hand.
Which planner stamps are the most essential for beginners?
The most useful starter stamps are date and number stamps, icon stamps, decorative borders or banners, and motivational phrase stamps. These cover most everyday planning needs while keeping your pages simple, organized, and stylish.
How do I choose the best stamps for my bullet journal?
Choose bullet journal stamps based on your daily routine and planning style. Look for designs that match your most common events, tasks, and goals, such as appointments, workouts, meal prep, or habits, so your stamps are practical as well as decorative.
What kind of ink should I use with planner stamps?
Use a quick-drying, planner-friendly ink that won’t bleed through your pages. It’s best to test any new ink on scrap paper first, especially if you use thinner planner paper or want to avoid smudging.
How can I keep my planner stamps organized?
Store your planner stamps in clear containers, small drawers, or labeled boxes grouped by theme like icons, phrases, or borders. Keeping ink pads together in one tray also makes it easier to find what you need quickly.
Can I layer stamps in my planner without smudging?
Yes, you can layer stamps for a more creative look, but it helps to start with lighter colors and let each layer dry fully before stamping again. Using a darker outline on top of a dried base layer can create clean, polished designs without smudges.








