

Say you are finishing a remodeling project on Guam and someone mentions you need an interior designer stamp before the plans go out. Here is the fact that should settle it before you spend anything: Guam does not license or register interior designers. There is no board for the profession, no territorial certificate number, and no prescribed seal design waiting for you to match.
That does not make a stamp pointless. It makes it yours. A clean impression beside your signature names the person who released the drawing, gives a proposal or a specification set a finished look, and follows your work through a client's files and a contractor's copies. This post covers where Guam actually stands, what belongs on a mark when nothing is prescribed, and how to order one without guessing.
Where Guam Stands On Interior Design
Title 22 of the Guam Code Annotated covers business regulations, and chapter 32 is the Professional Engineers, Architects and Land Surveyors Law. That chapter is where design credentials on Guam live. Section 32103 sets out who it covers, and section 32116(d) is the sealing provision. Neither one mentions interior designers.
So there is no Guam Board of Interior Design, no license or registration to hold, and no rule telling an interior designer when to seal a document or what the seal has to say. Nothing in territorial law asks a plan reviewer or a building inspector to look for an interior designer's mark, because there is no credential behind it to check.
One thing follows from that, and it is the most useful warning on this page. A die reading Registered Interior Designer, Guam, or carrying a territorial license number, claims a credential Guam does not issue. Keep the wording to things you can actually support. For the code sections we read and the sources behind them, see Guam Interior Designer Seal: Design It Yourself.
Architects, professional engineers and land surveyors are a different matter. They hold registration from the Guam Board of Registration for Professional Engineers, Architects and Land Surveyors and have their own sealing rule in the chapter above. That rule belongs to those credentials, not to interior design work, and it is not a template to copy onto your own mark.


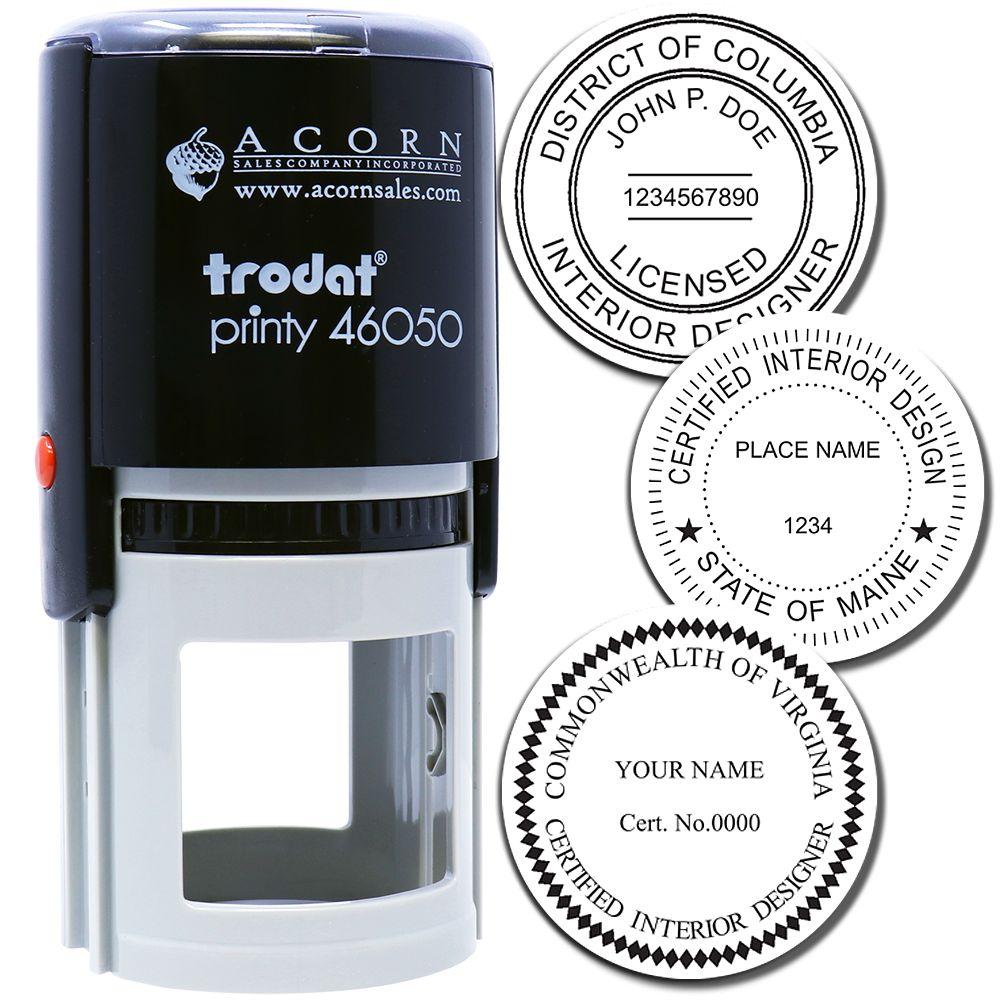
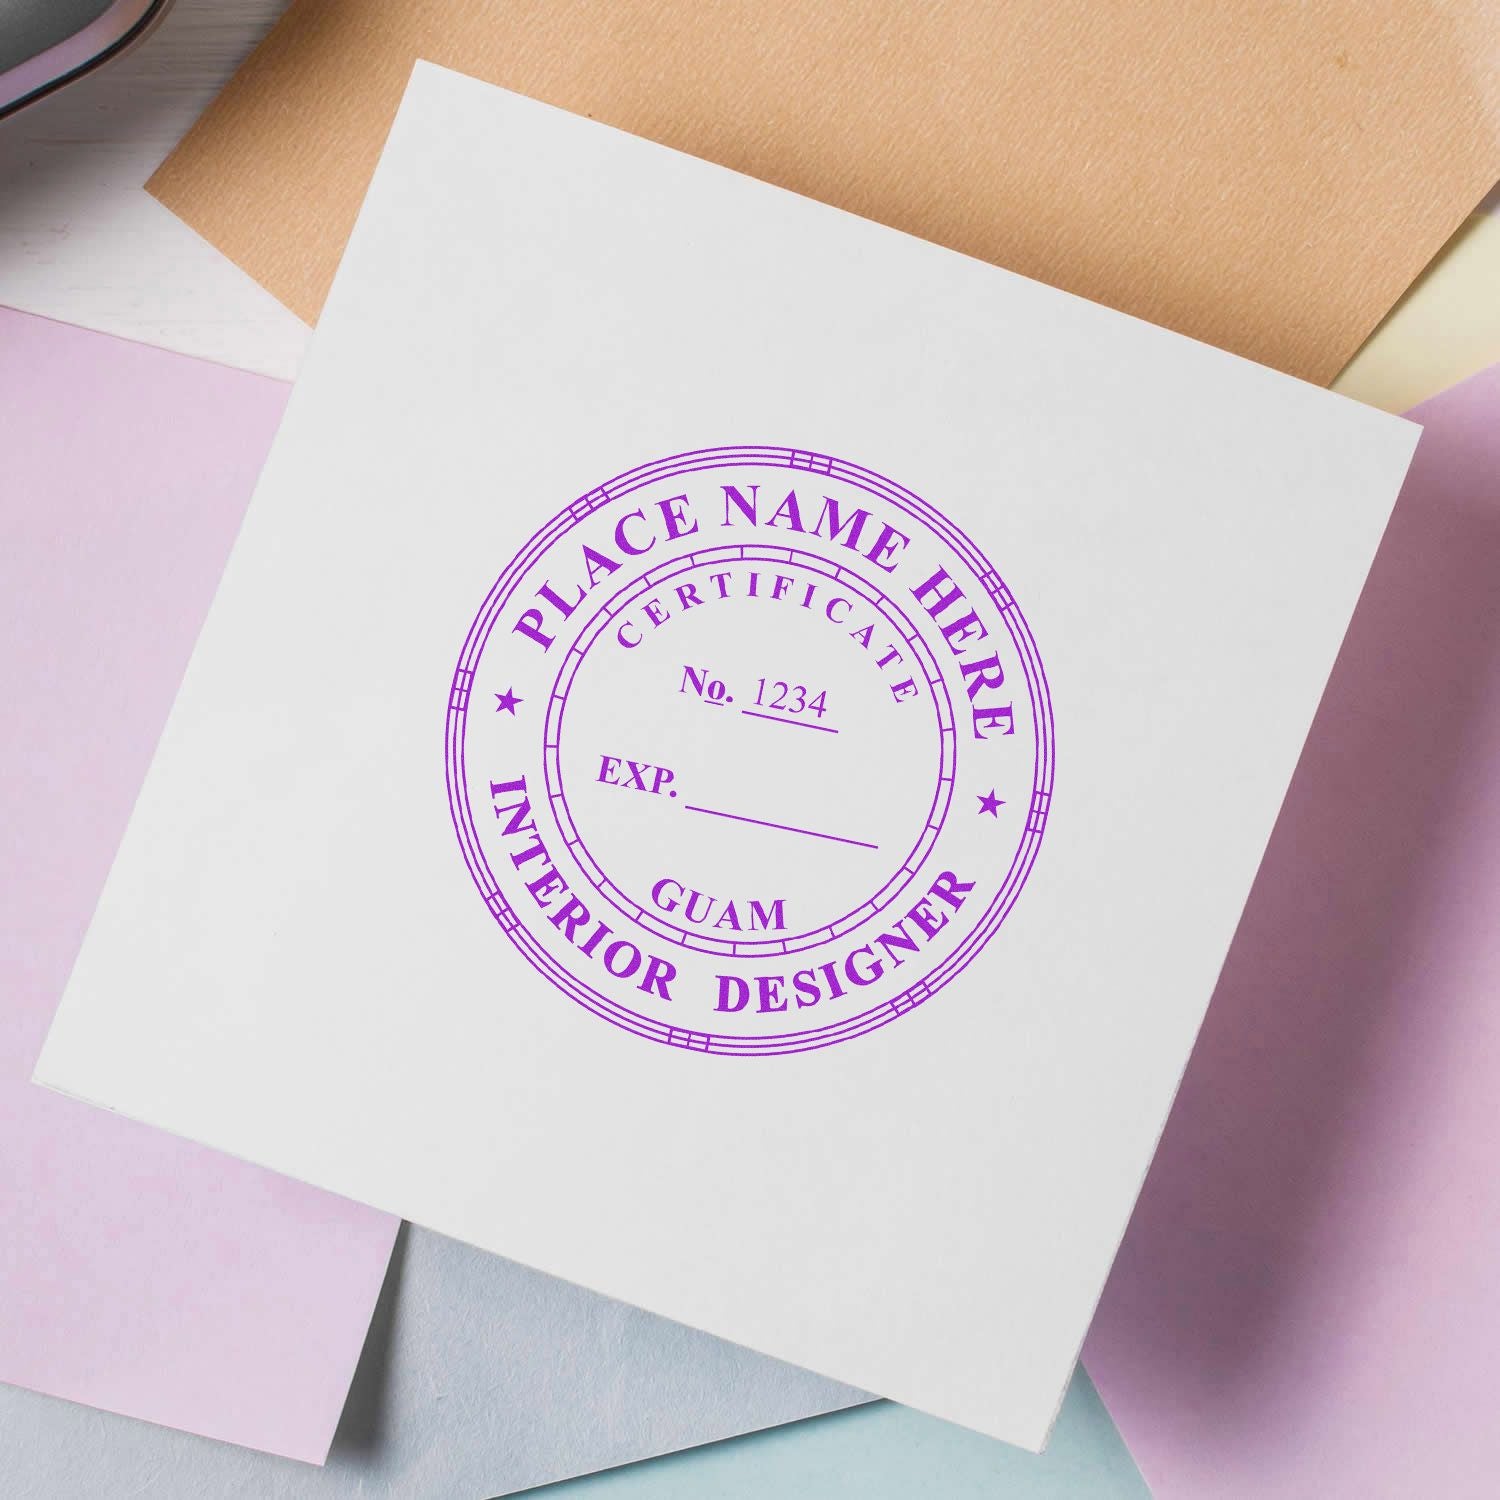
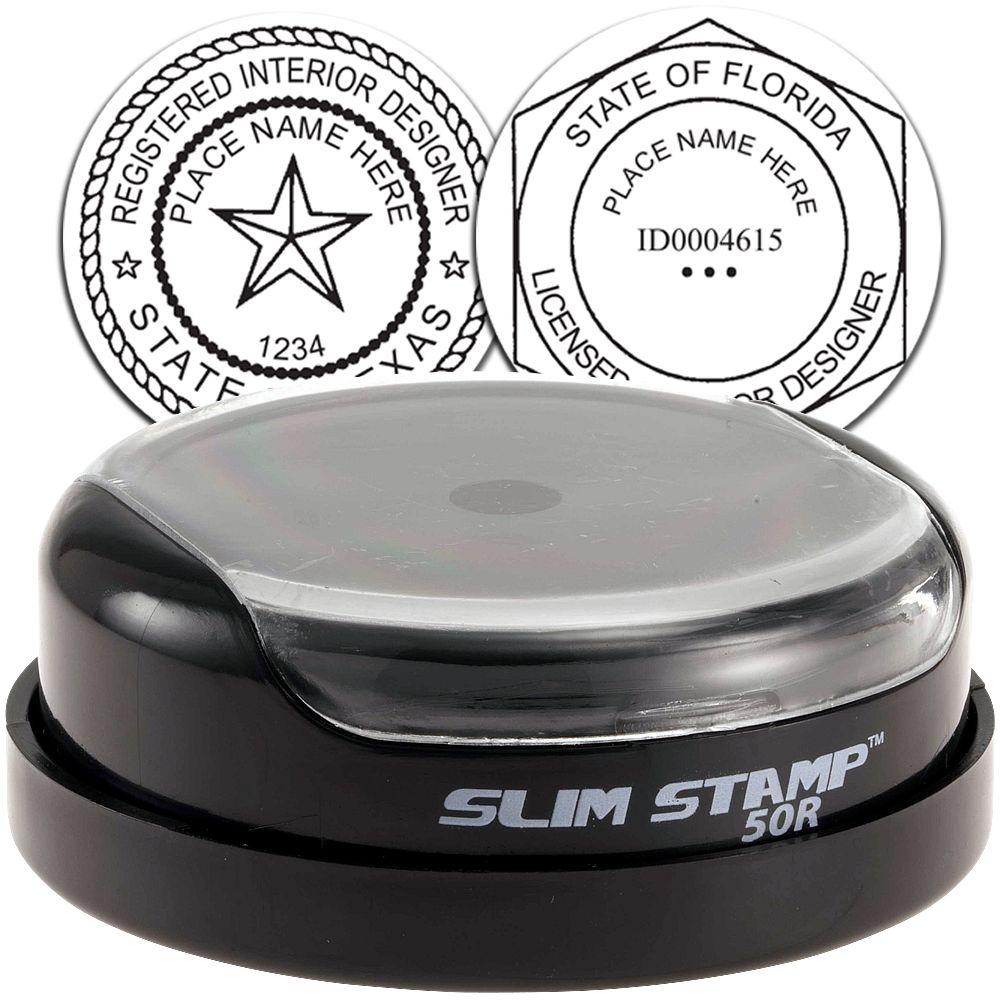
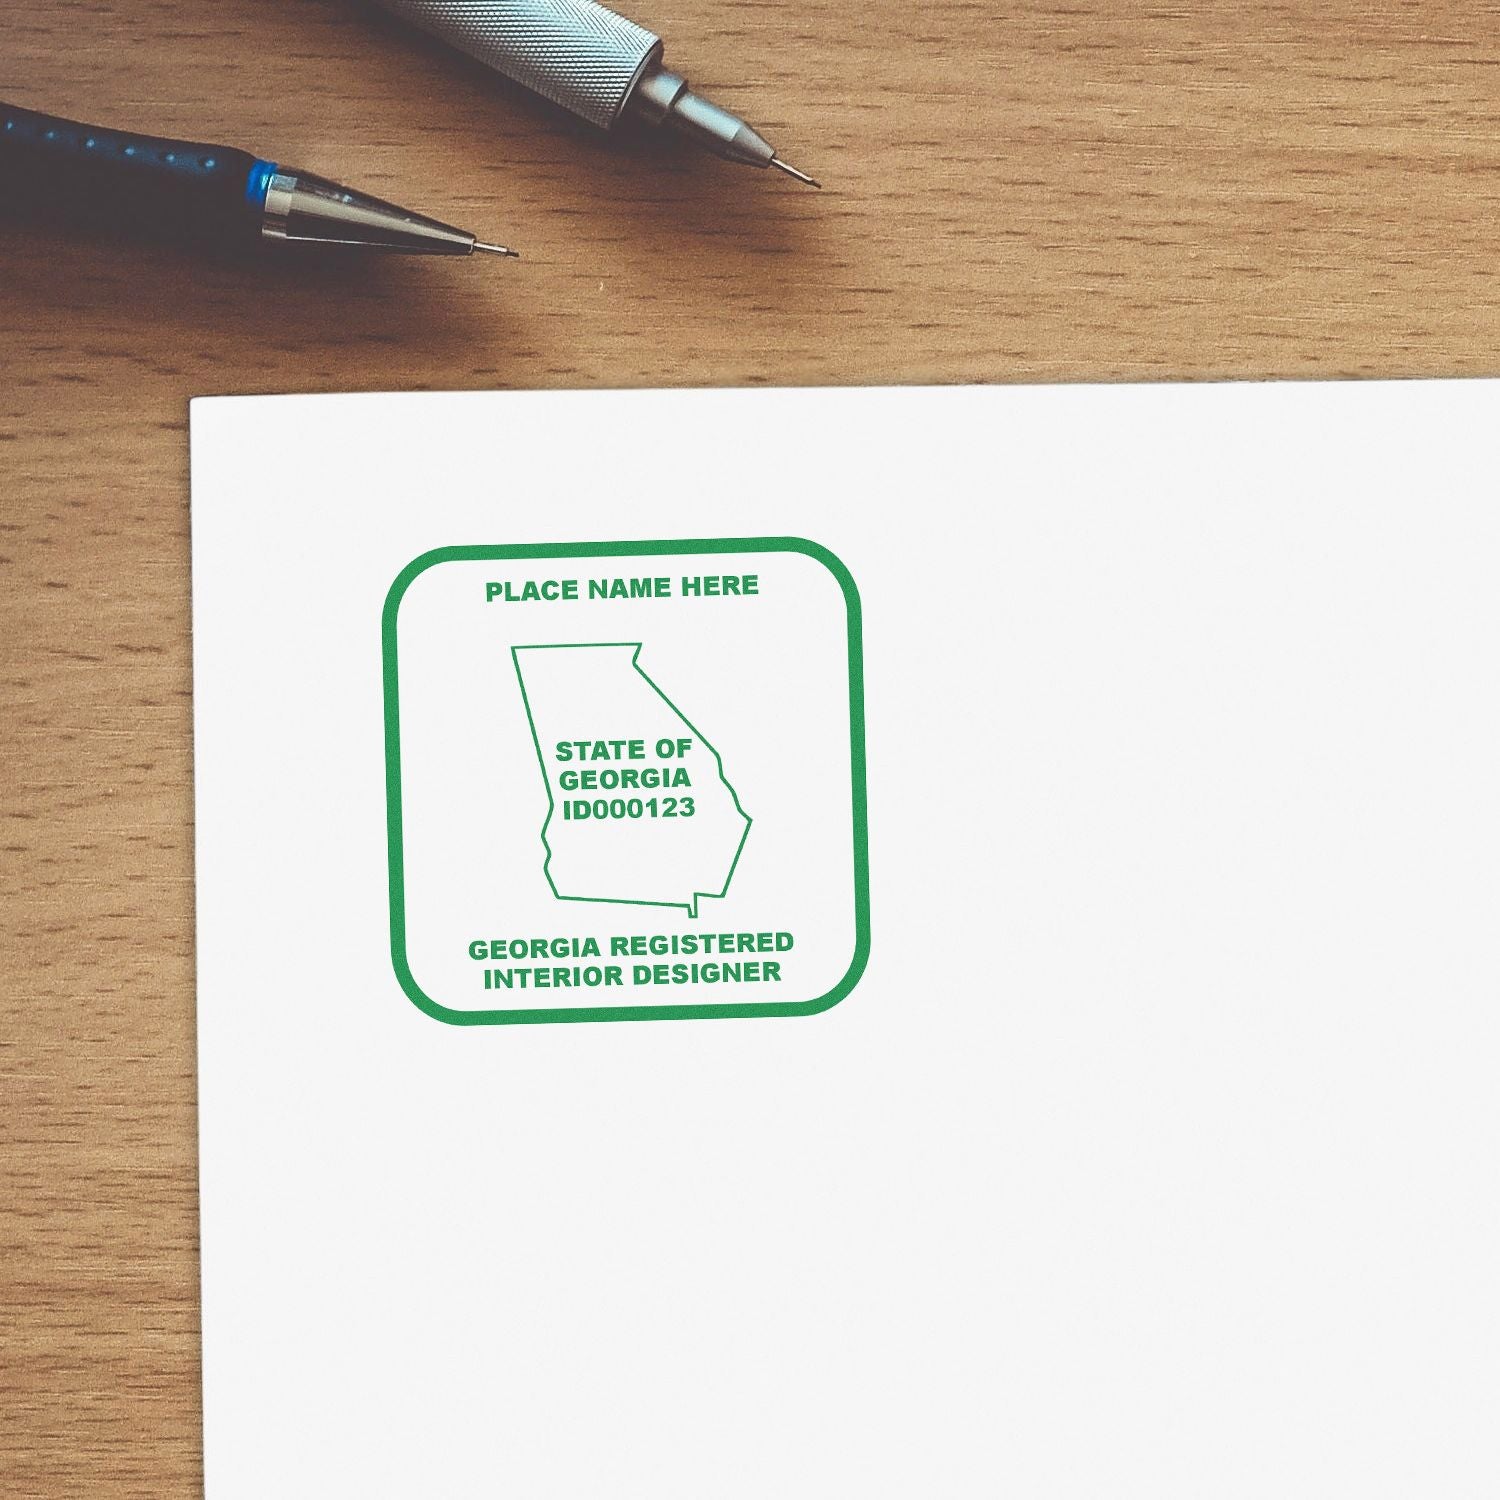

Why Designers On Guam Order One Anyway
Take the obligation away and the practical reasons stay. They are the reasons most of our interior design customers give, in states and territories that regulate the profession and in ones that do not.
It Identifies You
Drawings get copied, emailed, printed by somebody else and filed by a third party. A signature alone is often unreadable, and a name in a footer is easy to skip. An impression sits where the reader is already looking and says who produced the page.
It Finishes The Document
A specification package or a presentation set that carries a mark beside the signature reads as a completed deliverable rather than a working print. Clients notice it, and so do the contractors who handle the set after you.
It Keeps You Consistent
Your name, your title and your studio appear the same way on every transmittal, cover sheet and proposal, without rebuilding a graphic each time or trusting a template someone edited last month.
It Is Part Of Your Presentation
The mark sits alongside your business card and your drawing sheets as something a client associates with your practice. That is a design decision, which is a reasonable thing for a designer to care about.
What To Put On It
Since nothing is prescribed, the contents are a decision rather than a lookup. Common choices:
- Your full name, spelled as you sign it.
- A title you can support, such as Interior Designer.
- Your firm or studio name, and a city or contact line if you want one.
- A certification or registration you actually hold from a national body or another jurisdiction, with that issuer named.
What to leave off: any wording that implies a Guam credential, any number that does not correspond to something you hold, and any layout borrowed from a jurisdiction that does license interior designers, since those layouts are built around a license number you do not have.
A Quick Comparison Of Stamp Types
The mount is the next decision, and it comes down to how often you stamp and where.
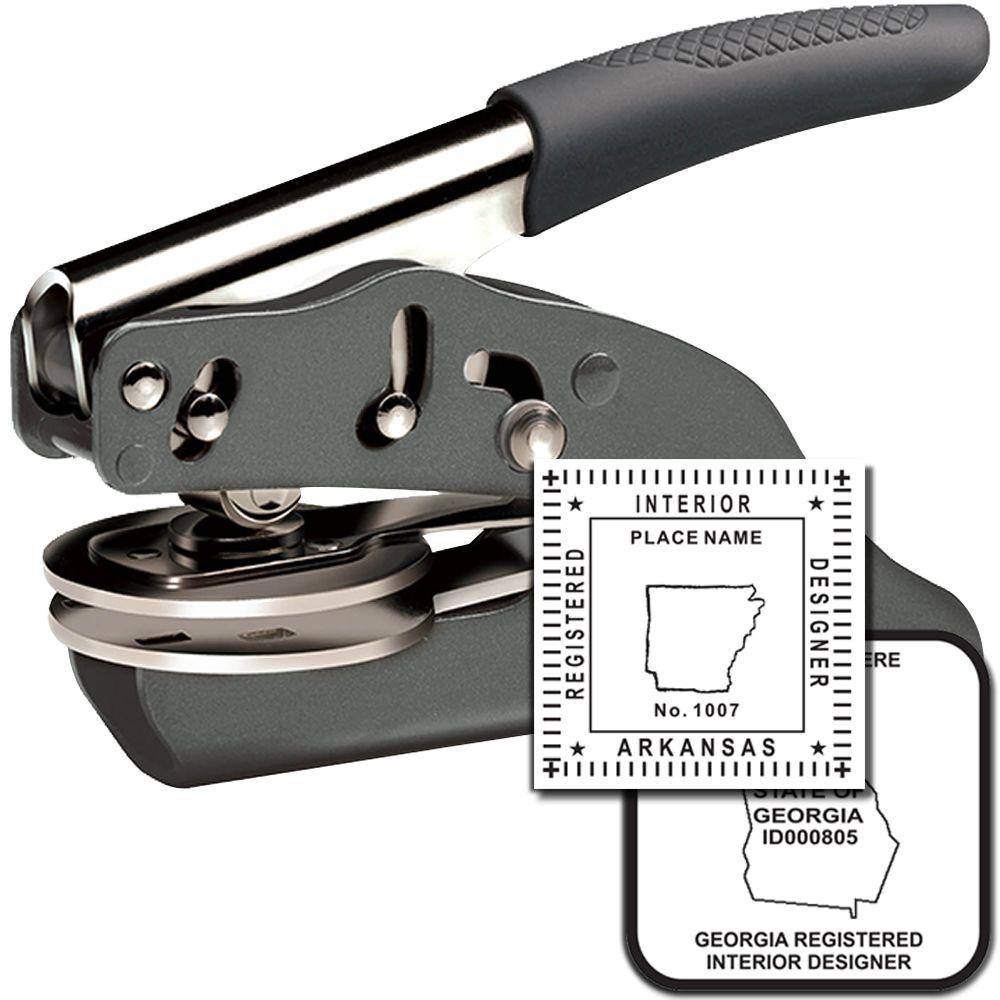
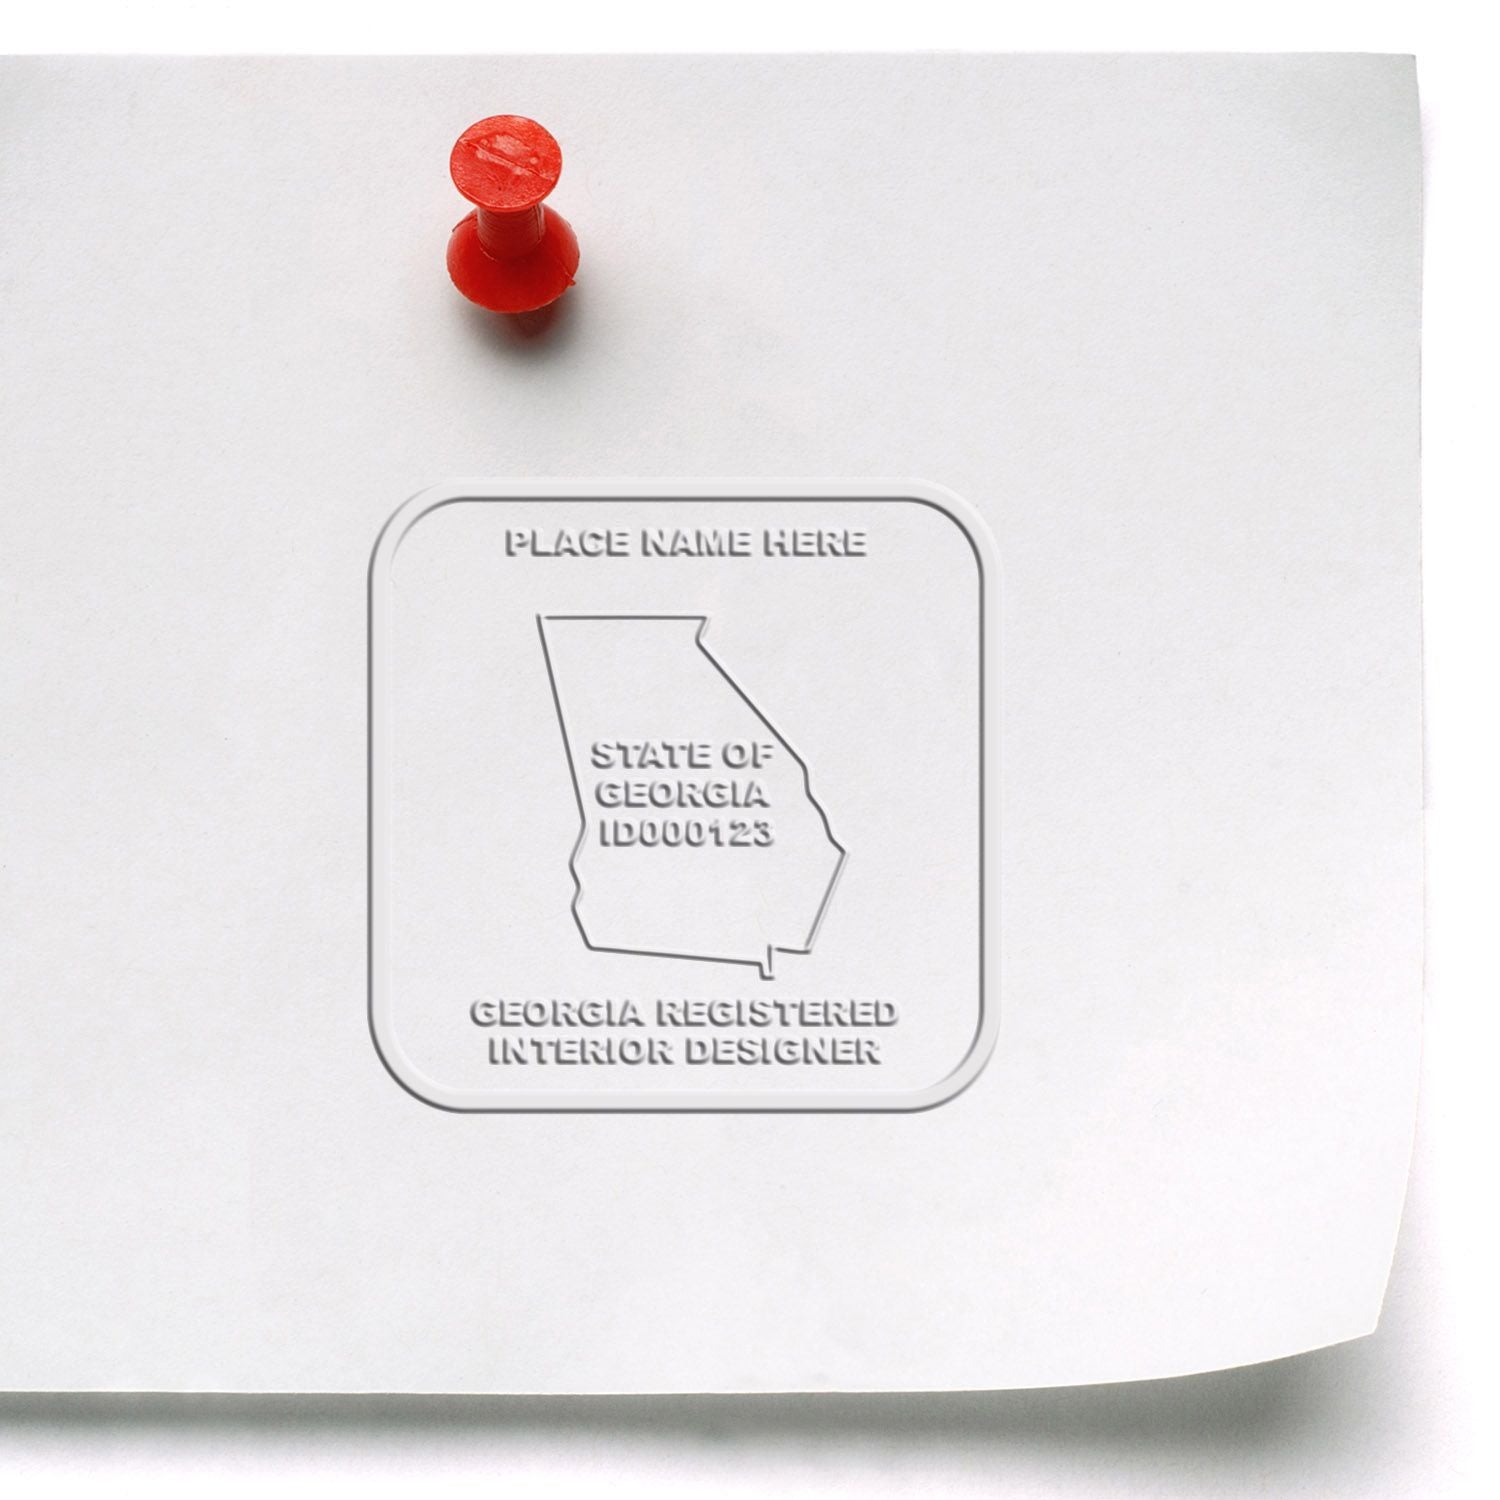
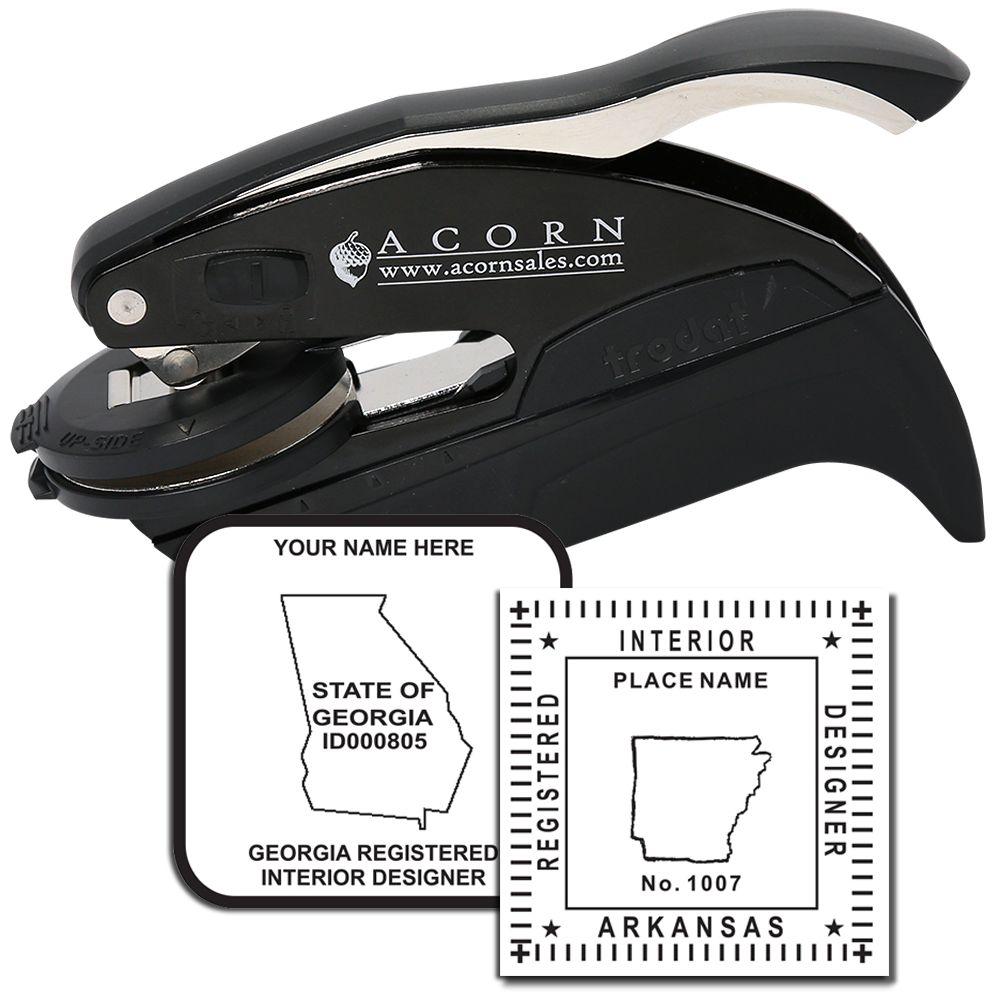



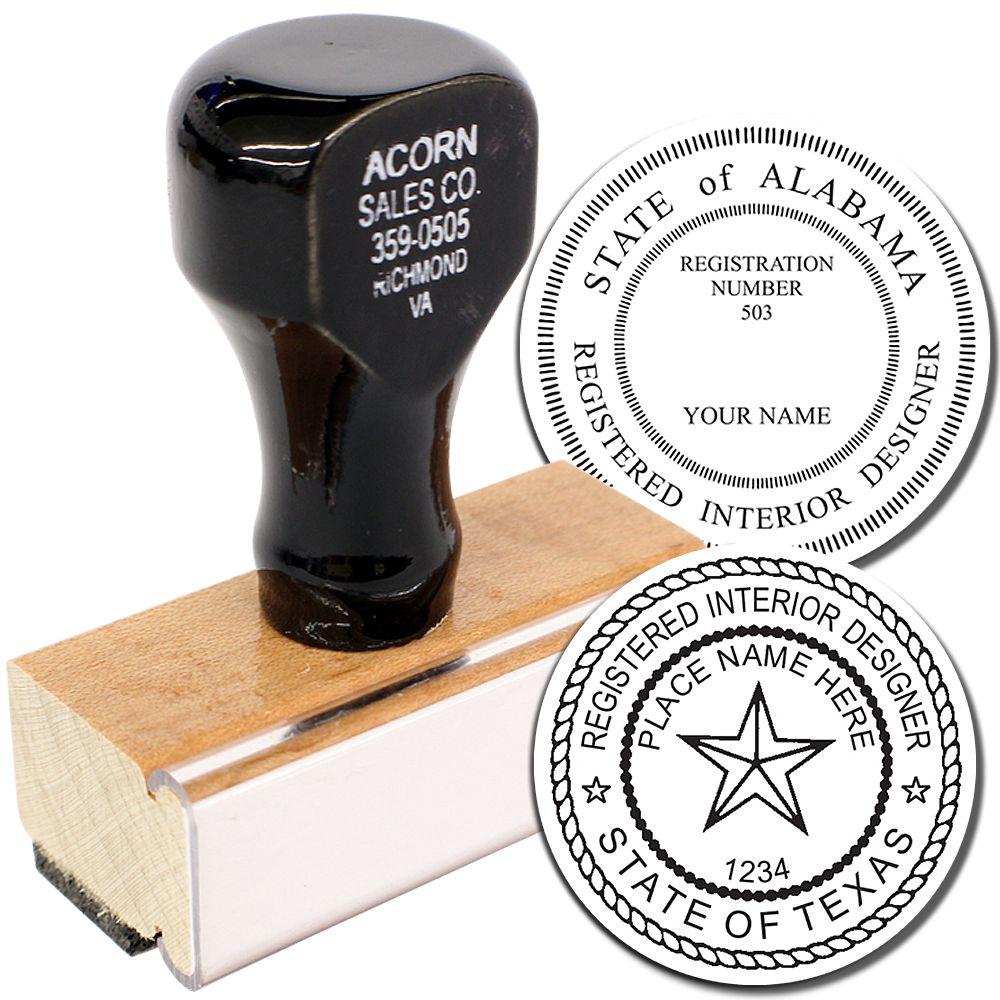
| Stamp Type | Ink | Strengths | Trade Offs |
|---|---|---|---|
| Self-Inking | Built-in pad | Quick, clean impressions at volume | |
| Pre-Inked | Ink held in the die | Very crisp, holds small text well | Costs more than a self-inking mount |
| Traditional Handle | Separate pad | Durable, usually the least expensive | Extra setup, less portable |
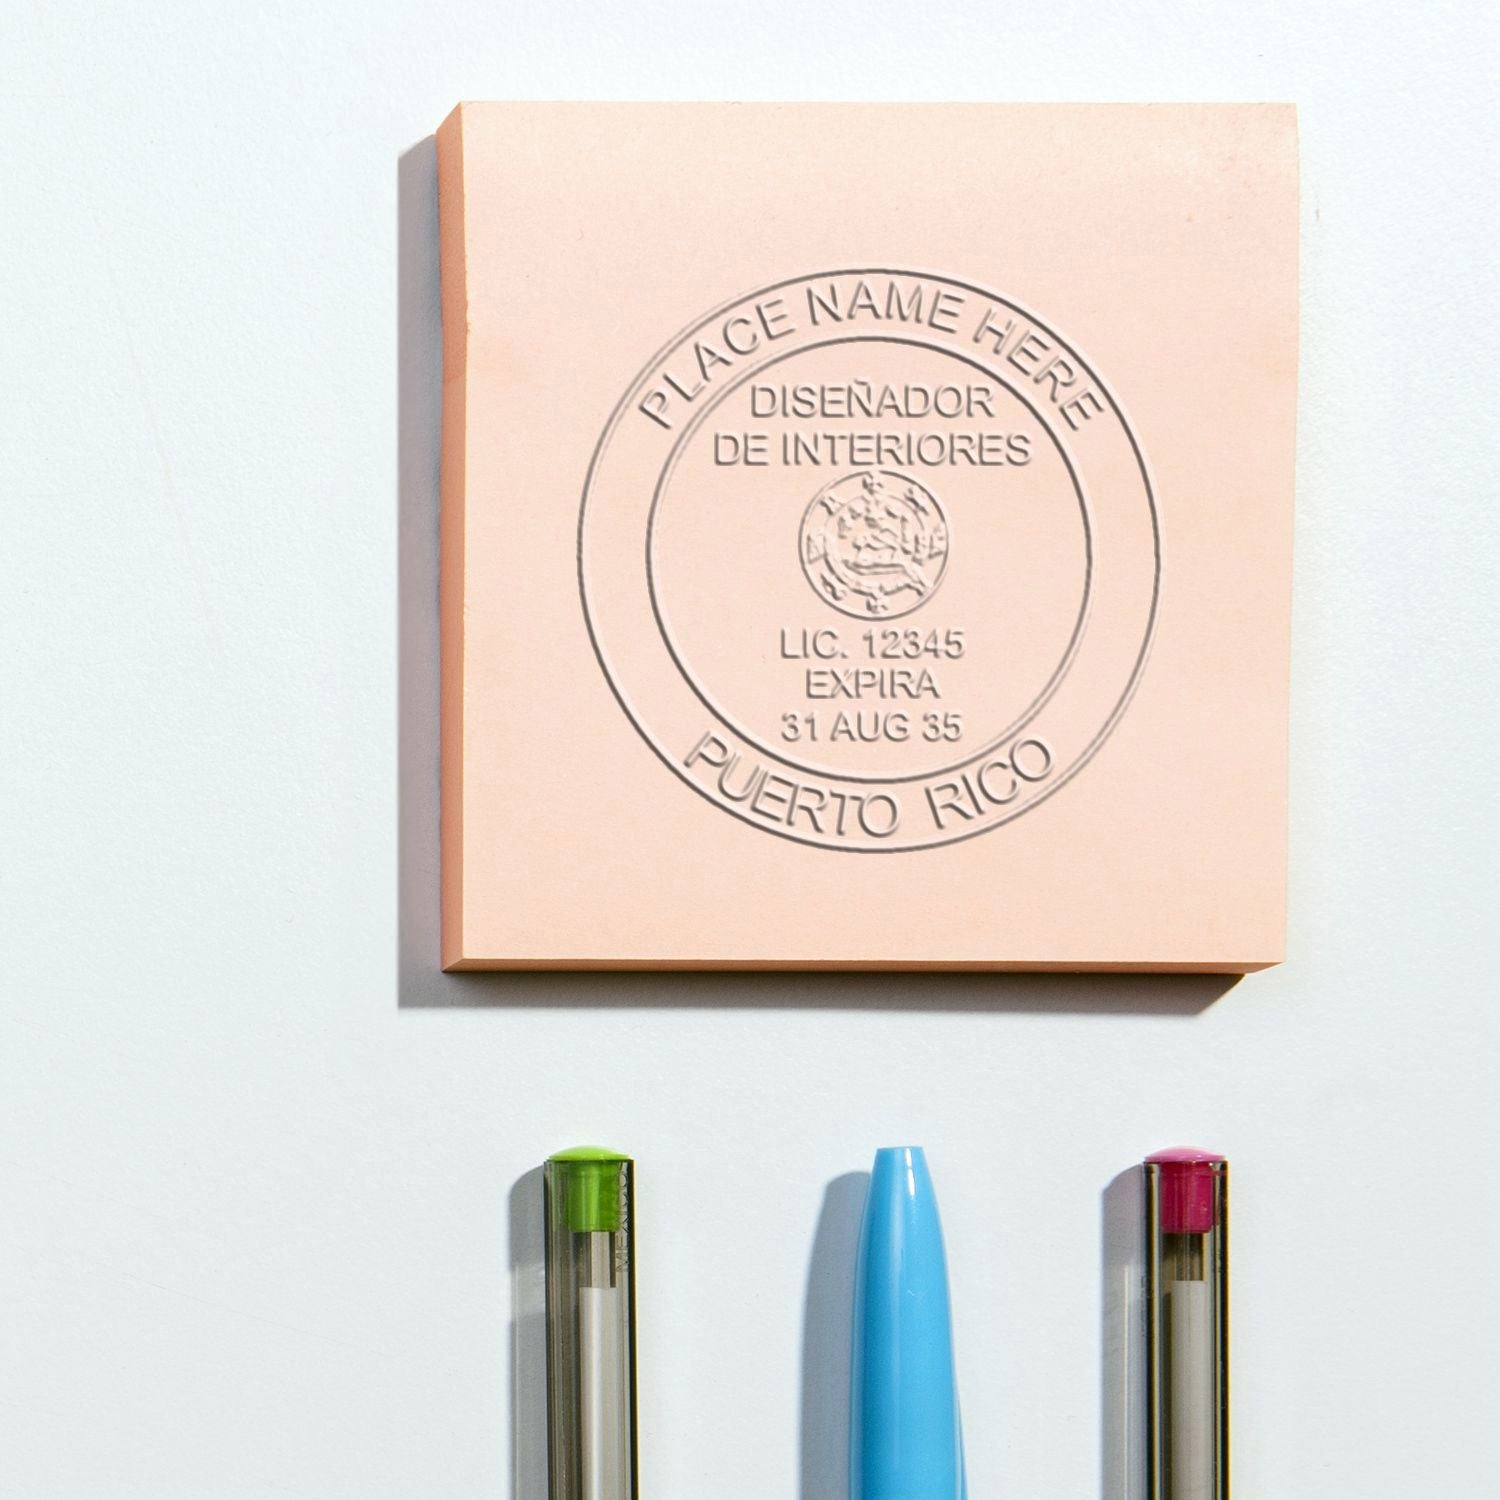
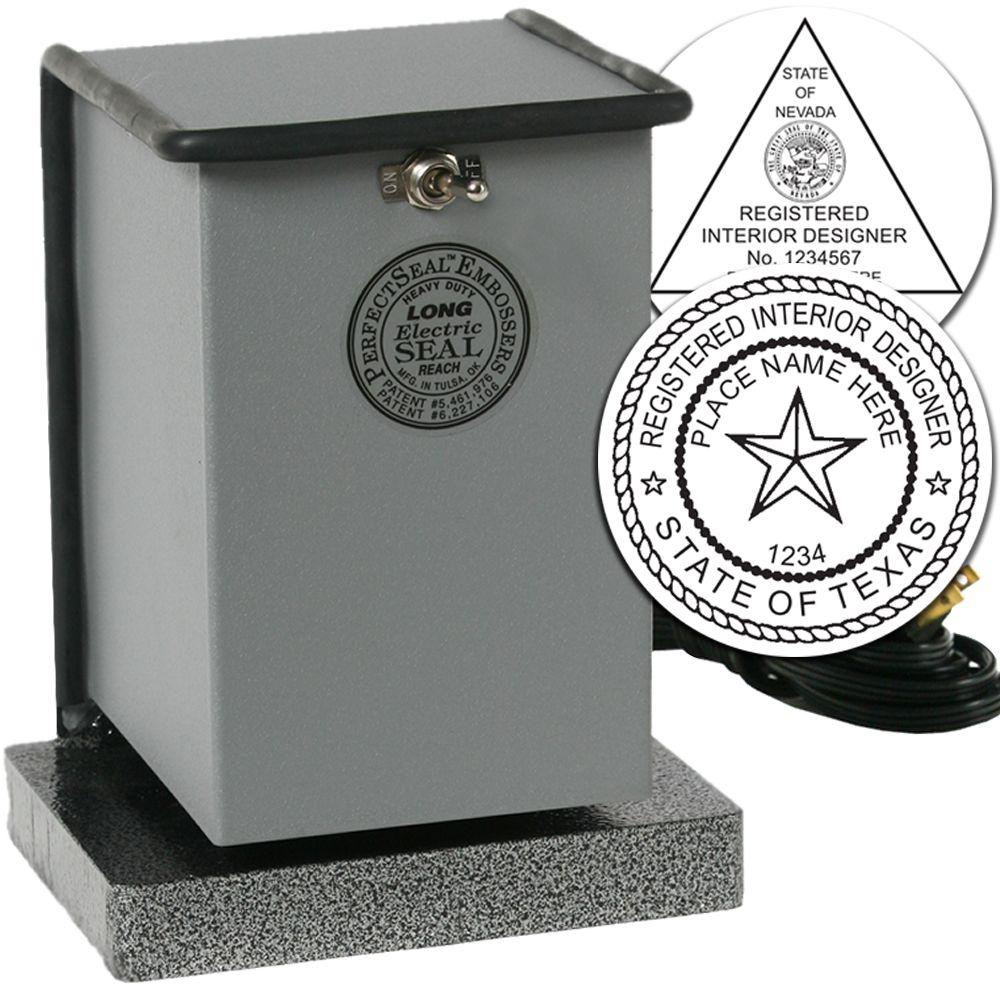
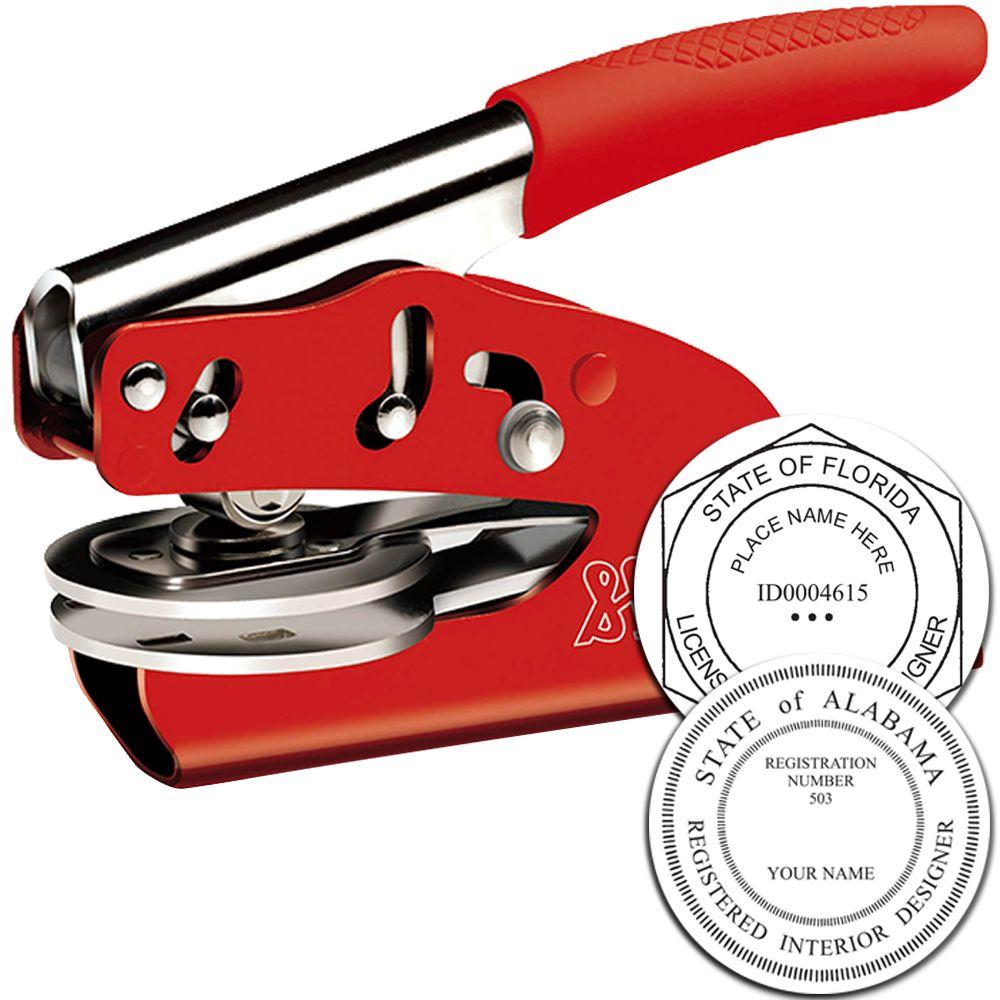
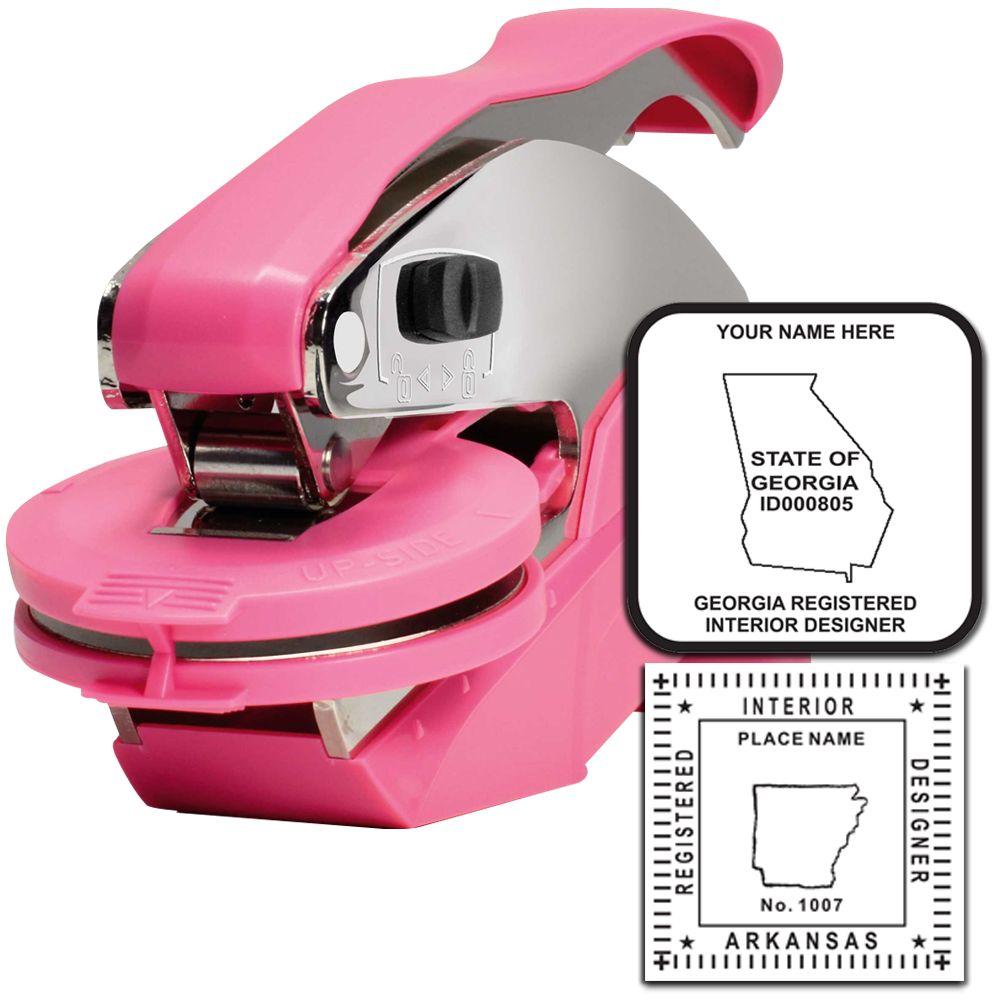
| Embosser | None | Raised impression with presence on an original | Does not survive a copy or a scan |
Designers who work mostly on paper originals often like an embosser for client copies. Designers producing lots of sheets tend to prefer a pre-inked or self-inking mount for the speed and the consistency. There is no wrong answer here, since no rule is grading it. If you also keep general office marks for forms and transmittals, a pre-inked stamp for forms shows how the same mount behaves on everyday paperwork.
Choose A Supplier Who Will Be Straight With You
With nothing prescribed, what you are actually buying from a supplier is craft: a die cut deep enough to hold small text, a mount that does not flex, ink matched to the mount, and a proof at finished size you can read before anything is made.
It also helps to work with someone who will tell you when a jurisdiction asks for nothing. A supplier offering to make your seal match Guam interior designer specifications is selling a feature that does not exist.
Why Acorn Sales
We have been making stamps and seals for professionals since 1964. Because Guam prescribes no interior design seal, we set your wording from scratch at the size you pick rather than dropping it into a template, and we send the artwork back for approval before cutting anything.




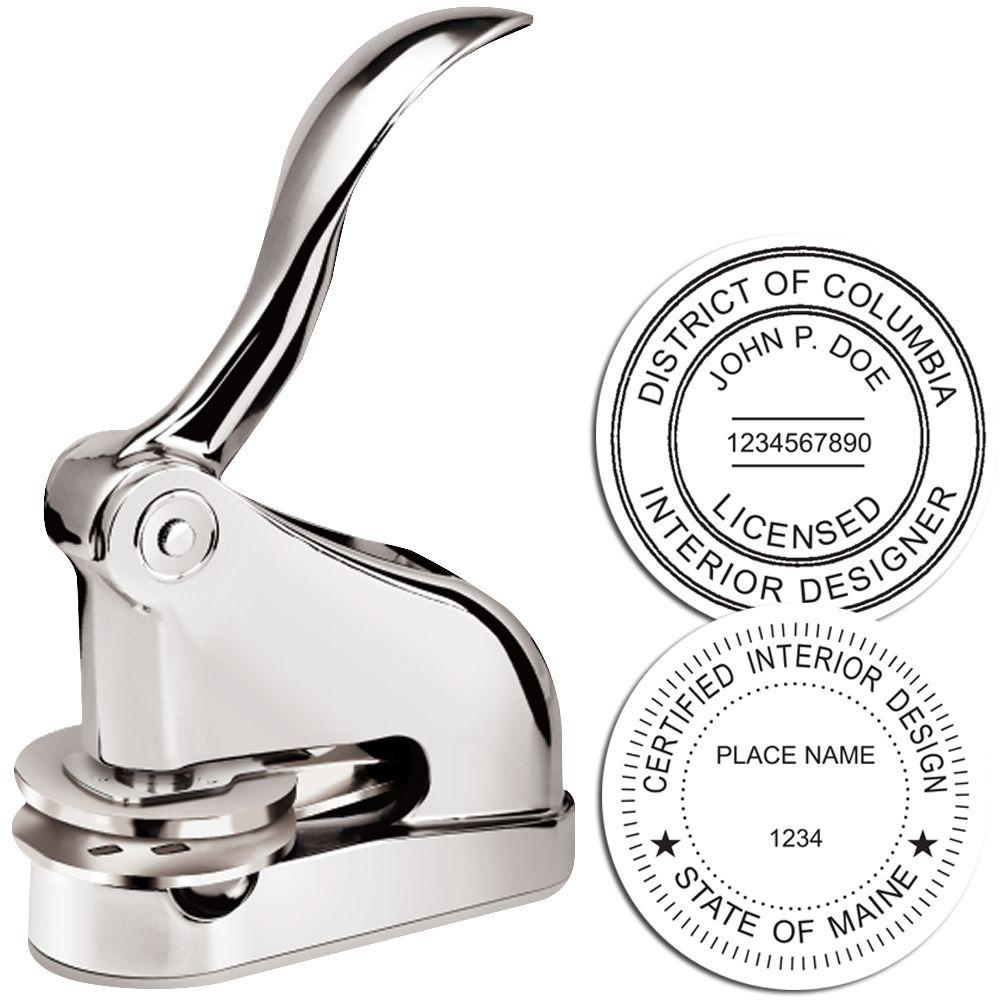
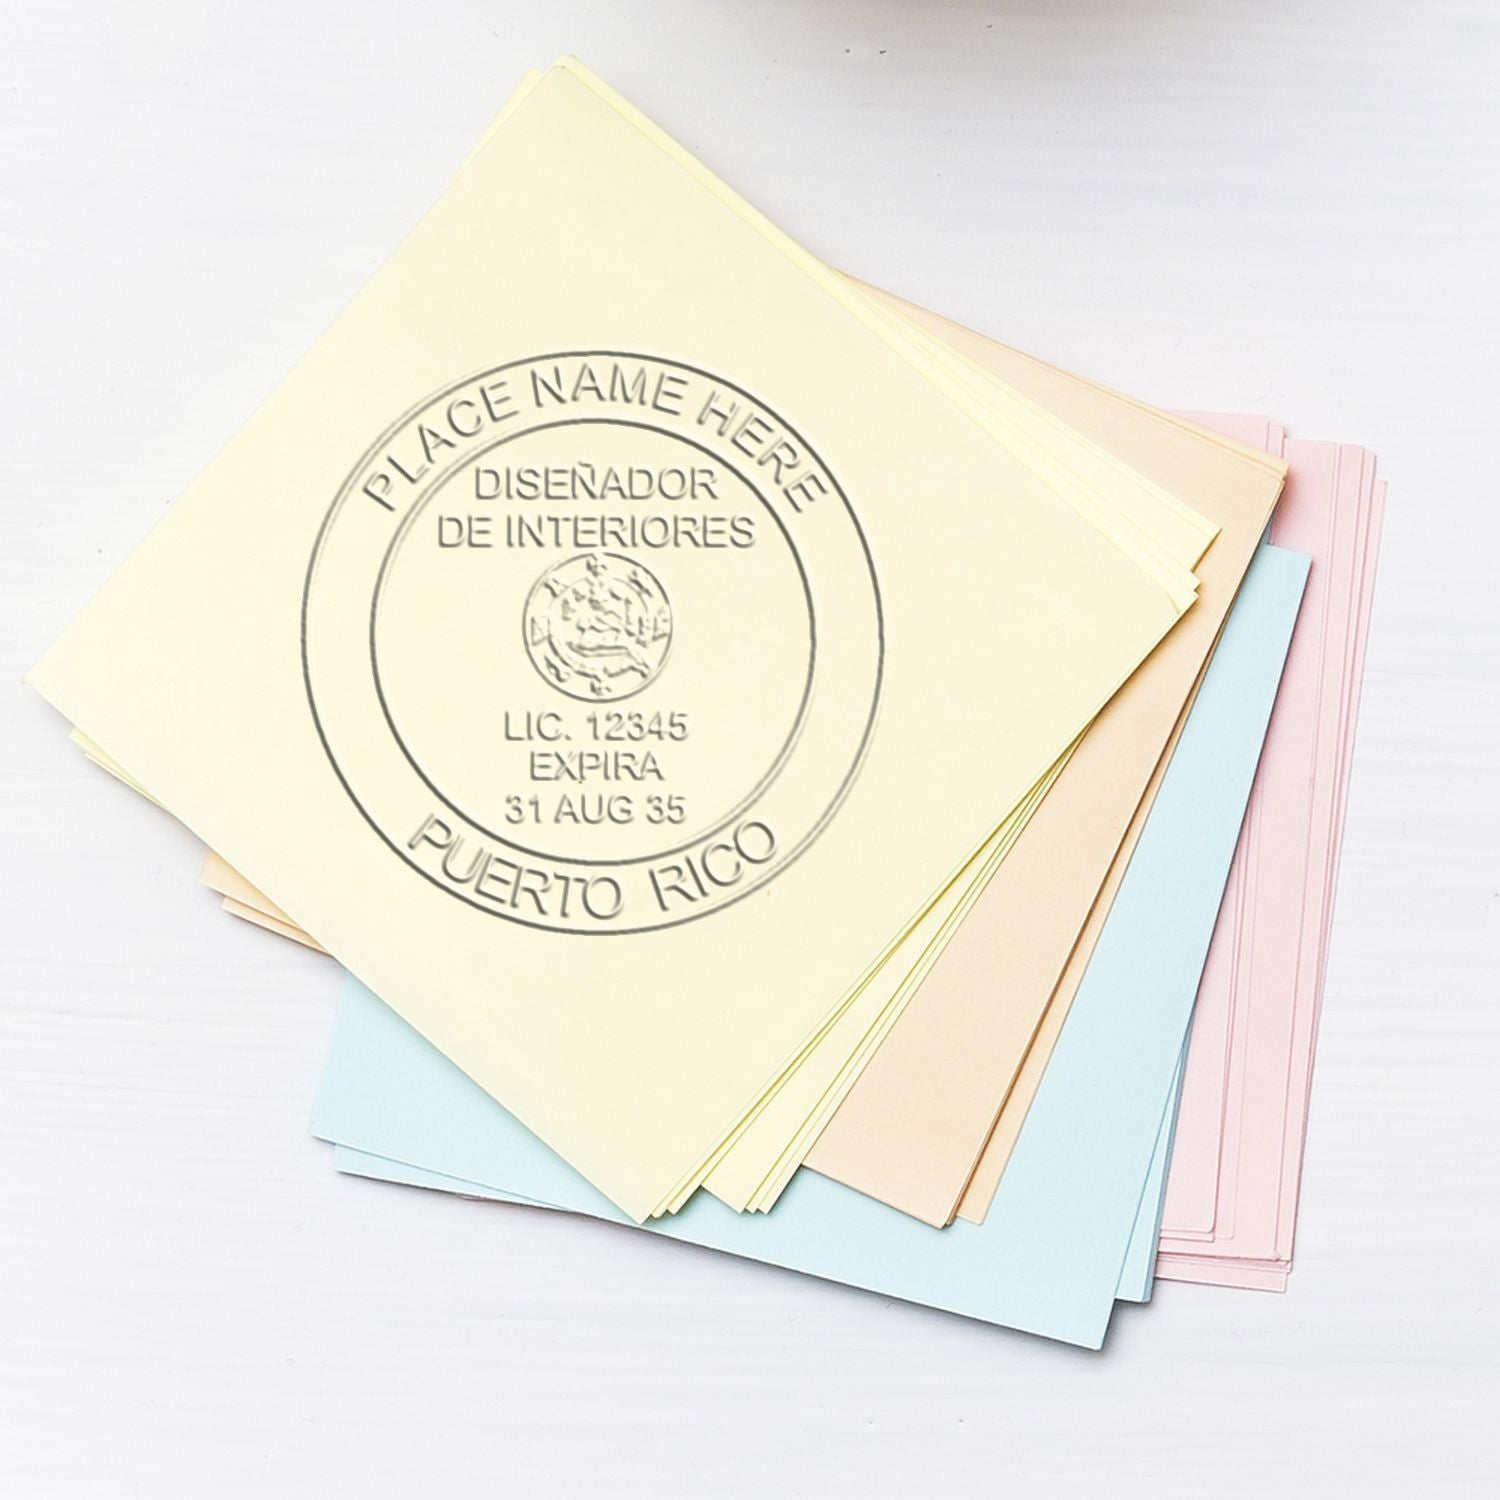
A free digital seal comes with the order. That is the file you place on a PDF when a set goes out by email, so the electronic copy carries the same mark as the printed one. You can use it as soon as it arrives, while the physical device is still in transit.
If you want a layout looked over first, or you are deciding between a mount and an embosser, contact us and describe how you work.
How To Order
There is no application, no territorial filing and no waiting on a board. The sequence is short.
-
Write out the wording. Exactly as it should read, line by line, including spelling and any number you are including. Send that text rather than a description of it.
-
Pick the format and size. Self-inking, pre-inked, handle and pad, or an embosser. Set the longest line at the finished size and check that it survives a photocopy.
-
Read the proof properly. Check every character and every digit, and confirm that each claim on the die is one you hold. This is the cheapest moment to catch anything.
-
Approve and order. Confirm shipping, which matters more than usual for an island address, and give yourself room before a deadline rather than paying to rush it.
Use It And Look After It
Test the device on scrap paper before it touches a real sheet. Look at the whole impression, edge to edge, and confirm the small text holds together. Then pick a position on the page, beside or below the signature, and use that same position on everything, because consistency is what makes the mark useful to the people reading your documents.
Guam's climate is hard on rubber and ink. Keep the device cool, dry and closed when it is not in use, and away from direct sun in a truck or on a site. Wipe an embosser die so grit does not soften the raised detail.
Order a new device when the wording stops being accurate, not on a schedule. A name change, a new studio, a certification you have added or dropped, all of those are reasons. There is no renewal cycle attached to the device itself, since no registration sits behind it.
What The Mark Is For
An interior designer stamp on Guam is a presentation tool and a signature tool. It says a person prepared this and stands behind it, on a set that may pass through half a dozen hands. That is worth having, and it is worth having for the right reason rather than because a vendor page implied a rule that does not exist.
Get the wording accurate, pick a mount that matches your volume, read the proof, and the device will serve you for years. If you want the digital side covered as well, Acorn Sales includes a free digital seal with your order, so a restaurant fit out or an apartment project leaves your desk looking the same in print and on screen.
Frequently Asked Questions
Does Guam require an interior designer to have a stamp?
No. Guam does not license or register interior designers, and 22 GCA chapter 32, the Professional Engineers, Architects and Land Surveyors Law, does not mention them. No territorial rule asks an interior designer here to seal a document. Designers order one because it identifies the author and finishes the page.
Can I put a Guam license number on my stamp?
No, because there is not one to put on it. Guam issues no interior design credential, so a number or a registered title on the die would describe something that does not exist. Use your name, your title and your studio, and name the issuer of any outside certification you include.
Do I need both a stamp and an embosser?
Neither one is asked for, so this is purely about the documents. An ink impression carries through copies and scans, which suits drawing sets. A raised impression has more presence on an original a client keeps. Some designers own both and choose by document.
Does my stamp expire?
No. There is no registration behind it to lapse. You replace it when your details change or when the device wears out, and the same goes for the digital seal file.
What if something on my stamp is wrong?
Go back to the supplier for a corrected device. An error on the die breaks no territorial rule here, but a misspelled name on every document you issue is worth fixing right away, so read the proof carefully in the first place.








