

If you’re working in the Beaver State, chances are you’ve come across the Oregon architect seal stamping process at some point. It’s a vital step for ensuring your designs meet state standards and for showing clients that everything is properly certified. In this post, you’ll find a friendly guide on how to navigate this process quickly and easily, plus some tips to keep your work running smoothly.
Get Familiar With Requirements
Before anything else, it helps to know the basic rules behind the stamp or seal you’ll be using. Oregon has specific guidelines for size, lettering, and content, which you can explore in more detail at oregon architect stamp requirements. By staying up to date, you’ll avoid pesky reprints or corrections down the line.
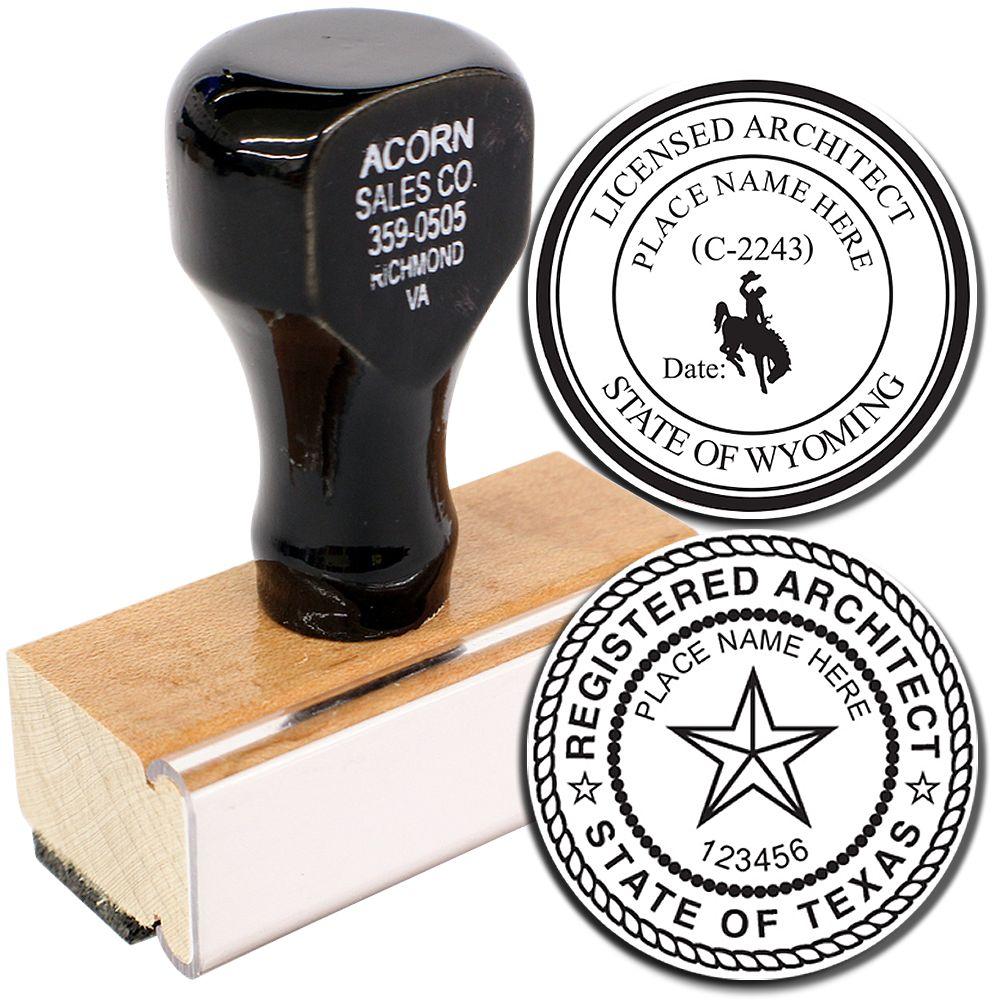

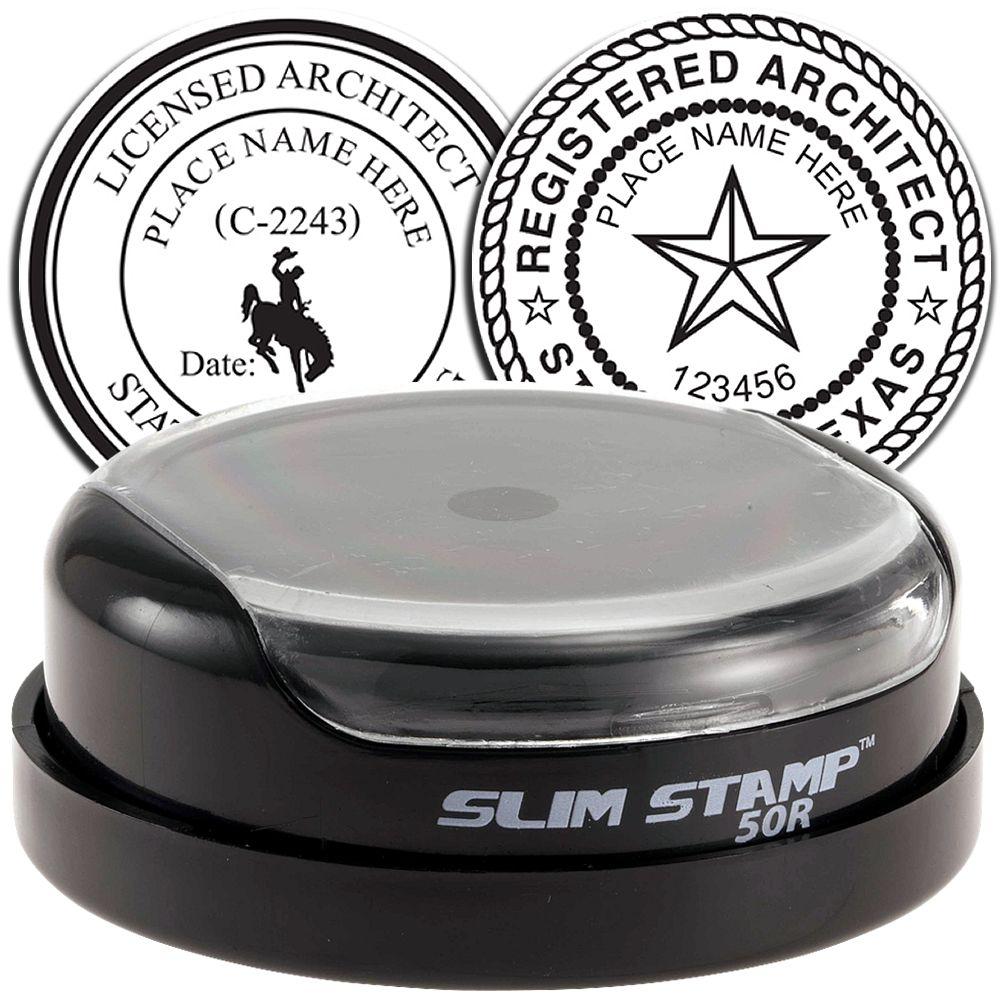



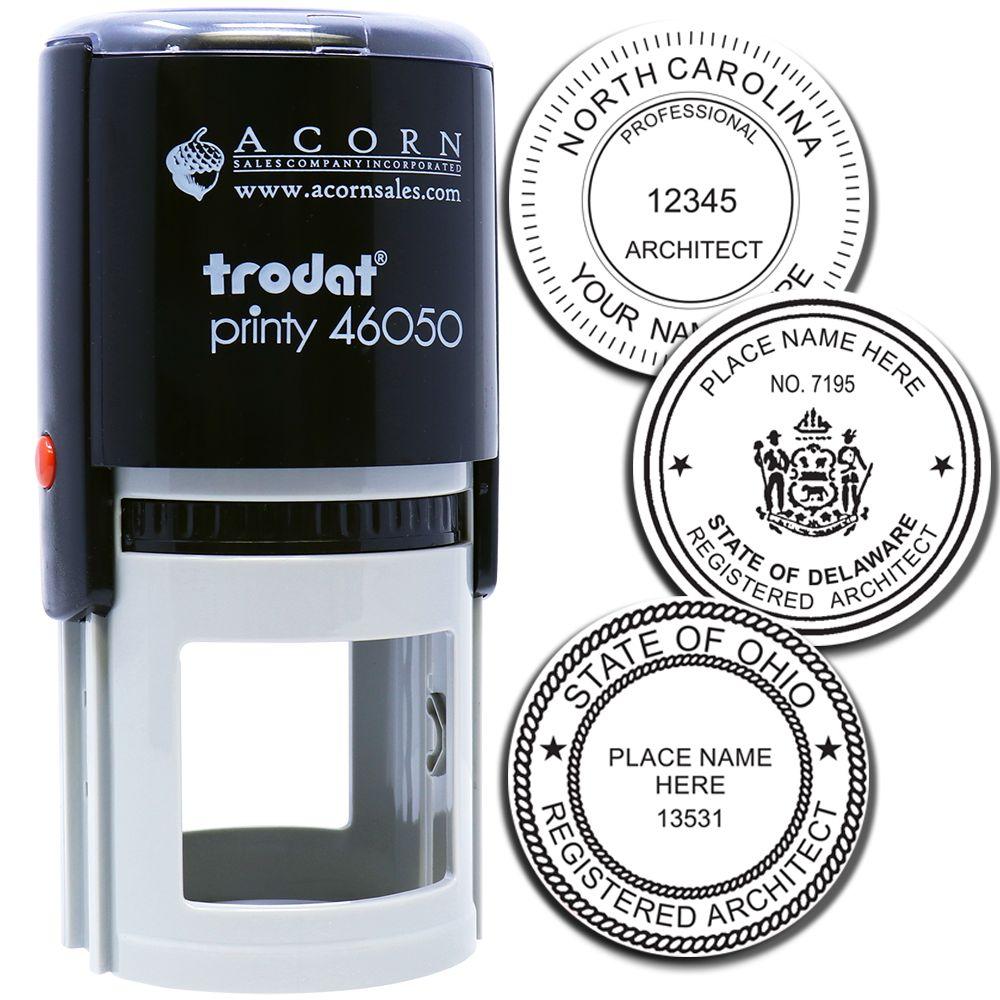

Gather Your Materials
Next up is making sure you have everything in one place. After all, you don’t want to hunt for your stamp mid-project. Typically, you’ll need:
- Your physical or digital seal (depending on preference or project requirements)
- Proper ink for physical stamps
- A clear workspace, free of paper clutter or dust
- Access to relevant design documents or files
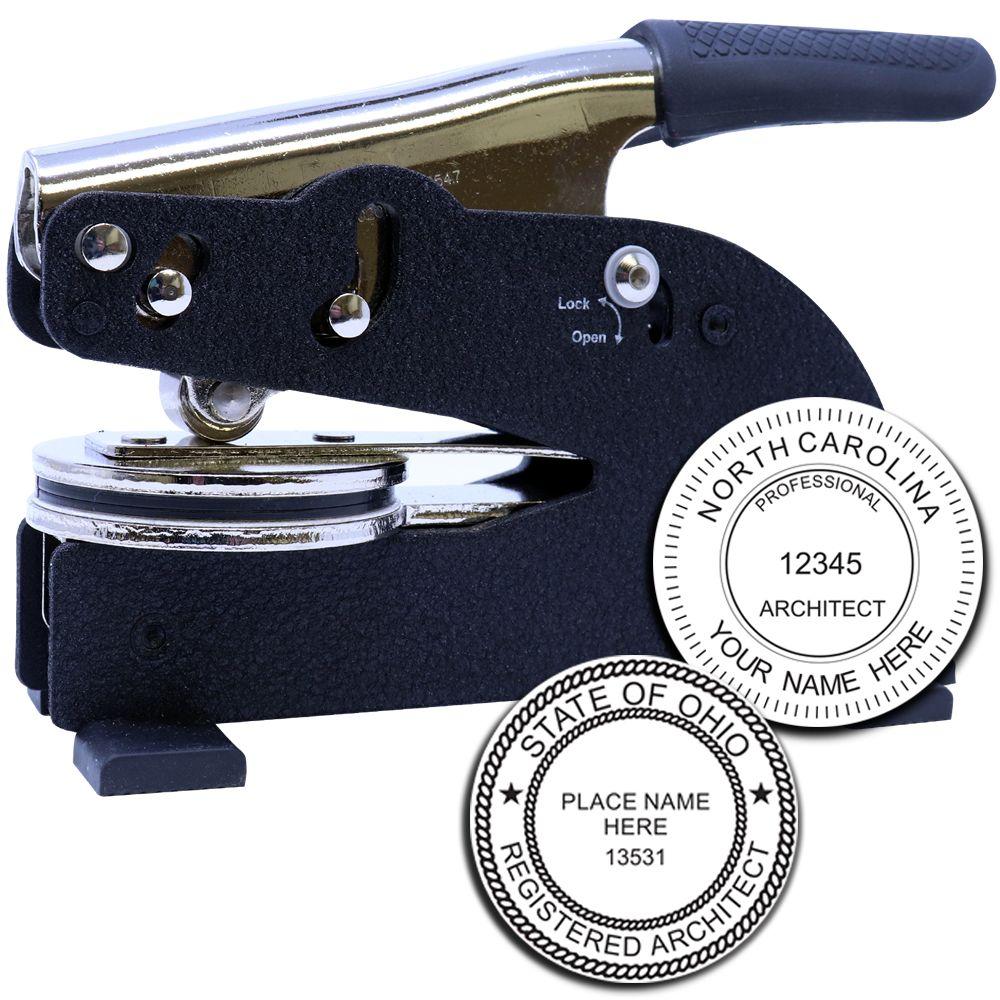
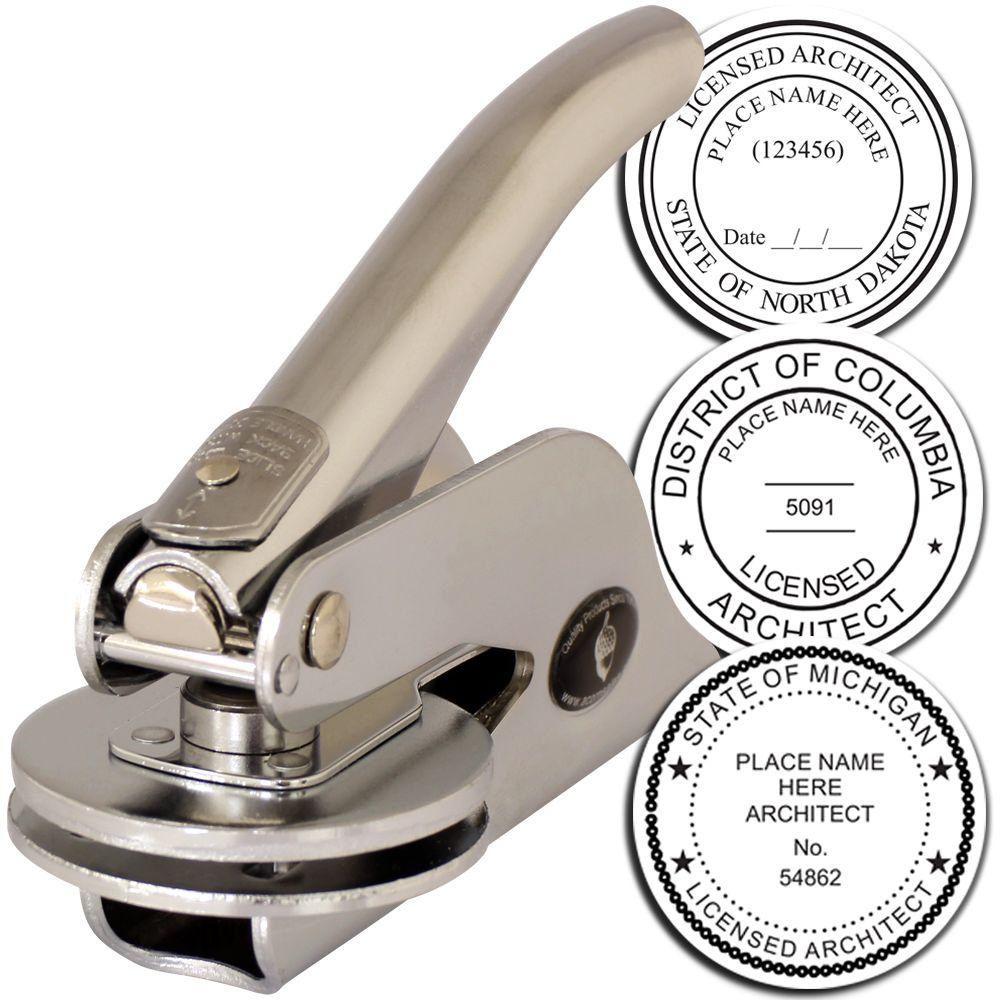
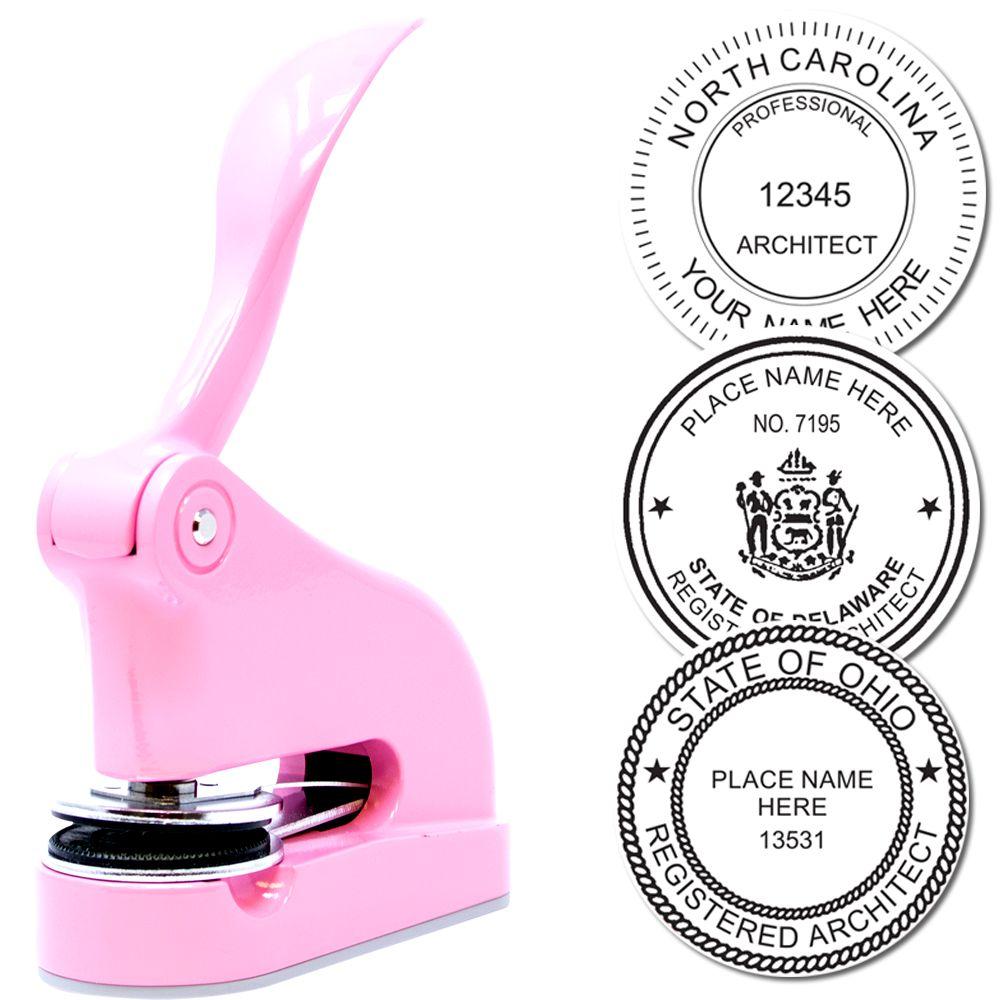
Many professionals prefer ordering from trusted suppliers like Acorn Sales. We’ve been around for over 60 years, providing Oregon Architect Stamps, Oregon Architect Seals, and even digital options if you need a quick turnaround.
Master The Stamping Steps
When it’s finally time to place your seal, here’s a straightforward approach to keep things efficient:
Review Your Plans
Double-check you’re stamping the correct page or digital sheet. Look for the designated area where the seal must appear.Position Your Seal
For physical stamps, ensure even pressure by placing the paper on a hard, flat surface. For digital stamps, confirm you’re adding the seal at the correct resolution.Apply Ink or Digital Seal
If you’re printing, press firmly and lift straight up to avoid smudges. With a digital seal, insert the file at the exact spot, then save under a new version to preserve edits.Verify Alignment
Make sure all text is legible and lines up with relevant sections. You don’t want a crooked or partially inked mark that might confuse reviewers later.Document Everything
Add notes on when and where you stamped. It’s a small step that can prevent bigger headaches if you need to revisit the file.


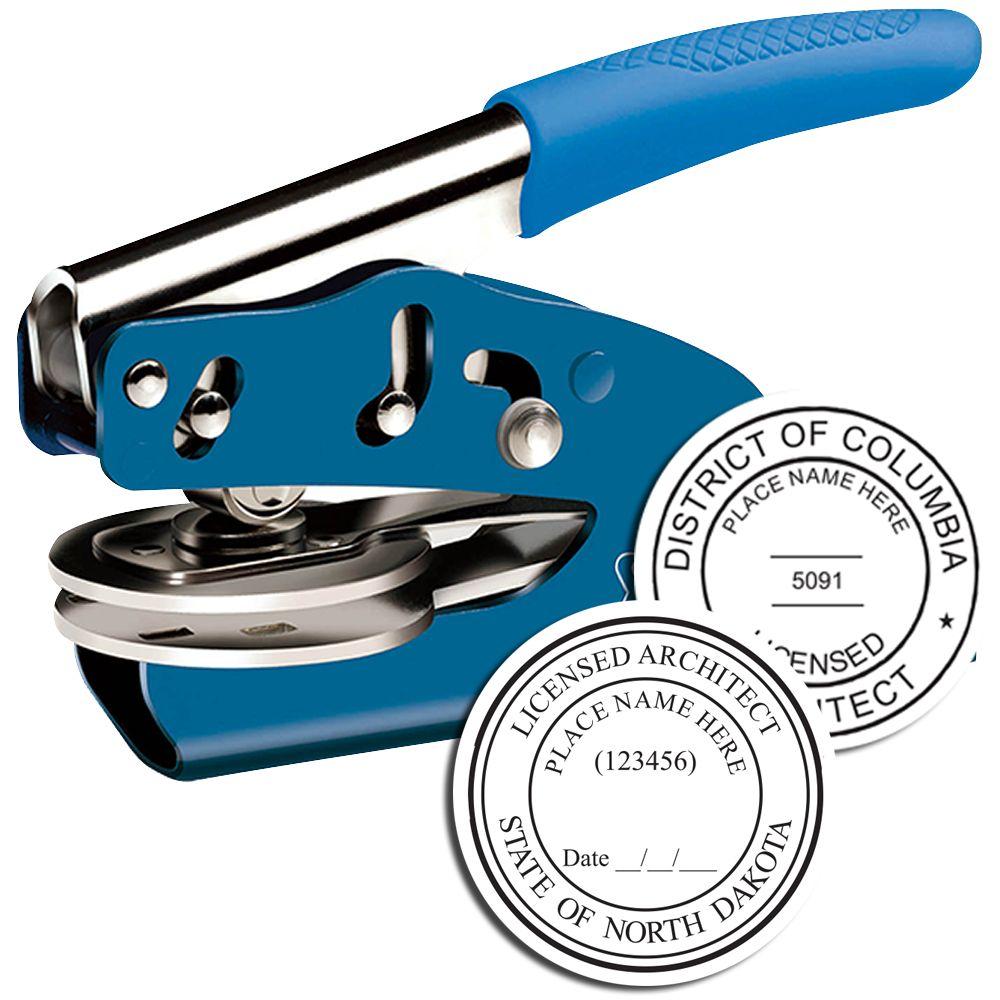










Ensure You Meet Compliance
Oregon’s regulations matter, so do a quick check after stamping. Confirm your seal has the right details, like your name, license number, and the state designation. If anything’s missing, correct it sooner rather than later.
When in doubt, remember that Acorn Sales offers state-compliant seals, both in physical and digital formats. It’s all about peace of mind so you can focus on the creative and structural details instead of red tape.
Stamping your Oregon drawings
Once you’ve verified your stamp, you’re essentially on the home stretch. Keep a consistent method for stamping your projects so the process feels second nature, and always record the seal application date for your own records. If you ever need an updated seal, or if you’re looking for quick shipping and reliable support, consider turning to Acorn Sales. Our experience with Oregon Architectural Seals runs deep, and we’re happy to help you keep your paperwork in perfect shape.
Feel free to reach out if you have any questions or need personalized advice. With the right seal and a little attention to detail, it’s easy to stay compliant, share impressive drawings with clients, and keep your Oregon projects moving forward.
Frequently Asked Questions
Can I use an electronic seal instead of a physical stamp?
Yes. Electronic seals are acceptable in Oregon, provided they meet state guidelines and are clearly legible.
What stamping ink color should I use?
Most architects use black or dark blue ink for best contrast. Just make sure your seal is easily visible on any printed documents.
Do I need to re-stamp if I revise my drawings?
Generally, yes. If you make significant changes, you should re-apply your seal to the updated version to reflect the current design.
Can I order a custom size for my seal?
Oregon has minimum size requirements, so check they’re satisfied. If custom dimensions still meet official guidelines, you can definitely customize.
How long does it take to receive a new stamp?
With Acorn Sales, you can expect quick turnaround times. We work to ship your stamp ASAP so you can get right back to your projects.
What if my seal doesn’t match the state requirements?
You’ll want to correct it right away to avoid delays in approvals. Contact us at Acorn Sales, and we’ll help you make it right quickly.








