
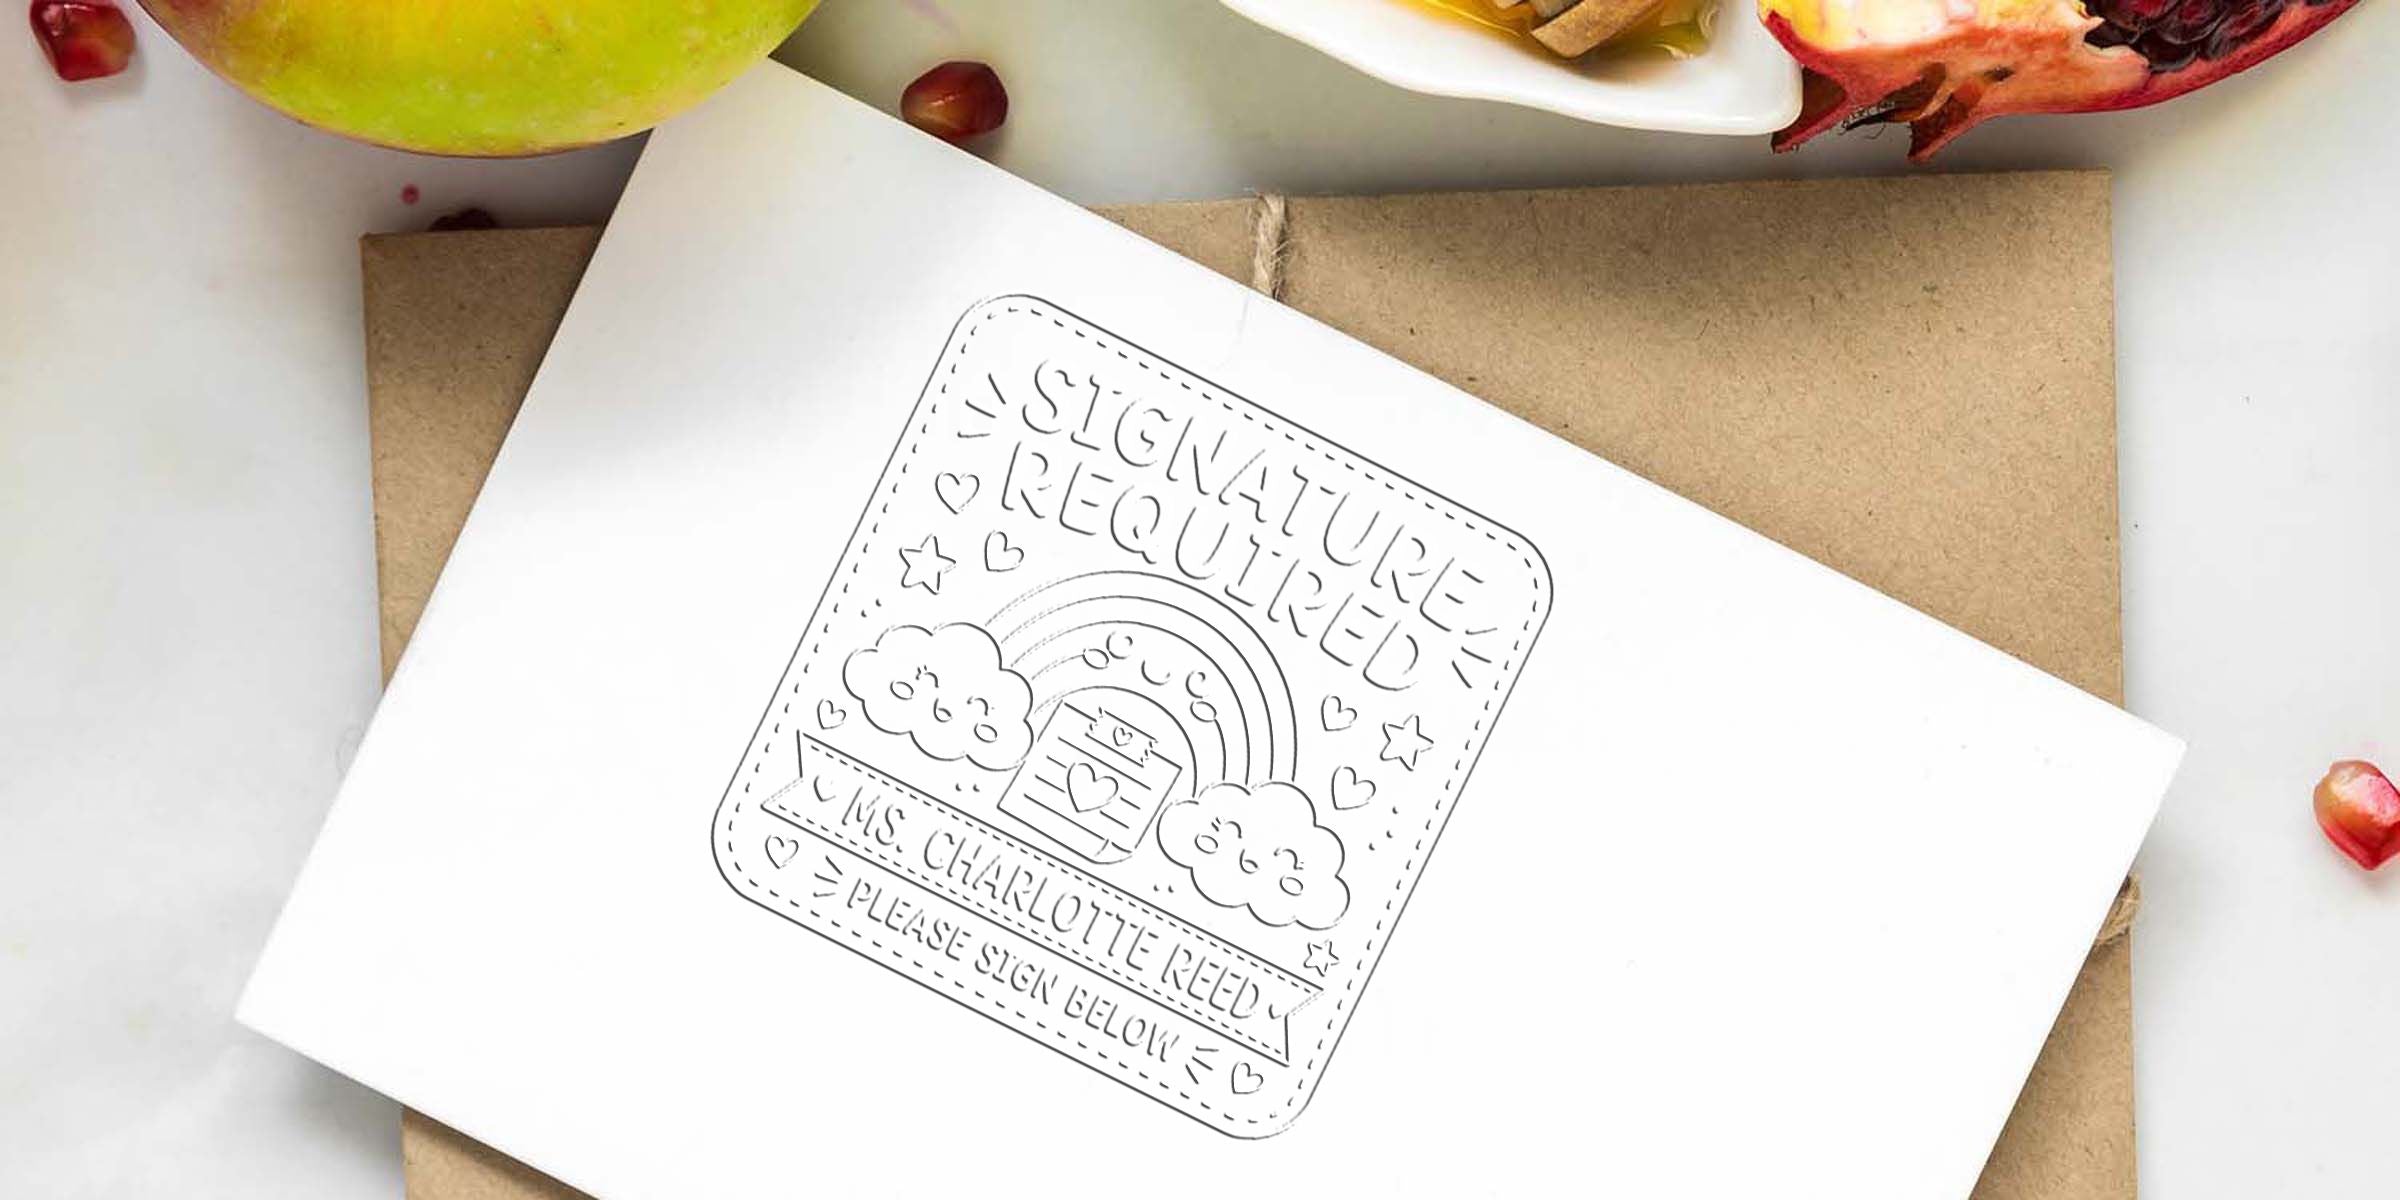
Embrace Your Embossing Seal Kit
If you’re looking for a simple way to elevate your brand materials, an embossing seal kit can do wonders. From personalized stationery to official documents, your seal adds that extra polish people notice. The raised impression creates a tactile experience, making your logo or design stand out on each page. The best part? It doesn’t take a design genius to pull it off. With just a few tools and a little know-how, you’ll soon emboss like a pro.
In this post, we’ll chat through the core benefits of using an embossing seal kit, break down the crucial steps to get started, and highlight how it boosts your overall brand appeal. Let’s walk through what you need to know, so you feel ready to press, seal, and impress.
Understand Custom Logo Embossing
Custom logo embossing is exactly what it sounds like—taking your unique design and pressing it into paper or cardstock to form a raised impression. This raised effect is both visual and tactile, offering a subtle sense of prestige. Whether you use your logo or a special illustration, the embossed element leaves a personal touch on letterheads, business cards, invitations, and more.
Because you hold the power to tweak your design (maybe add a monogram, a unique border, or a clever tagline), custom logo embossing becomes a prime way to highlight your brand identity. You’re not just printing a logo; you’re making it pop off the page. It’s like giving your branding materials their own distinct handshake—one your audience can’t wait to engage with.
Recognize The Branding Benefits
Elevating your brand doesn’t always require a massive budget. An embossing seal kit can transform everyday documents into premium pieces. Here are some key reasons it’s a worthwhile investment:
- Immediate Professionalism: Stamping your seal on envelopes or business proposals lends a professional finish.
- Visual Consistency: By using the same embossed design across various materials, you strengthen brand recognition.
- Special Touch: The feel of an embossed mark shows attention to detail, conveying trust and quality to anyone who handles it.
Your brand is a combination of what you say and what you show. Consistent embossing helps you show the right message at a glance.
Gather Essential Components
Before you begin embossing your design, you’ll want to have your kit and supplies in order. This saves time and prevents any scrambling mid-project.
Tools In Your Kit
Most embossing seal kits include:
- A Handheld or Desktop Embosser: The core tool that presses your design into the paper.
- A Custom Die Insert: This custom-engraved metal plate captures your logo or artwork.
- A Base or Alignment Frame: Some kits come with a base structure to help ensure your impression lands precisely where you want it.
Many people also explore custom embossing stamps to pair with their seal kit. This is especially useful if you want additional variations or prefer a specific stamping technique for different projects.
Materials For Best Results
When it comes to paper, not all sheets are created equal. For precise, crisp designs:
- Use Paper Between 20–32 lb: Too thin, and the emboss might tear the sheet. Too thick, and the impression might not show up as clearly.
- Stick To Smooth Finishes: Rough or heavily textured paper could distort your logo’s edges.
- Test Before You Commit: Sample a few sheets to see how deep the emboss goes and whether it matches your desired look.
Follow A Simple Process
Don’t be intimidated by the mechanics of embossing. If you treat it like pressing cookie dough into a mold, you’re already halfway there.
Prepare Your Design
- Double-Check The Fit: Ensure your custom die fits snugly inside your embosser.
- Gather Alignment Tools: If your kit includes a base or alignment guide, have it ready.
- Position Precisely: Mark a small pencil dot on the back of your paper where you want the seal. This makes alignment simpler.
Make The Impression
- Insert The Paper: Slide it into the embosser, lining up your pencil mark with the center of the die.
- Squeeze Or Press Firmly: Apply enough pressure to make the design crisp, but don’t overdo it—your goal is a clean imprint, not a puncture.
- Release Gently: Open your embosser and admire the raised pattern.
Review And Adjust
Sometimes, the pressed impression might be off-center or too faint. No worries. Just take a moment to adjust your alignment or experiment with different paper thicknesses. This step ensures you consistently produce high-quality seals.
Avoid Common Pitfalls
Like any craft, embossing takes a little practice. Here are some common pitfalls and quick fixes:
- Uneven Impressions: Check for dust or debris on your die, and confirm even pressure across the handle.
- Torn Paper: Try a slightly heavier stock or apply a touch less pressure.
- Faded Details: Some designs are too intricate. Simplify if you notice faint lines.
Embossing is about finesse, so don’t stress if it takes a few rounds to get the hang of it. Each press refines your technique.
Choose Acorn Sales
Your embossing seal kit is only as good as the craftsmanship behind it. If you’re ready to invest in a high-quality tool that precisely represents your design, we’ve got you covered at Acorn Sales. We’re proud to be your trusted supplier of custom embossing stamps and logo embossers.
Our 60+ Years Of Expertise
We’ve been perfecting the art of stamps and seals since 1964—yes, that’s over six decades of hands-on experience. Our journey began with a simple mission: to provide reliable, top-notch embossers and stamps that deliver consistency every time. Over the years, we’ve honed our techniques, upgraded materials, and stayed on the leading edge of design trends.
Our Quick Turnaround
We understand that when you want a seal, you often need it quickly. That’s why we work hard to offer a rapid turnaround on custom orders. You won’t be left twiddling your thumbs, wondering when you can start branding your materials. Whether it’s a corporate rebrand or a surprise event invitation project, we like to make sure you get your custom embosser when you need it.
Our Stellar Customer Service
Friendly support can mean the difference between a frustrating buying experience and a memorable one. At Acorn Sales, we believe in walking you through each step—answering questions about design, paper weight, or even providing tips on alignment. Got a concern? Feel free to ask us. We’re here to ensure you’re nothing short of thrilled with your final product.
We have been a stamp and seal maker since 1964, so you’re getting a wealth of expertise. Our quick turnaround, stellar customer service, and precision-crafted embossers help ensure each impression looks sharp and professional.
Conclude Your Embosser Journey
An embossing seal kit isn’t just about marking your materials—it’s about infusing every piece of paperwork, envelope, or announcement with a strong sense of identity. When you emboss your design, you’re instantly telling your audience you care about every detail, from the words on the page to the raised design that practically invites them to run their fingers across it.
Above all, branding is about consistency and quality. By integrating an embossing seal into your workflow, you’re sending a clear message: your brand is worth experiencing, both visually and by touch. If you’re ready to bring your vision to life, let Acorn Sales help you create a lasting, professional impression you’ll be proud to share.
Frequently Asked Questions
How Do I Choose The Right Embossing Seal Kit?
Look for a kit that offers a sturdy handle, a clearly engraved custom die, and alignment tools. Durability is key. You’ll also want to see if the kit contains any extras, like spare parts or practice sheets.
Does Paper Thickness Really Matter?
Yes. Extremely thin paper can tear under pressure, while very thick paper might make the emboss too shallow. Stick to 20–32 lb sheets for best results, and do a test run to confirm the design’s clarity.
Can I Change The Die Insert Later?
Absolutely. Many embossing tools let you swap out dies. This is perfect if you decide to update your logo or want to switch between a corporate seal and a more personal monogram for special occasions.
How Do I Keep My Embosser Clean?
Occasionally wipe the metal die with a soft, lint-free cloth. Particles can collect in the engraved areas and affect the clarity of your imprint. Avoid harsh chemicals—gentle cleaning is all you need.
Will The Emboss Fade Over Time?
No. Embossing is a physical impression in the paper, so it stays put indefinitely. If you use quality paper and store documents properly, the raised shape will remain intact for years.








