
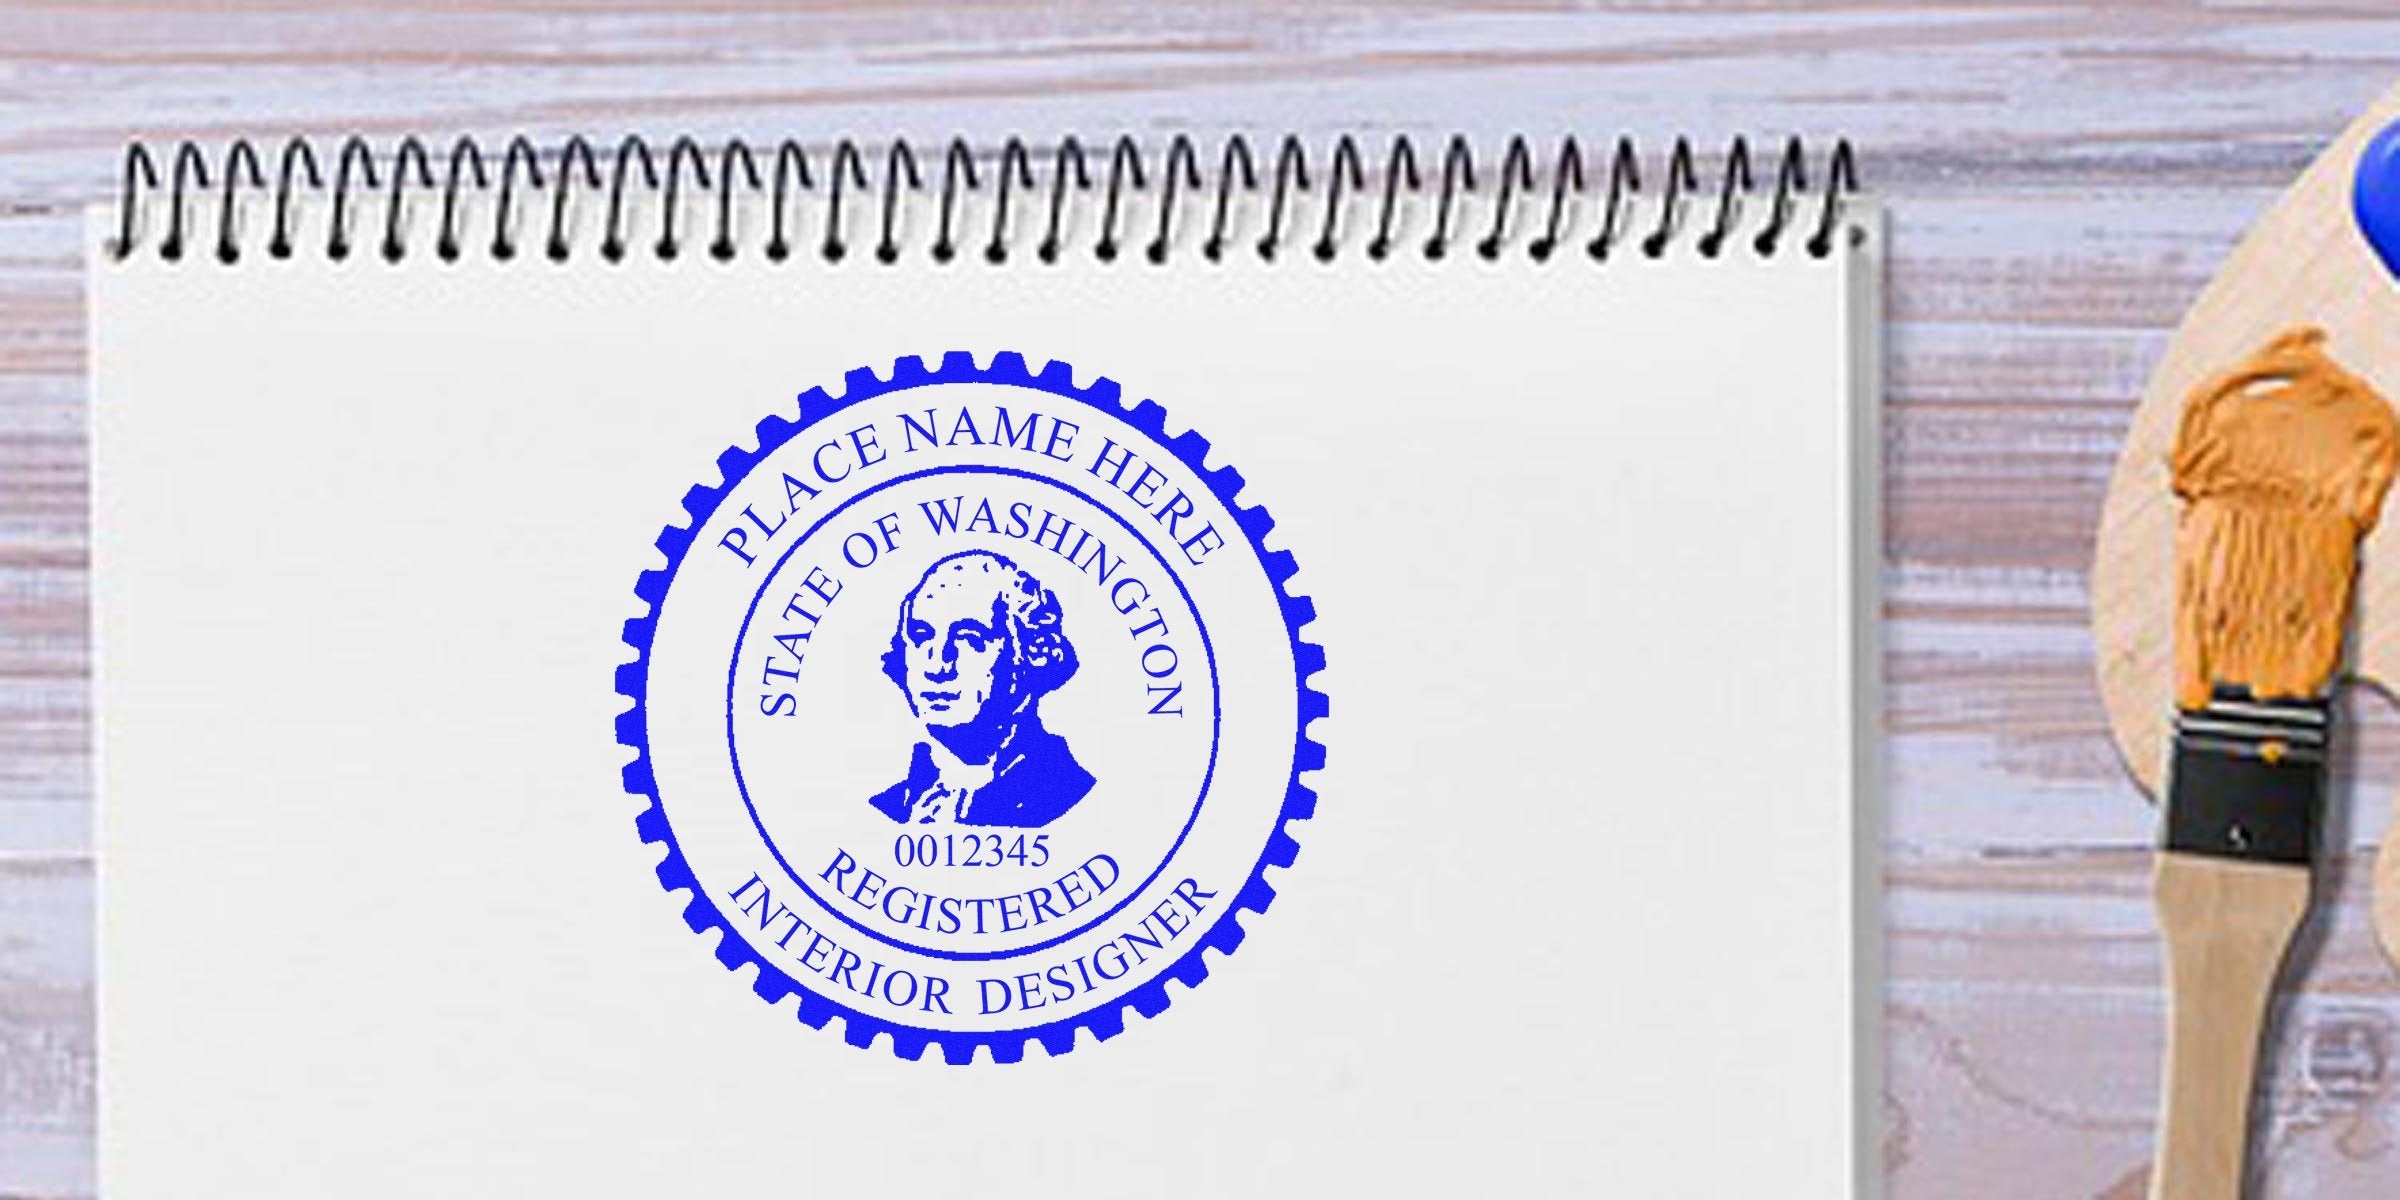
Explore Washington Seal Guidelines
If you are looking for straightforward information on Washington State Interior Designer Seal Guidelines, you are in the right spot. Navigating the rules surrounding interior designer stamps and seals might seem complicated at first. However, with a bit of clarity, you will see that following the state’s requirements can protect your professional standing and assure clients that their projects meet the highest standards. In Washington, carrying a proper seal is more than just grabbing a simple rubber stamp. It shows that you value your craft and that you are ready to comply with local regulations.
Before we dive into the details, remember that guidelines in Washington may evolve over time. You will want to stay up-to-date on the latest regulations, whether you are a new designer or someone who has worked in the field for years. Let’s break down why an official seal matters, how to use it, and where to get one that keeps you on the right side of the law.
Understand Purpose And Benefits
A professional seal is not just a fancy mark to place on drawings and paperwork. In Washington, and in many other states, stamping your plans with an official seal signifies that you are taking professional responsibility for the design’s accuracy and safety. It also:
- Demonstrates that your work is code-compliant, which can be crucial for getting plans approved by local authorities.
- Highlights your credibility, showing that you follow the state’s licensing and regulatory framework.
- Helps protect you and your clients by clarifying who is officially responsible for the project’s design.
What Does The Seal Include?
Typically, a Washington interior designer’s seal features your name, professional designation, and license number in a standardized layout. Sometimes, you will see a border or specific wording imposed by the state board to ensure uniformity. Always verify the state’s current format requirements before you finalize or order any seal. If you need more guidance, consider reviewing the washington interior designer stamp requirements, which can give you an outline of design and text elements to include.
Why Washington Has Specific Guidelines
Washington wants to ensure that all interior design work presented to building officials meets certain consistency and quality standards. By following these guidelines, you show respect for the legal structures that keep the public’s well-being in focus. Even if some rules feel like extra steps, remember that they help ensure a baseline level of safety and professionalism across the entire field.
Follow Proper Seal Placement
A seal is only useful if you know exactly where and how to apply it. In Washington, you will typically need to stamp:
- Technical drawings, blueprints, or plan sets submitted for official review.
- Key documentation that states critical structural or design components.
- Certain forms or explanatory notes that demonstrate you have taken responsibility for the project.
Sealing Paper Vs. Digital Files
You might wonder if you must physically stamp paper documents or if digital versions are enough. In many modern offices, digital seals are increasingly common. Washington authorities generally allow electronic seals, as long as you meet the verification and security requirements. This often includes embedding a secure signature certificate that ensures the documents cannot be altered without detection. Always confirm that your local jurisdiction explicitly accepts digital seals, especially if you are working with older systems or more traditional building officials.
Timing Your Seal
Stamping does not always happen at the very end of a project. Often, you will seal and sign each plan sheet that addresses significant structural or design details. The idea is to confirm responsibility for each significant portion of the work, ensuring accountability across the entire design process. If you are collaborating with architects, contractors, or other specialists, clarify who seals which sections so that everyone’s contributions are properly validated.
Choose The Right Format
You will find a variety of stamps and seals on the market, but in Washington, your seal must follow certain layout guidelines. You may choose from:
- Rubber stamp: A physical stamp you use with ink, onto paper documents.
- Embossing seal: A handheld or desk-style embosser that creates a raised impression on paper.
- Electronic seal: A digital file, often in PNG or PDF form, that can be placed on electronic documents.
Consider A Hybrid Approach
Some designers keep both a rubber stamp and an electronic seal on hand. The rubber stamp can be ideal for smaller offices or quick additions to paper drafts, while the electronic seal fits perfectly into a paperless workflow. Whether you choose one option or both, the end goal remains the same: you want your seal to be visible, legible, and compliant with Washington’s rules.
Standard Vs. Customized
The state typically prescribes the general design and wording you must use, but there may be some leeway in font style or spacing. You can sometimes request a custom approach, provided you keep the required text and layout in line with official regulations. Personalized seals might include small design accents or your company branding, but the core details—like your name, license number, and the phrase “Registered Interior Designer” or similar wording—should remain exactly as required by Washington law.
Work With Acorn Sales
Choosing the right supplier for your Washington interior designer seal can save you headaches down the road. At Acorn Sales, we specialize in stamps and seals that precisely meet state requirements. We have been in business since 1964, so you can count on decades of experience to bring you a reliable product. You will also get:
- Free Electronic Seal: When you purchase a physical seal, we provide a free electronic version to ensure you have both options at your disposal.
- Clear Compliance: Our team stays informed about changing seal rules, so you can feel confident that your order meets the most up-to-date guidelines in Washington.
- Long-Lasting Products: From rubber stamps to embossers, we use top-quality materials so your seal remains crisp and legible for years.
If you have questions, simply reach out to our customer service team. They can walk you through each step of ordering, customizing, and using your Washington interior designer seal.
Avoid Common Mistakes
Even if you understand the main idea behind your professional seal, it is easy to make a slip if you rush to meet a deadline or forget to recheck new rules. Below are some common pitfalls:
- Ordering a generic seal without verifying that it follows Washington’s specifications.
- Applying the seal on the wrong pages or forgetting to sign your name beside the seal.
- Overlooking the need for an up-to-date license number. If your license number changes or is renewed, you might need a new seal or an amendment.
- Sending digital files without embedding the seal securely, which might lead to local officials rejecting your plans.
Staying vigilant can save you time, money, and the frustration of going back and forth with building authorities. A professional seal should give you peace of mind, not cause a headache.
Key Steps For Compliance
You can think of professional licensure in Washington like a roadmap, with your seal serving as one important checkpoint. In addition to your seal, make sure you cover these bases:
-
Confirm Your License Status
Double-check that your interior designer license is valid and up-to-date. If you are in the process of renewing or if your credentials recently changed, get that squared away before you order a new stamp or seal. -
Know The Jurisdiction
Washington’s interior design rules may vary slightly from county to county. While the broader regulations apply state-wide, local building offices might have additional requirements. Make a quick phone call or check official county websites to avoid surprises. -
Finalize The Layout
Ensure you follow the official wording and layout for your seal. If you order from Acorn Sales, our specialists can guide you through the process. Otherwise, verify the guidelines on the Washington board’s website. -
Choose Physical, Electronic, Or Both
Evaluate your workflow. If you often submit digital documents, go for an electronic seal, or keep both formats available so you can stamp plans by hand when necessary. -
Maintain Documentation
Keep clear records of which documents you have sealed and signed. This not only helps you stay organized but offers a paper trail in case you need to verify or defend your work.
Example Seal Requirements Table
Below is a sample table that outlines core requirements you might see for a Washington interior designer seal:
| Criterion | Explanation |
|---|---|
| License Number | Must match the one assigned by Washington when you got licensed |
| Legal Name | Appears exactly as on your license (no nicknames or abbreviations) |
| State Identification | The seal typically includes “State of Washington” or similar wording |
| Professional Title | “Interior Designer” or “Registered Interior Designer” as required by law |
| Formatting Standards | Circle or oval shape, a border, and a standard font for legibility |
Keep in mind that the exact format might shift over time, so always check the most recent guidelines or consult a trusted supplier.
Summarize Your Next Steps
Getting your seal is a straightforward process, provided you are aware of the basic requirements. You want to make sure your seal meets every aspect of Washington’s guidelines, from the shape and text to how you physically or digitally apply it. Once you get in the habit of sealing responsibly, you will find it is a valuable part of your everyday professional routine.
Even beyond compliance, an official seal can boost the trust factor with your clients. It signals that you do not cut corners and that you have taken conscientious steps to meet legal standards. Essentially, it acts like a seal (pun intended) of approval for your professional abilities.
Your Washington seal is unique to your license and the state’s regulations. If you move elsewhere, you will likely need to acquire a new license and a new seal that matches the rules there. Some states have reciprocity agreements, but you should verify local laws before sealing any design work under a different jurisdiction.
Remember, a proper seal is about more than mere compliance. It is about demonstrating that you take your interior design role seriously. Whether you are just starting in Washington or looking to upgrade your current stamp or seal, staying on top of the guidelines keeps your projects safe, your clients confident, and your reputation strong. And if you ever have questions or simply need a reliable seal supplier, Acorn Sales is here to help you stay a step ahead. Happy designing!
Frequently Asked Questions
Is The Seal Required In Every Washington County?
Yes, in most cases. While enforcement can vary depending on local authorities, Washington state regulations generally mandate that interior designers affix their official seal on significant project documents. If you are unsure of local variations, reach out to your county’s building office for clarification.
When Do I Need To Update My Seal Design?
You should update your seal design whenever your license details change — for example, if you have a name change or your license number is reissued. Also check periodically for updated design specifications from the state board. A quick review every year or so helps ensure your seal remains valid.
How Can I Order From Acorn Sales?
Ordering from Acorn Sales is easy. You can visit our website to explore the variety of Washington-compliant interior designer stamps and seals we have available. Simply choose the style (rubber stamp, embosser, or electronic seal) that fits your needs, provide the required information (like your license number), and let us handle the rest. Plus, we give you a free electronic seal with every order, which means you can seamlessly toggle between paper and digital submissions.








