
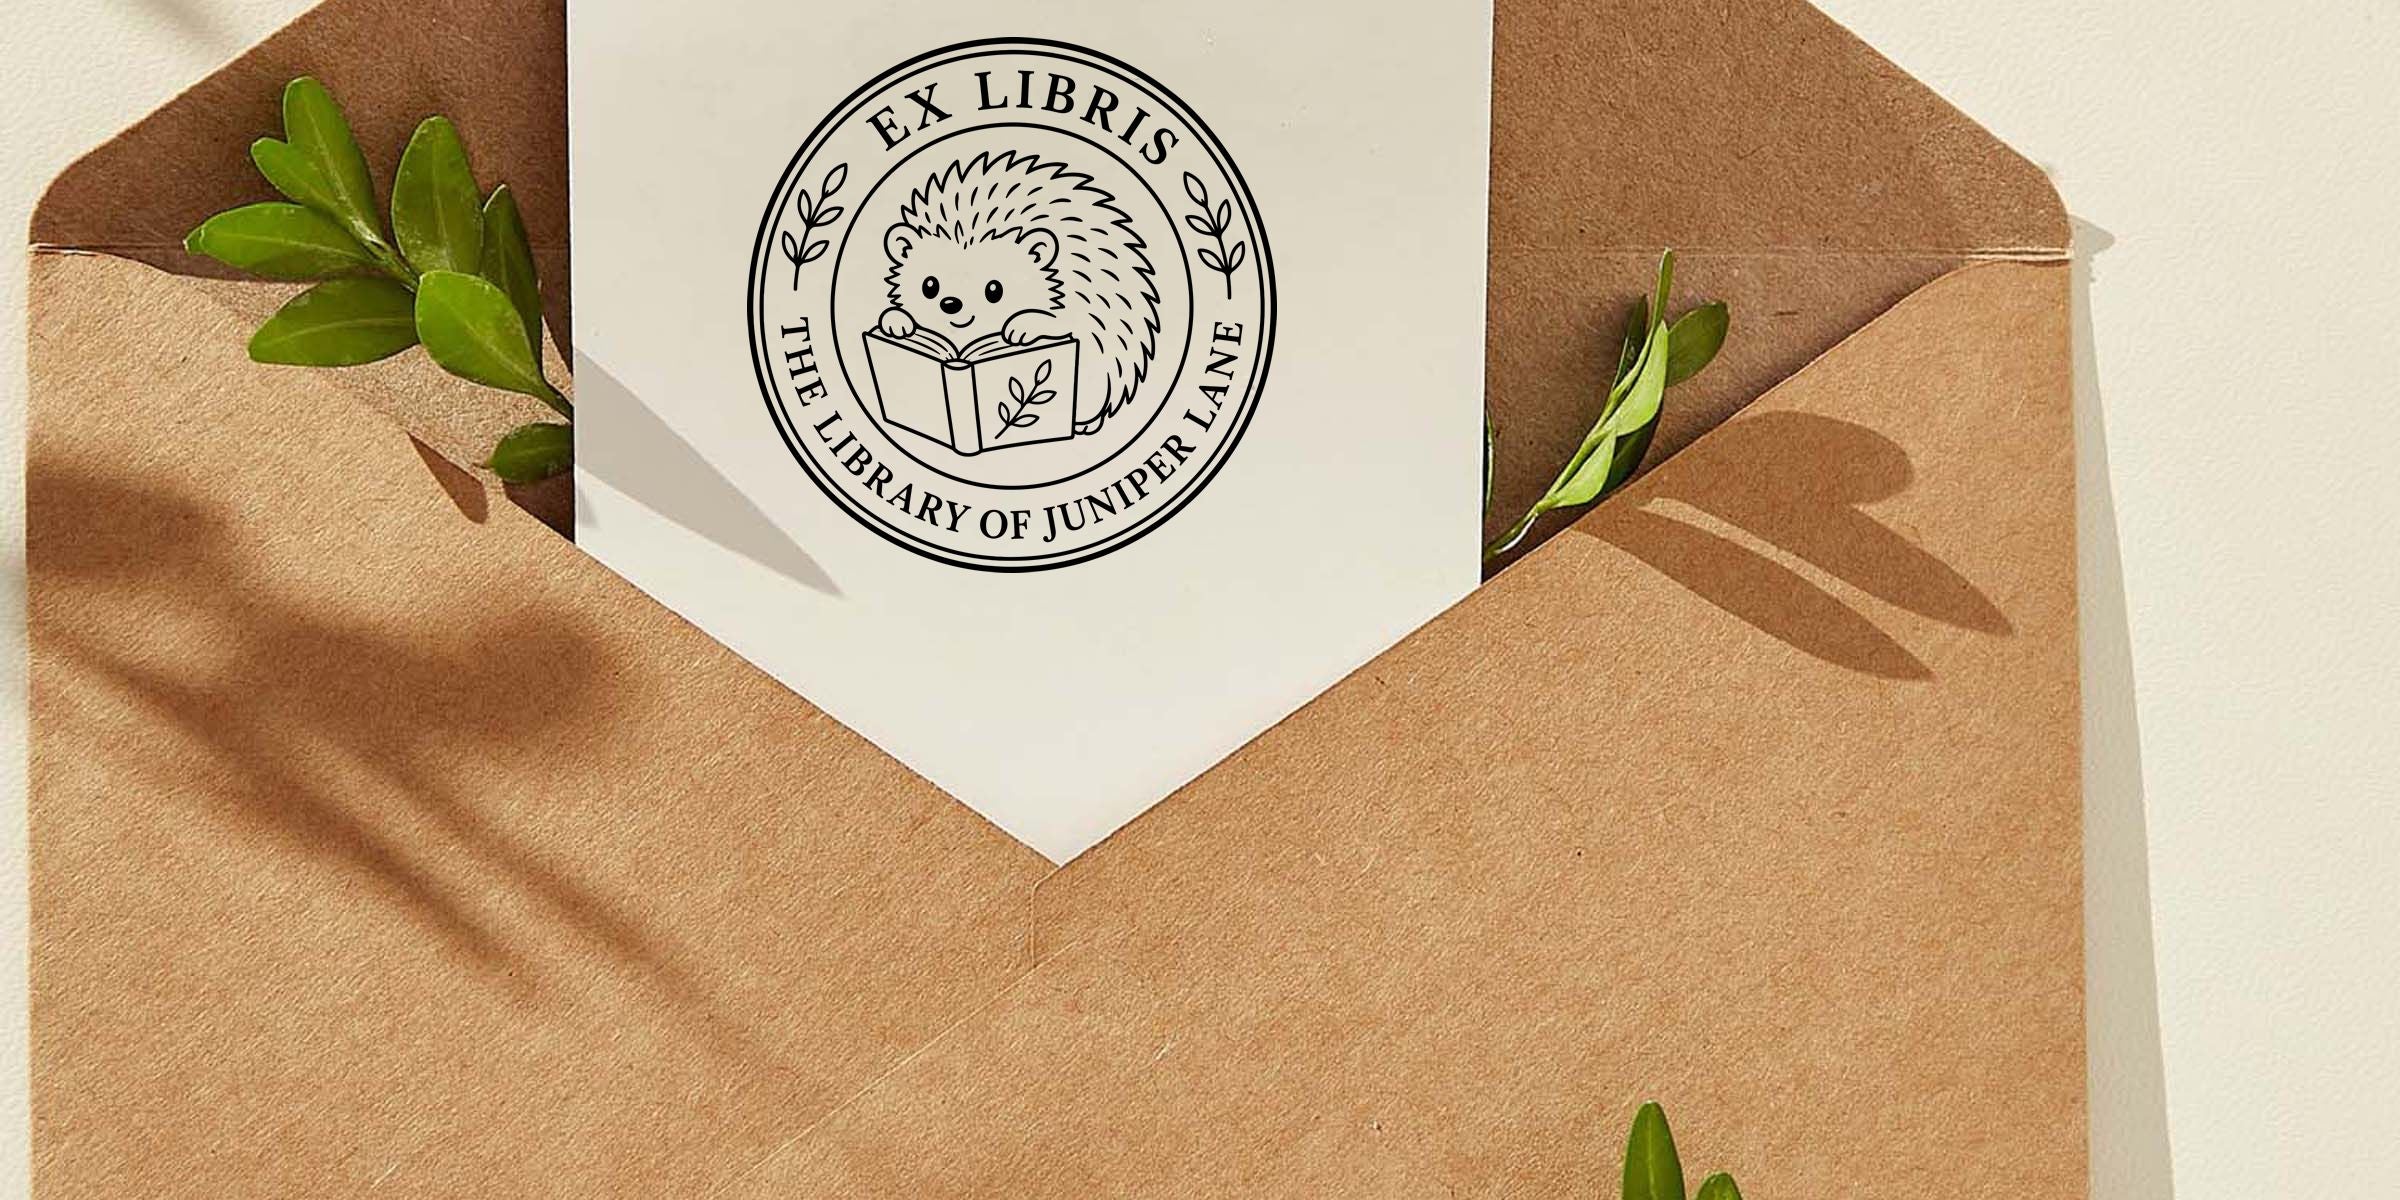
Have you ever admired a crisp, raised impression on a formal letter or high-end invitation and wondered how to achieve that polished look yourself? An embossing seal for stationery can elevate everything from personal notes to business correspondence. Whether you’re mailing elegant event invites or designing branded letterhead for your company, an embosser adds that extra professional flair. In this guide, you’ll discover what makes an embossing seal stand out, how to select the right one for your needs, and why working with a reliable partner is so important.
Understand the Purpose
Before you decide on the perfect embossing seal, it helps to understand how it’s used and what it can do for you. By pressing a design into paper (or even thin cardstock), an embosser physically alters the surface to produce a raised or recessed impression. That raised mark can highlight a logo, monogram, address, or any decorative design you’d like. And because embossing is a physical imprint rather than just ink, it feels quite substantial and personalized.
An embossing seal for stationery can:
- Add perceived value to business letters, memo pads, or custom envelopes.
- Provide a subtle layer of security if the design includes official identifiers.
- Make your personal correspondence memorable and unique.
Many people pair their embossers with printed or handwritten stationery for a refined, cohesive touch. The tactile quality alone sets it apart from standard digital printing, so you end up with an unmistakable mark that’s difficult to replicate with typical office equipment.
Compare Key Embosser Styles
There’s more than one way to emboss your stationery, and choosing the right style can enhance both usability and appearance. You might prefer a handheld unit if you’re only embossing a few sheets at a time, or you may want a desk or electric model for larger-volume projects.
Below is a quick comparison of different embosser styles you could consider:
| Embosser Style | Features | Best For |
|---|---|---|
| Handheld | Lightweight, portable | Occasional use, quick labeling |
| Desk | Sturdy base | Medium to heavy use, consistent depth |
| Electric | Motorized operation | High-volume, rapid production |
Handheld Embossers
- Usually less expensive, making them a good starting point.
- Require manual force, so embossing thick paper might demand a bit of effort.
- Compact, easy to store in a drawer or carry in a bag.
Desk Embossers
- Often have a more robust mechanism that needs less force than handheld versions.
- Provide better alignment because of their stable base.
- Ideal if you plan to emboss many documents at once.
Electric Embossers
- Perfect for businesses that handle large orders, such as wedding invitations or corporate letterheads.
- Offer consistent pressure and depth with each impression.
- Higher upfront cost, but may save you time and energy in the long run.
Plan Your Design Elements
What exactly do you want your seal to say about you? Think about the message and style you’d like to convey when someone sees that raised emblem. Maybe you want a simple text-based seal with your name and address, or perhaps you’re craving something more distinctive like a custom logo.
Focus on Readability
- Always ensure the font size and lettering are large enough to be legible when raised.
- Swirly or extremely decorative fonts can look great, but they can also be harder to read once embossed.
Incorporate Logos and Artwork
- If you have a custom brand logo, consider using it as your primary design.
- For personal use, a monogram or family crest can make each envelope or card look timeless.
- Make sure your design translates well into a single-color, line-based format.
Balance Text and Graphics
- Check that your design doesn’t look cramped. A busy impression can detract from the crispness of the raised details.
- If you’d like to include both text and a small icon, leave enough space between them so that each element stands out.
Choose Materials Wisely
Selecting the right materials for your embosser and stationery can help you achieve the cleanest, sharpest results. If you’re embossing standard letter paper, you likely don’t need an industrial-strength device. But if you plan on embossing heavier stock, you’ll want a model that can handle it without straining or wearing down prematurely.
Paper or Cardstock Weight
- Most handheld units do well on 20- to 40-pound paper.
- Desk embossers can manage thicker stocks, such as 60- to 80-pound.
- For envelopes, consider pre-testing a single piece to confirm it embosses cleanly.
High-Quality Dies
- Look for sturdy metal dies, often made from brass or steel, which can tolerate repeated use.
- Wear and tear on low-quality or plastic dies may lead to fuzzy or incomplete impressions over time.
- If your seal is going to get a lot of mileage, investing in a durable metal die usually pays off.
Ease of Replacement
- You might want to swap out your die eventually if you have multiple addresses or seasonal designs.
- Make sure the embosser you choose allows for relatively simple die replacement without requiring professional reassembly.
Master the Use of Your Seal
It’s easy to assume that any embosser works in the same way, but there are actually a few tricks to perfecting each impression. The beauty of embossing lies in its subtlety, so technique matters a bit more than you might think.
Align Your Paper Correctly
- Most embossers include a guide or markers that help you place your paper consistently.
- Feed your paper into the device in a way that lines up your design exactly where you want it.
- Test the placement on a scrap sheet before embossing your final product.
Apply Even Pressure
- Press the handle consistently so your paper gets a clean impression.
- If you push too lightly, the raised design might be shallow.
- On the flip side, forcing it too hard could damage your die or even rip thinner paper.
Consider Placement
- Depending on the design, you can choose to emboss corners, center areas, or near the top or bottom.
- For return addresses, many people emboss small flaps on the envelope’s backside.
- For monograms or logos, you might prefer the front side or toward the center, so it’s immediately noticeable.
Partner With a Trusted Supplier
Quality and trust go hand in hand when you’re dealing with custom seal embossers. At Acorn Sales, we’ve been perfecting the craft of stamp and seal making since 1964, offering quick turnaround and stellar customer service. Over the last 60+ years, we’ve worked with countless individuals and businesses, so we know exactly what goes into a great embosser.
- Tried-and-True Experience: We’ve accrued industry knowledge that helps us guide you toward the right embosser for your design.
- Custom Options: We’re not just selling off-the-shelf models. Instead, we prioritize customization, whether you need a personal monogram or a detailed corporate logo.
- Confidence in Craftsmanship: Our customers rely on embossers for official documents, brand recognition, and personal expression, so we don’t cut corners.
- Customer-Focused Support: Got questions or changes to your design? We’ll work with you to find the perfect solution quickly.
If you ever want even more customization or a complementary stamp to go along with your embosser, remember that we also specialize in custom embossing stamps. From the first design draft to final delivery, we strive to make the process enjoyable and the result exceptional.
Use Practical Tips for Stationery
Once you’ve chosen your embosser and nailed down the perfect design, there’s still a bit of fine-tuning left to do. After all, polishing the overall look of your stationery can make a world of difference. Here are some suggestions to keep your printed materials cohesive and aesthetically pleasing:
-
Coordinate Ink and Paper Shades
- If you’re combining ink stamping and embossing, choose ink colors that complement your paper.
- Subtle shades like light gray, soft navy, or dusty rose can keep the focus on the raised impression without overpowering the design.
-
Choose Paper Texture Carefully
- Flatter, smoother papers often show off more details in an embossed design.
- Heavier-textured papers add tactile interest but can challenge thinner embossing lines.
-
Store Embossed Items Properly
- While embossing is durable, corners can get bent if you stack heavy objects atop newly embossed pages.
- If you’re mass-producing invitations, consider storing them in a box or organizer until you’re ready to send.
-
Experiment with Placement
- You might want to emboss a monogram in one corner and your logo in another, if that fits your personal style.
- For business stationery, a discreet emboss in the bottom-right corner can look professional but still memorable.
-
Test Before You Print in Bulk
- Always do a small run or a single test sample to confirm you love the final outcome.
- Adjust as needed, and don’t hesitate to reach out to your embosser manufacturer if you notice any misalignment or unclear impressions.
Final Thoughts
Choosing an embossing seal for stationery is about more than just decoration. It’s a statement of who you are, what you represent, and how you connect with others. From subtle personal touches to bold brand statements, an embosser brings dimension and class to any note or letter. The journey of selecting the right style, design, and supplier can feel a bit intimidating, but once you see that raised design on your stationery, every step becomes worth it.
If you’re looking for quality, customization, and a reliable partner, consider Acorn Sales. Our decades of craft knowledge and stellar customer support mean you’ll have guidance every step of the way. With our help, you’ll quickly turn your creative ideas into a tangible embossing masterpiece.
Embossing your stationery is an easy way to add instant elegance, and once you experience that raised impression for yourself, you’ll never want to go back to plain flat text again. Enjoy experimenting with different designs, and remember, if you ever need more specialized help or a new design, Acorn Sales is here to make sure your embossing journey remains smooth and enjoyable.
Frequently Asked Questions
How do I maintain my embosser for long-term use?
You’ll want to keep the dies free of debris and avoid embossing paper with staples or clips attached. If your embosser starts leaving incomplete impressions, gently clean the die with a soft cloth and make sure nothing is obstructing the mechanism.
Can I switch out dies for different designs?
Many embosser models allow easy die replacement. This can be handy if you need separate designs, like a personal monogram and a business logo, without having to buy a second embosser.
Does the orientation of the seal matter for envelope or letter placement?
Absolutely. Some seals are designed for top-flap placement on envelopes, while others are meant for the bottom or side. Check your embosser’s indication for which direction to insert your paper.
What types of designs work best for embossing?
Designs with clear outlines, bold lettering, or simplified logos typically look the sharpest. Very fine lines can sometimes lose detail in the raised impression, so aim for a clean, striking design.
Is there a specific paper weight or finish recommended?
Generally, 20- to 40-pound paper is fine for most handheld embossers. Desk models can often handle heavier stock. If you’re unsure, do a test emboss or contact us at Acorn Sales for specific recommendations.
Are embossers suitable for larger print runs or just a few pages at a time?
Both! If you plan to emboss hundreds of invitations, consider a desk or electric embosser for ease and speed. For occasional, low-volume use, a handheld embosser will likely suit you just fine.








