If you’re on the hunt for an HI notary seal, you know it’s more than just a stamp—it’s an essential piece of your professional toolkit. Picking the right seal can feel a bit overwhelming, but it doesn’t have to be. In this guide, you’ll find practical steps for choosing a notary seal that meets Hawaii’s requirements and fits your personal workflow. Let’s explore everything from seal types to quick finishing touches, so you can notarize documents with confidence.
Determine your seal type
Notary seals typically come in two main styles: a stamp or an embosser. Each has its perks:
- Ink stamp: Lightweight, portable, and easy to use on the go. You simply press it onto an ink pad or self-inking mechanism and stamp your information onto the document.
- Embosser: Leaves a raised impression, giving your notarial mark a distinctive, professional feel. This style is popular for adding a touch of formality.
Your choice might depend on personal preference, or you might simply find an ink stamp more convenient for everyday use. Think about where and how often you’ll be notarizing before you decide.
Know the legal requirements
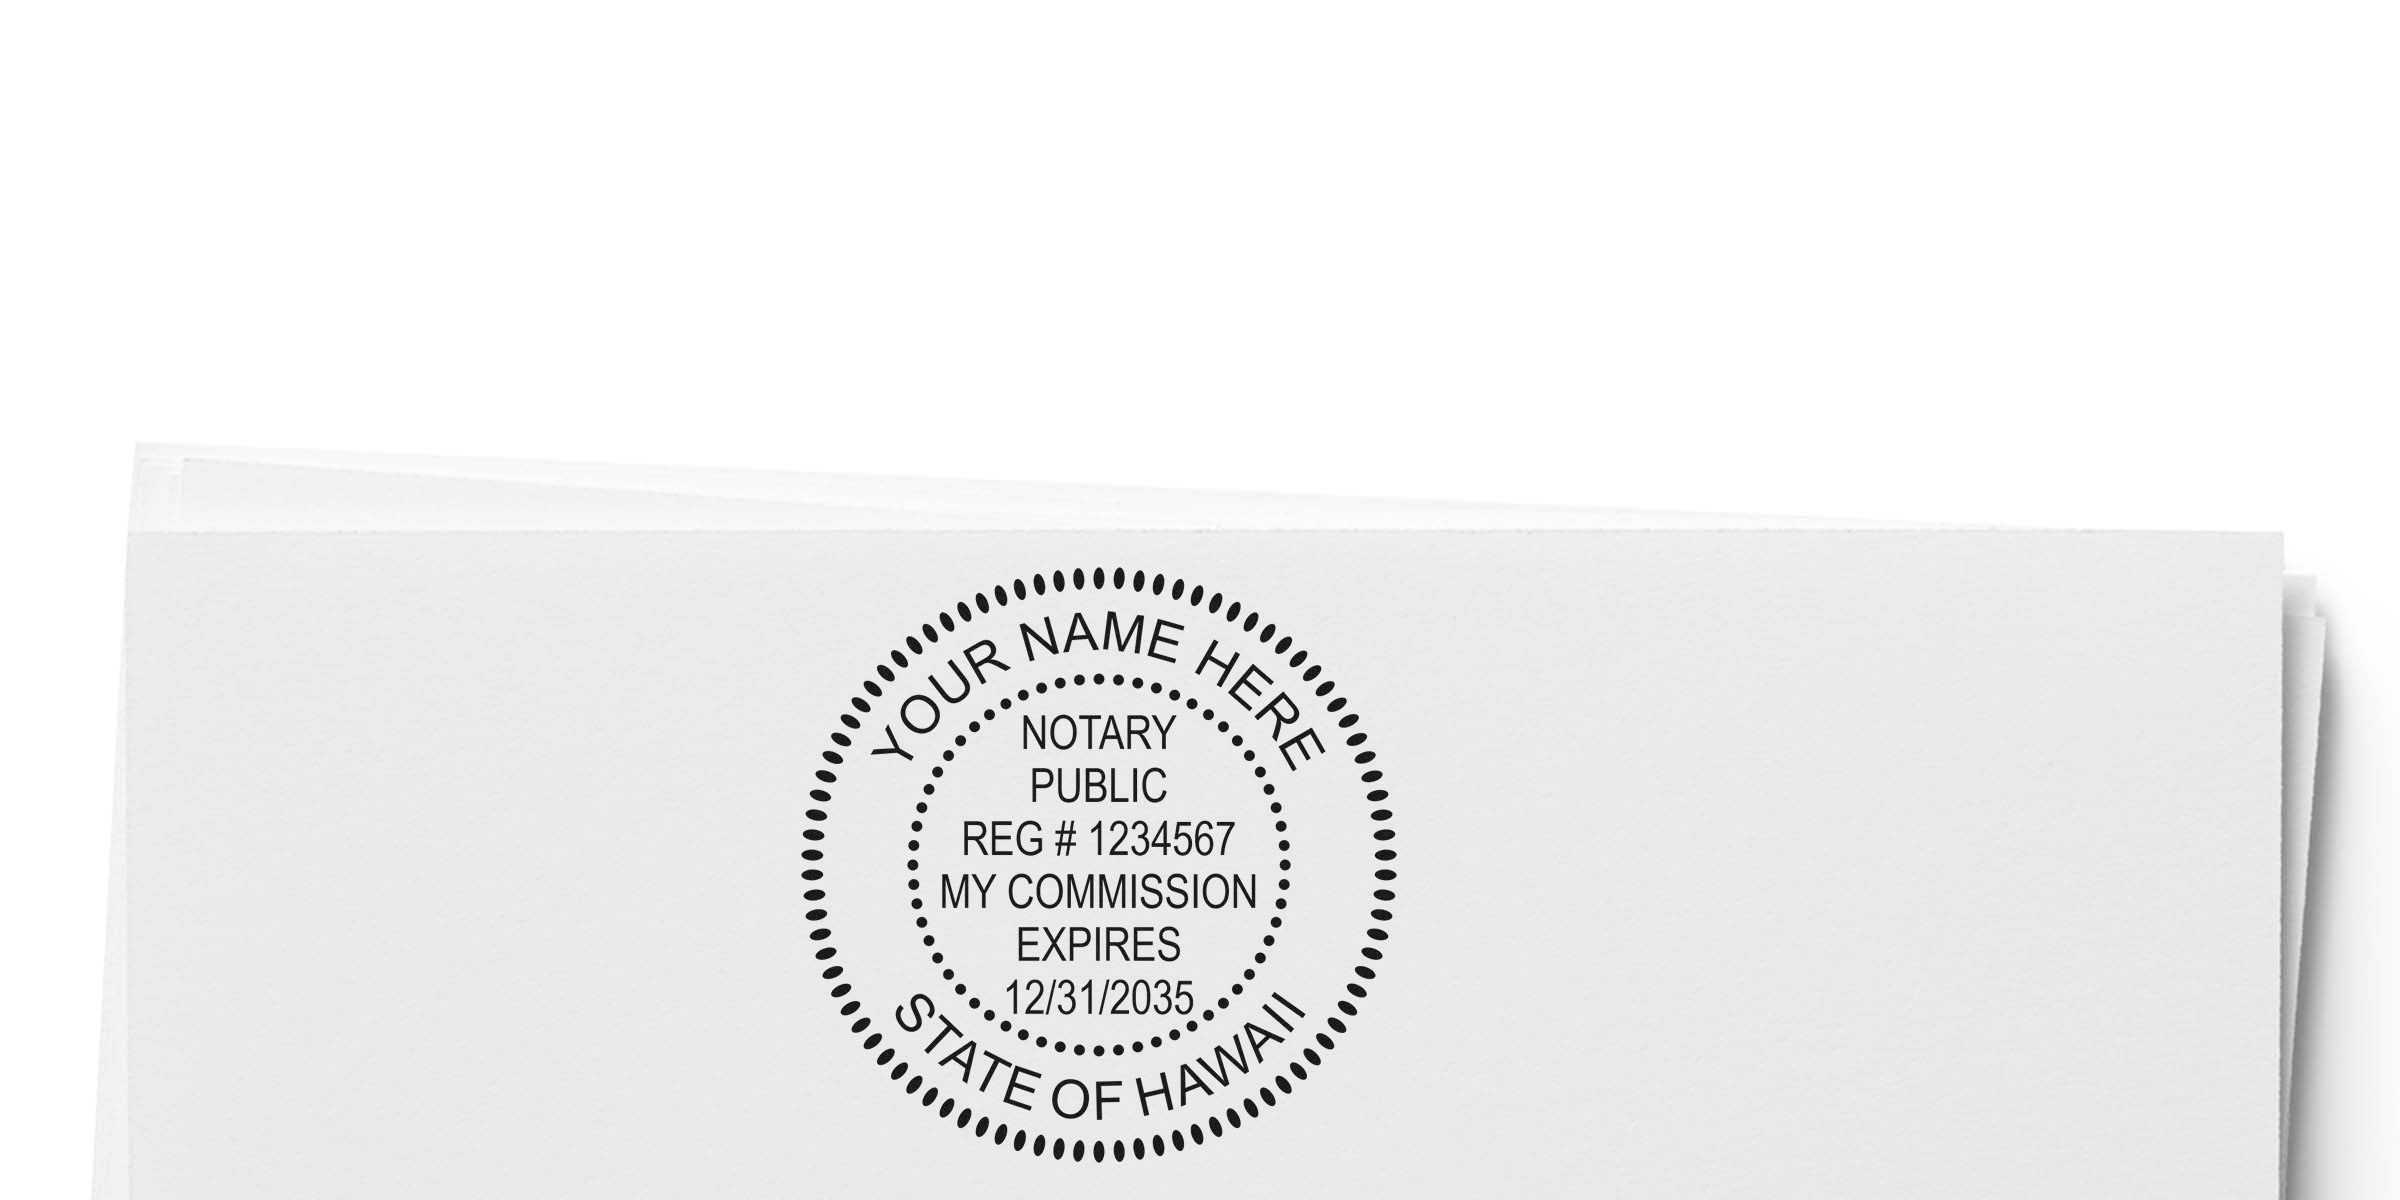
Hawaii has specific laws regulating notaries, so make sure your seal meets the state’s guidelines. The seal should clearly show your name, commission number, and the words “Notary Public” along with the state of Hawaii. You can verify exact details by reviewing the current notary handbook and other official resources from the Hawaii Department of the Attorney General.
Review additional notary supplies
Beyond the seal itself, you’ll need other essentials to stay compliant and organized. These might include:
- Notary journal: A dedicated record book for all your notarizations.
- Ink refill: If you opt for a stamp, you’ll want a backup ink supply to keep impressions crisp.
- Protective case: Helps keep your seal or embosser safe from damage.
If you’re stocking up, consider browsing hawaii notary supplies so you can easily find everything in one place. It’s handy (and potentially cost-effective) to group your purchases together.
Select a reliable supplier
Finding a trustworthy company to produce your seal can make all the difference. Acorn Sales has been a stamp and seal maker for over 60 years, providing top-quality products, quick turnaround times, and state-compliant seals. Because notary regulations can change, it’s important to work with a supplier that stays up to date on the latest requirements. You’ll want to feel confident that your seal arrives correct and ready to use.
Wrap up your decision
Once you’ve settled on a seal type and confirmed that it meets Hawaii’s legal requirements, you’re all set. Make sure to double-check everything—your name spelling, your commission number, and any expiration date info if needed. It’s a small but important step to confirm your details before marking that final imprint.
By getting the right notary seal and a few supplemental supplies, you’ll be ready for the actual tasks of notarizing deeds, affidavits, and more with ease. One last tip: store your seal in a safe place and keep an eye on your ink supply if you use a stamp. That way, you’ll never miss a beat.
Your commission number identifies you as a legally recognized notary. Including it on your HI notary seal helps protect the integrity of your notarizations and allows recipients to verify the authenticity of your credentials quickly.
Frequently Asked Questions
Do I need both an ink stamp and an embosser?
You generally only need one of these two forms of notarial impressions to be official in Hawaii. However, some notaries like to have both. An ink stamp is faster and clearer for photocopies, while an embosser can offer a more prestigious look.
Can I customize the appearance of my seal?
Any design must follow Hawaii’s legal guidelines. You can choose between different stamp or embosser styles, but your name, commission number, and the required state text must remain accurate and easy to read.