
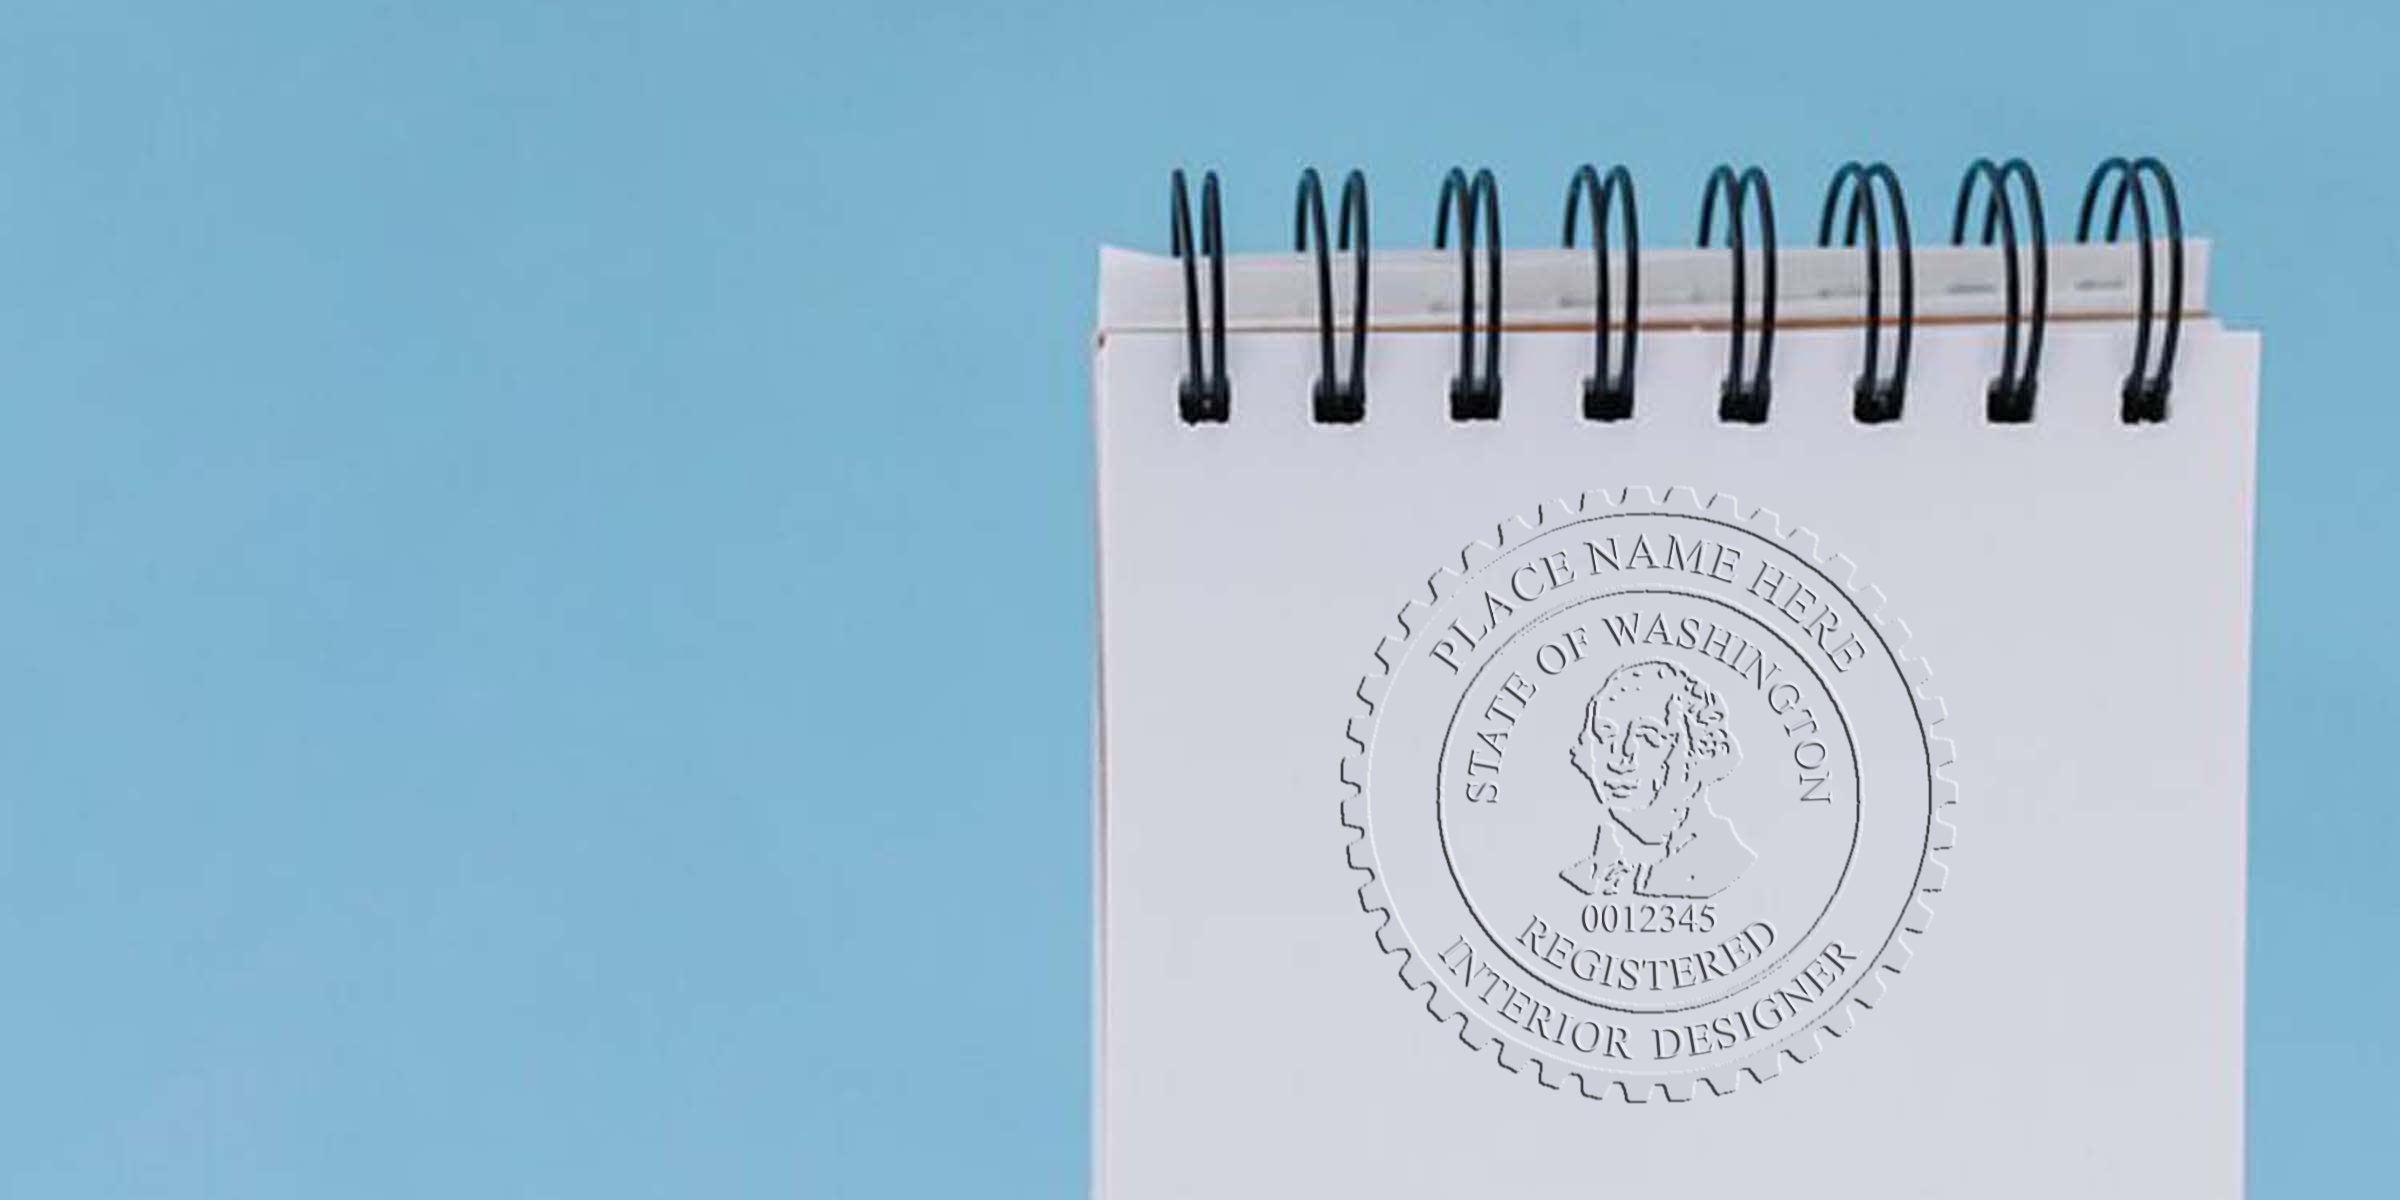
Written by Acorn Sales Company, manufacturing stamps and seals since 1964 · Reviewed by Holly R, VP of Sales and Marketing at Acorn Sales, against no Washington board; the profession is unregulated in this state and RCW Title 18, chapter list (no interior design chapter) on 21 September 2026 · Updated 21 September 2026
RCW Title 18 carries every Washington professional licensing chapter, and interior design is not on the list. Architects are at 18.08. Engineers and land surveyors at 18.43. Landscape architects at 18.96. Geologists at 18.220. On site wastewater treatment system designers at 18.210. Home inspectors at 18.280. Interior designers appear nowhere. There is no Washington interior design license, registration or certification, and no board that could authorize a seal design.
So nothing about your stamp is fixed, which also means nothing about it is restricted. No diameter, no legend, no artwork, nothing to file. Any device a Washington interior designer carries is a private identification stamp, and Acorn will make it to whatever you want on it: your own name, your firm name, a monogram, your logo, or a credential you actually hold such as NCIDQ.
Washington does protect two neighboring titles, and that is where to be careful. RCW 18.08.310 restricts the architect title and RCW 18.96.020 restricts the landscape architect title. Put your own name, your firm name, and any credential you actually hold, such as NCIDQ. Leave off “Licensed” and “Registered” and any state-issued title unless the state issued you one, because that is the part some states do restrict.
Washington interior designer seal requirements at a glance
| Requirement | Washington rule | Source |
|---|---|---|
| Seal required | Not licensed here | RCW Title 18, chapter list (no interior design chapter) |
| Required elements | Washington licenses no interior designers and issues no interior design seal | RCW Title 18, chapter list (no interior design chapter) |
| Size and shape | No dimension exists. | RCW Title 18 (no interior design chapter) |
| Device allowed | Not a regulated purchase. | Wash. Admin. Code 308-12-081 |
| Signature and date | Not addressed, because Washington issues no interior design credential. | RCW 18.08.370(2) |
| What must be sealed | No Washington document requires an interior designer seal. | Wash. Admin. Code 308-12-081, 196-23-020 |
| Electronic seal | Not applicable. | Wash. Admin. Code 308-12-081(3), 308-13-055, 308-15-070 |
| Renewal and lapse | Not applicable. | RCW Title 18 (no interior design chapter) |
| Firm requirements | Not applicable. | RCW 18.08.320(5) |
| Regulator | No Washington board; the profession is unregulated in this state | RCW Title 18, Businesses and Professions, full chapter list read from the Washington State Legislature, which contains chapters for architects (18.08), engineers and land surveyors (18.43), landscape architects (18.96) and geologists (18.220) and none for interior designers |
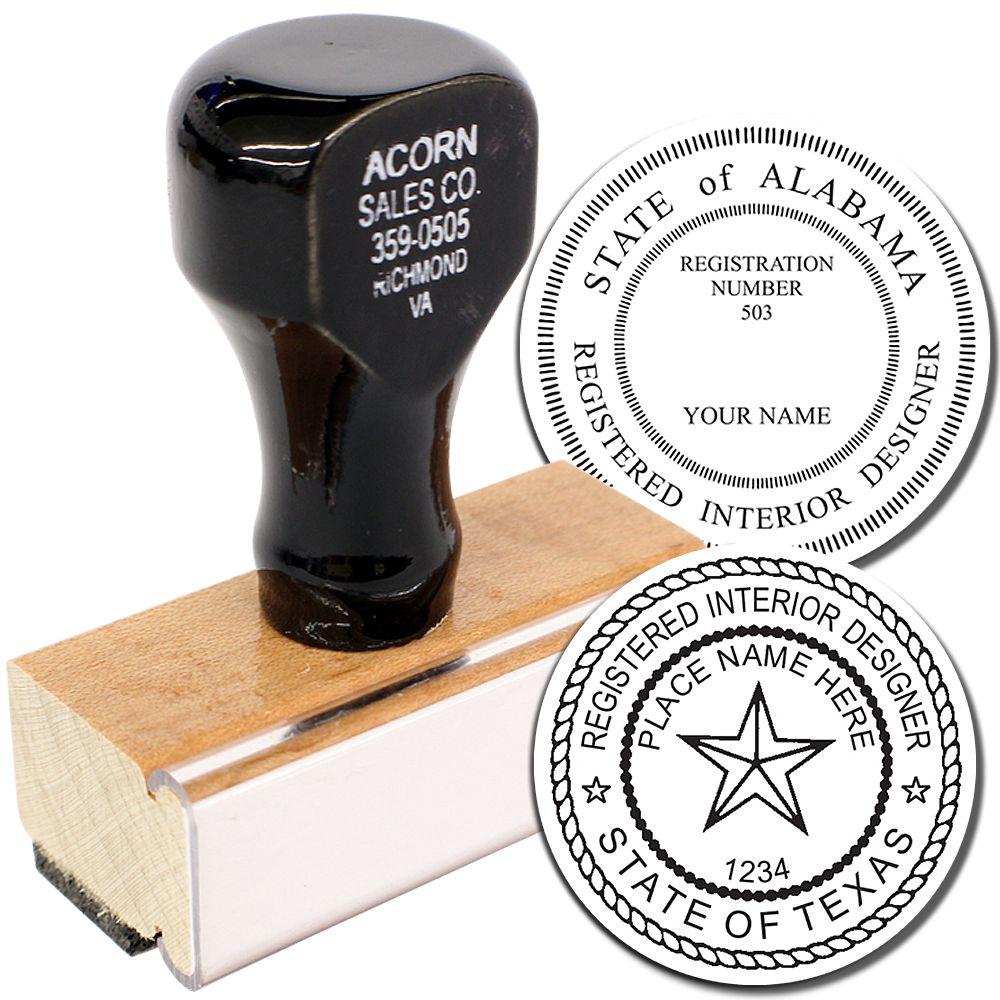

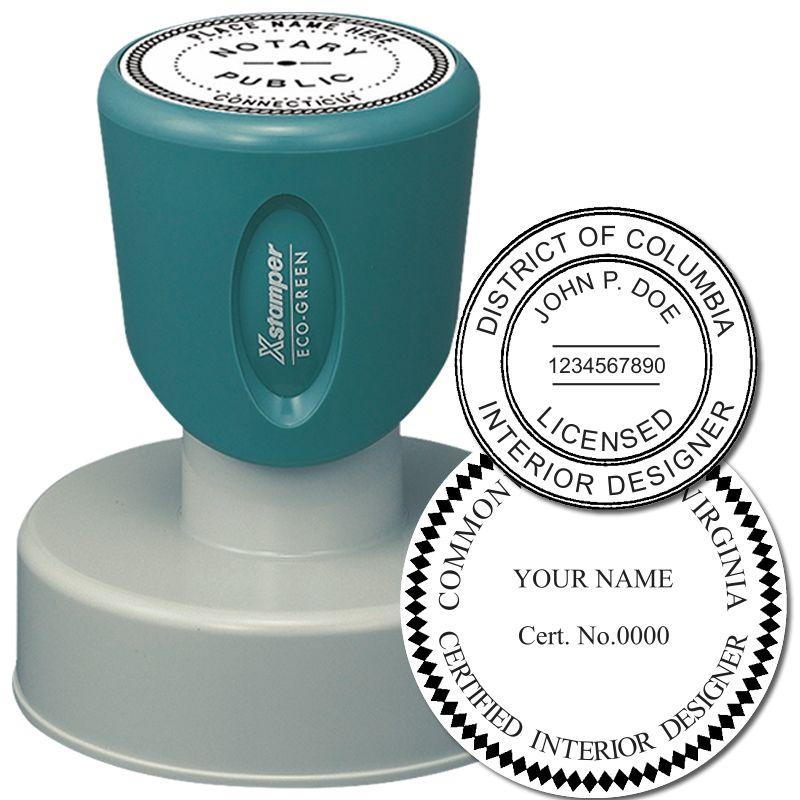



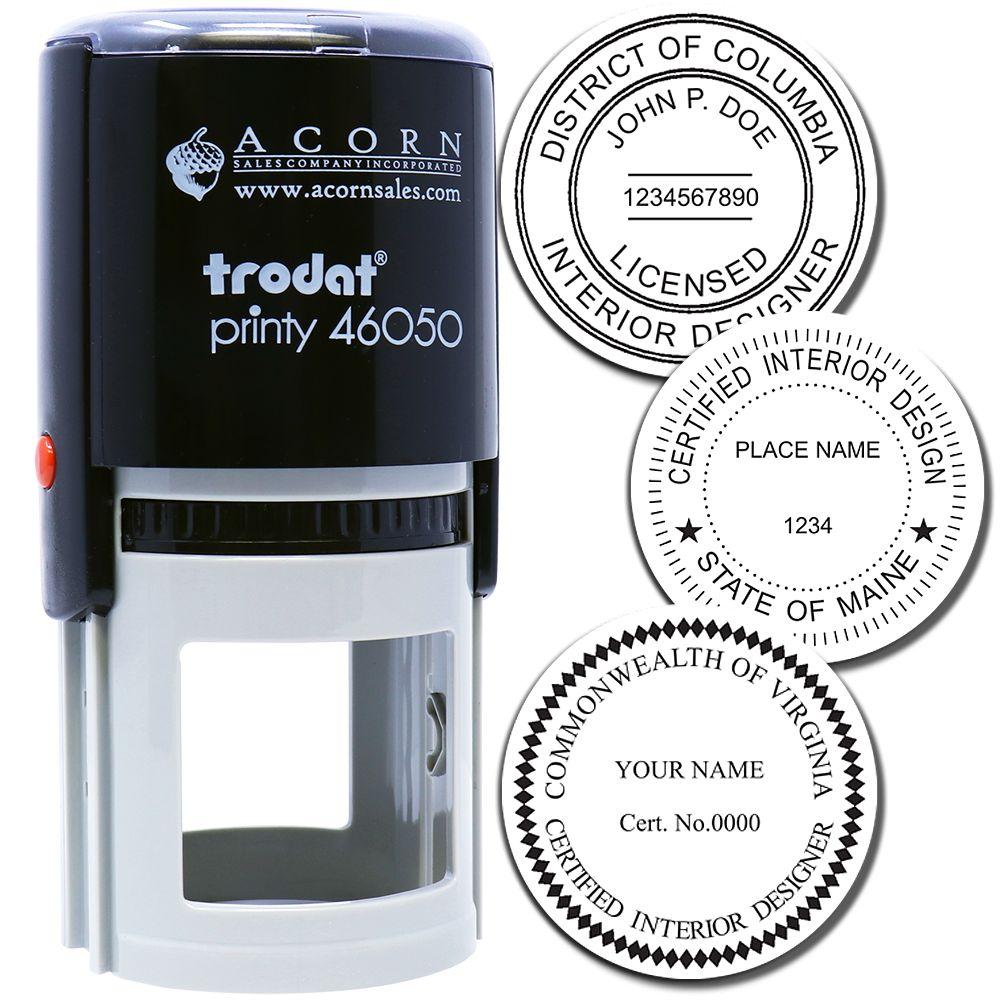
Is a seal required in Washington?
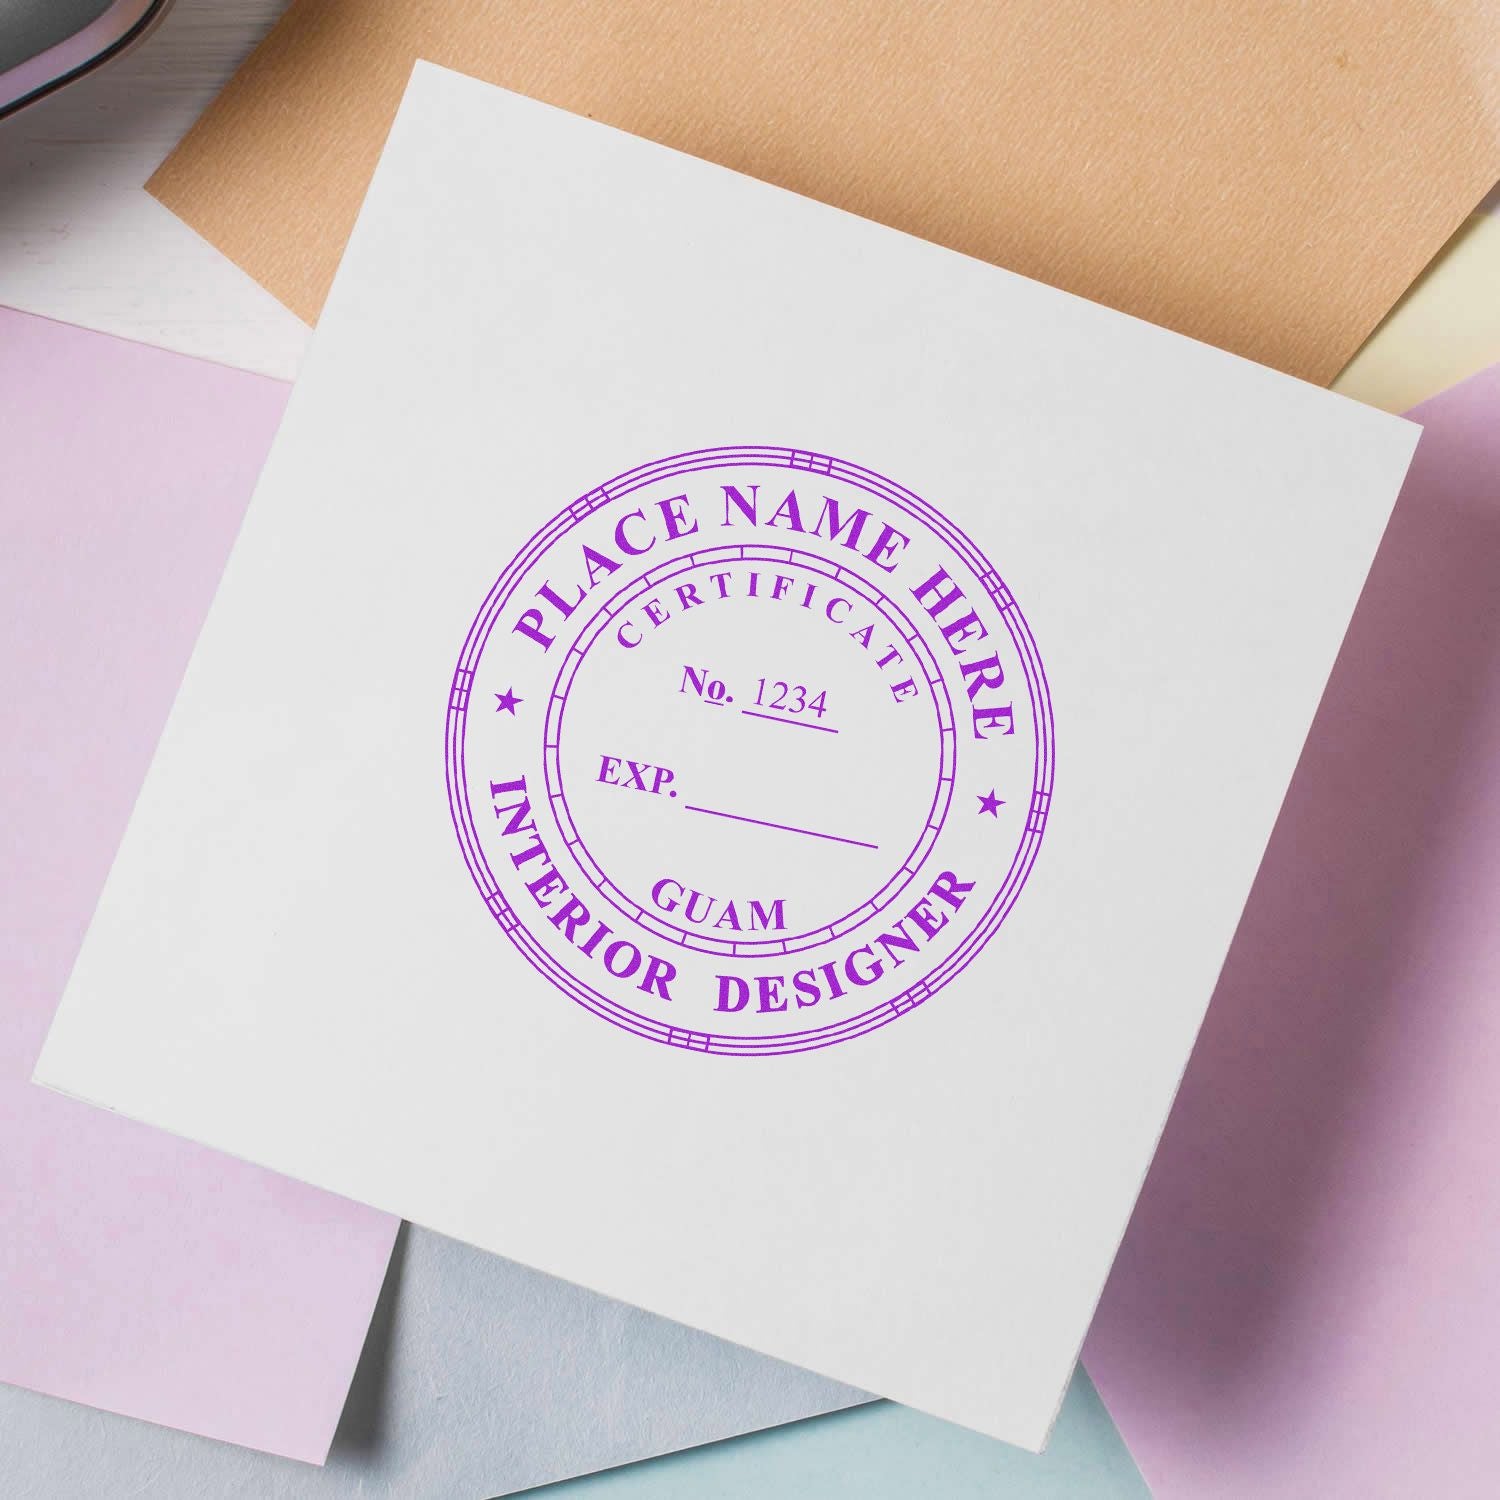
Washington does not license, register or certify interior designers, and therefore issues no interior designer seal. RCW Title 18, Businesses and Professions, is the title that carries every Washington professional licensing chapter, and its chapter list has no interior design chapter. It has chapter 18.08 for architects, 18.43 for engineers and land surveyors, 18.96 for landscape architects and 18.220 for geologists, and nothing for interior designers. There is no license number to inscribe and no legend fixed by any board.
What must appear on the seal
- Washington licenses no interior designers and issues no interior design seal
There is nothing to specify, because no Washington board authorizes an interior design seal design. What is policed is the neighboring title: RCW 18.08.310 and RCW 18.96.020 restrict the use of architect and landscape architect titles and descriptions in Washington, so a device or title block must not imply either credential.
Size and shape
No dimension exists. Washington prescribes no interior designer seal, so there is no diameter to state. The sources here are the full chapter list of RCW Title 18 and the seal chapters of the four regulated design professions, chapters 308-12, 196-23, 308-13 and 308-15 WAC.
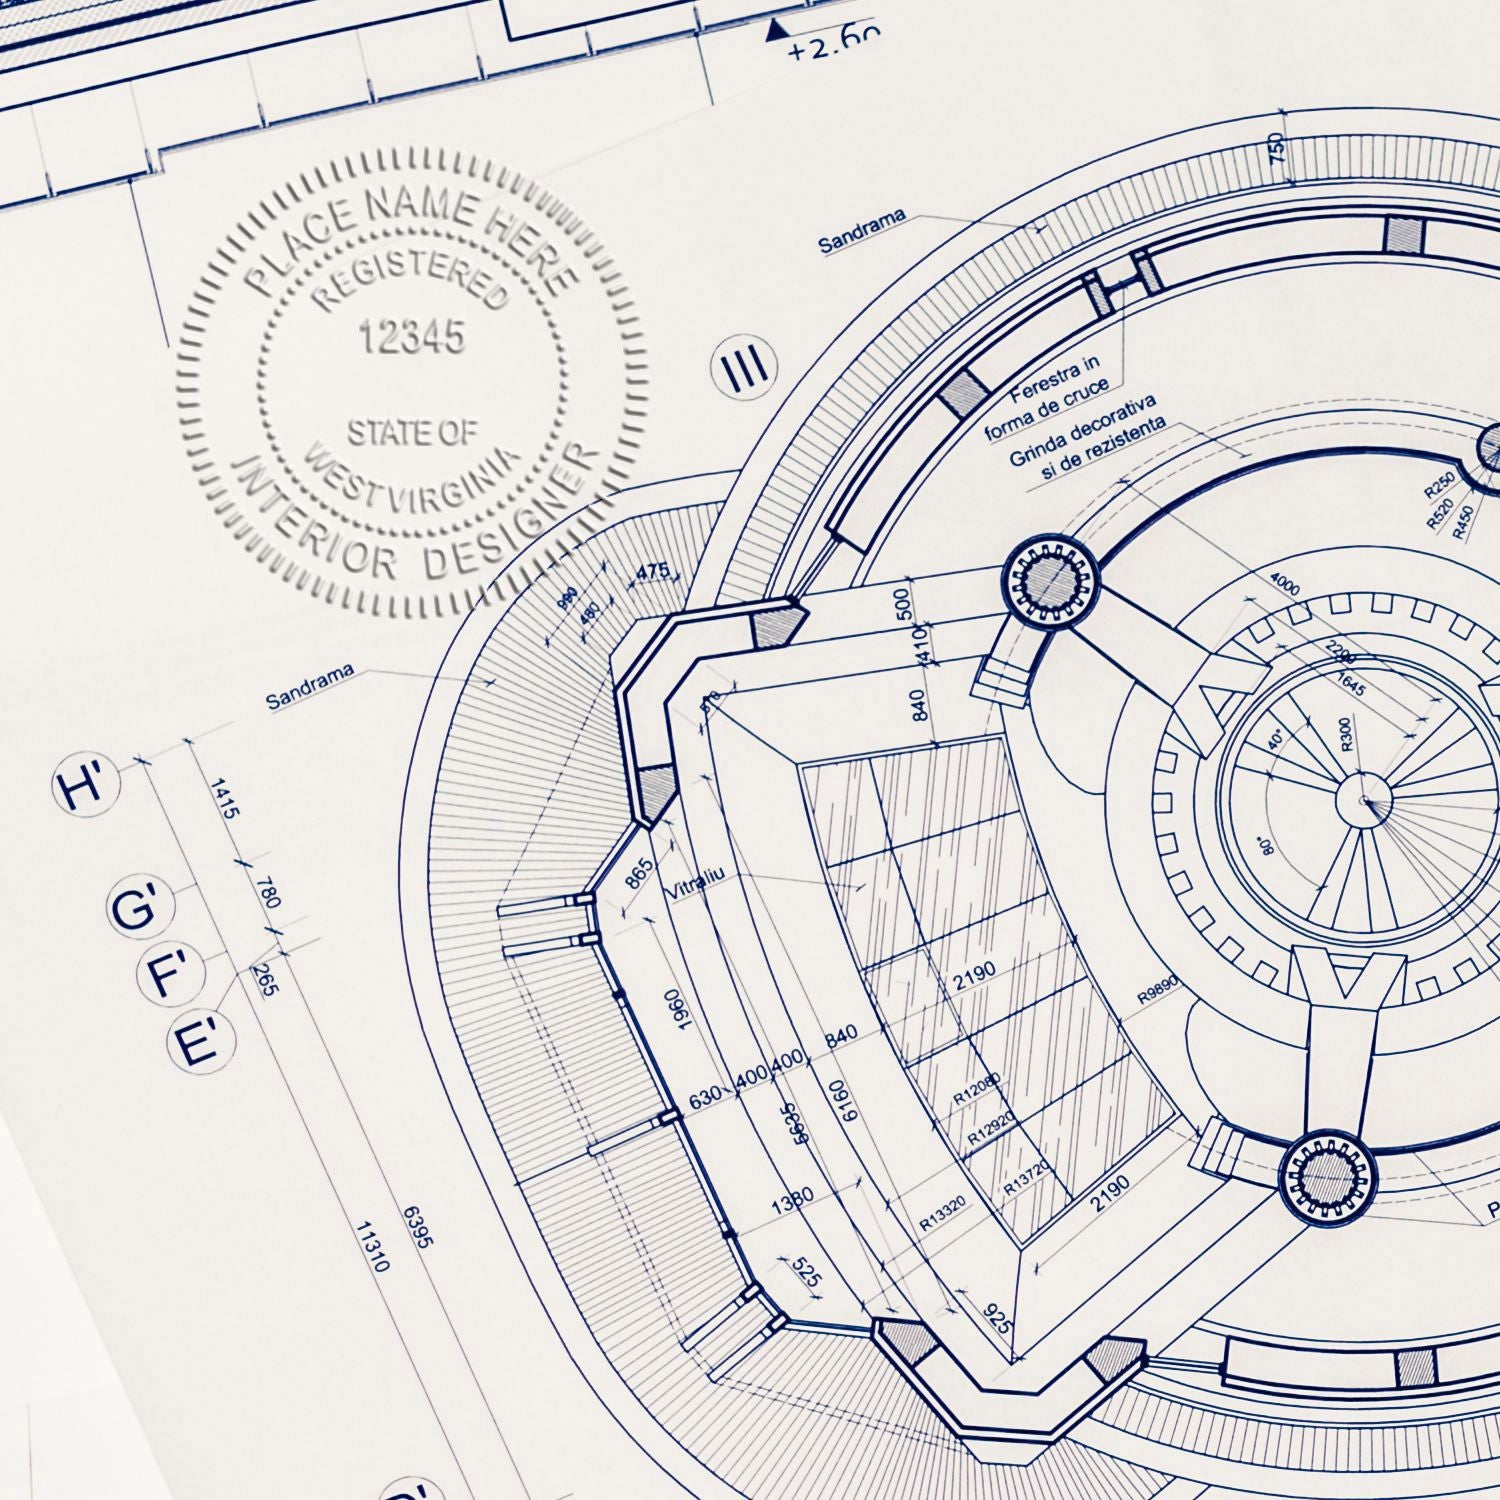

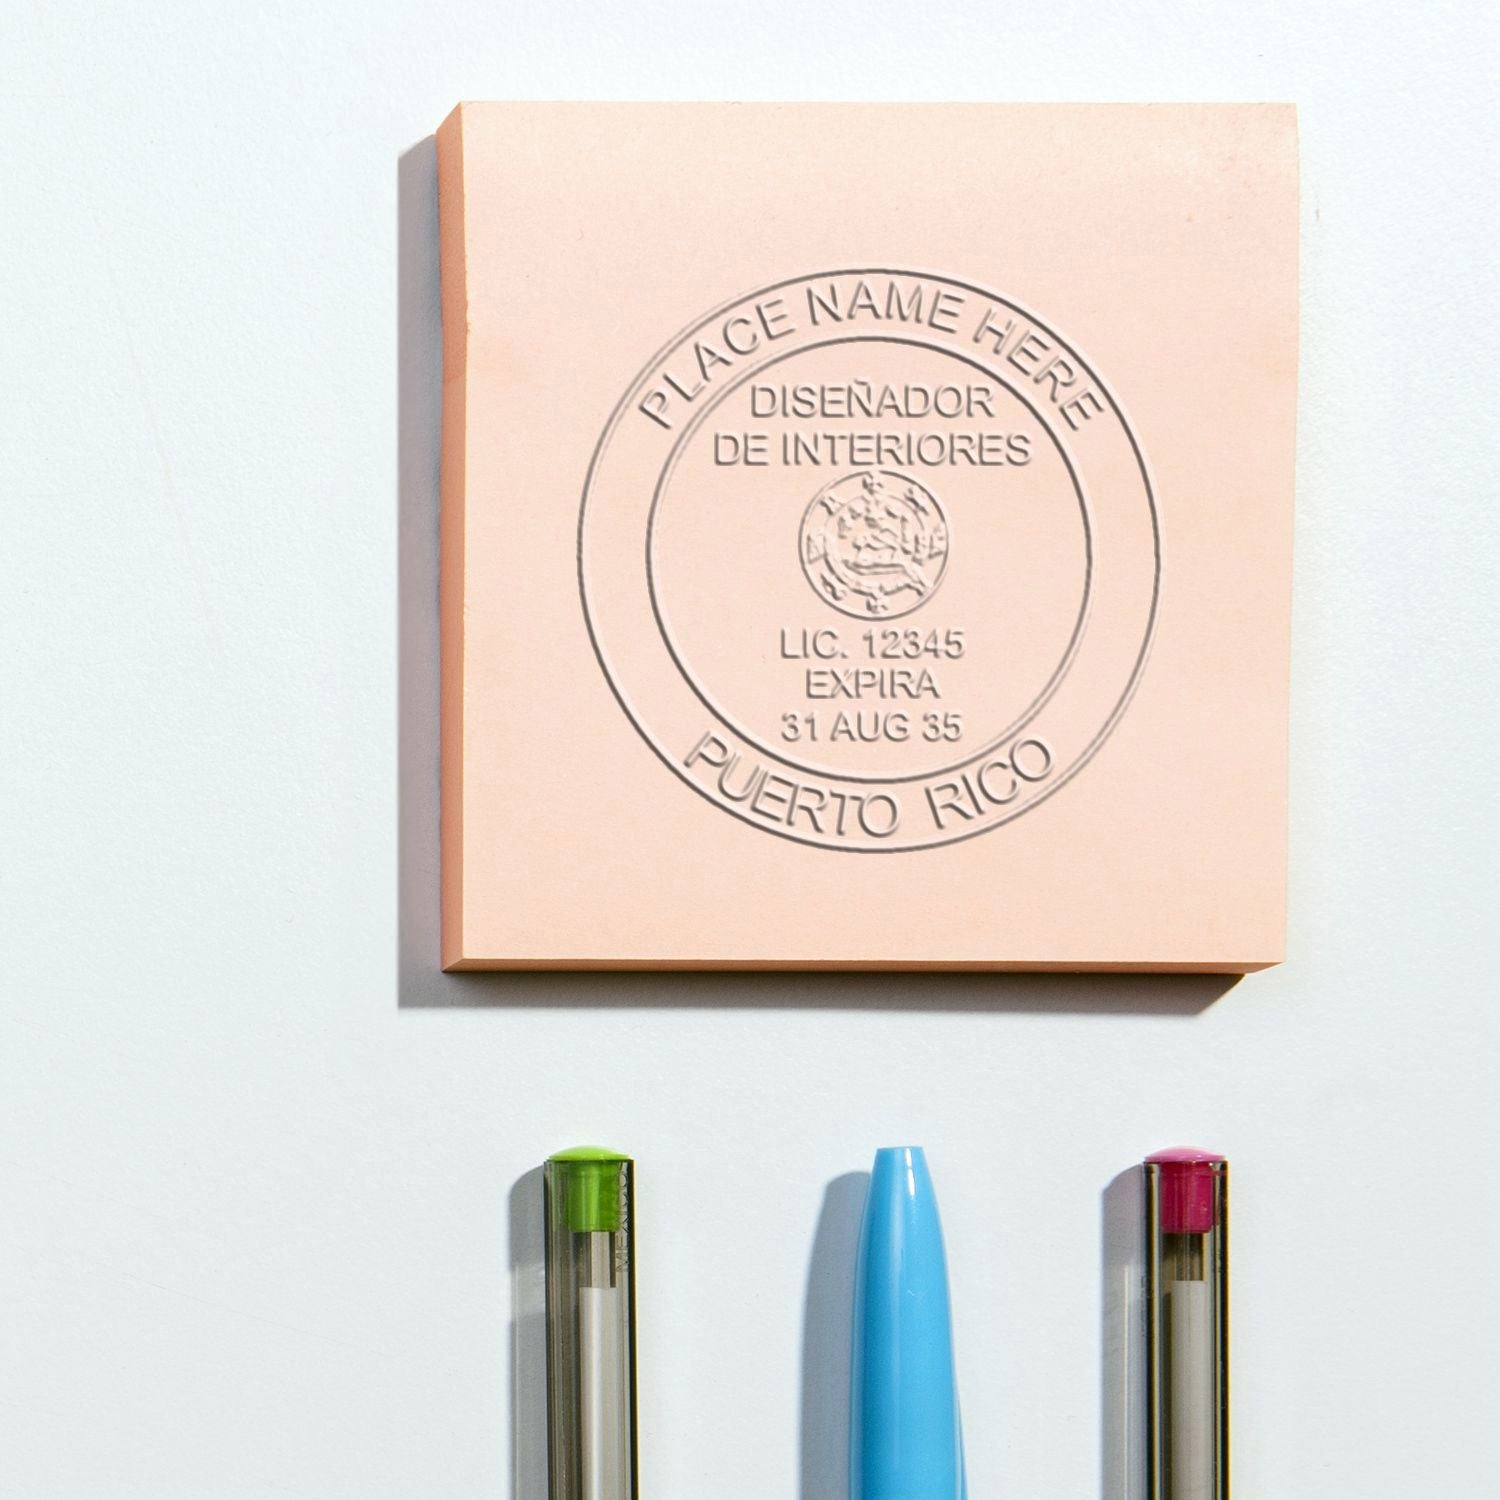
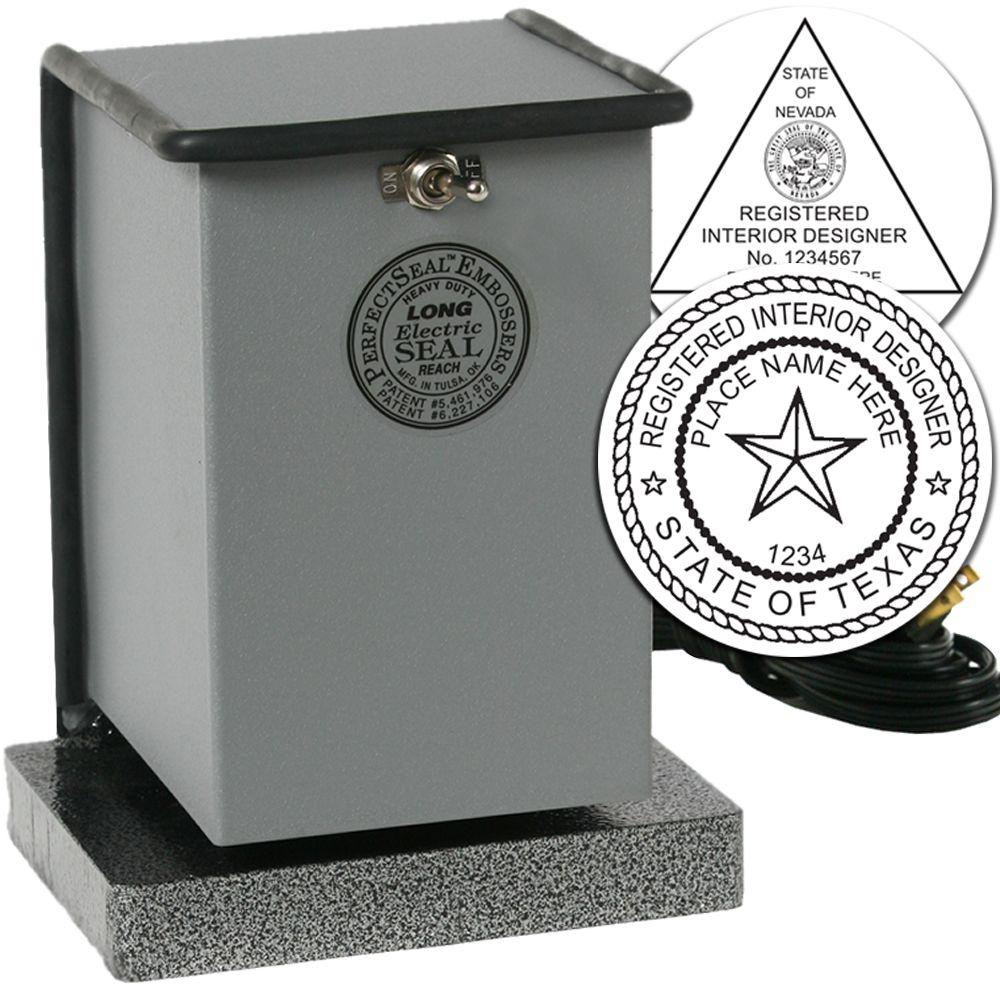

Embosser, rubber stamp or digital
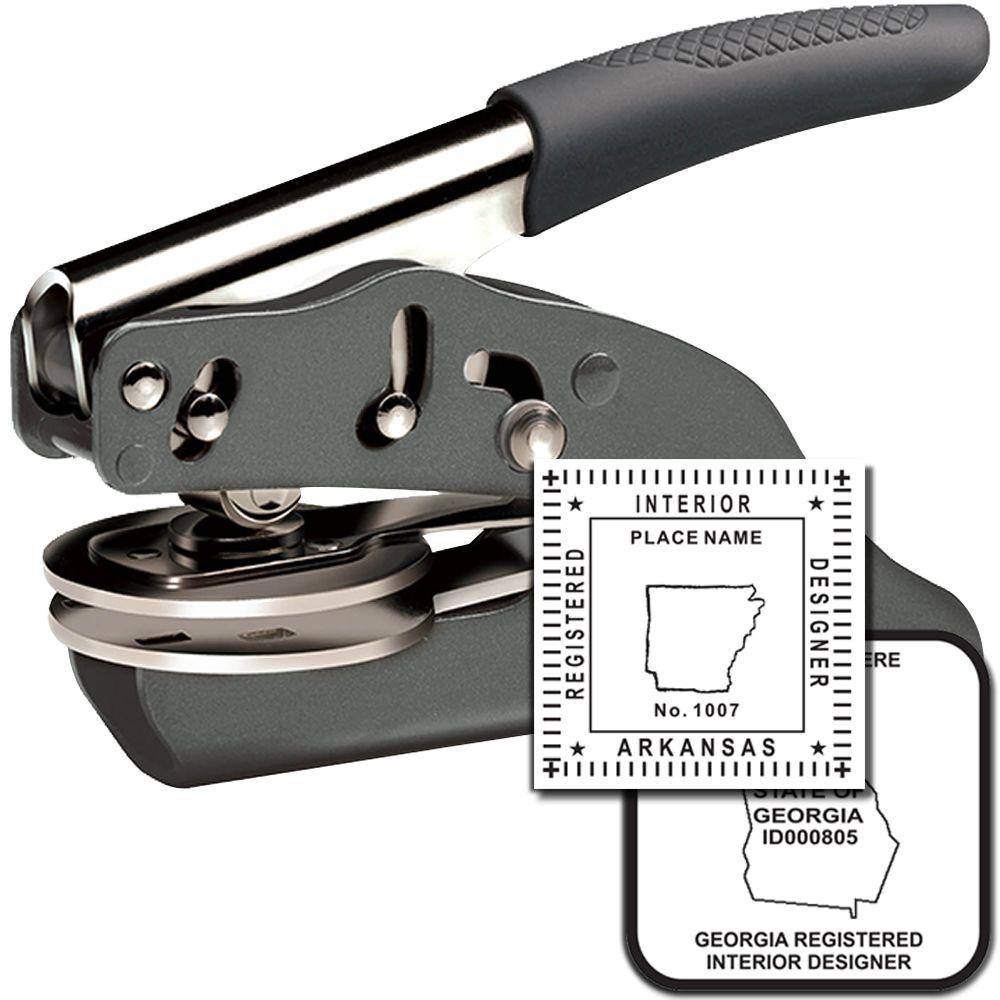
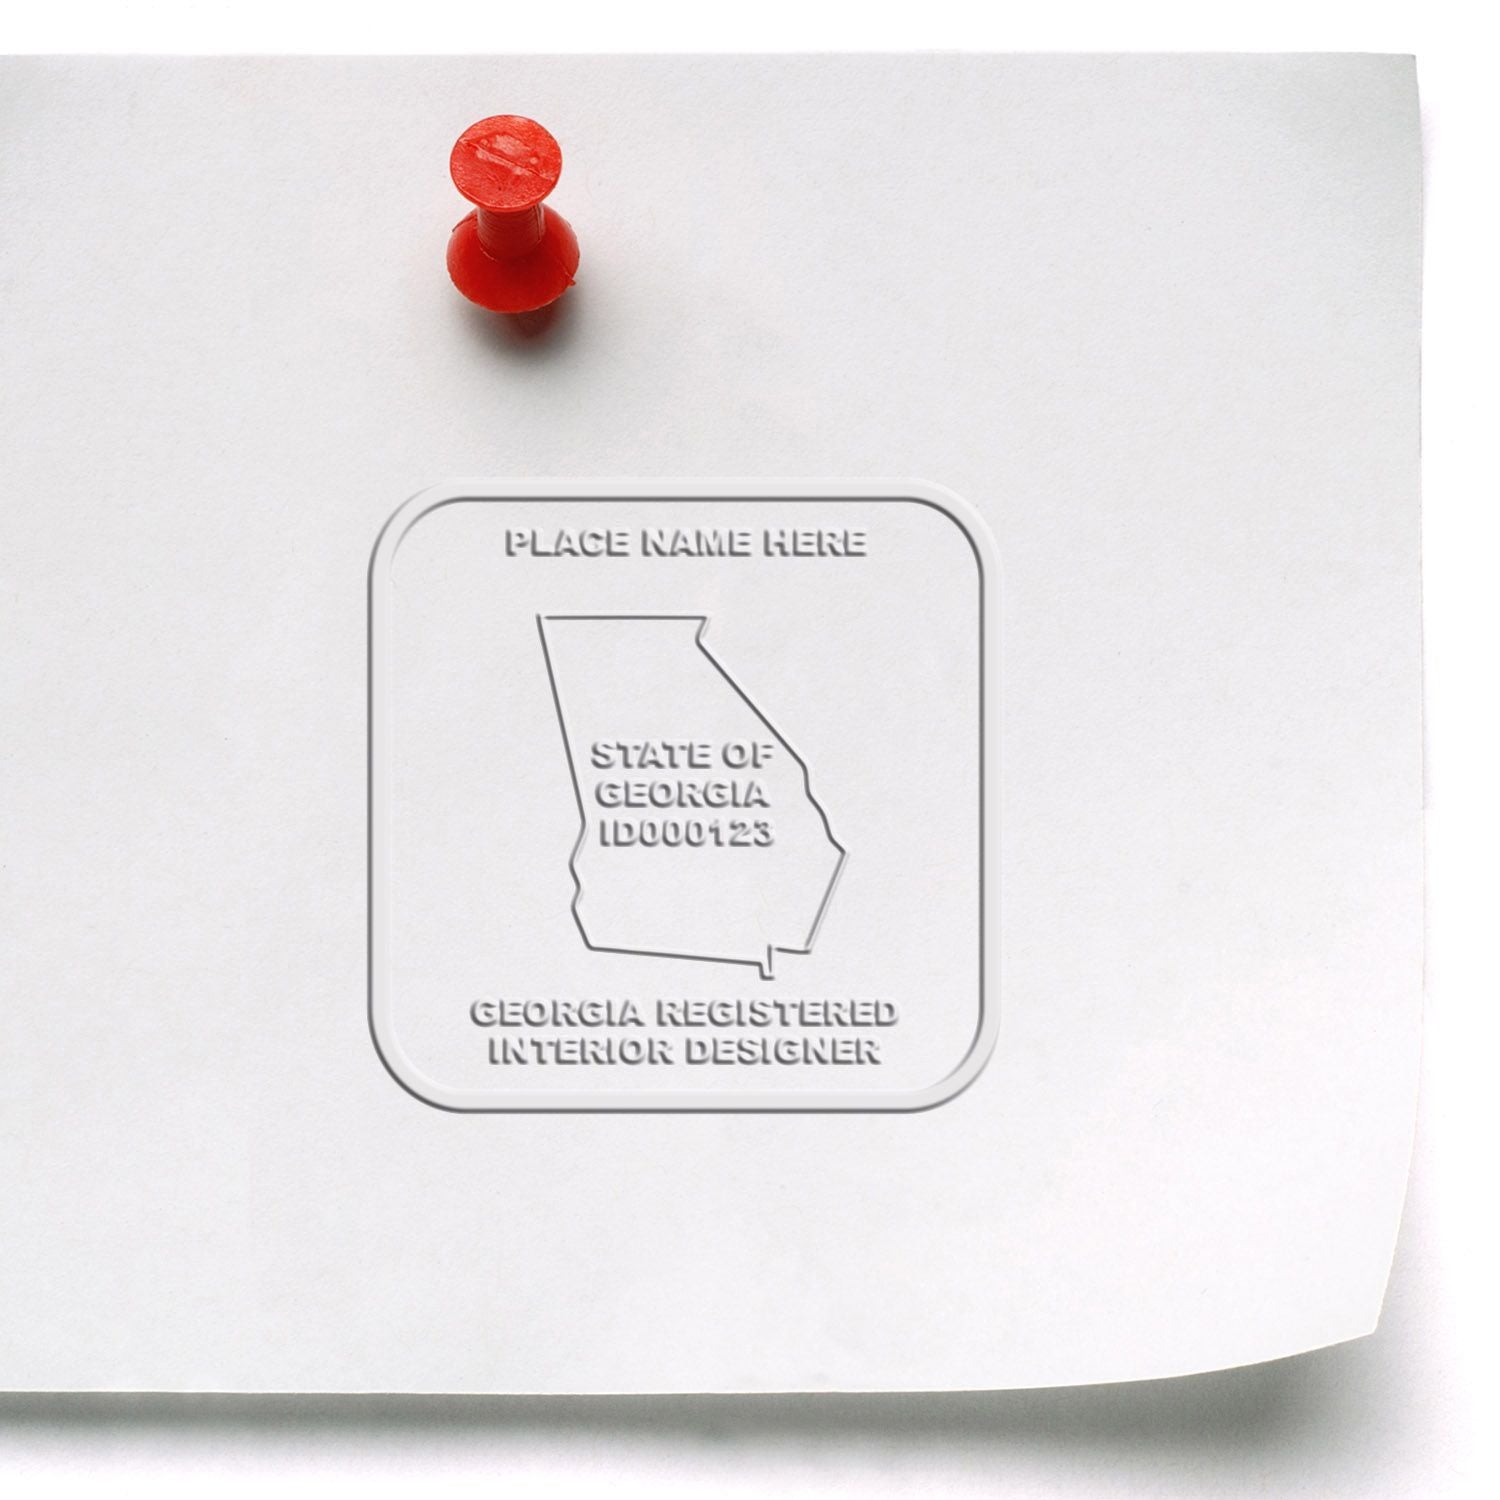
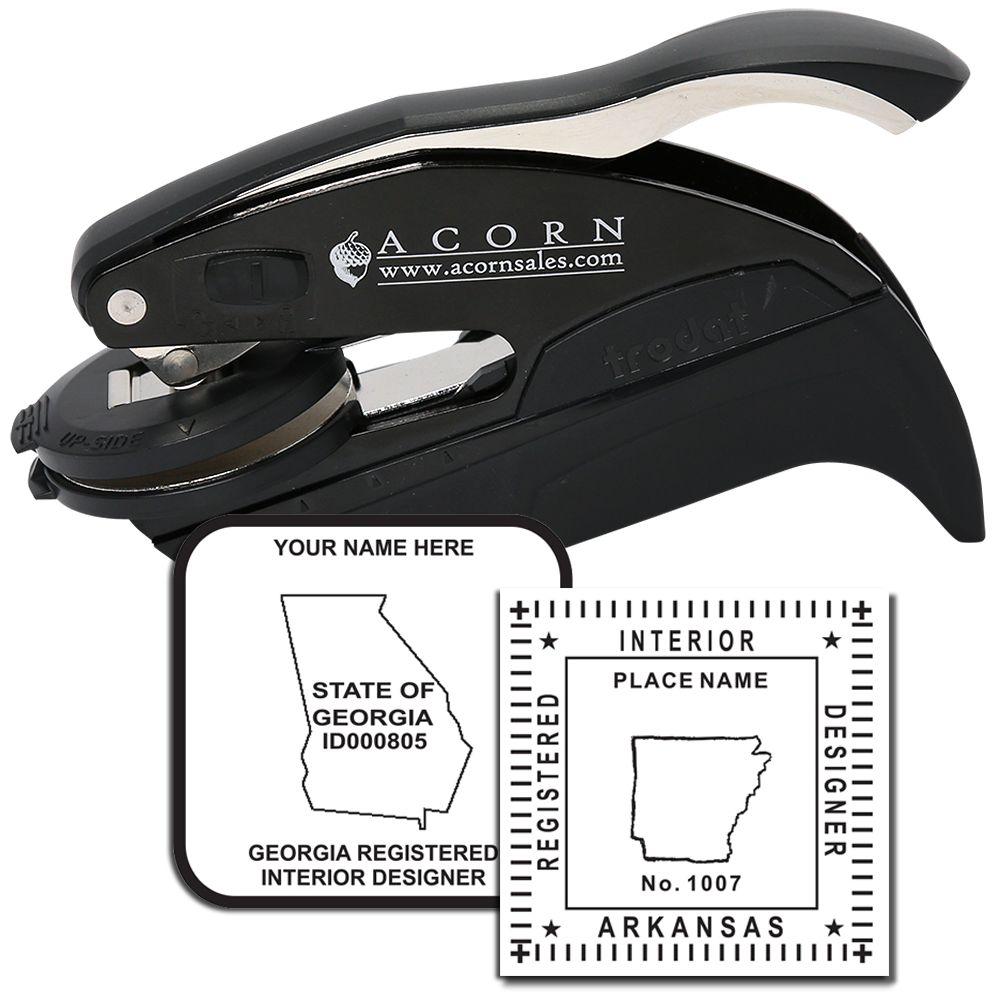
Not a regulated purchase. Any Washington interior designer device is a private identification stamp with no statutory effect. An authority having jurisdiction cannot accept it in place of the architect seal that WAC 308-12-081 requires on technical submissions filed for building permits and regulatory approvals.
Signing and dating
Not addressed, because Washington issues no interior design credential. Where a Washington submission requires sealing, RCW 18.08.370(2) and WAC 308-12-081 put the seal and signature on the registered architect, and WAC 308-12-081(4) fixes how that signature is made.
Washington regulates four design professions and interior design is not one of them
RCW Title 18 is a long list, and it is worth seeing what is on it. Architects at 18.08. Engineers and land surveyors at 18.43. Landscape architects at 18.96. Geologists at 18.220. On site wastewater treatment system designers at 18.210. Home inspectors at 18.280. Interior designers appear nowhere. There is no Washington interior design license, registration or certification, and no board that could authorize a seal design.
Which documents must be sealed
No Washington document requires an interior designer seal. The sealing duty runs to technical submissions filed with authorities having jurisdiction under WAC 308-12-081, and it is discharged by the registered architect, or by the licensed engineer under ch. 196-23 WAC where the work is engineering.
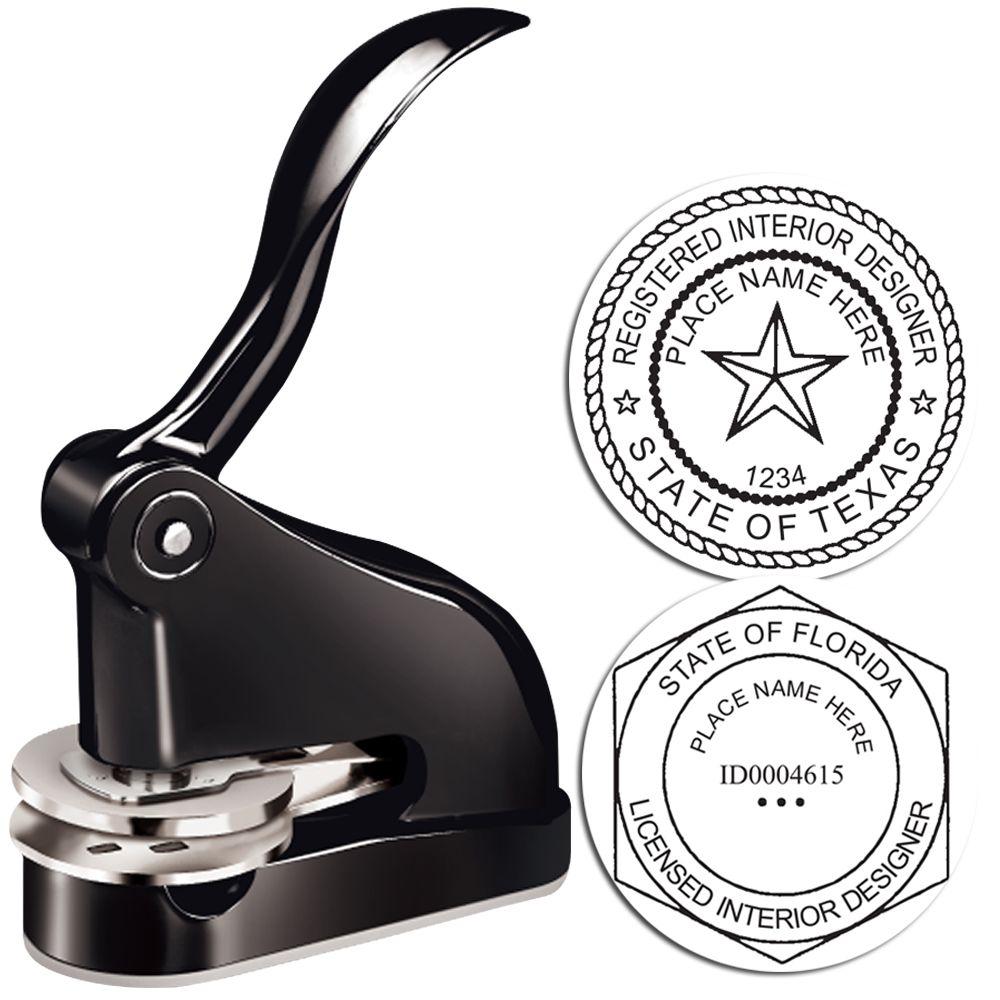



Electronic and digital seals
Not applicable. The electronic seal permissions in WAC 308-12-081(3), 308-13-055 and 308-15-070 attach to registered architects, licensed landscape architects and licensed geologists. Washington has no interior design credential and therefore no electronic interior design seal standard.
Renewal, lapse and retirement
Not applicable. With no credential there is no renewal cycle, no lapse, no number to change and no device to surrender.
Firm requirements
Not applicable. Washington issues no interior design certificate of authorization. The certificate of authorization concept in RCW 18.08.320(5) reaches business entities practicing architecture only.
What to check before you order
You cannot order a Washington interior designer seal, because Washington does not license or register the profession and no board authorizes a design. A plain business or identification stamp with your name and firm is the honest device. Keep the words architect and landscape architect off it, because Washington protects both titles at RCW 18.08.310 and RCW 18.96.020. If your drawings are going to an authority having jurisdiction for a permit or regulatory approval, the seal on them has to be the registered architect’s under WAC 308-12-081, signed across the seal, and no interior design device substitutes for it.
Browse interior designer stamps and seals.
Frequently asked questions
Does Washington license interior designers?
No. The RCW Title 18 chapter list, which covers businesses and professions across the state, has no interior design chapter. Washington regulates four design professions, being architects, engineers and land surveyors, landscape architects and geologists, and interior design is not among them. Practice is open.
Is an interior designer seal required in Washington?
No rule requires one and no board authorizes a design. The four design profession seal chapters, WAC 308-12 for architects, 196-23 for engineers, 308-13 for landscape architects and 308-15 for geologists, none of them reaches interior design.
What can I put on a Washington interior designer stamp?
Anything true of you: your name, your firm name, a monogram, your logo, contact details, or the exact name of a private certification such as the NCIDQ certificate from the Council for Interior Design Qualification. Nothing prescribes a layout, so the format is yours to pick on looks and legibility.
What should I keep off a Washington interior designer stamp?
The words architect and landscape architect. Washington protects the architect title at RCW 18.08.310 and the landscape architect title at RCW 18.96.020, and a stamp that edges toward either word on a Washington drawing invites a complaint even though the interior design work itself is unregulated. Naming NCIDQ in plain words does not.
What size should a Washington interior designer stamp be?
Any size. Washington prescribes no interior designer seal, so there is no diameter to match. The chapter list for RCW Title 18 and the four design profession seal chapters in the Washington Administrative Code offer no figure for the profession, because none of them creates it.
Will a Washington building department accept my stamp?
Not in place of an architect’s. WAC 308-12-081 requires the registered architect’s seal on technical submissions filed with authorities having jurisdiction for building permits and regulatory approvals, RCW 18.08.370(2) carries the statutory duty, and WAC 308-12-081(4) fixes how that signature is made. Where the work is engineering, the licensed engineer seals under ch. 196-23 WAC.
Does my out-of-state interior design seal count in Washington?
It describes a credential another state issues. A Maryland Certified Interior Designer carries a two inch seal with the Great Seal of Maryland on it, a Georgia Registered Interior Designer carries a square stamp, and a North Carolina Registered Interior Designer carries a seal prescribed by that board. None of those describes a Washington credential, and none earns a place on a Washington permit submission. Name the issuing state expressly if you want the registration visible.
Can I sign Washington interior design documents electronically?
Nothing constrains you. The electronic seal permissions in WAC 308-12-081(3), 308-13-055 and 308-15-070 attach to registered architects, licensed landscape architects and licensed geologists. Washington has no interior design credential and therefore no electronic interior design seal standard.
Does a Washington interior design firm need a certificate of authorization?
No. Washington issues no interior design certificate of authorization, because the certificate of authorization concept in RCW 18.08.320(5) reaches business entities practicing architecture only.
Is there a Washington interior design credential to renew?
None. With no credential there is no renewal cycle, no lapse, no number to change and no device to surrender. A private certification such as NCIDQ renews on its issuing organization’s schedule and grants no Washington practice authority, since the state grants none for this profession.








