

For the seasoned DIY enthusiast and anyone still discovering papercrafts, holiday craft stamps can add that special dose of cheer to your projects. Think about it: a simple snowflake or reindeer motif can transform a plain card into a whimsical keepsake. It’s a fun, flexible way to give your crafts a personalized, heartwarming touch.
Below, you’ll explore different tips and techniques to get the most out of your stamps this festive season. You’ll learn about selecting the right materials, perfecting your stamping techniques, and spicing up your gift packaging. That way, each creation you make feels unique to you, and you’ll spark that warm holiday feeling in anyone who receives it.
By the end of this guide, you’ll have plenty of ideas to help you craft unforgettable greeting cards, gift tags, scrapbook pages, and more using the magical power of holiday-themed stamping. Ready to start stamping a little joy into your holidays? Let’s jump right in.
Discover holiday craft stamps
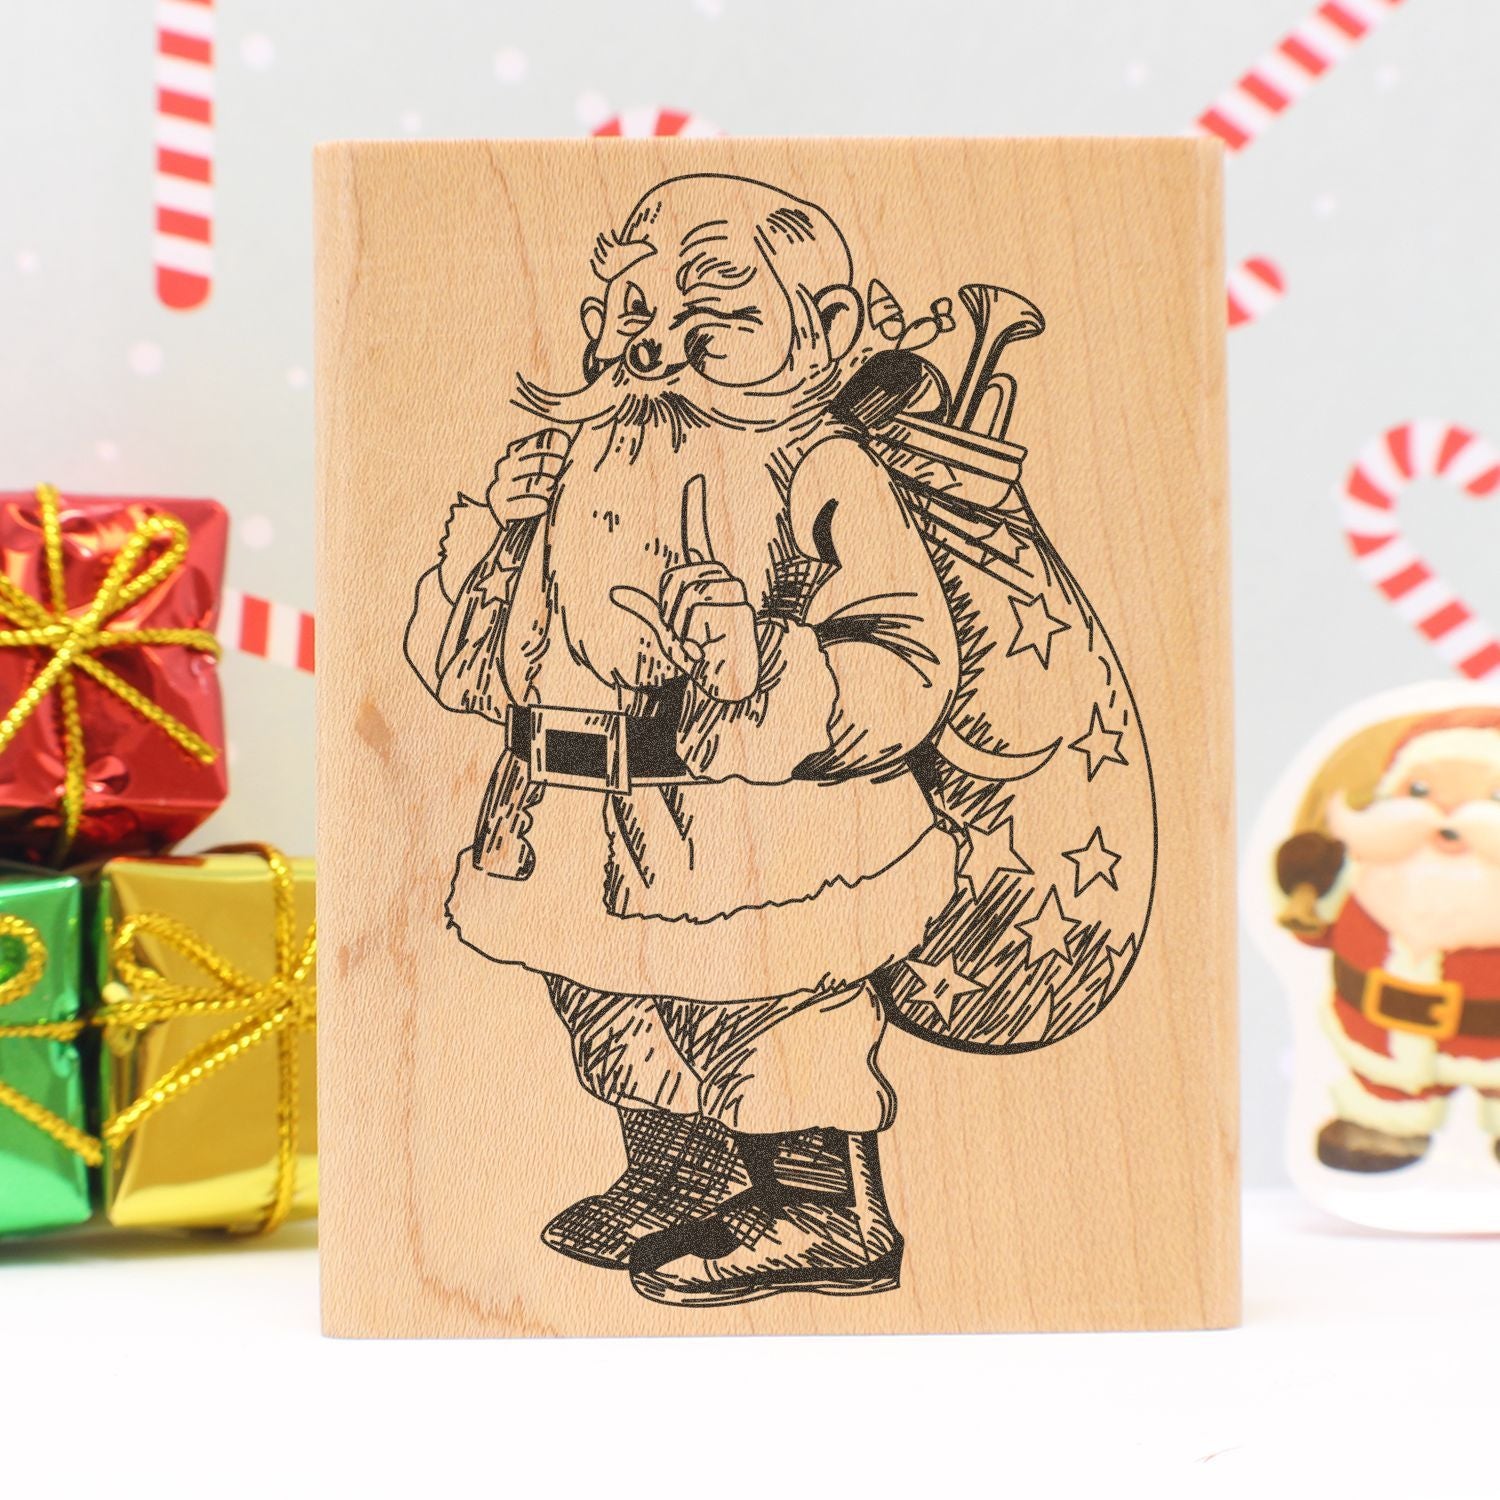
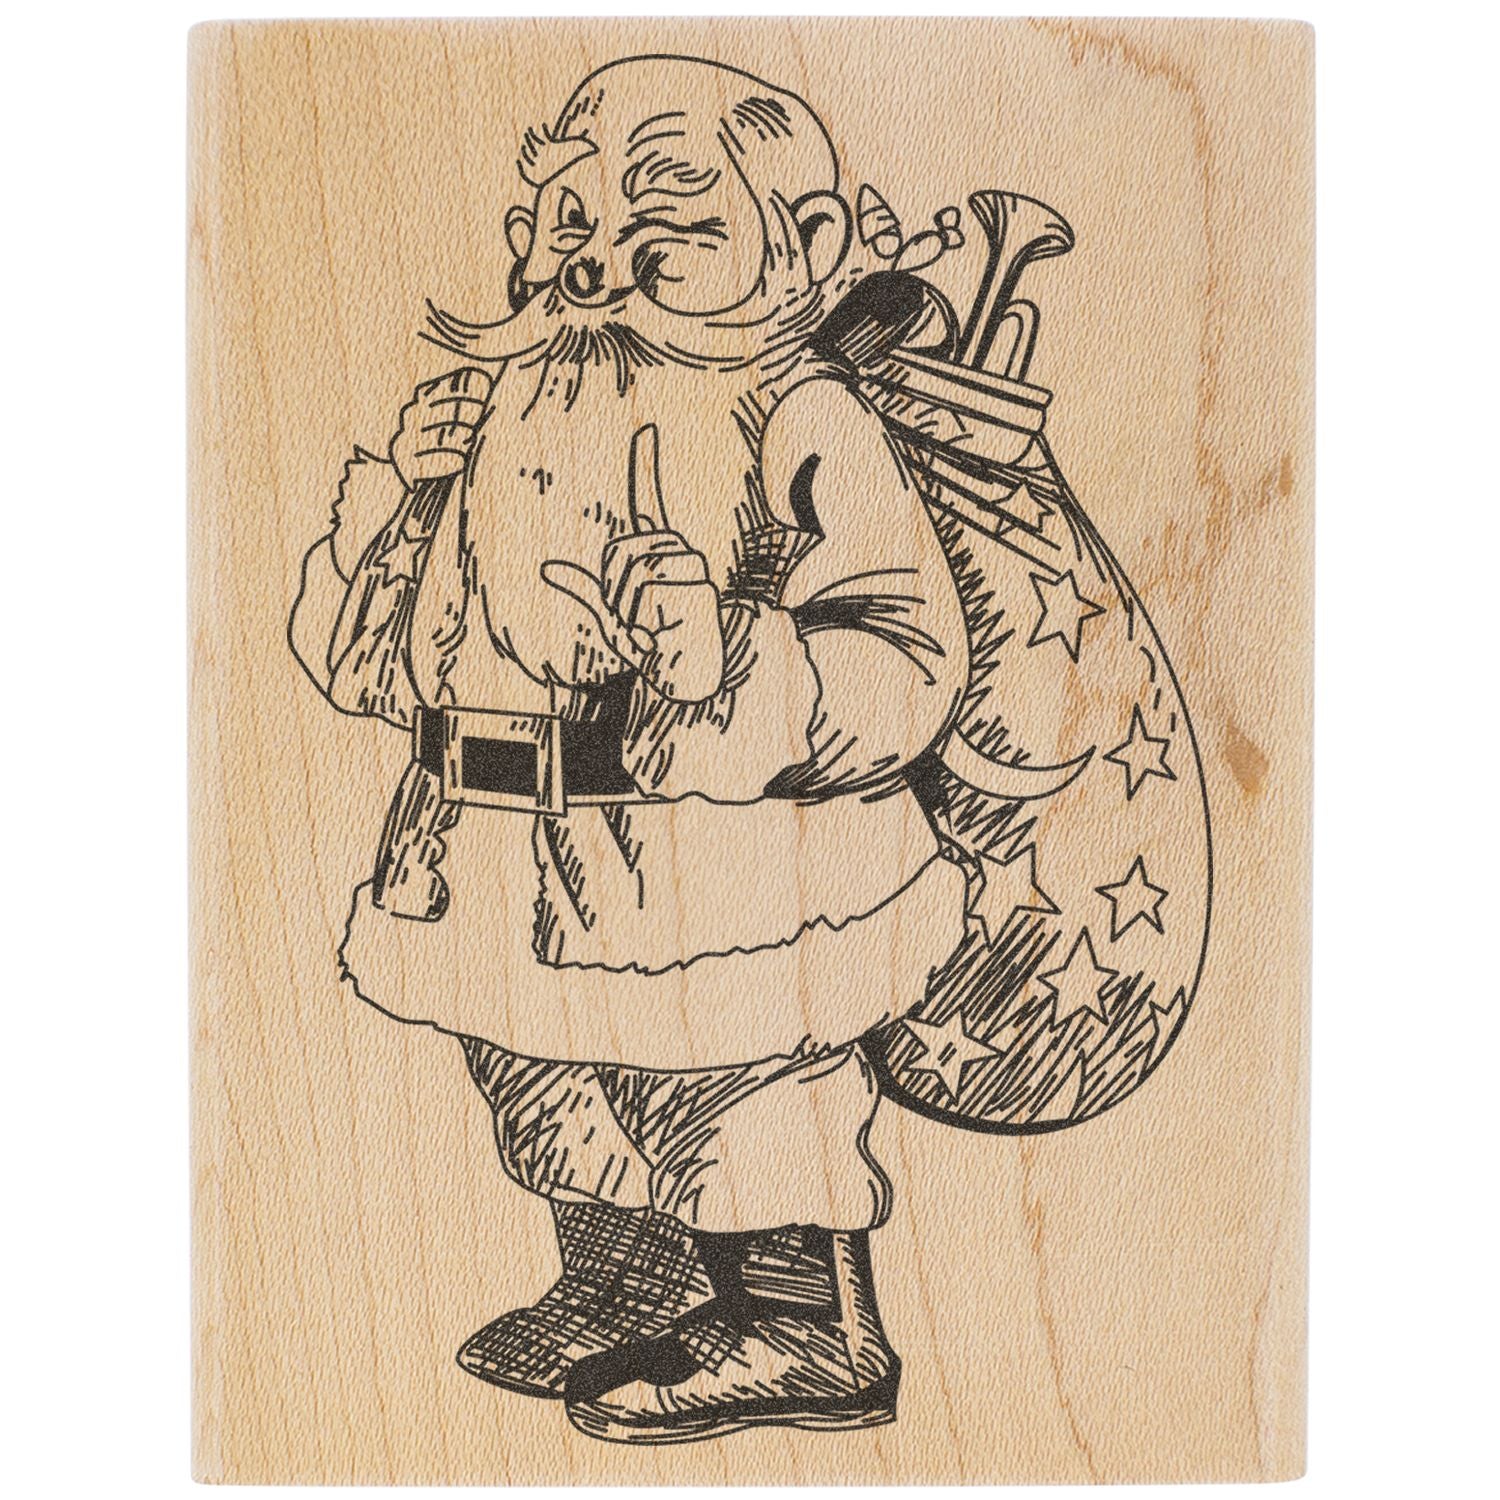
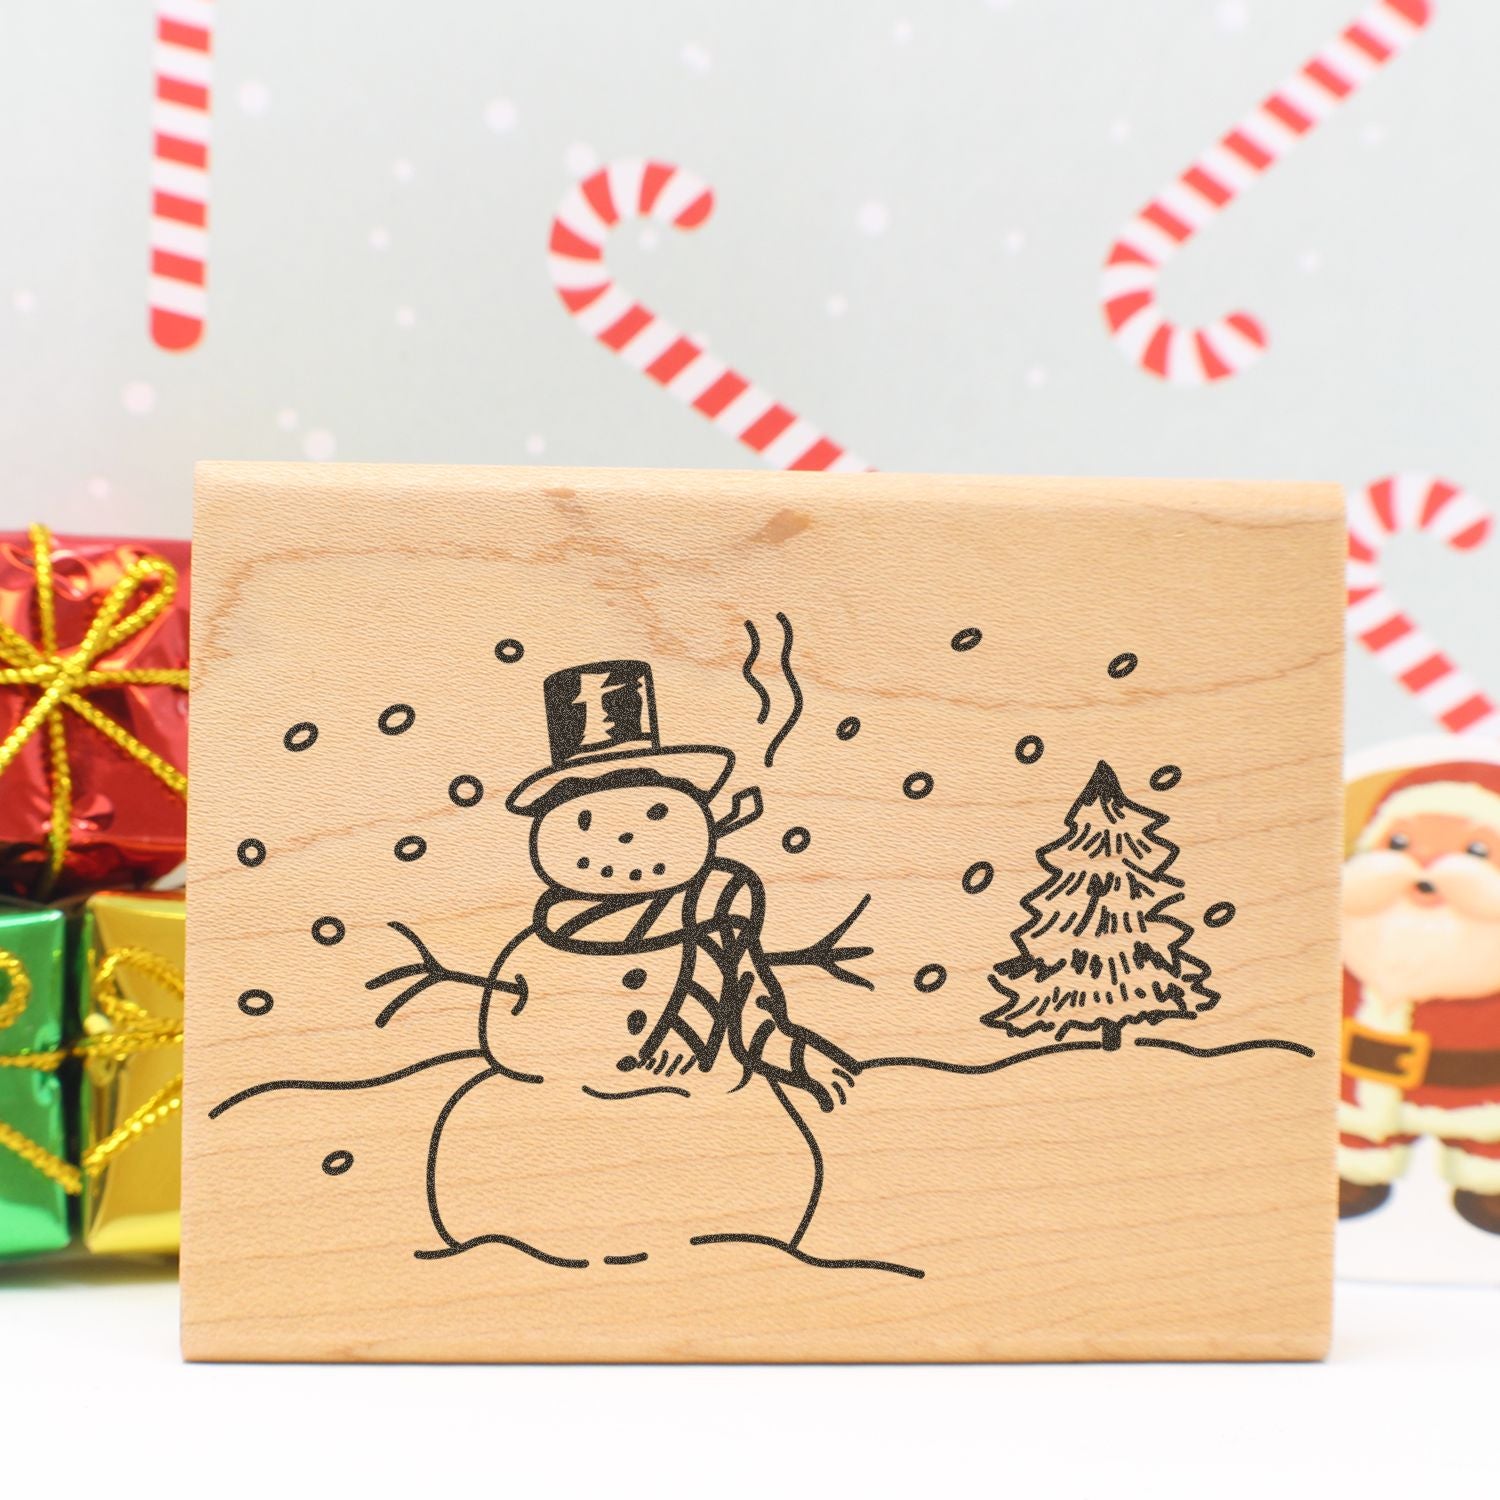
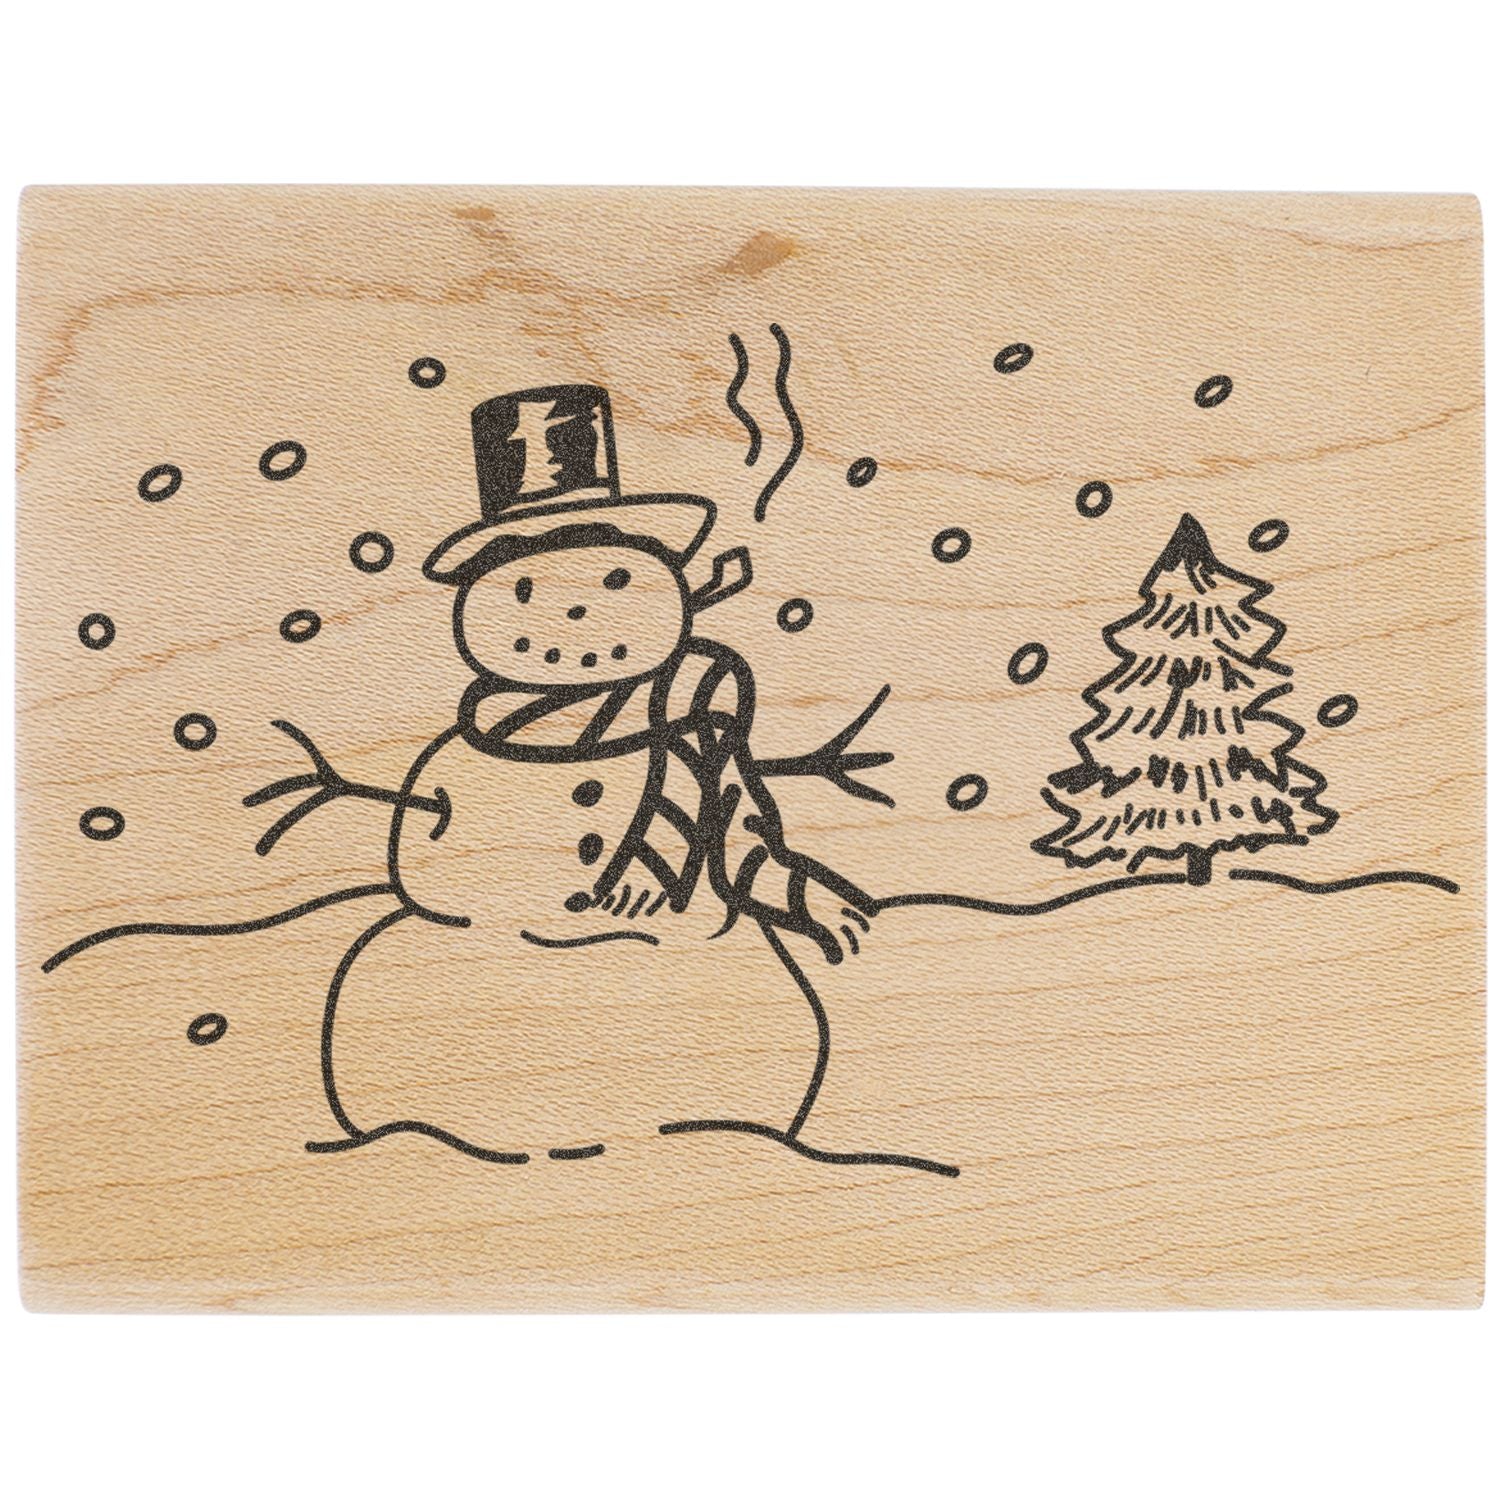
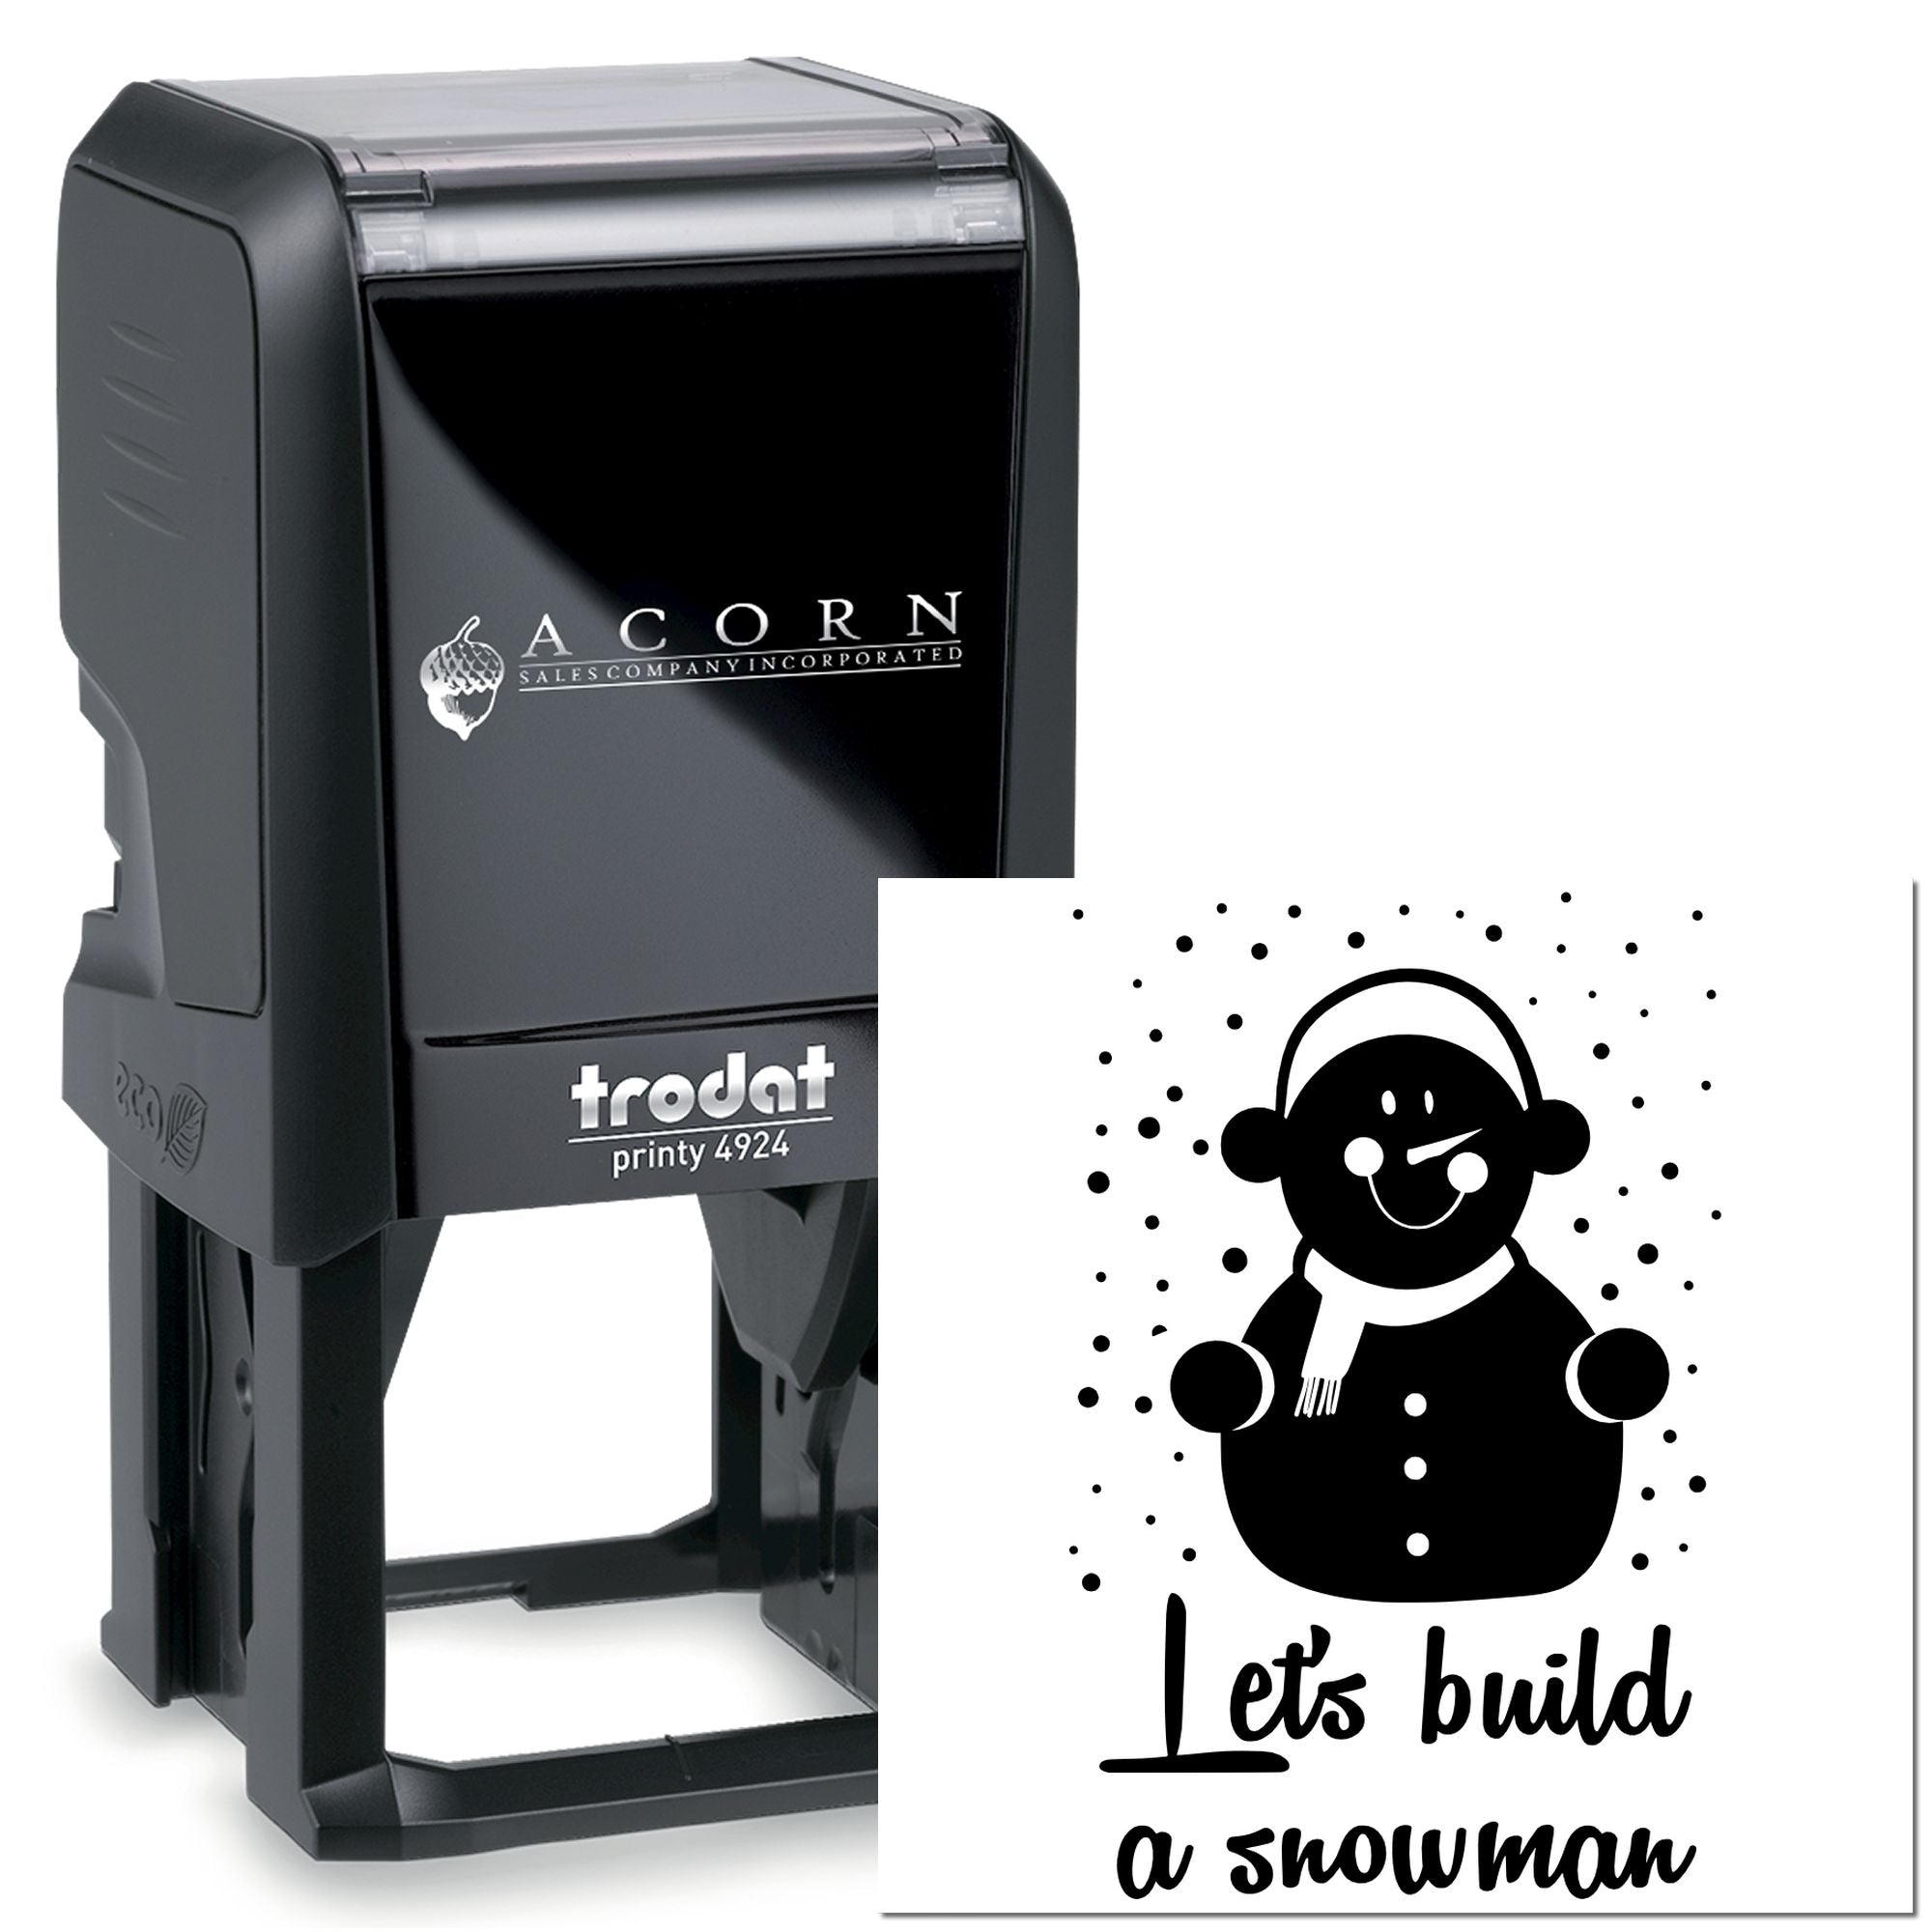
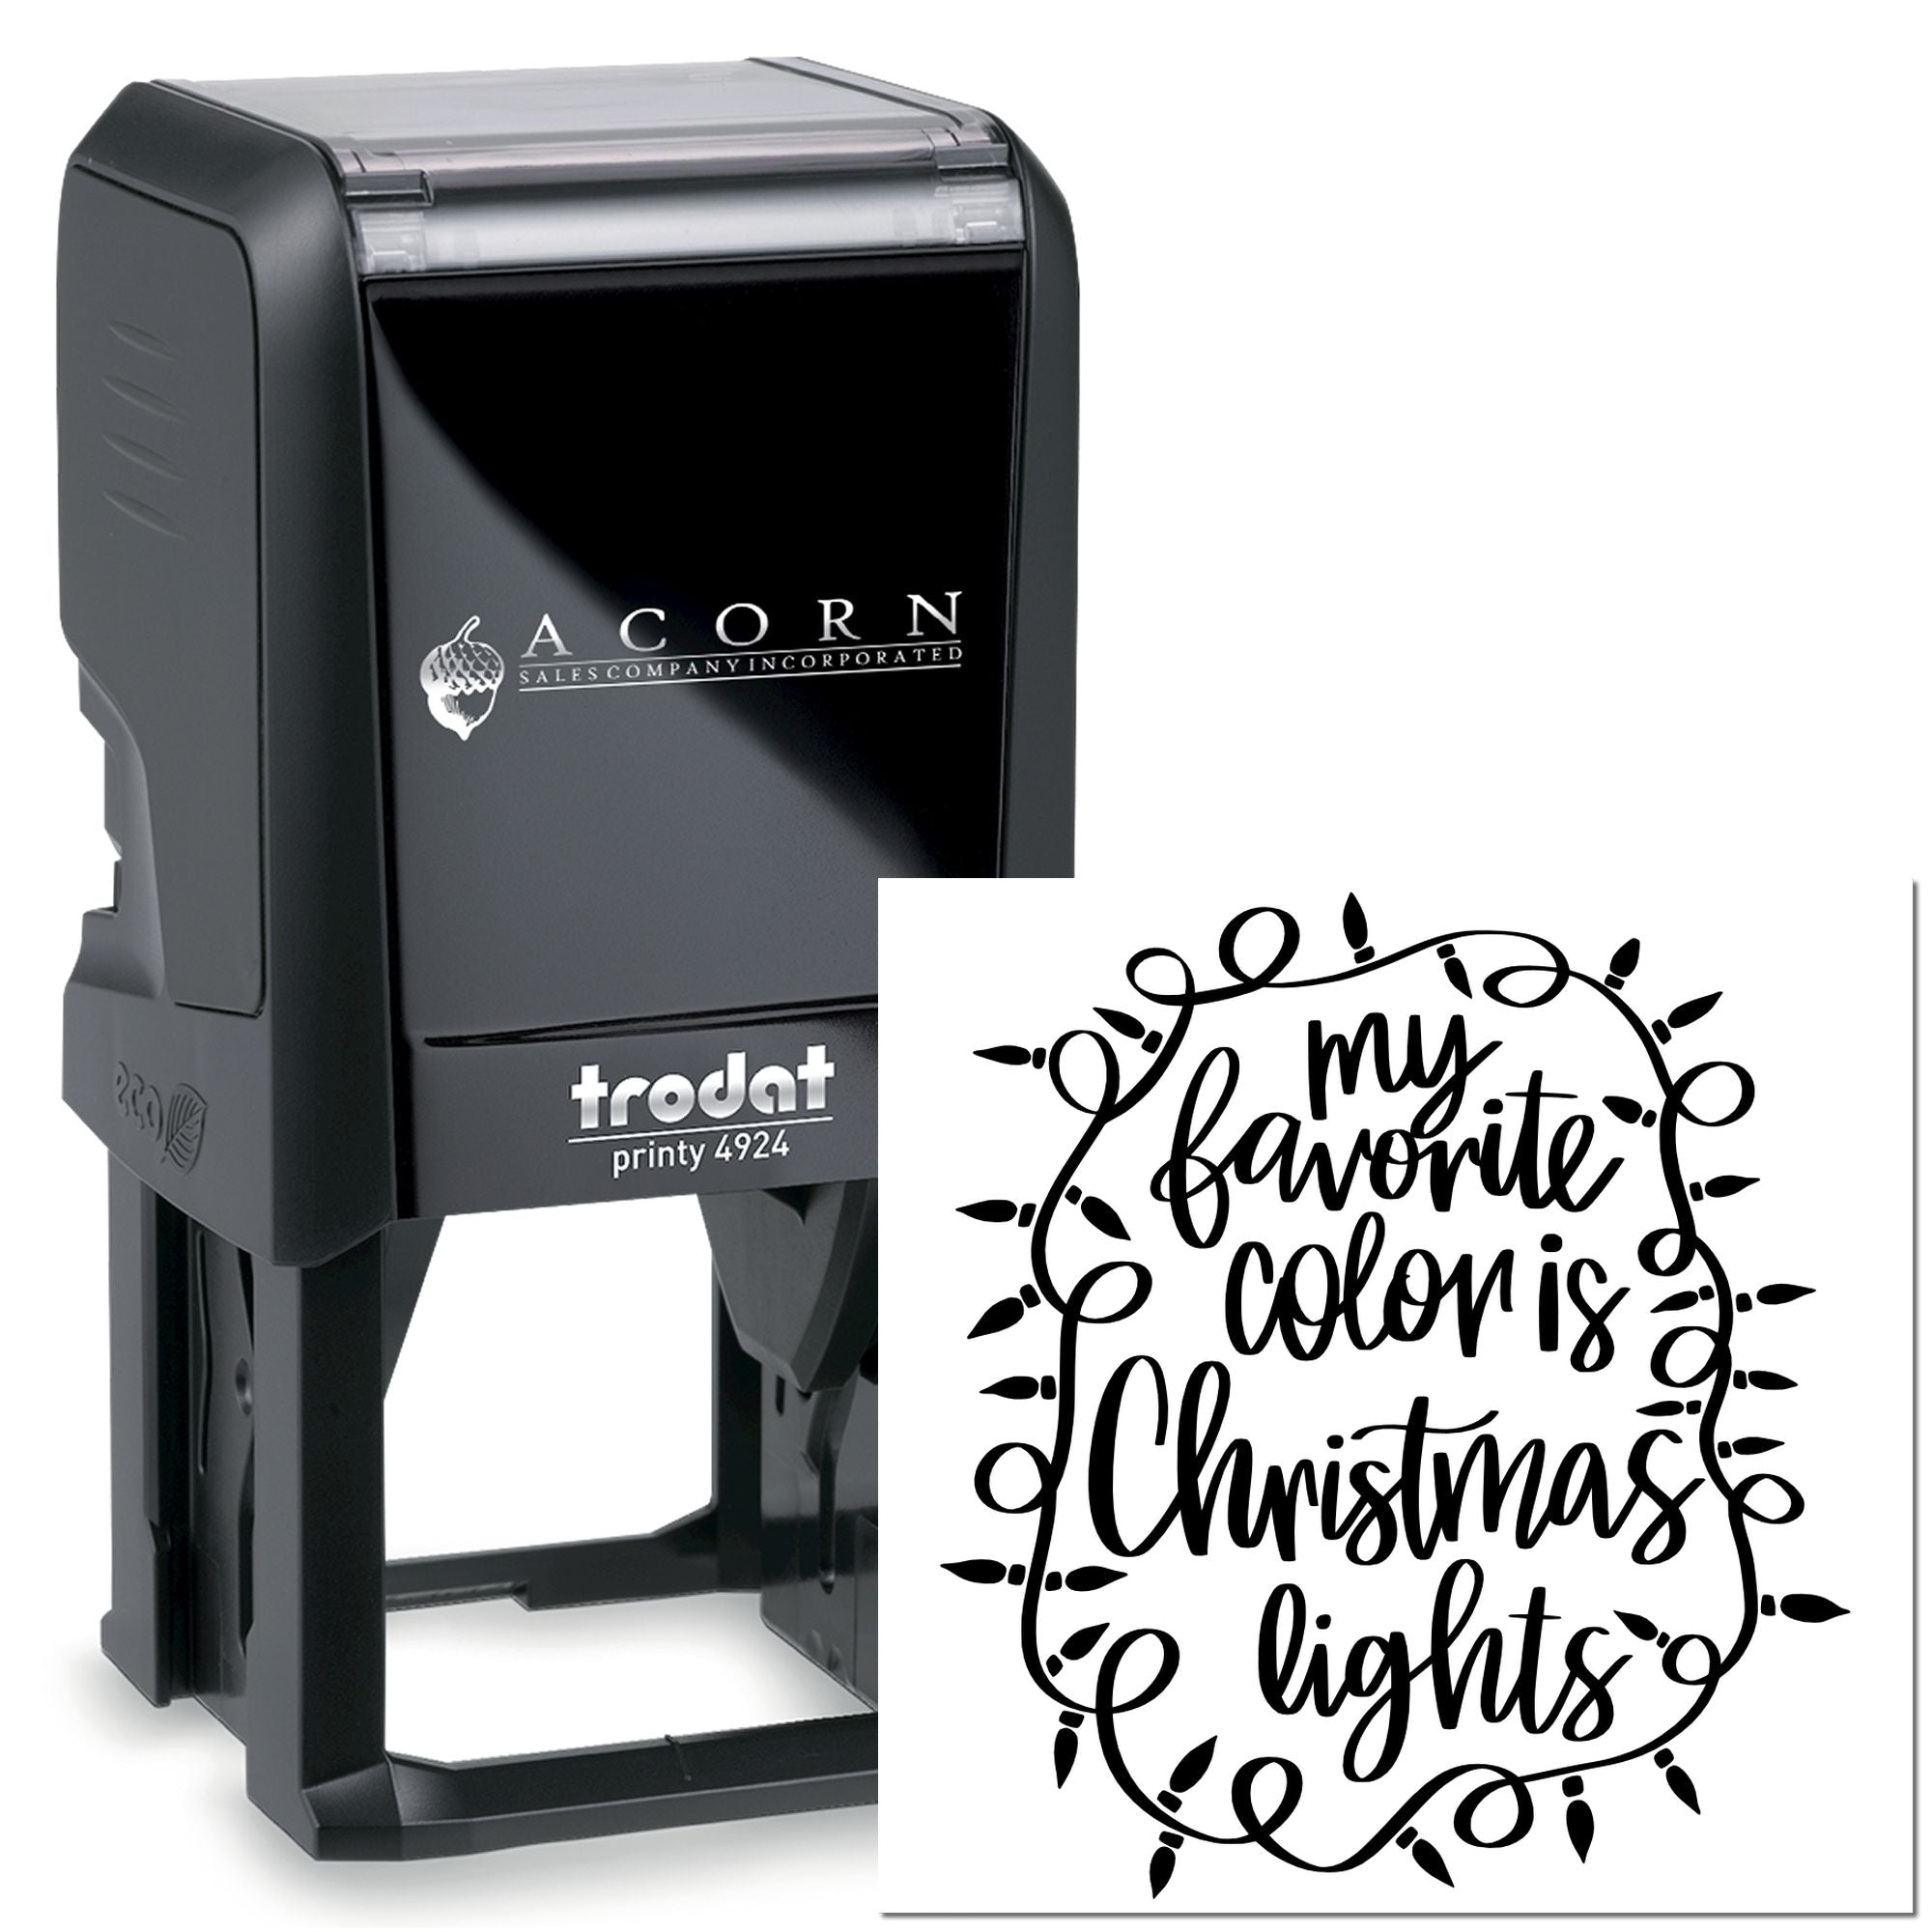
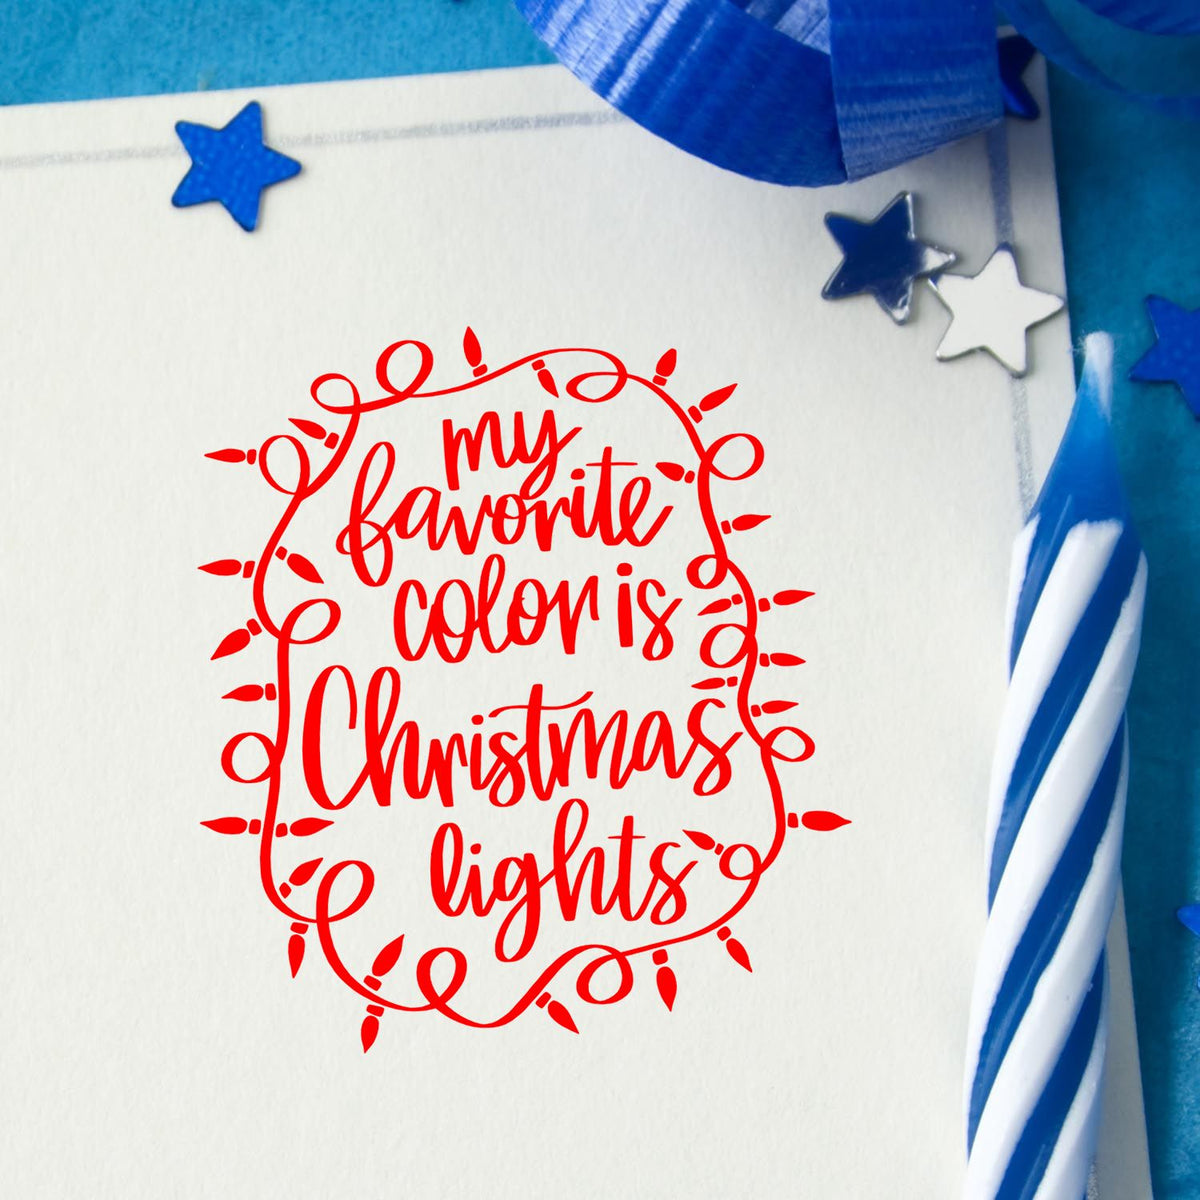
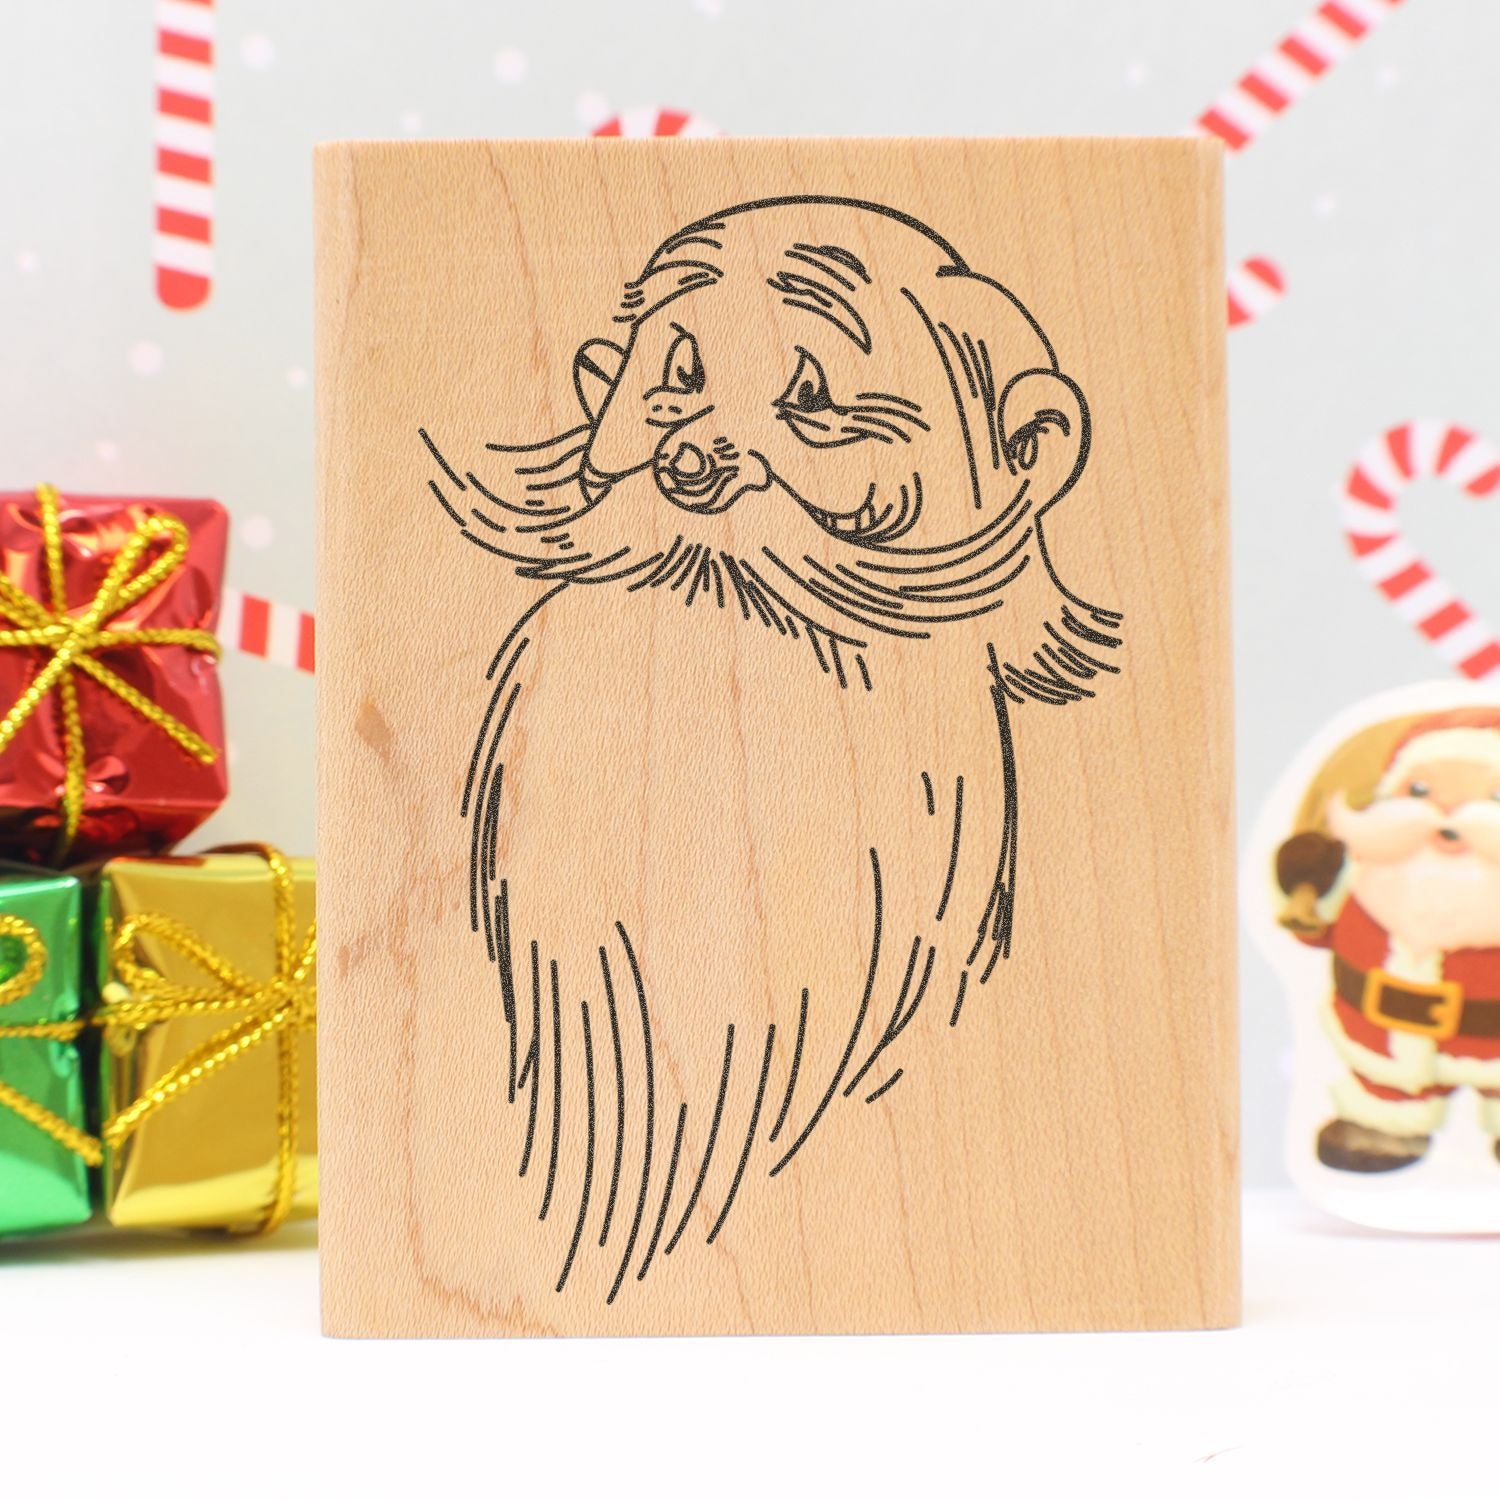
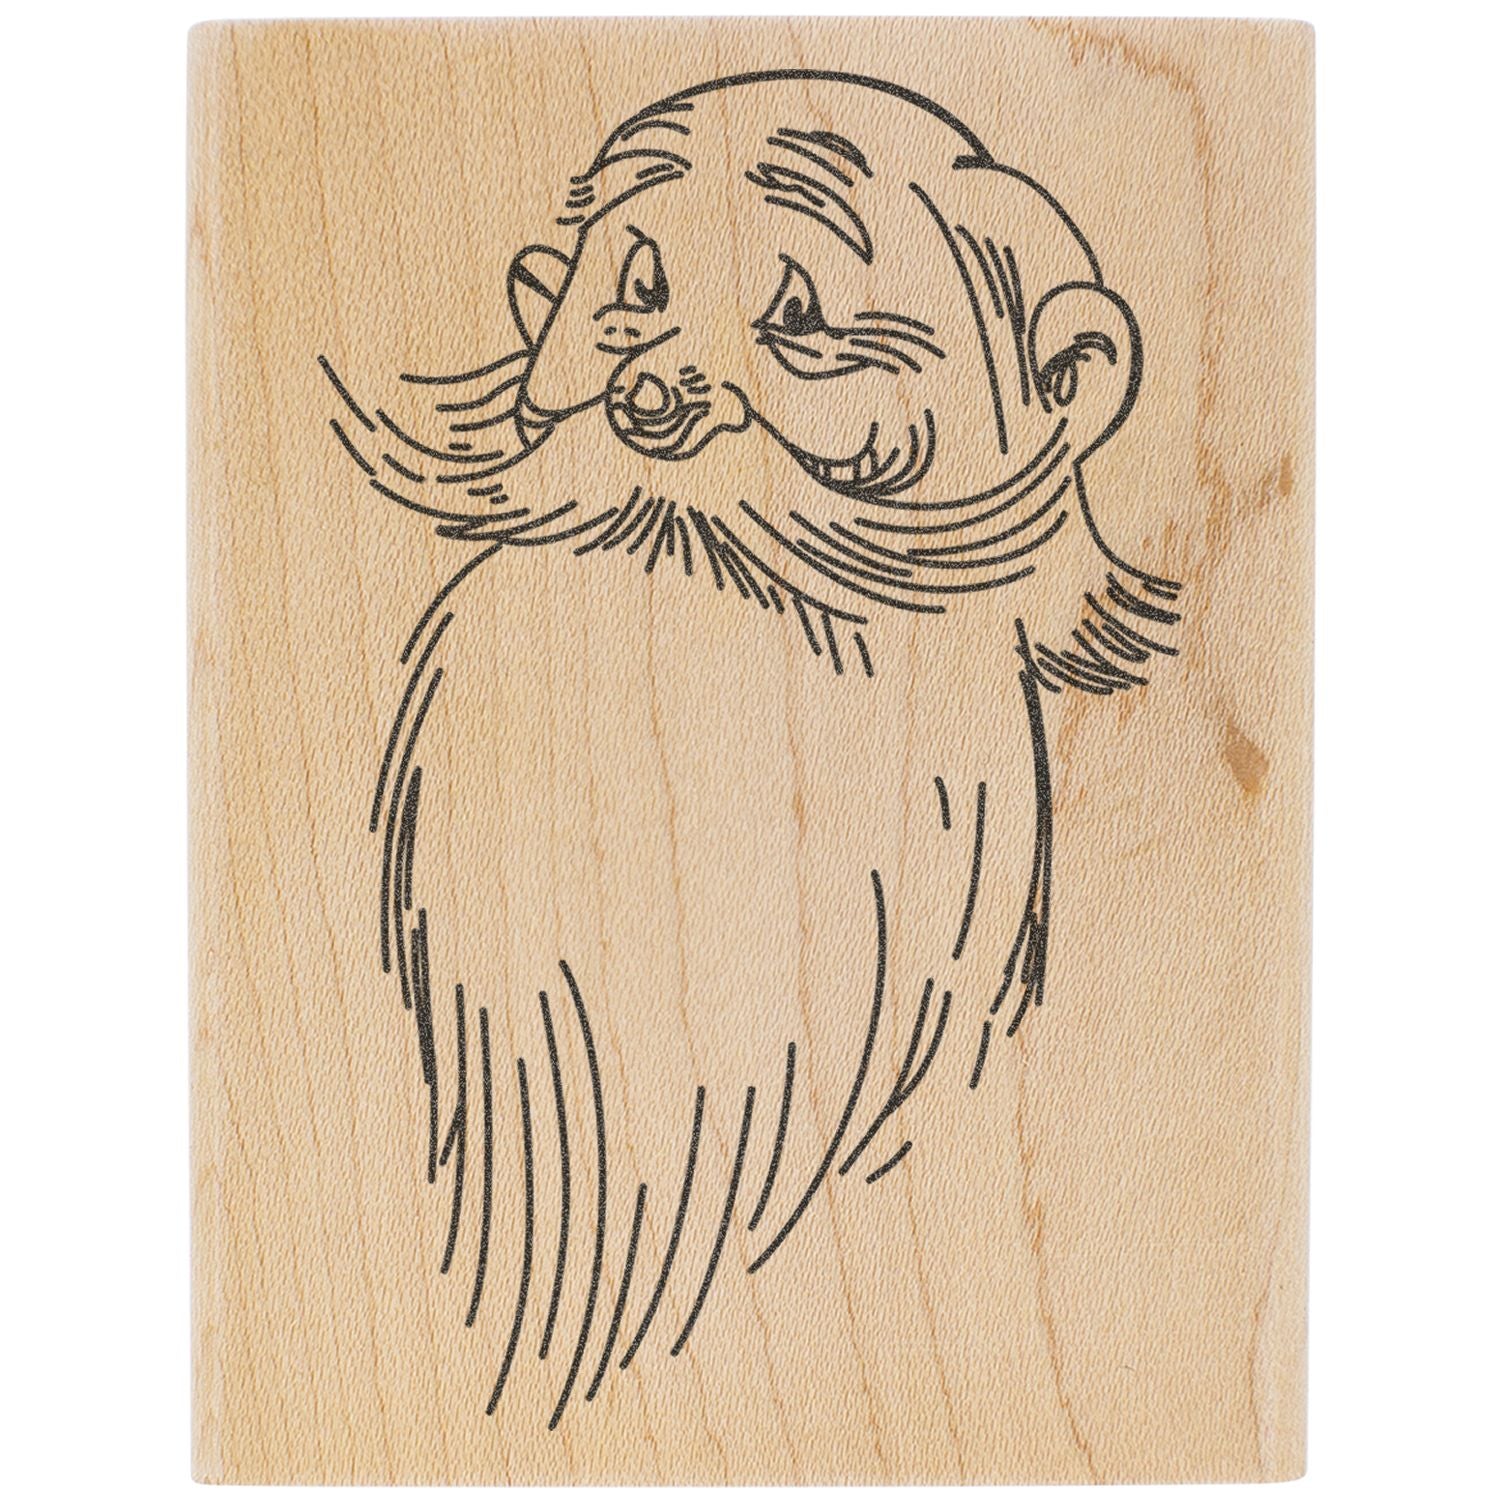
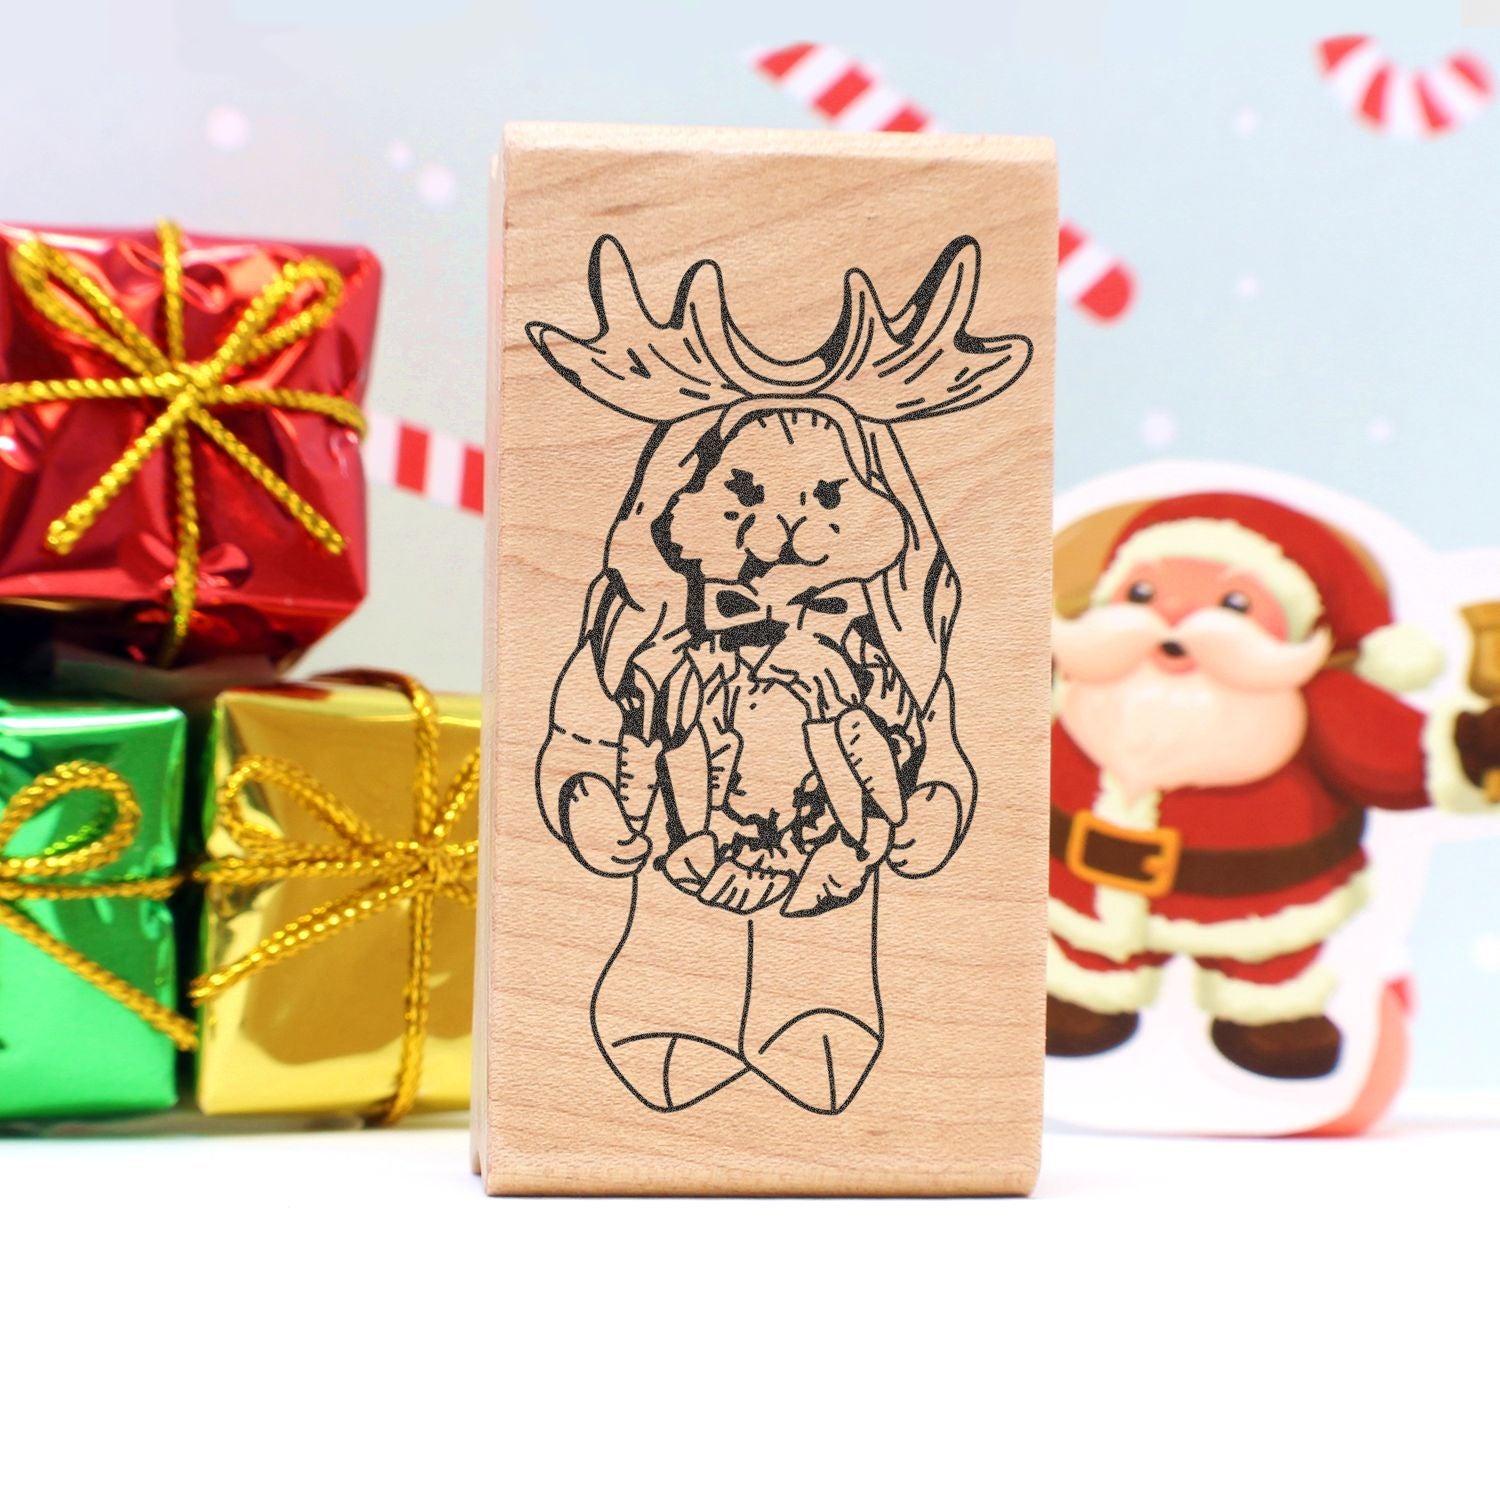
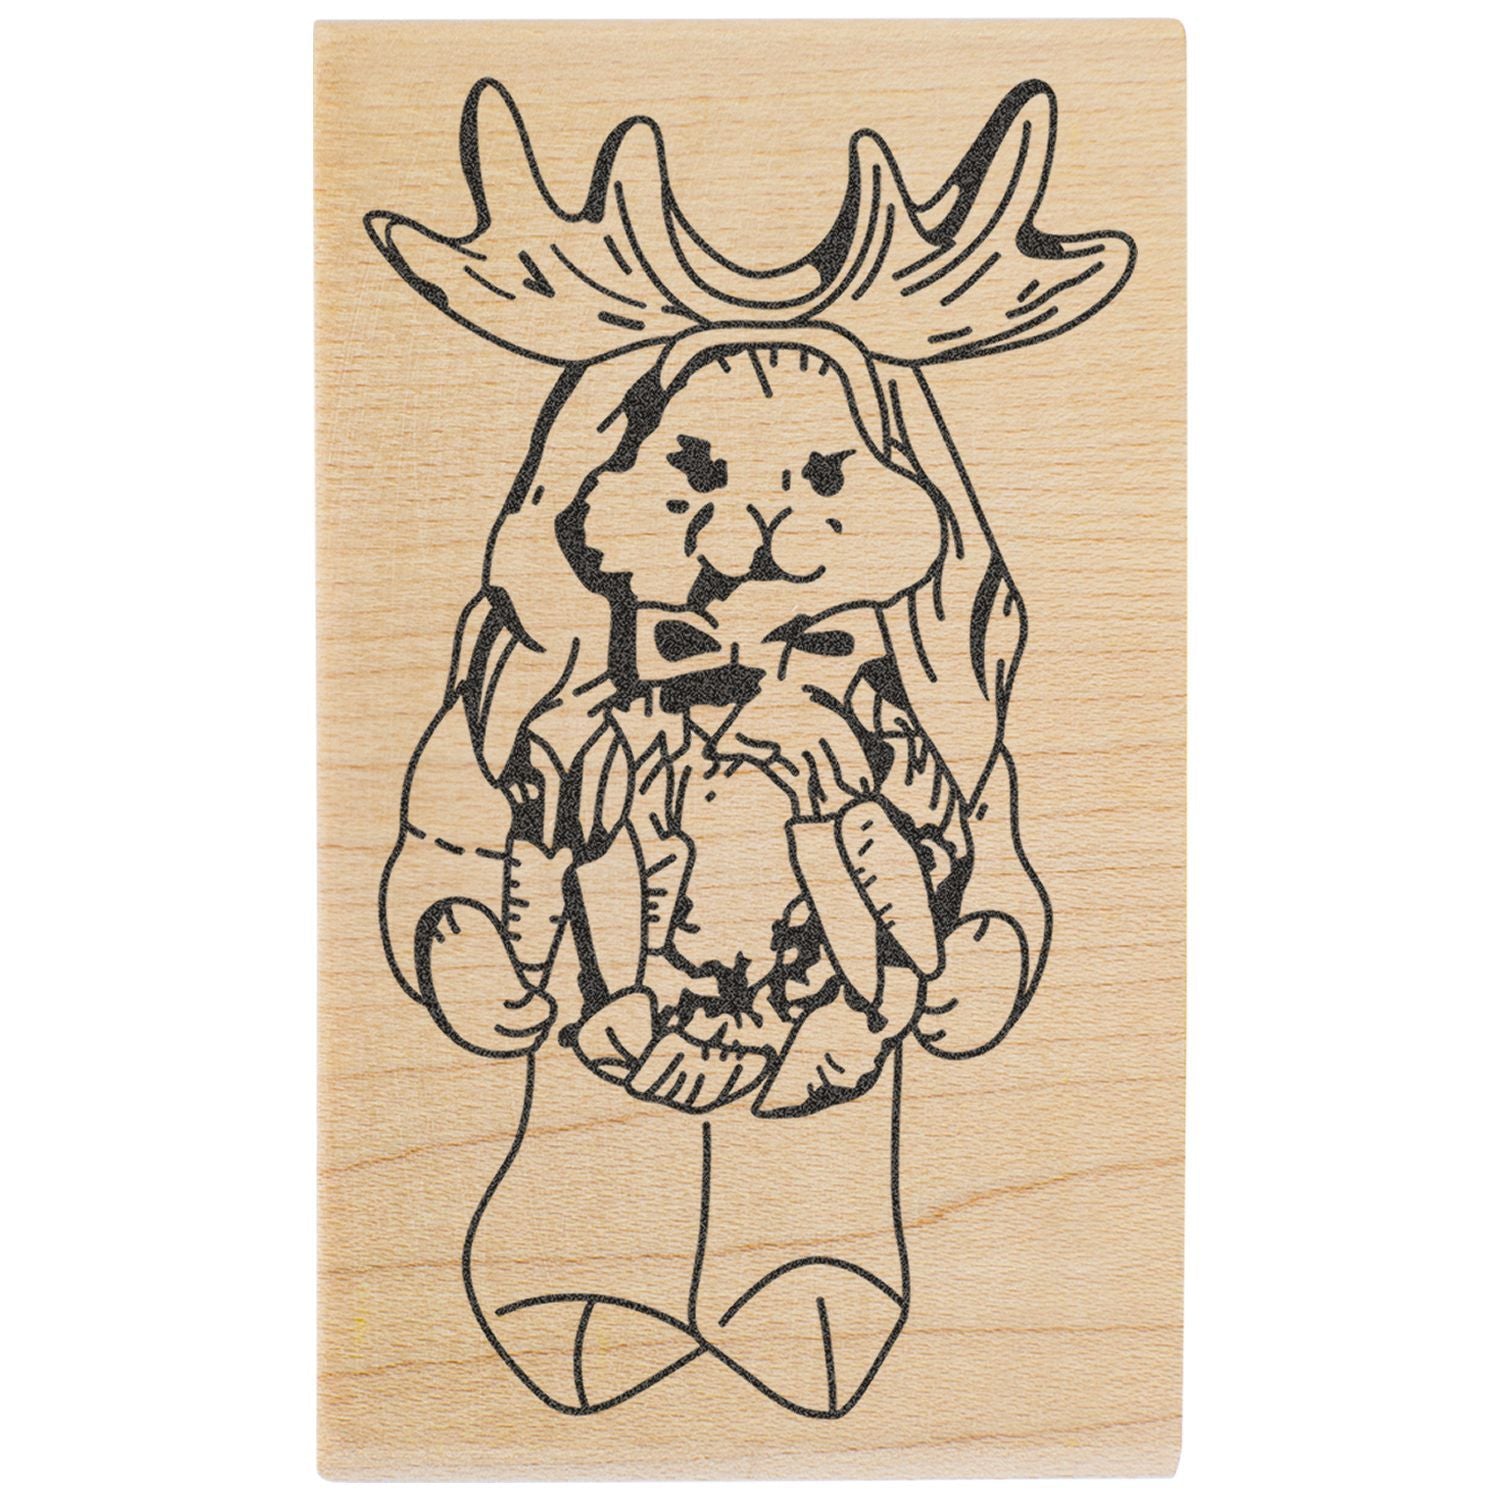
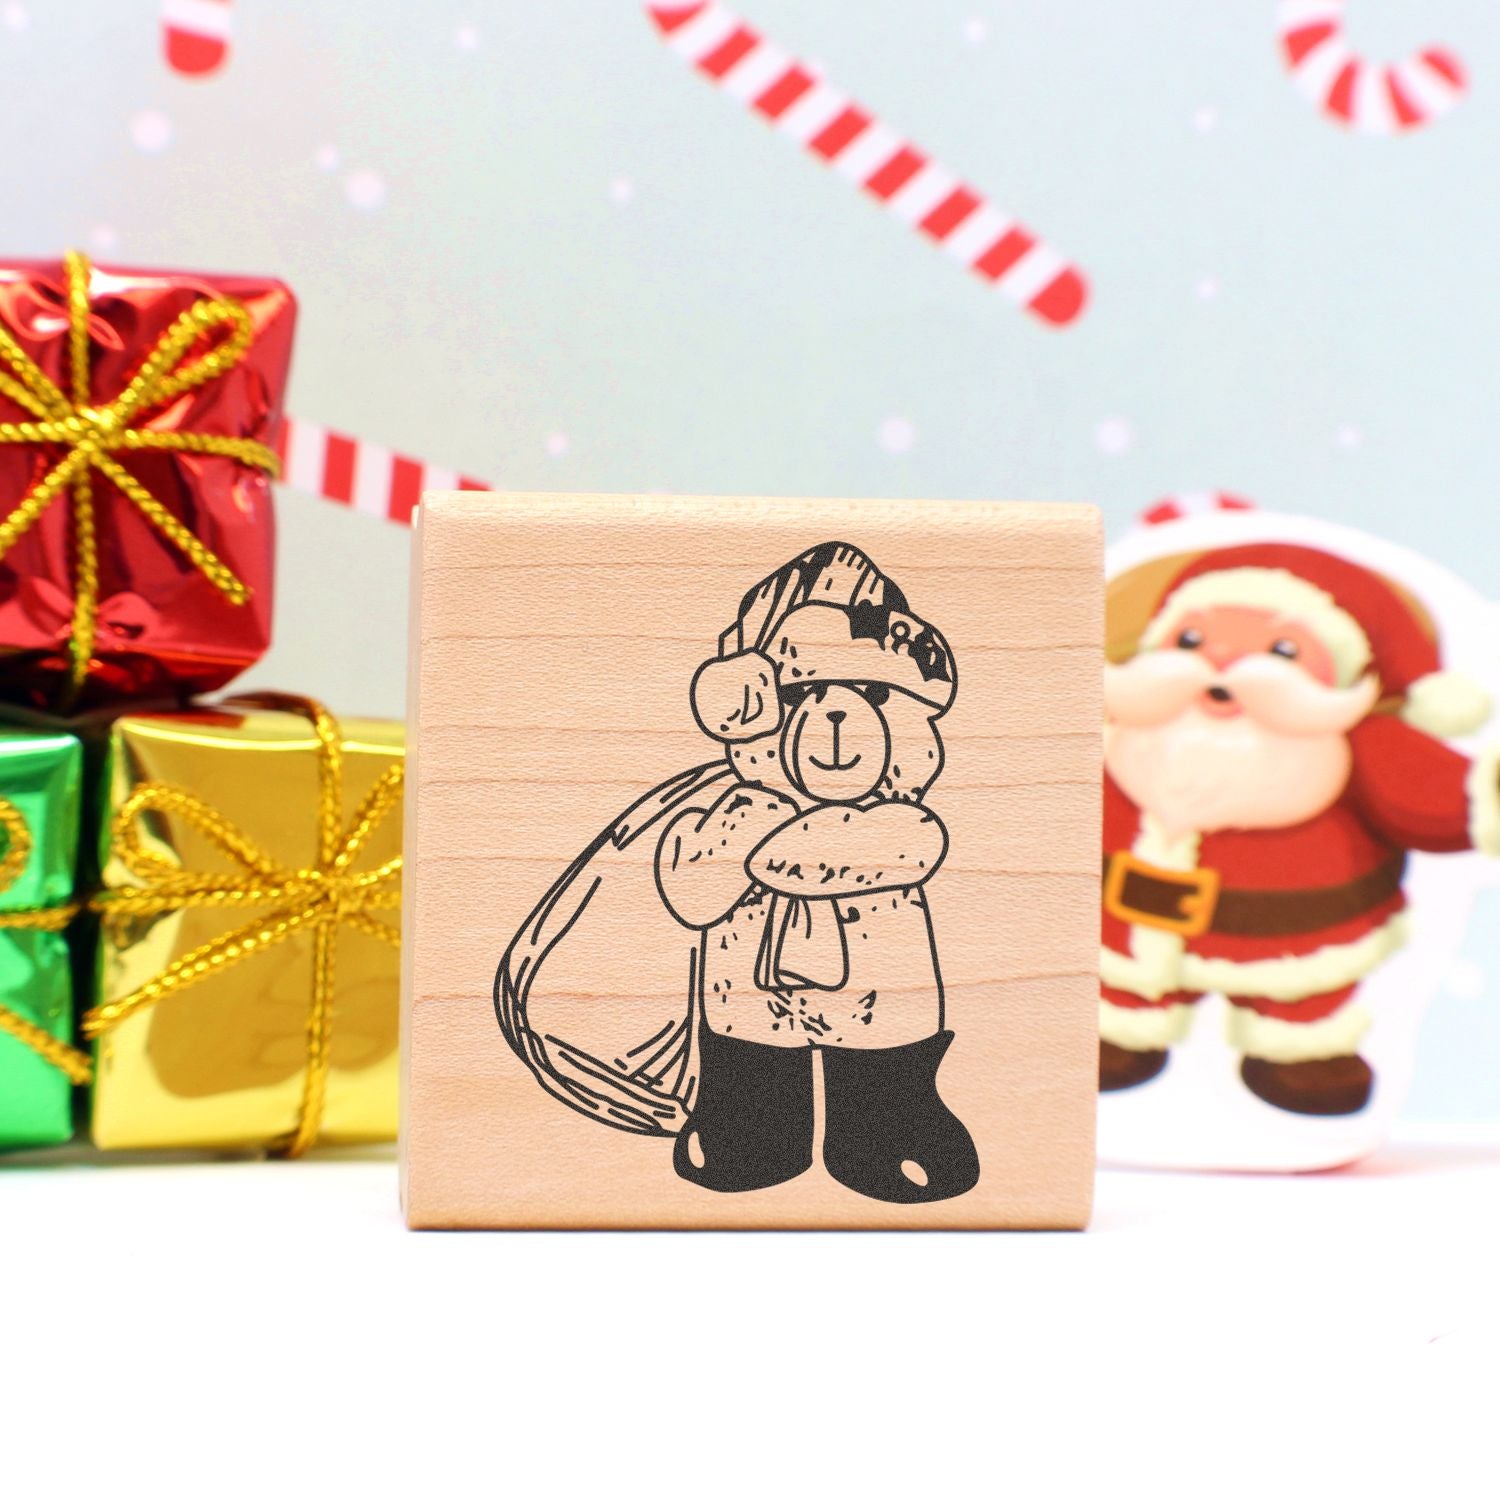
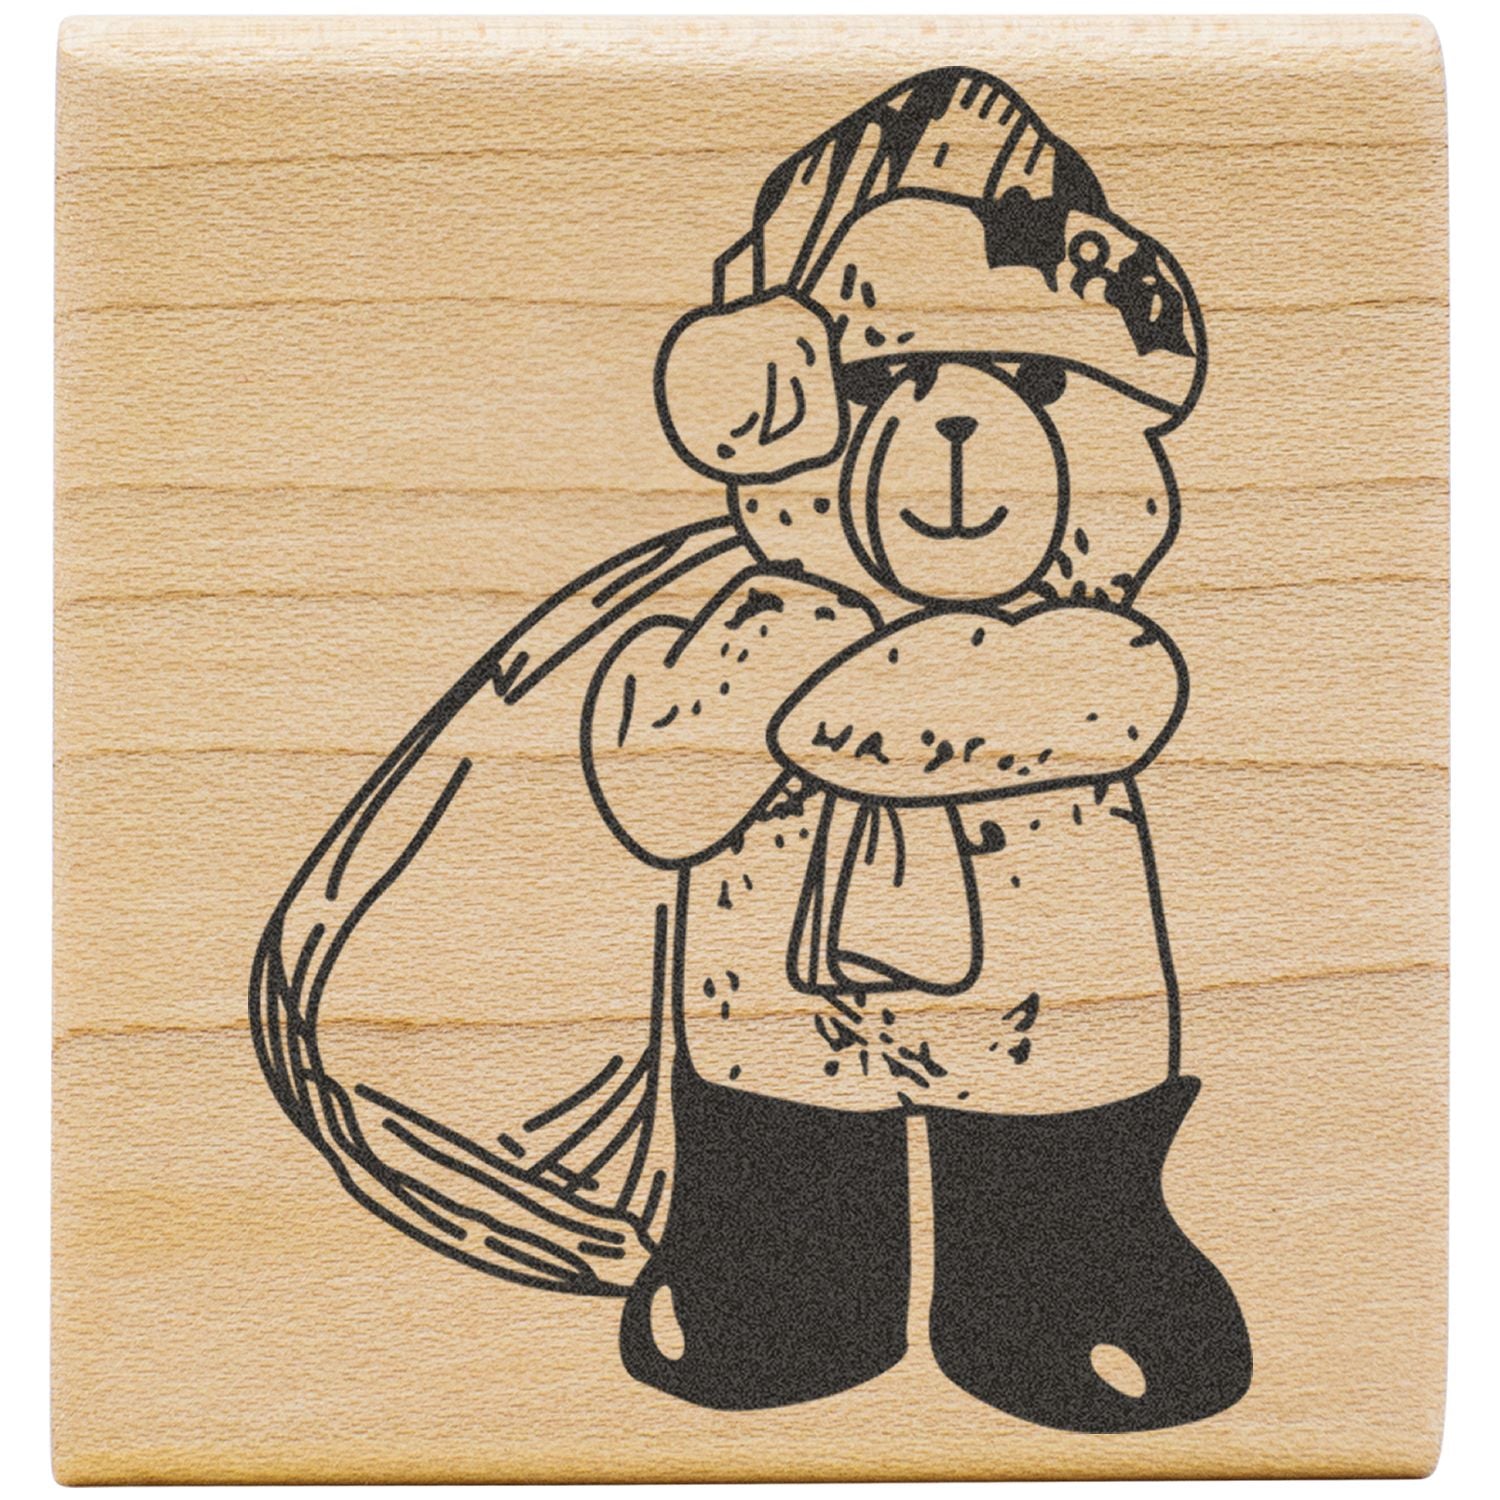
Holiday craft stamps come in all shapes and designs, from classic Christmas trees and snowflakes to Hanukkah menorahs, gingerbread men, or even cheeky holiday puns. Essentially, they’re rubber or clear acrylic stamps that leave an inked impression on your chosen surface, adding festive flair to cards, invitations, and keepsakes.
You might wonder why stamps are so popular. They’re versatile, easy to store, and user-friendly. If you go big on holiday greetings, or you love adding seasonal flair to gift wrap, stamps let you repeat the same design as many times as you like. Instead of drawing each motif by hand, you can simply reach for your stamp and produce crisp, consistent images in seconds.
Popular holiday stamp themes
- Winter wonders: Snowflakes, snowy landscapes, or mittens
- Iconic Christmas: Santa, stockings, reindeer, or candy canes
- Festive phrases: “Joy to the World,” “Let It Snow,” or “Happy Holidays”
- Celebrations: Party hats, balloons, or fireworks for New Year’s
- Faith-inspired: Menorahs, angels, or nativity scenes
Why stamps make a difference
- Consistency: Reproduce the same design again and again without error.
- Speed: Decorate multiple cards or gift tags in a fraction of the time.
- Cost-effective: Once you invest in a few designs, you can reuse them for years.
- Endless possibilities: Experiment with embossing, watercolors, even glitter.
You may already have a few holiday stamps stashed away, or you might be browsing the craft store for a new set that catches your eye. Either way, the variety will definitely inspire you to plan out creative projects, handmade greeting cards, custom wrapping paper, photo album borders, and more.
Choose essential stamping supplies
Before you start your next stamping session, it helps to gather all the must-have supplies in one convenient place. After all, you don’t want to interrupt the creative flow by scrambling for the right ink pad or rummaging through drawers to find your favorite glue stick.
Must-have tools and materials
-
Stamps
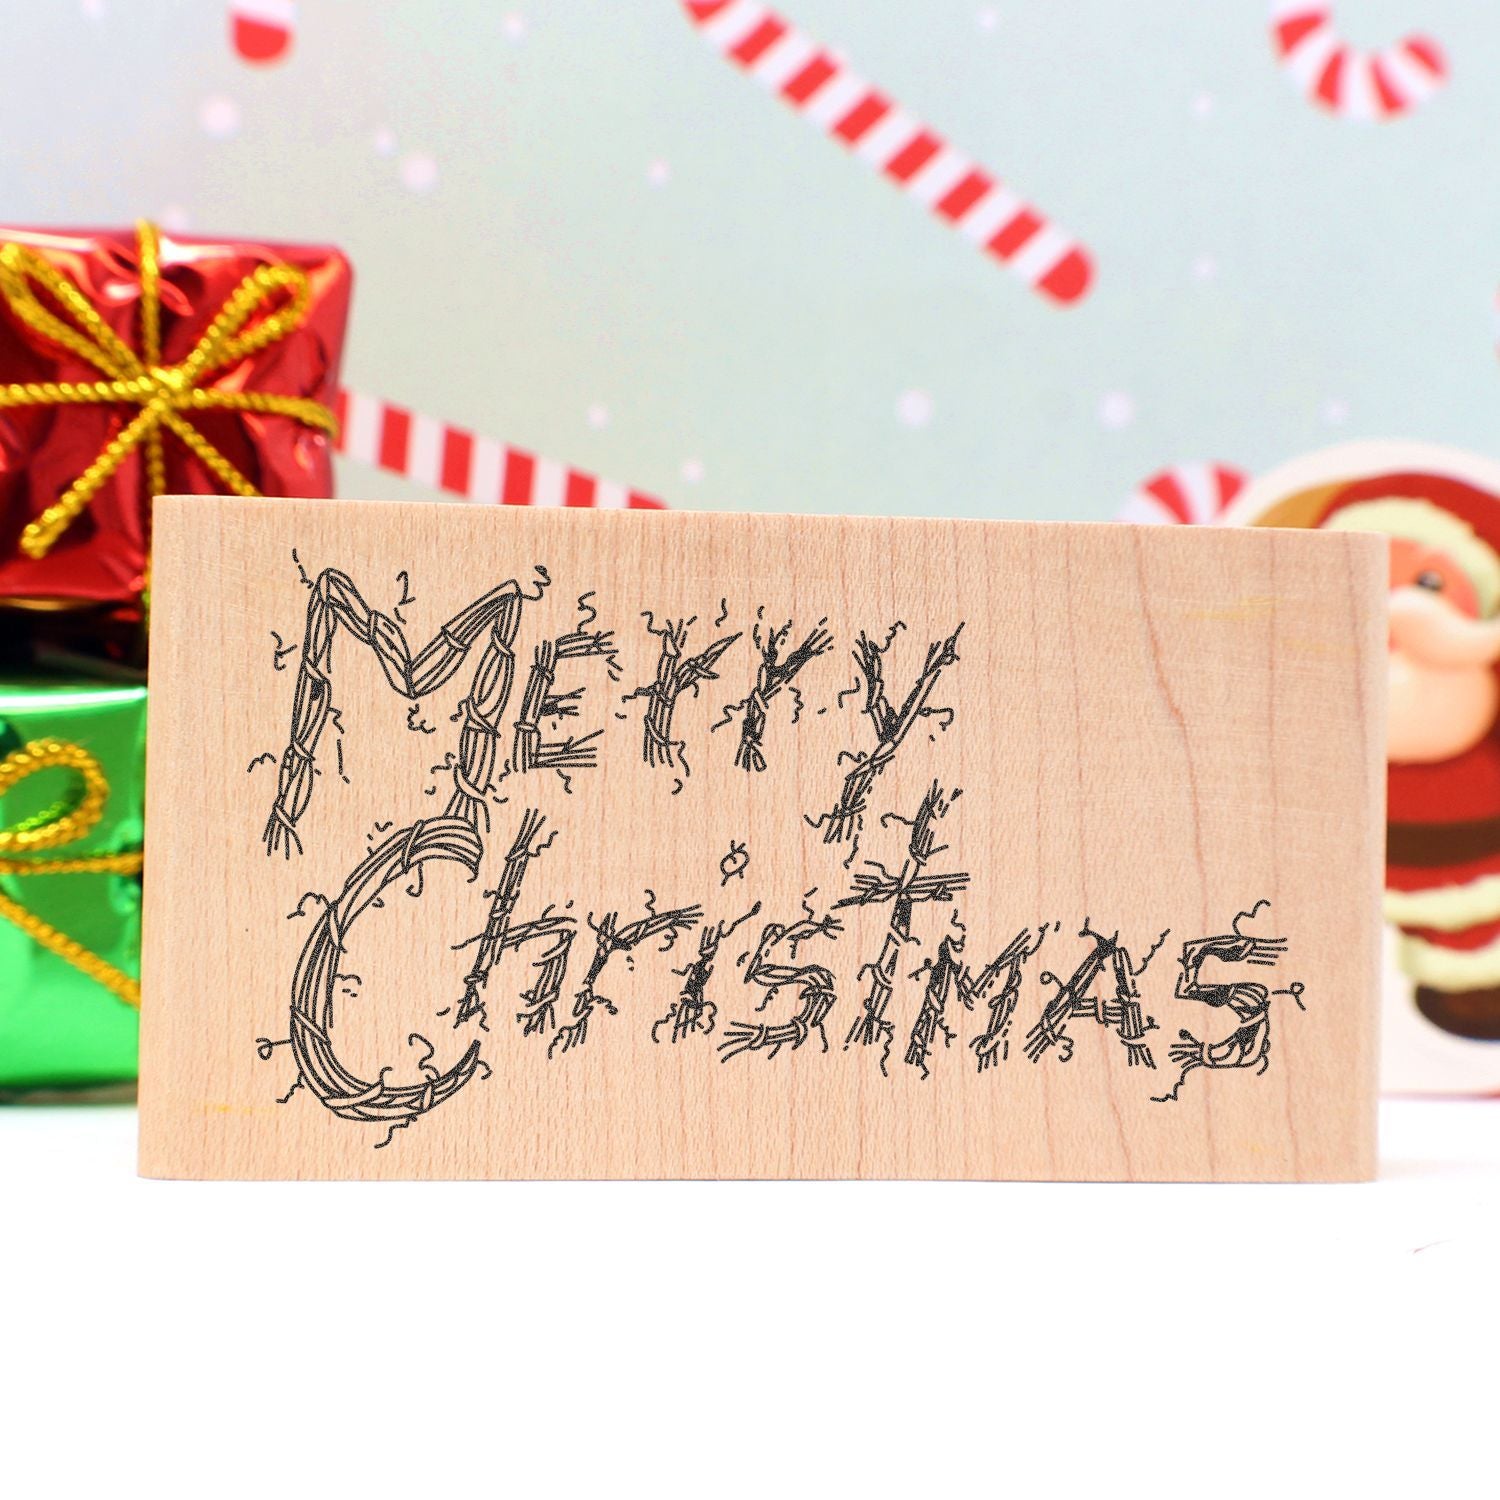
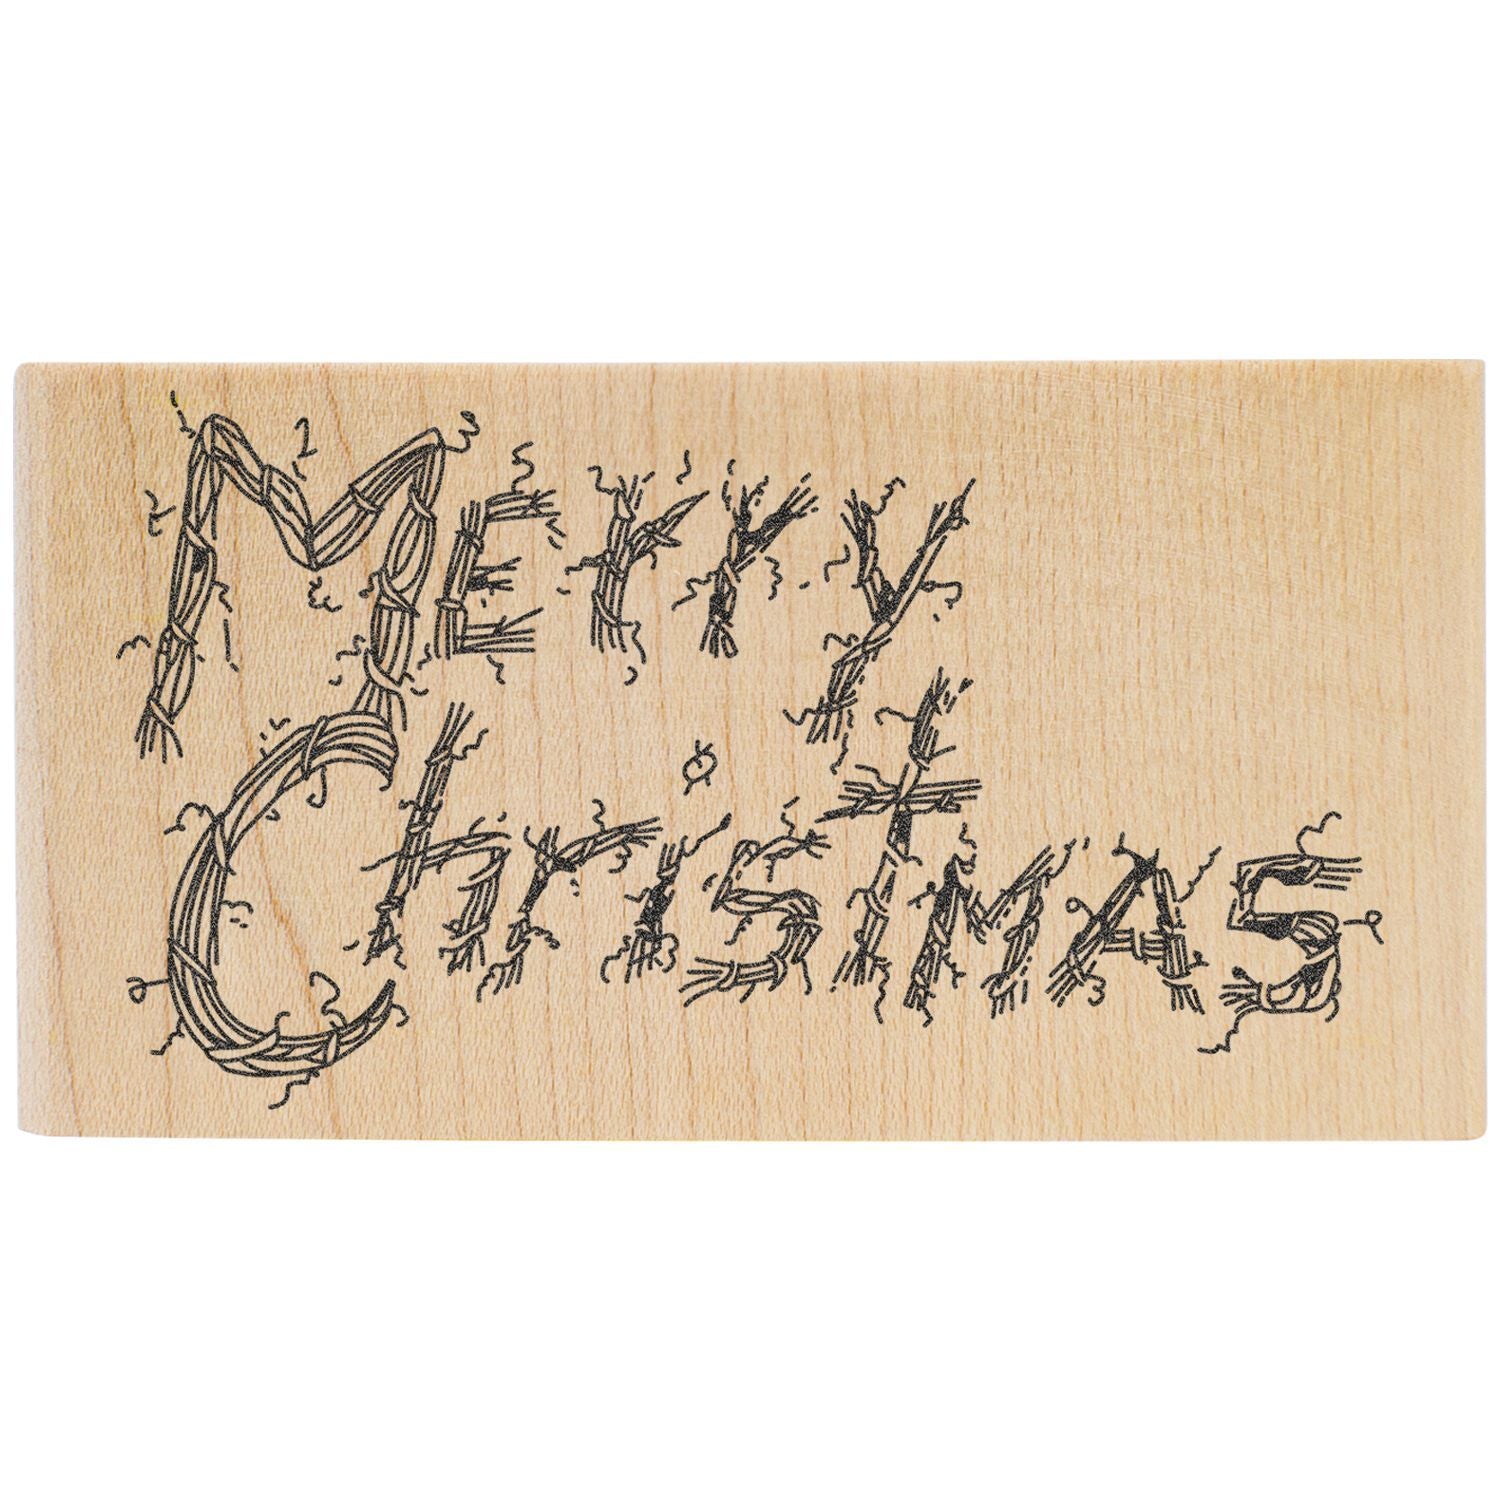
- Rubber stamps (often mounted on wooden blocks) are sturdy and produce sharp, detailed images.
- Clear acrylic stamps (also known as photopolymer stamps) let you see exactly where you’re placing the design. You’ll need an acrylic block to hold them in place.
-
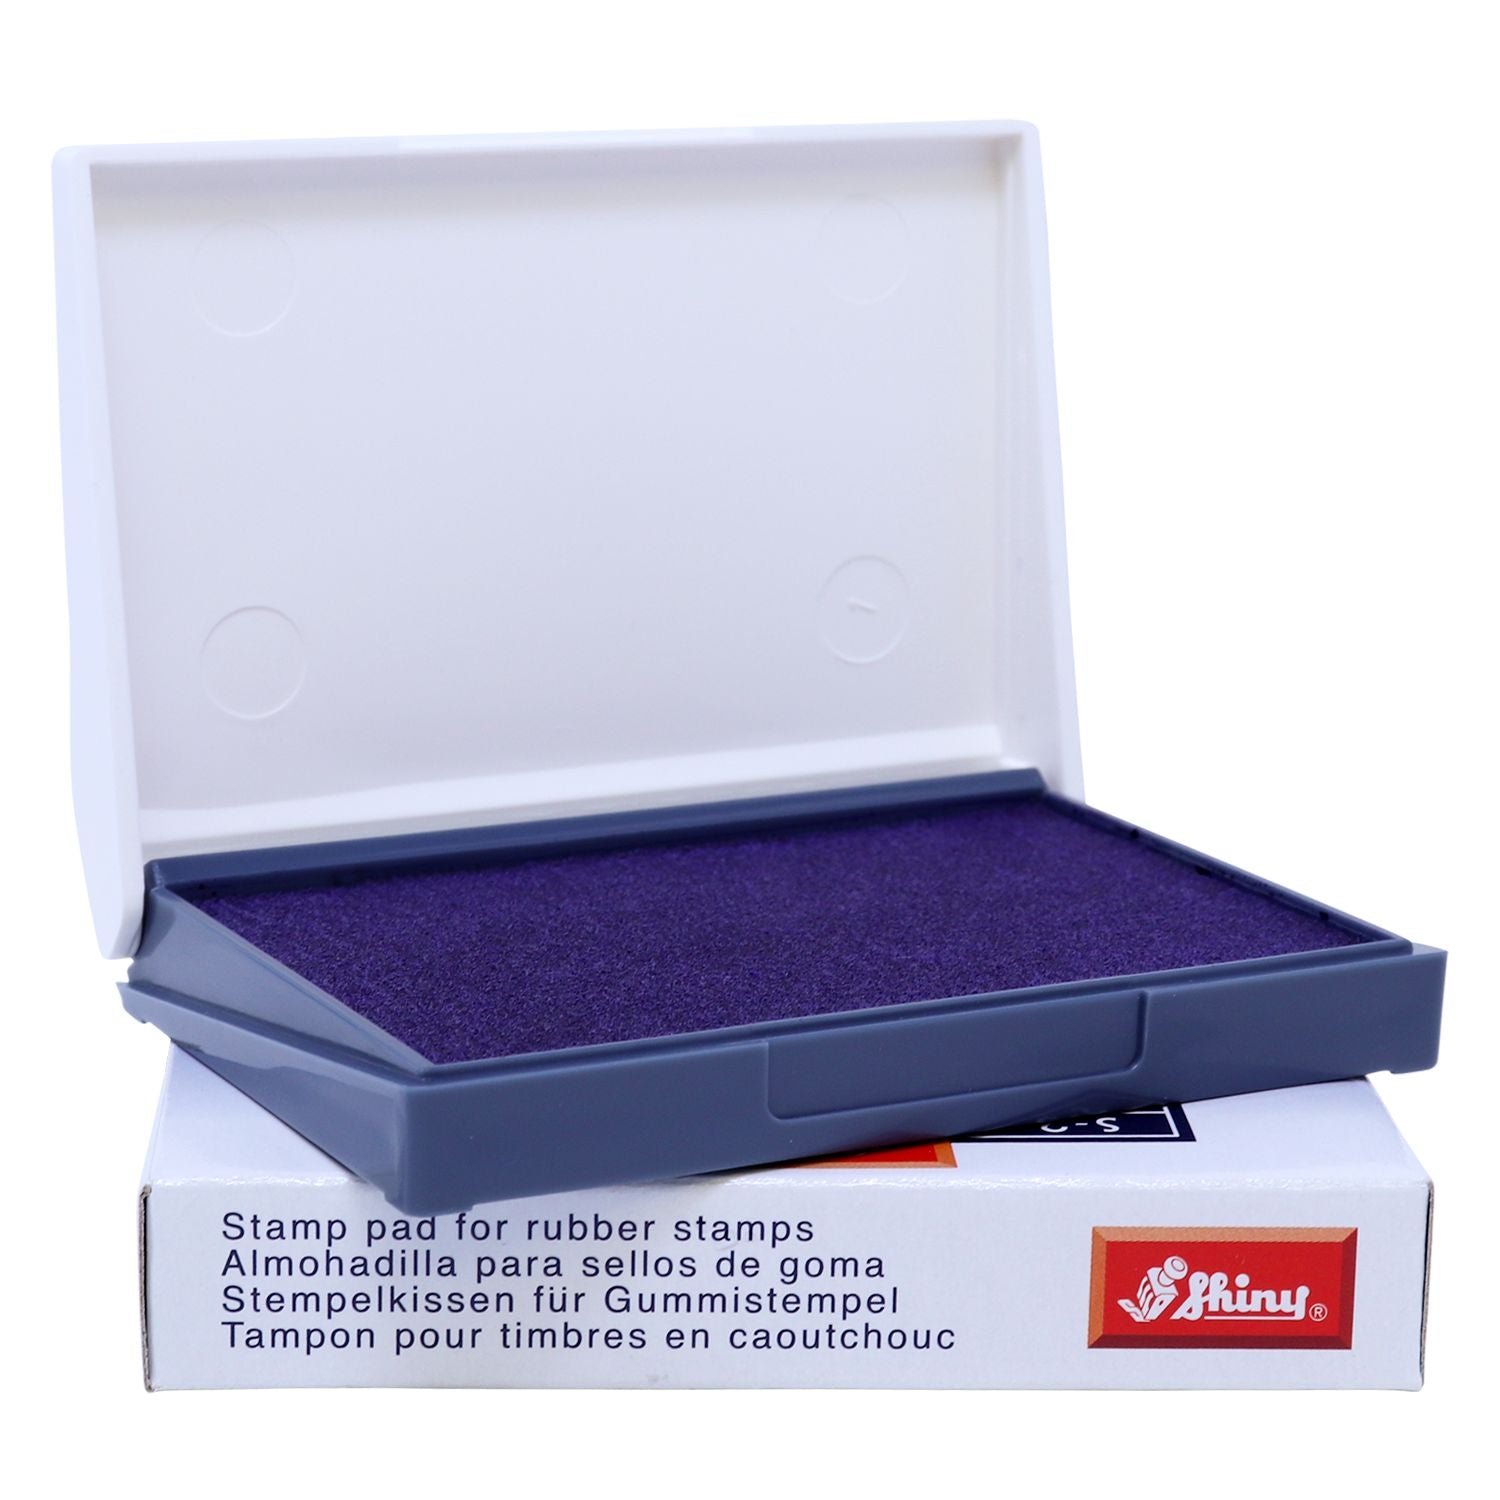
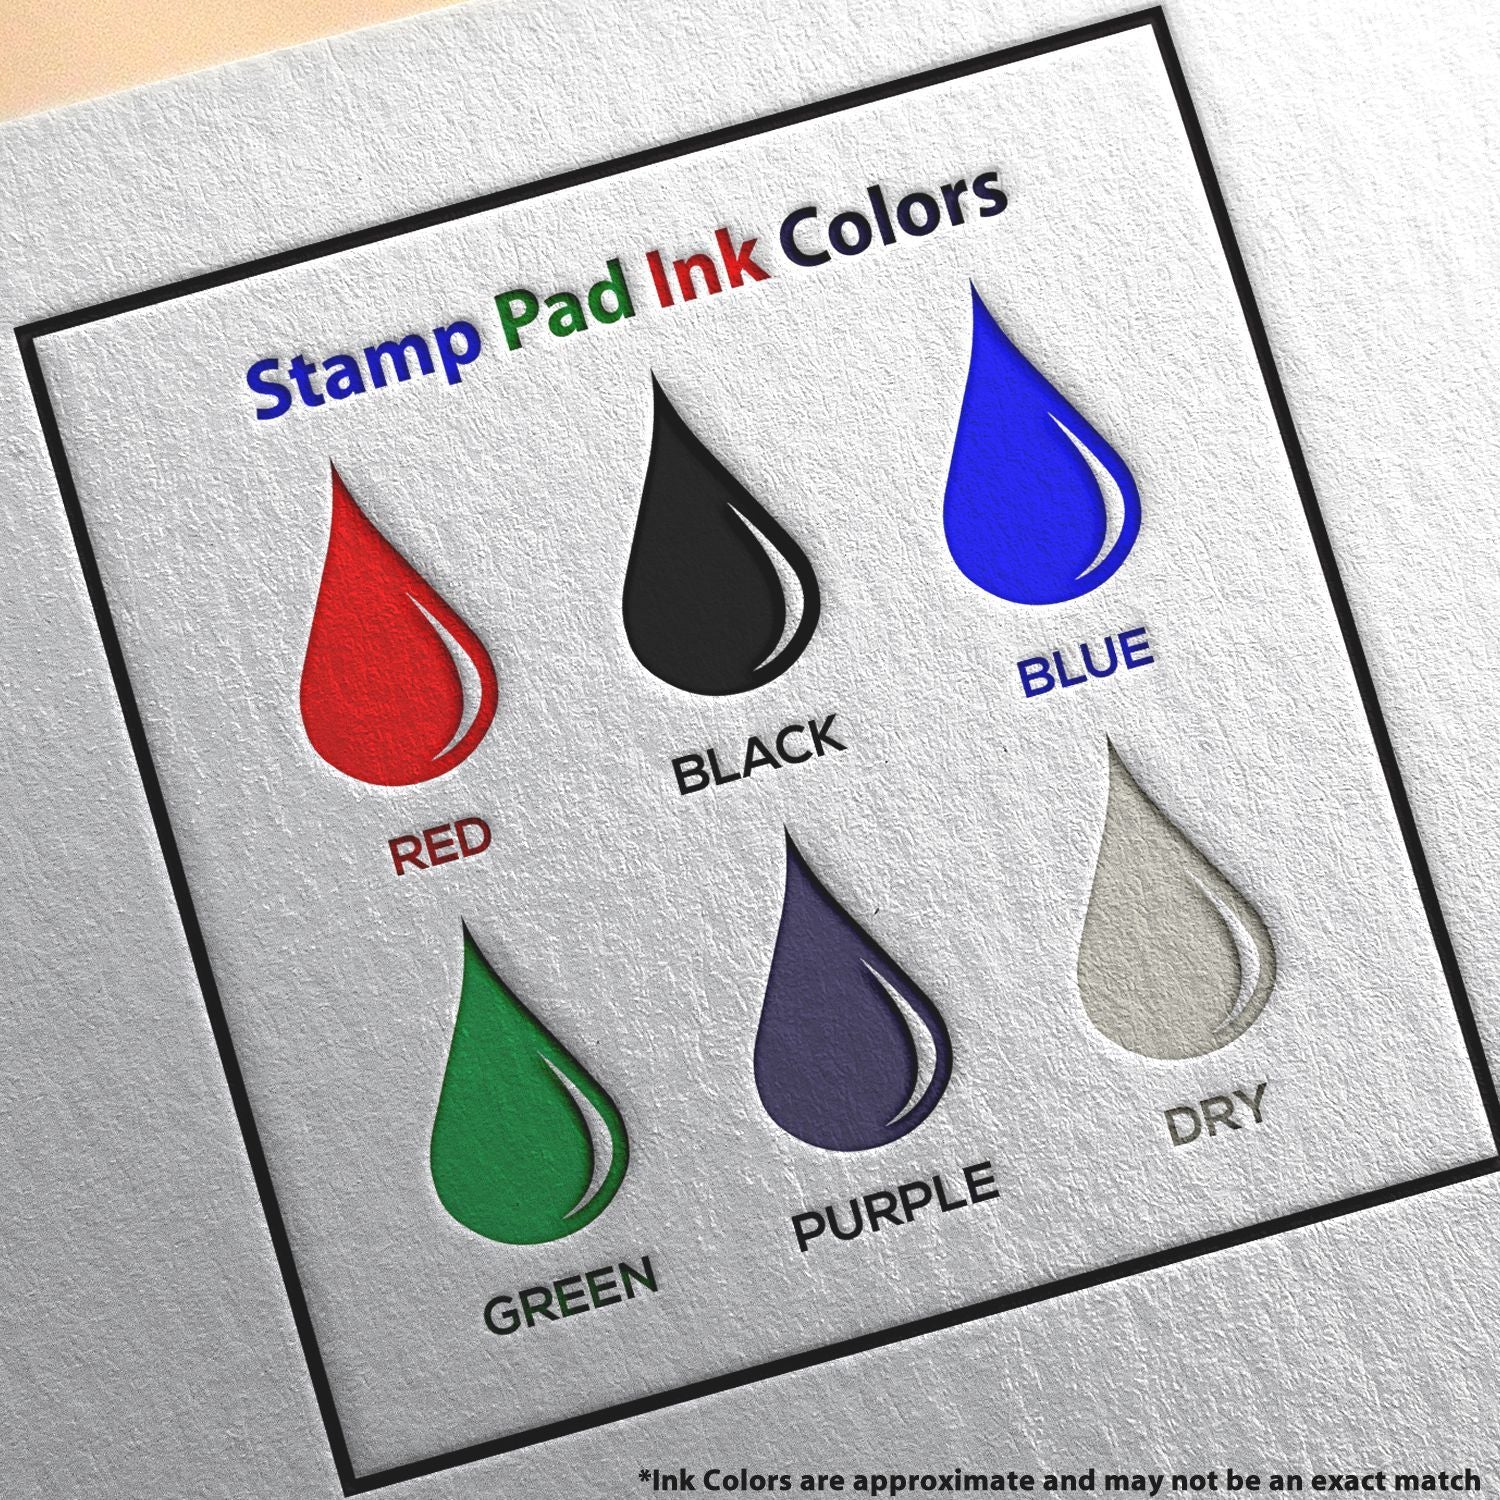
Ink pads
- Dye-based inks are fast-drying and great for everyday stamping on paper.
- Pigment inks take longer to set but provide vibrant color, helpful for embossing or working on darker paper.
- Specialty inks, such as chalk ink or archival ink, can handle fabric, photos, and more.
-
Cardstock or paper
- Grab heavier cardstock for greeting cards, tags, or ornaments so your stamps don’t bleed through.
- Patterned scrapbook paper can also work, especially if you choose a design that complements your stamp’s theme.
-
Acrylic blocks (for clear stamps)
- Make sure you have a few sizes. Smaller blocks are handy for miniature designs; larger blocks help with bigger images or phrase stamps.
-
Cleaning supplies
- Baby wipes or stamp cleaners keep your stamps in good condition. Clean stamps between color changes for crisp, clean results.
-
Extras
- Embossing powder and heat tool for raised, glossy designs.
- Markers, watercolor pencils, or colored pencils to tint in details once ink is dry.
- Ribbons, glitter, washi tape, or assorted embellishments for a finishing flourish.


Storage tips for your stamping gear
Gathering these supplies is the first step in your creative journey. The second step is storing them so you can easily find and access them. If you pick up holiday craft stamps in various sizes, keep them organized in a folder or designated box. Label each stamp set so you can spot the reindeers from the snowmen at a glance. For loose acrylic stamps, consider a binder with clear plastic sleeves. Arrange your ink pads upside down so ink remains at the surface, ready to go whenever the holiday crafting bug bites.
Master basic stamping techniques
It’s tempting to believe that stamping is just pressing a piece of rubber into ink and then onto paper. While that’s technically true, you can get even cleaner, sharper images by refining your technique. A few tips on stance, pressure, and alignment can save you from smudges or half-inked corners.
Stamping basics: A quick overview
- Ink up: Gently tap the stamp on the ink pad. Try to avoid pressing the entire stamp into the pad like a shovel, too much ink leads to smearing. Instead, use light, repeated presses until the surface is fully inked.
- Position: Align your stamp where you want the image to land. For clear stamps, you can see the design directly through the acrylic block. For rubber stamps, it helps to mark the top edge with a pencil for reference.
- Press and hold: Once the stamp touches the paper, apply even pressure for a few seconds to transfer the ink thoroughly.
- Lift straight up: Don’t wiggle or rock the stamp, as that can blur the design. Lift it cleanly to reveal your crisp image.
Avoiding common mistakes
- Over-inking: Too much ink can cause blotches. Always tap lightly.
- Uneven pressure: If one corner is too light, you’ll see an incomplete image. Press the entire surface of the stamp evenly.
- Smudges: Handle your project carefully right after stamping. Give the ink a chance to fully dry, especially if you’re using pigment ink.
Creating layered images
If you want more elaborate designs, like a festive Christmas wreath with multiple stamp images, layering is your friend. Start with the largest stamp or background shape. Then move on to smaller details that fill out the scene. For example, stamp a ring of pine branches first, wait for it to dry, then add berries, bows, or ornaments over the top. This way, your design stays crisp and clear.


Exploring embossing
Embossing is a magical trick that makes your holiday craft stamps look three-dimensional. You’ll need a pigment ink pad, embossing powder, and a heating tool. The steps are simple:
- Stamp your image with pigment ink.
- Sprinkle embossing powder over the wet ink.
- Shake off excess powder, saving it for next time.
- Use a heat tool to melt the powder until it appears raised and glossy.
It works especially well for snowflake designs or gold-embossed holiday phrases that stand off the page.
Create festive stamping projects
Now that you have your supplies in order and know some basics, it’s time to talk projects. After all, these stamps are made for crafting cute and memorable items. The possibilities are broad, but the goal is the same: sharing your holiday spirit with a personal, handmade touch.
Handmade greeting cards
Cards are a classic way to showcase your holiday craft stamps. Whether you want to make heartfelt Christmas cards or a thoughtful “Happy New Year!” message, stamping can transform plain paper into a tiny work of art.
- Choose a focal stamp: Pick one eye-catching design, like a snow globe or Santa. Stamp it in the center or slightly off-center for visual interest.
- Add a background: Stamp smaller images around the edges or repeatedly across the card to create a pattern.
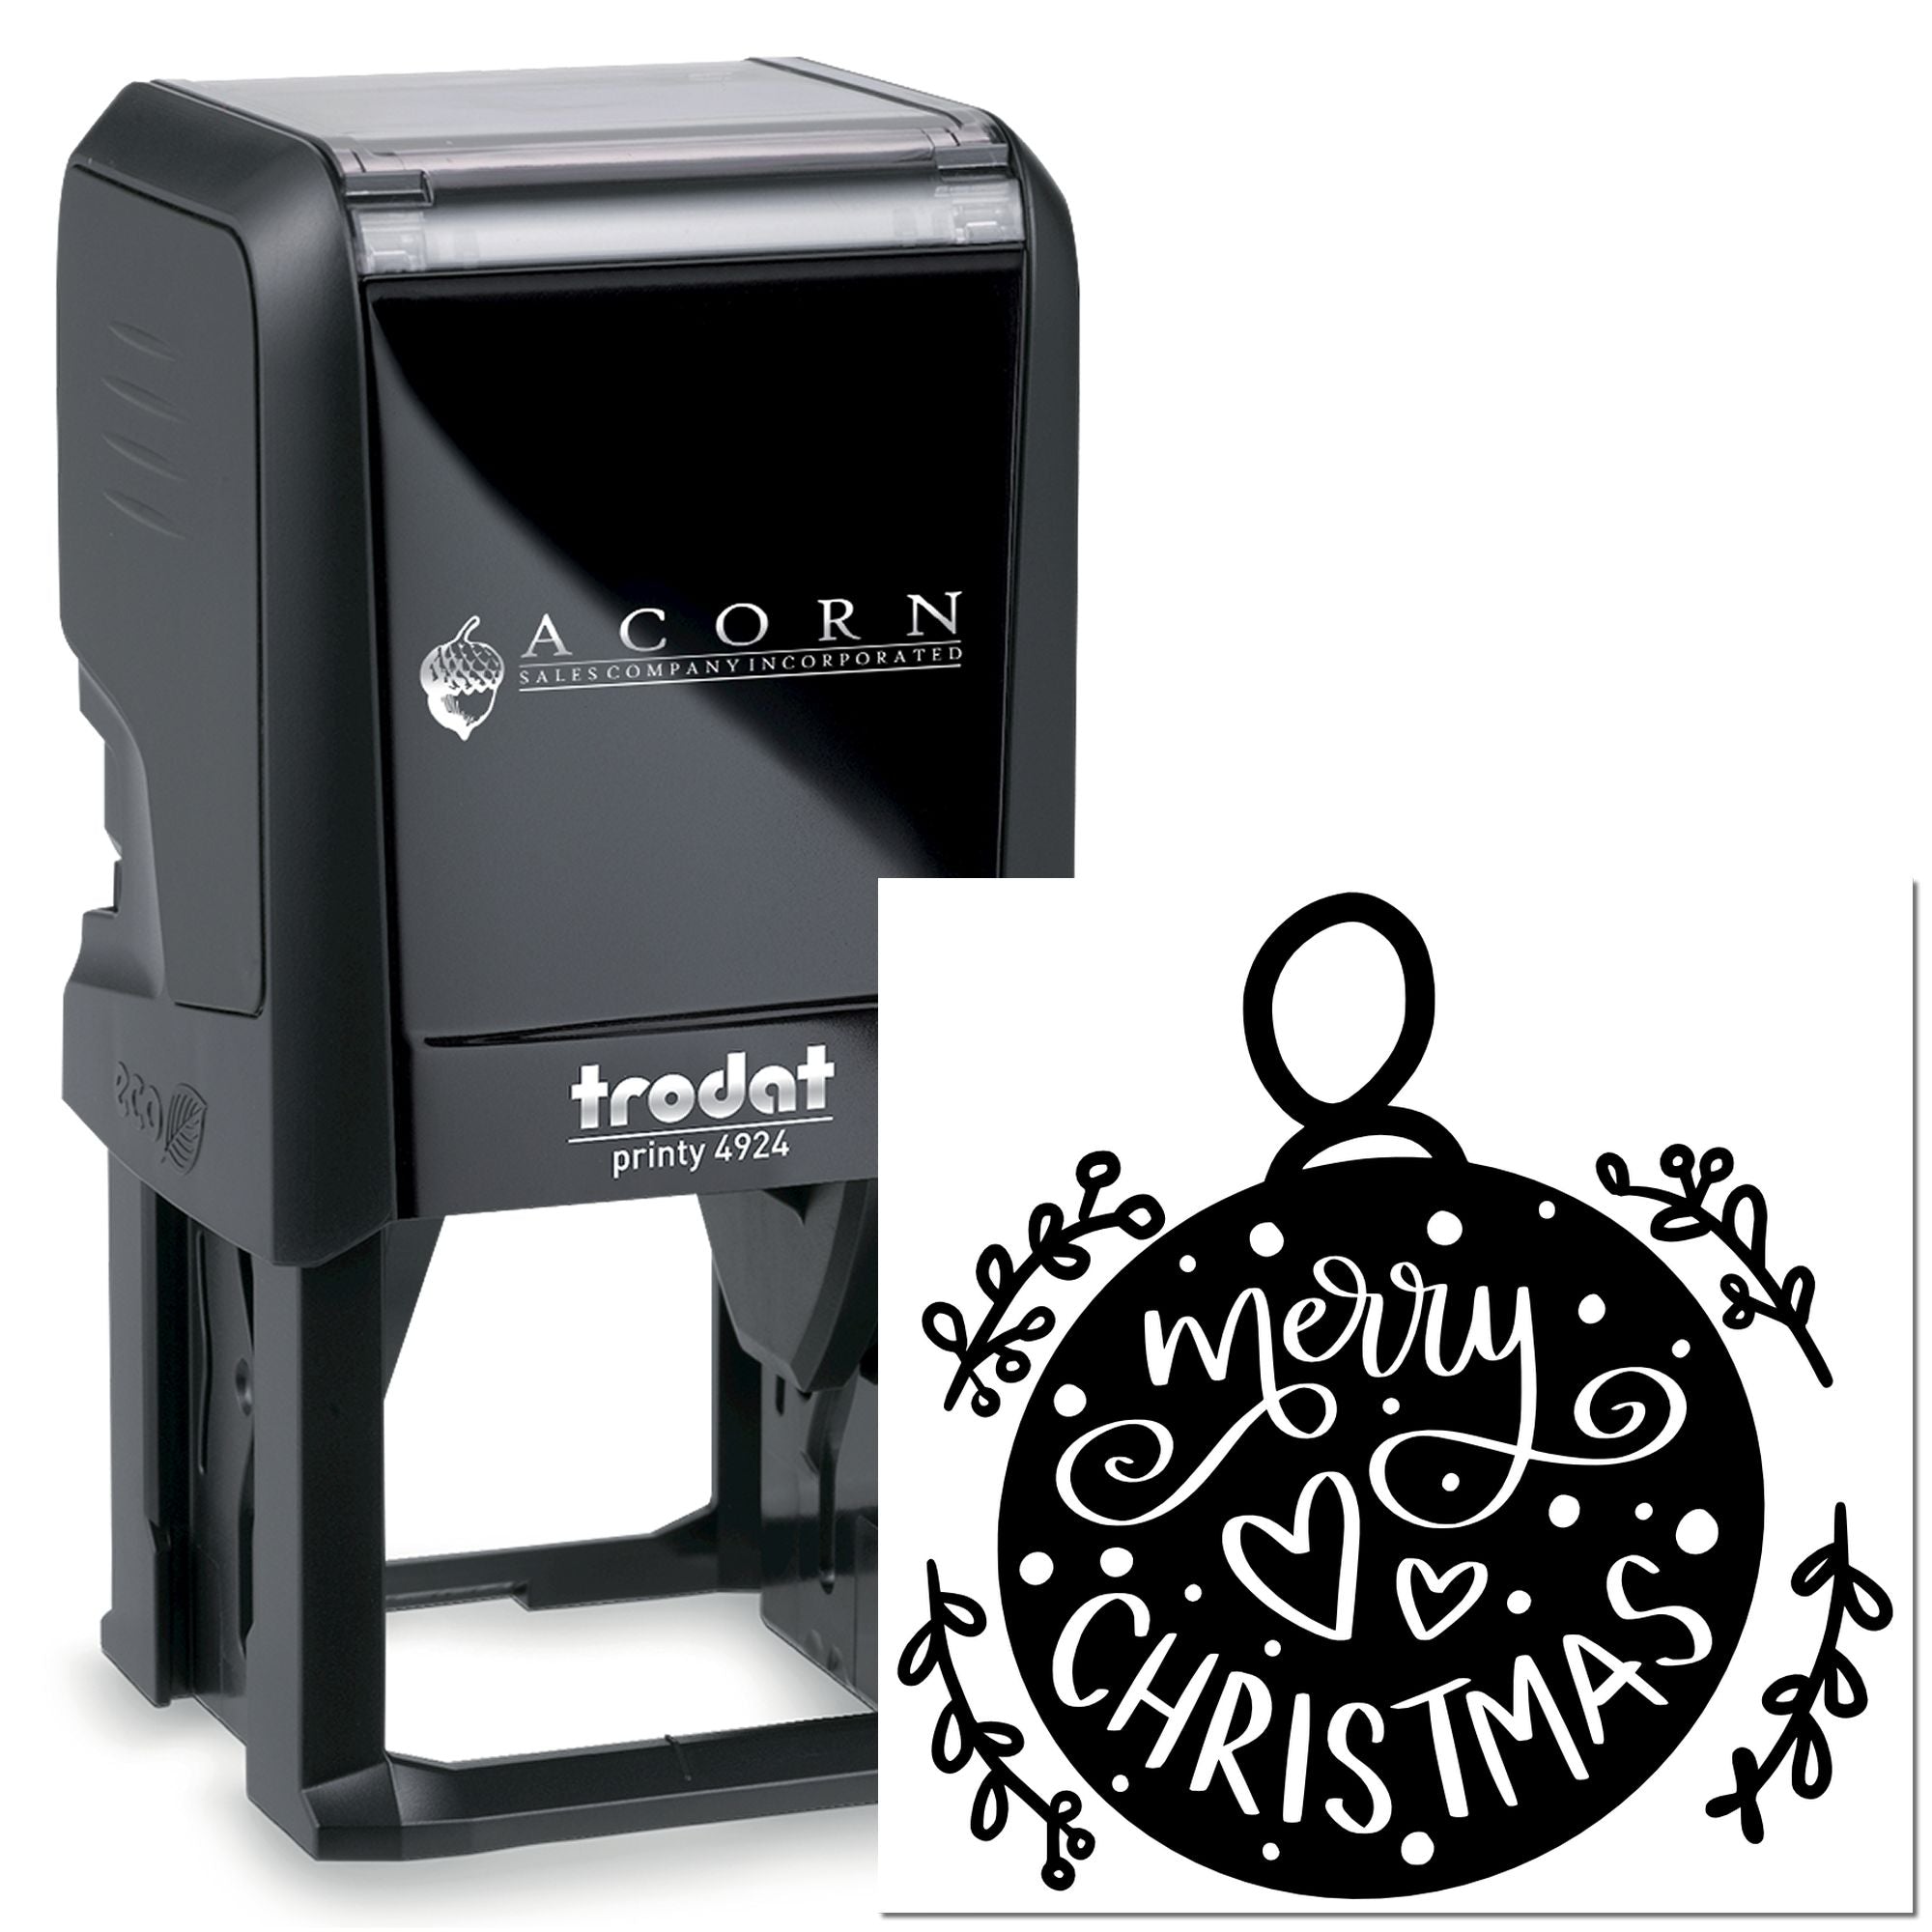
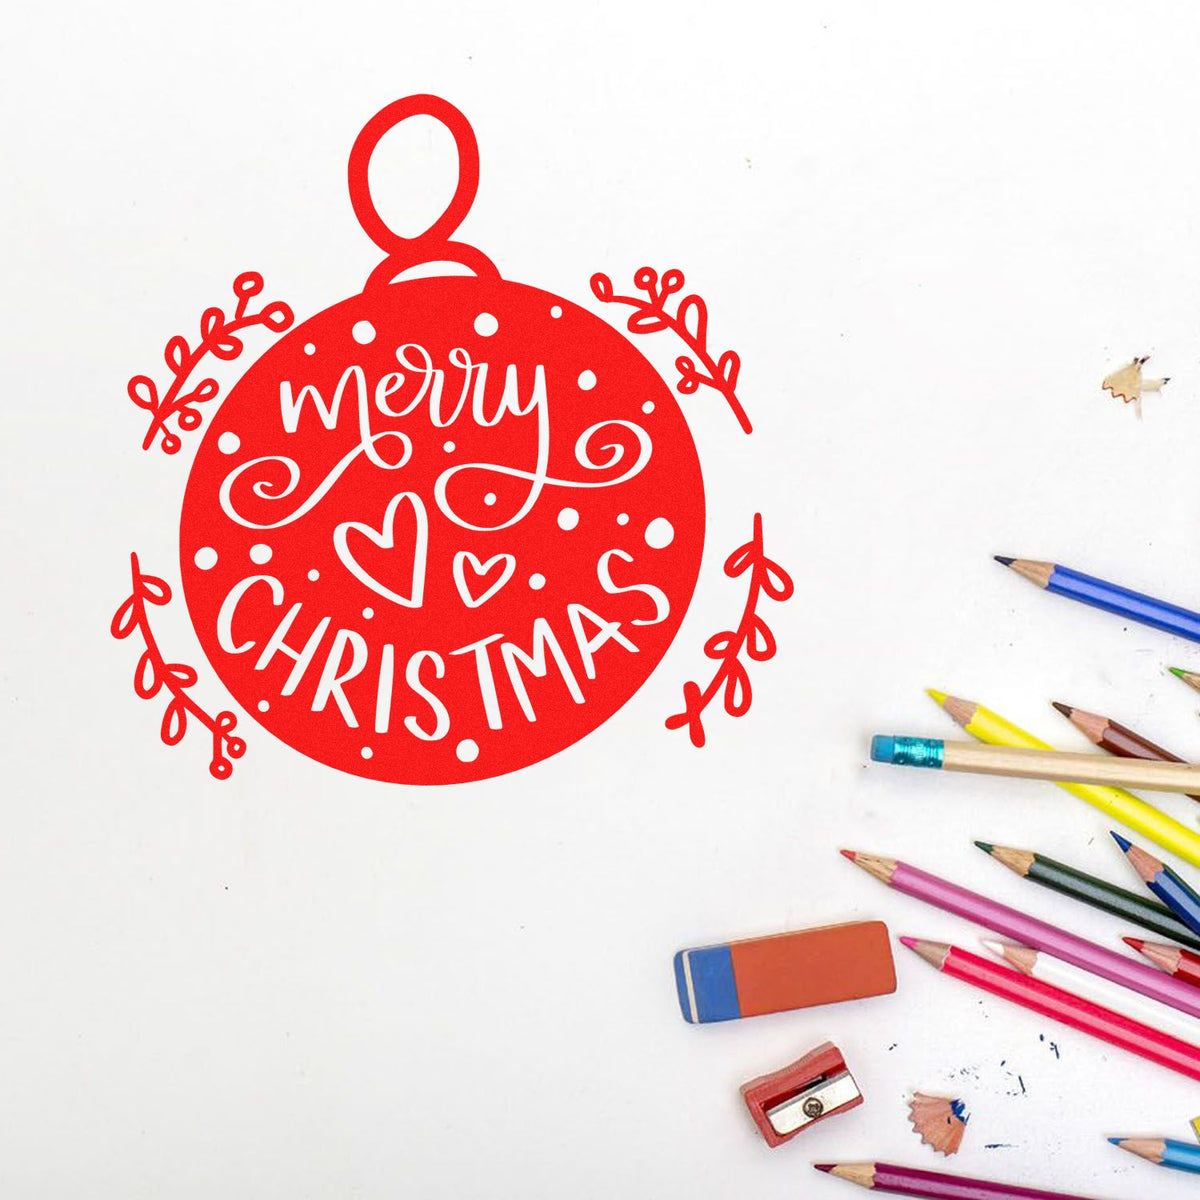
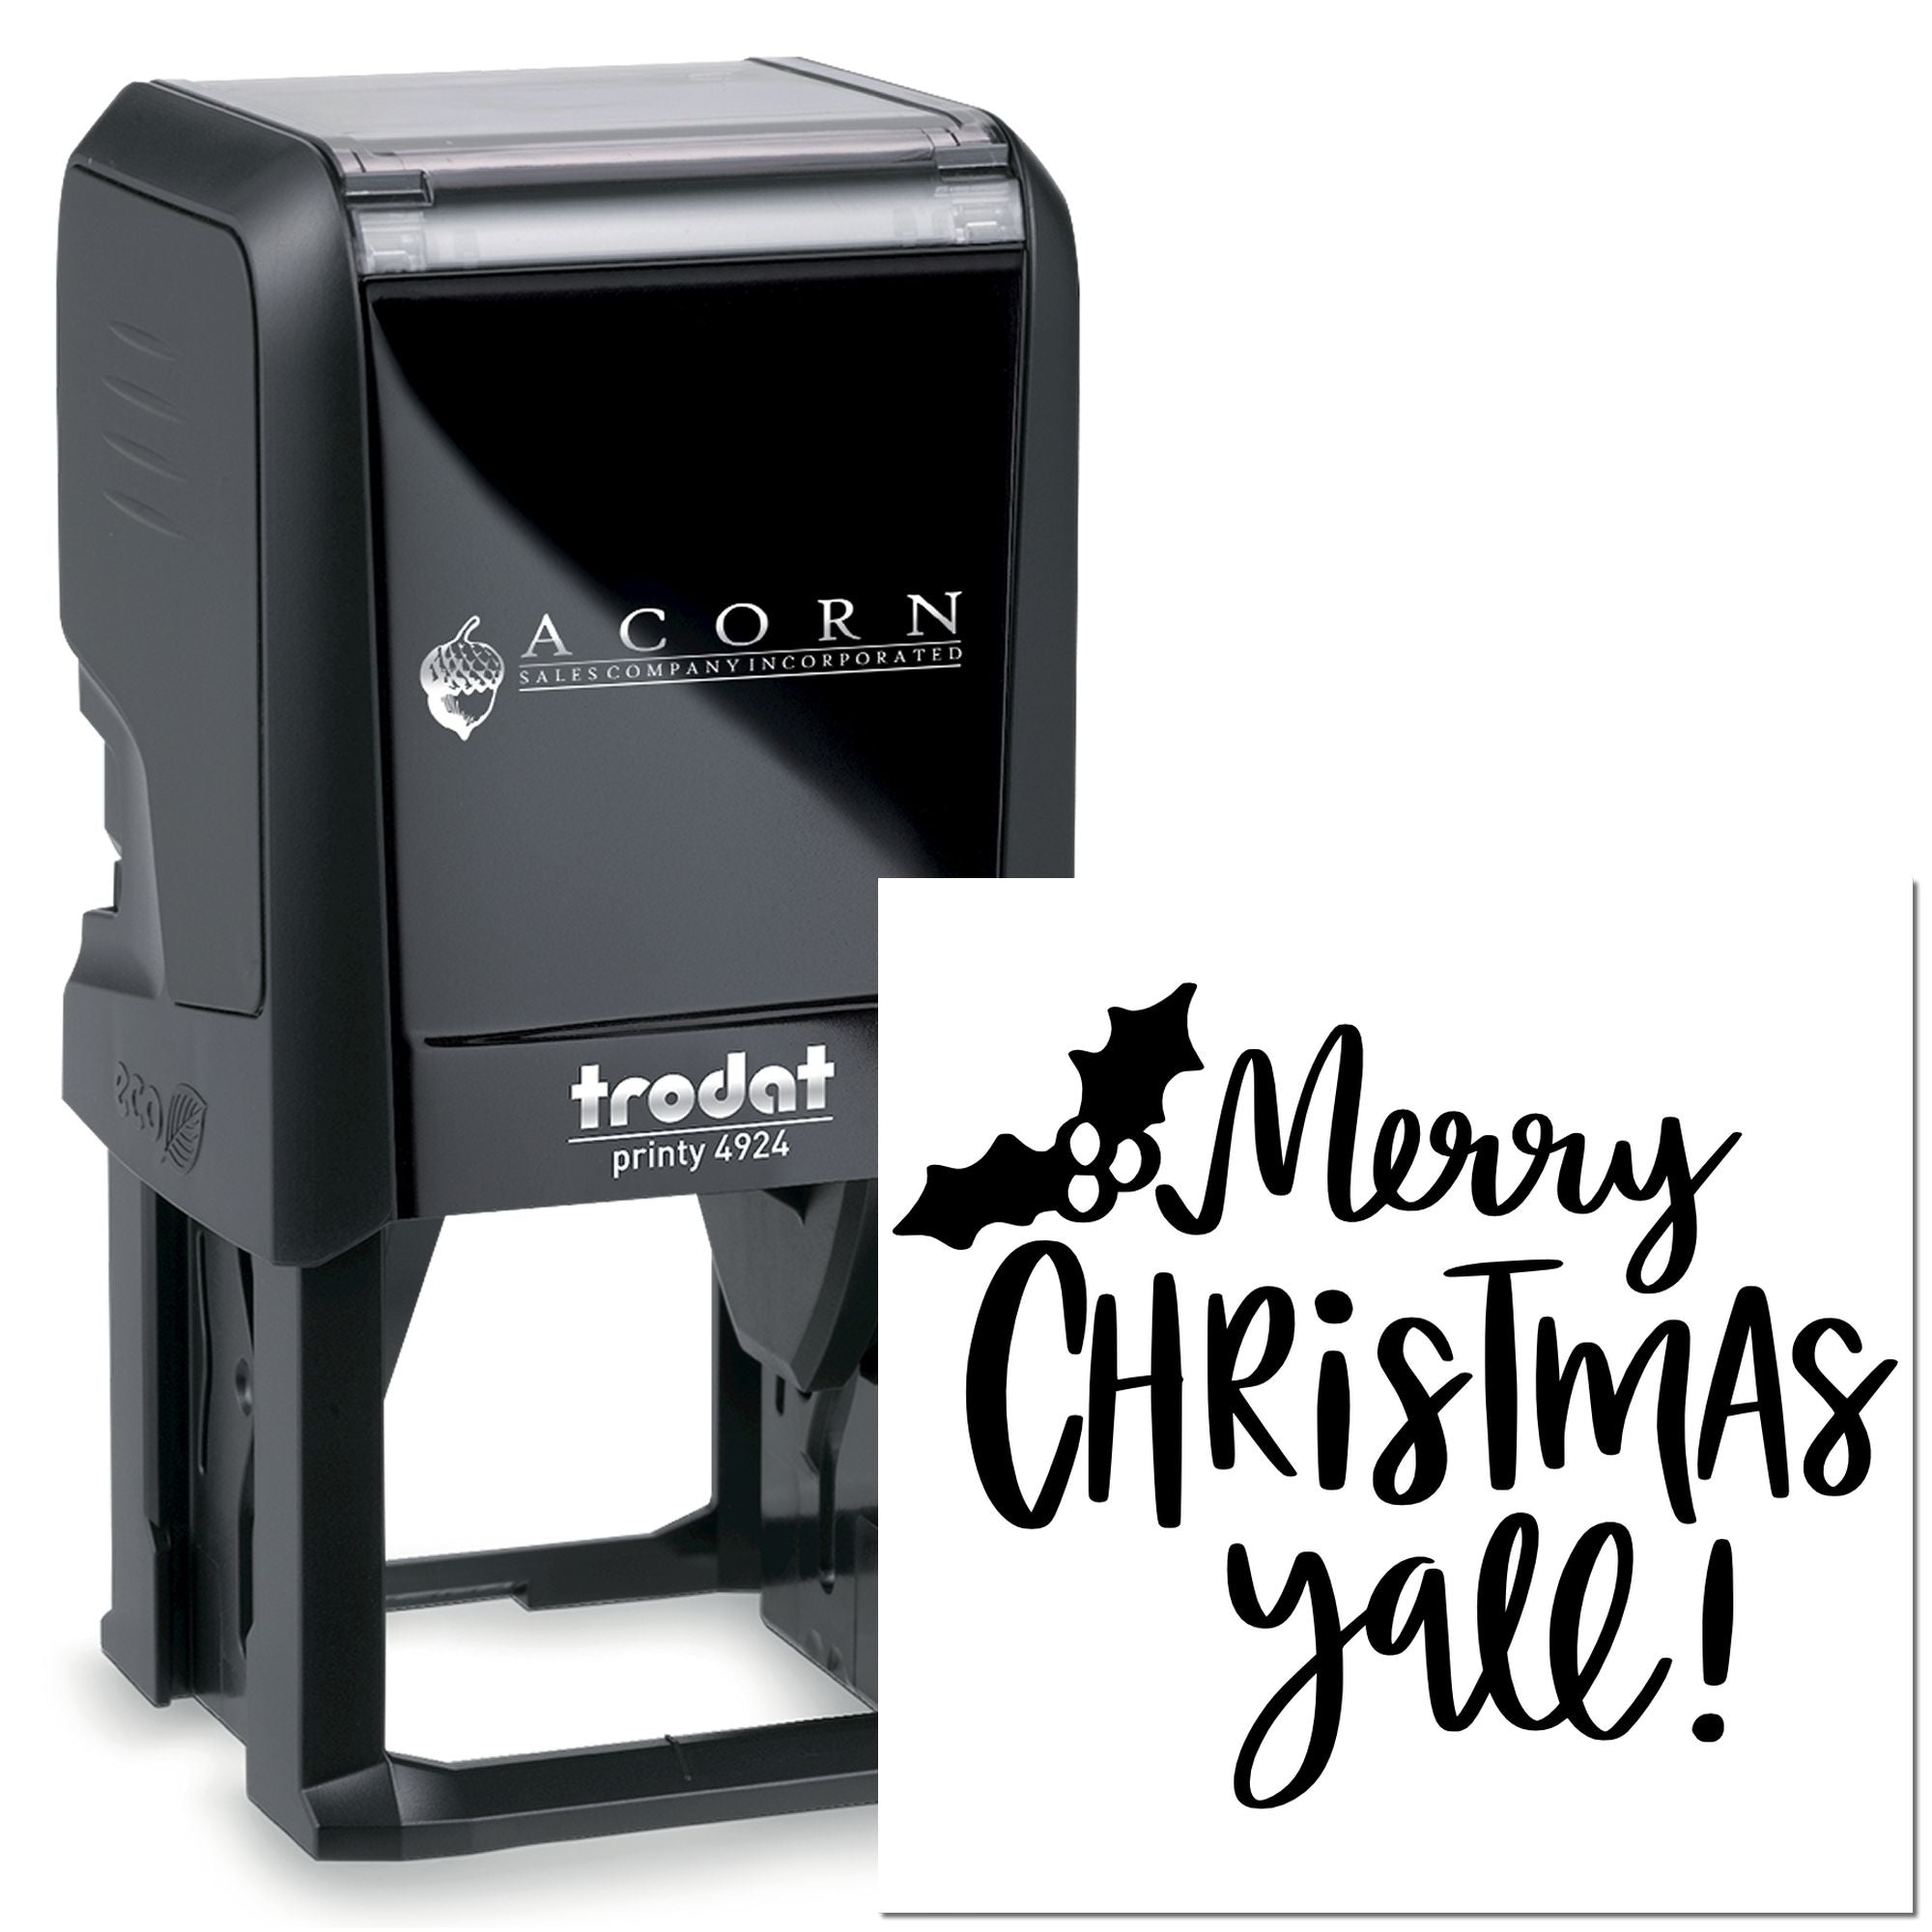
- Incorporate a greeting: Try a scripted stamp reading “Merry Christmas” or “Season’s Greetings.” You can emboss it for an extra flourish.
- Color coordinate: Use ink that matches or complements the background paper. If you’re feeling adventurous, blend multiple ink colors on one stamp for a gradient effect.
Scrapbook pages
Scrapbooking is an even more personal project because it captures your photos and memories. Holiday-themed stamps can help frame special moments, like your family by the Christmas tree or your best friend’s holiday party. You can stamp little holly leaves around the corners of photos, add date stamps to record the year, or craft journaling blocks decorated with little ornaments on the edges.
- Photo frames: Stamp a repeating border around your pictures.
- Title banners: Use alphabet stamps to spell out the event name.
- Journaling accent spots: Stamp a holiday symbol in the corner of a plain piece of paper where you jot your notes.
Holiday décor and ornaments
You might not think of ornaments For stamping, but certain surfaces are surprisingly stamp-friendly:
- Wooden slices: Lightly sand the surface and use archival ink or paint-based ink for a rustic, keepsake ornament.
- Salt dough or air-dry clay: Press the stamp into the dough before it hardens, then paint the raised design once dry.
- Paper ornaments: Fold cardstock or patterned paper into simple shapes (like stars). Stamp your favorite holiday motifs on each side.
Gift tags and small tokens
Gift-giving is half the fun of the holidays, and a hand-stamped tag instantly upgrades any present. A small tag is also the perfect canvas if you’re new to stamping. It only takes a single tree or snowflake design to look polished and put together.
- Experiment with layered stamps if you want the recipient’s name or a short greeting on the tag.
- Punch a small hole at the top, thread ribbon or twine, and attach it to your gift.
- Consider adding a sprig of dried herbs or a candy cane, stamp the tag with a matching design to tie it all together.
Personalize your gift packaging
When you think of holiday craft stamps, making your own wrapping paper might not be the first idea that pops into your head. But it’s a brilliant hack when you want your gifts to feel extra special. Plus, it’s fun to do when you have a bit of free time!
DIY wrapping paper
- Use butcher paper or brown kraft paper as your base.
- Choose a color scheme, like red and green or silver and blue.
- Stamp a repeating pattern: Try large snowflakes in neat rows, or random clusters of ornaments all over.
- Let your design dry thoroughly. Roll it up until you’re ready to wrap.
When you actually wrap the gifts, consider tying them with a simple ribbon so that your stamped pattern stays the star of the show.
Decorate gift boxes
If you prefer boxes to traditional wrapping, stamping can also jazz them up:
- Painted boxes: Coat the box in a solid color and let it dry, then add your stamps in white or metallic ink.
- Minimalist style: Stick with one or two stamps, subtly placed on the top or corner.
- Inside-lid surprise: Stamp a festive message on the inner side of the lid so the recipient sees it when they open the box.
Festive finishing touches
Sometimes, it’s the smallest details that leave the biggest impression. Maybe you want to stamp the edges of tissue paper or insert a little note inside your gift that reads, “Home for the Holidays, can’t wait to share a warm evening!” The extra personal touches help your gifts stand out.
Add finishing touches
You’ve stamped your designs, colored them in, and perhaps embossed a few details. But before you wrap it up, consider adding a bit of flair. Combine your stamp images with embellishments or hand-lettering to give your project extra charm.
Embellishment ideas
- Glitter or foil accents: Apply adhesive in select areas, like the ornament cap or star tip, then sprinkle glitter or attach foil.
- Stickers and washi tape: Frame your stamped image with festive tapes or layer matched stickers for depth.
- Ribbons and bows: A satin ribbon with complementary hues can improve even the simplest stamped card.
- Dried botanicals: For a rustic vibe, add tiny pine cones, rosemary sprigs, or faux holly leaves.
Adding text by hand
Sometimes a personal note is the prettiest addition. If you’re crafty with calligraphy, incorporate a short sentiment or the recipient’s name in an appealing script. Keep it simple if you’re not sure about your handwriting, block letters can still look stylish. It’s the heartfelt message that counts.
Dealing with mistakes
Let’s be real: accidents happen. If you do smudge an image or notice a stray ink mark before your project is completely dry, don’t panic. Grab a paper punch and transform the mishap into a decorative shape you can glue elsewhere. Or place a sticker or small embellishment over it as a quick fix. The beauty of crafting is that nothing ever has to go to waste, and sometimes those “oops” moments can lead to charming design changes.
Expand your creative horizons
Still eager for new ways to use holiday craft stamps? Once you get the hang of basic stamping, you can branch out into techniques that blend stamping with other forms of art. Creating cards is awesome, but why stop there? You can incorporate stamps in so many unexpected ways.
Combine stamps with watercolor
Watercolor washes can provide a dreamy background for your stamped images. Lightly brush a wash of pastel or muted tones across heavyweight paper, then stamp your holiday designs once the paint is dry. The watery backdrop can mimic snow or create a cozy scene. If you prefer a bolder approach, try stamping first in waterproof ink, then coloring in the details with watercolor paints. Either way, the blend of gentle paint strokes and crisp stamped lines can be mesmerizing.
Try mixed media
Mixed media isn’t limited to professional artists, anyone can give it a go. Layer your stamped piece with decorative papers, fabric scraps, or textured paste. Sketch or doodle with markers on top of your images to add whimsy. Add adhesives like glossy accents to highlight specific parts of your stamped design. Mixed media is an open invitation to play with different textures and surfaces, so you’ll never get bored.
Incorporate stamping into gifts
Beyond standard greeting cards and wrap, consider:
- Stamped calendars: Make a mini holiday countdown calendar. Stamp each date with a festive image or place a different stamp design for each day in December.
- Personalized stationery sets: Bundle blank notecards, envelopes, and a small set of your original holiday stamps. This makes a thoughtful present for any craft lover.
- Name place cards: Improve your holiday dinner table by stamping a simple design on place cards, then writing each guest’s name in your best handwriting.
Stamp on fabrics
Certain fabric inks or permanent textile markers allow you to stamp on aprons, tote bags, or even napkins. If you’re hosting a holiday potluck, why not greet your guests with a washable fabric napkin adorned with stamped holly leaves or frosty snowmen? Heat-set the ink by ironing the reverse side of the fabric to ensure the design stays put after a wash.
Conclusion
Holiday craft stamps offer a world of possibilities to brighten up your cards, gifts, décor, and more. By carefully selecting a few must-have supplies, like the right ink pads, sturdy stamps, and quality cardstock, you’ll be well on your way to crafting truly special pieces. Even if you’re just dipping your toe into the stamping universe, a few simple techniques can have you creating professional-looking designs, from whimsical greeting cards to personalized gift wrap in the blink of an eye.
As you’ve discovered, the fun doesn’t stop with paper. Once you get comfortable with stamping, you can expand to ornaments, scrapbook pages, fabric projects, and mixed-media adventures. Each creation becomes a little reflection of your personality and holiday spirit. And, of course, it’s hard to beat that little glow of pride you feel when someone loves a handmade gift or holiday greeting.
So go ahead and gather your stamps, inks, and embellishments. Put on your favorite festive playlist and let your creativity flow. When you set the scene with holiday craft stamps, you’re guaranteed to bring a dose of warmth and magic to the season, and those who receive your handmade treats will sense the love you poured into each one. Enjoy every moment of capturing that holiday sparkle, one stamp impression at a time!
Frequently Asked Questions
What are holiday craft stamps used for?
Holiday craft stamps are used to add festive designs to handmade cards, gift tags, scrapbook pages, ornaments, wrapping paper, and holiday décor. They’re an easy way to create personalized Christmas, Hanukkah, and winter-themed projects with a consistent, professional look.
What supplies do I need for stamping holiday cards and gift tags?
To get started with holiday craft stamps, you’ll want stamps, ink pads, cardstock or heavier paper, and an acrylic block if you’re using clear stamps. Helpful extras include embossing powder, a heat tool, markers or watercolor pencils, and cleaning supplies to keep your stamps in great condition.
How do I get clean, crisp stamped images with Christmas rubber stamps?
For crisp results, lightly tap the stamp into the ink pad instead of pressing hard, then place it carefully on your paper and apply even pressure. Lift the stamp straight up without rocking it. Using quality cardstock and allowing the ink to dry fully will also help prevent smudging.
What is the best ink for holiday craft stamps?
Dye-based ink is great for everyday stamping because it dries quickly and works well on paper. Pigment ink is a better choice for embossing and bold, vibrant impressions. If you want to stamp on fabric, photos, or specialty surfaces, look for archival or fabric-safe ink.
Can I use holiday craft stamps for DIY gift wrapping and packaging?
Yes, holiday craft stamps work well on DIY wrapping paper, gift boxes, tissue paper, and custom tags. You can stamp repeating patterns on kraft paper, add metallic ink to painted boxes, or create matching tags to give your holiday gifts a polished handmade finish.
How can I make my holiday stamped projects look more festive?
You can make stamped projects more festive by adding embossing, glitter, ribbons, washi tape, hand lettering, or watercolor backgrounds. Layering stamps, mixing in metallic inks, and using embellishments like bows or dried botanicals can give your holiday crafts extra charm and dimension.








