
Floral craft stamps are a wonderful way to bring color, elegance, and personality to so many creative projects. If you’ve ever gazed at a handmade card adorned with delicate roses or flipped through a scrapbook bursting with charming flower accents, chances are these stamps played a starring role. They’re easy to use, affordable, and endlessly versatile. This is the right spot for a first stamping project and for expanding a collection you already have. In this article, we’ll explore the key details of these delightful tools, share plenty of tips, and spark fresh ideas for your next masterpiece.
Discover floral stamp basics
Floral designs speak to our universal love of nature. On paper, they can capture a relaxed meadow vibe or a vibrant tropical mood, all depending on the style you choose. But what exactly makes floral craft stamps so special?
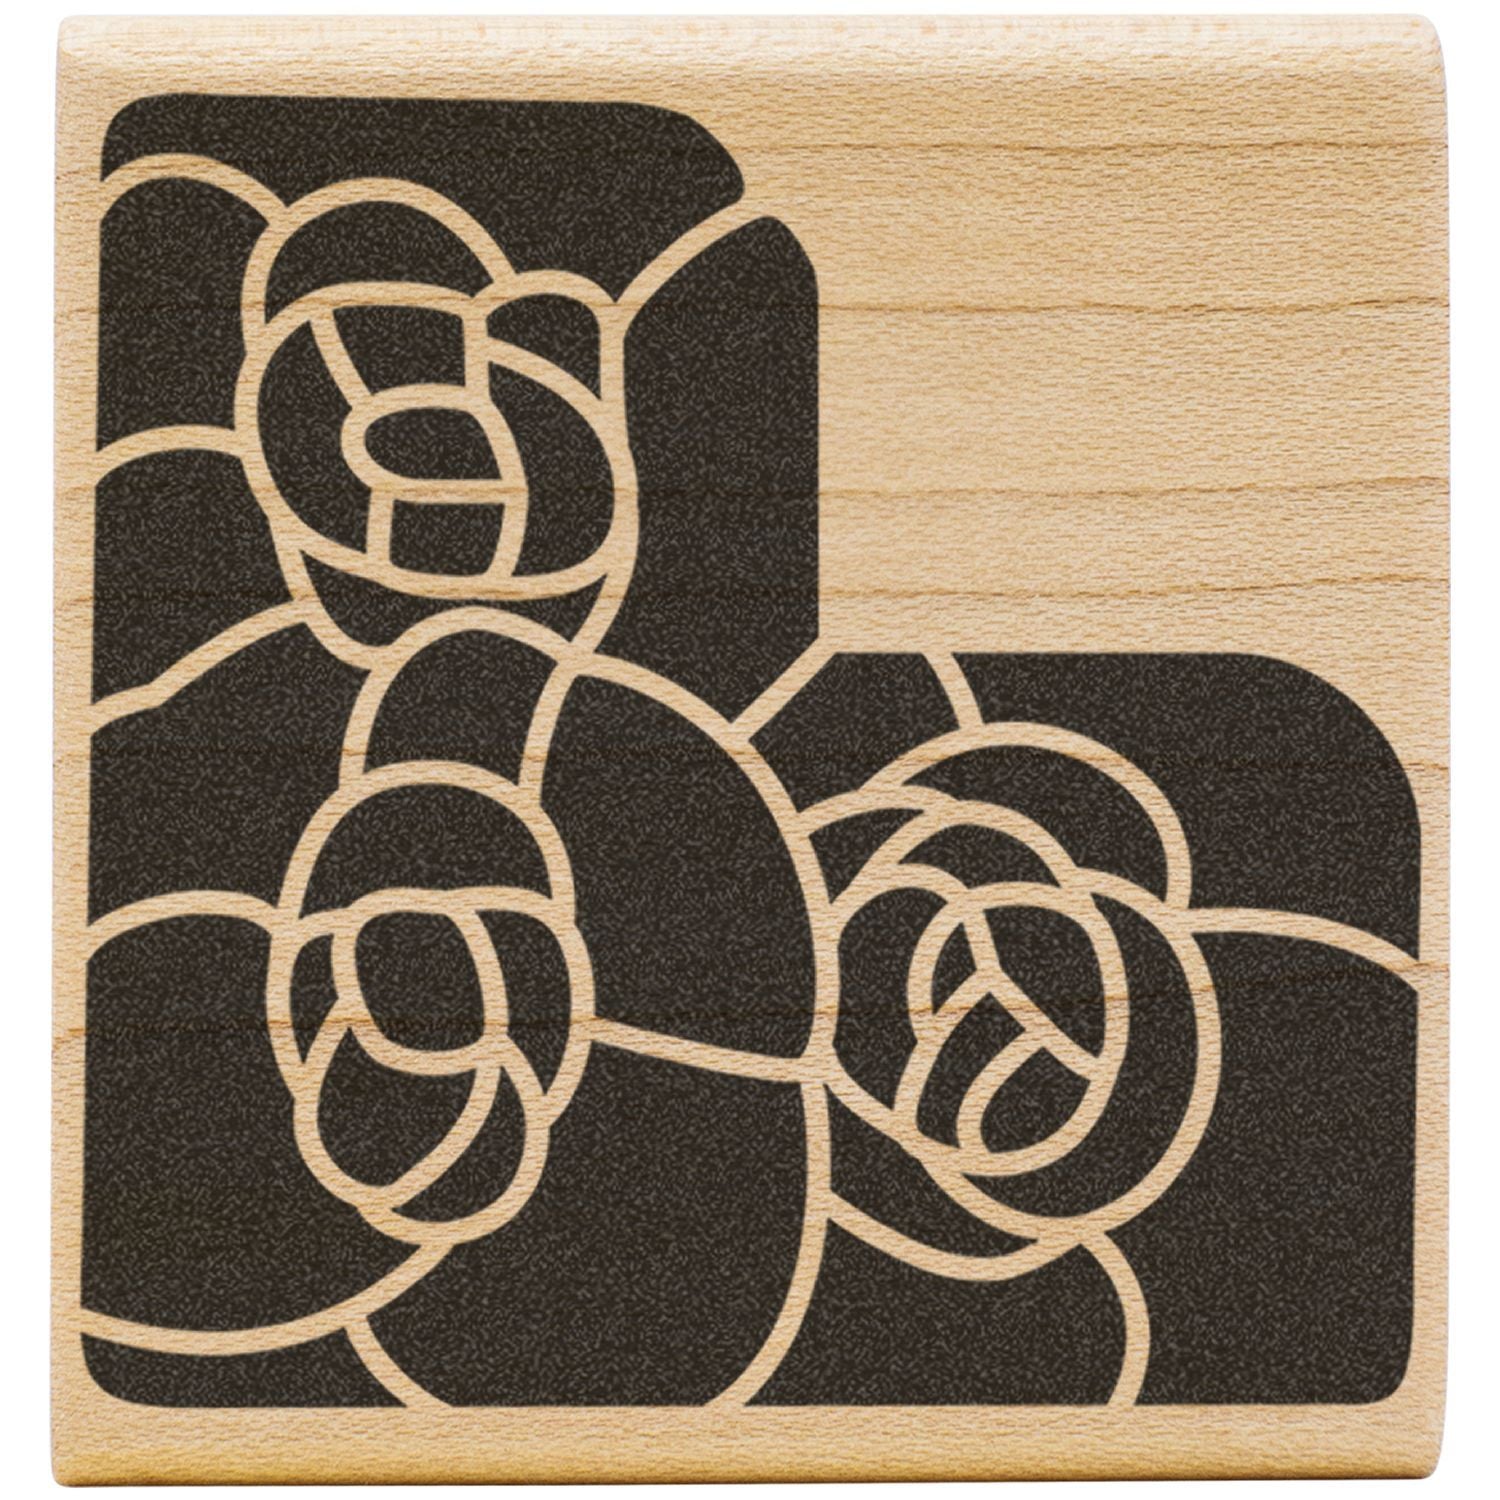
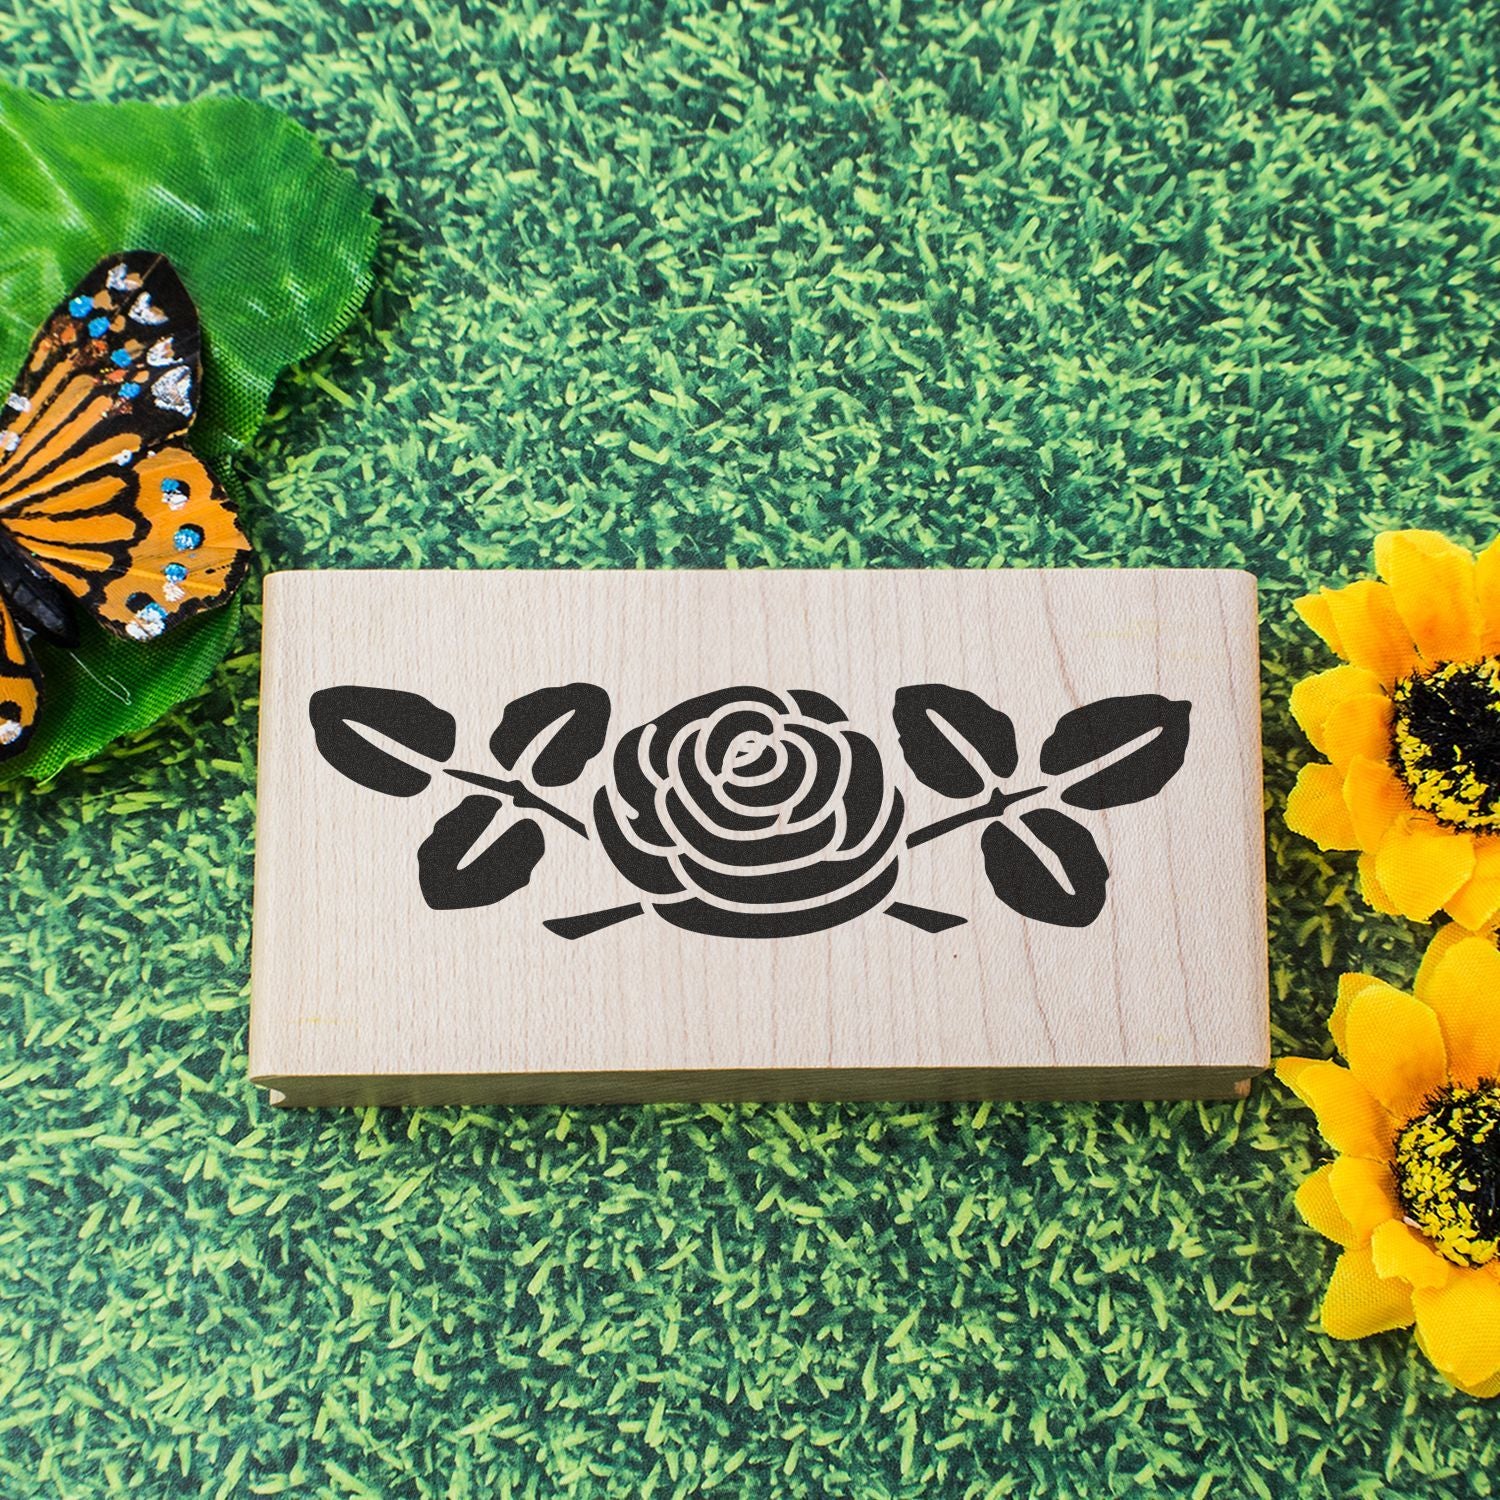
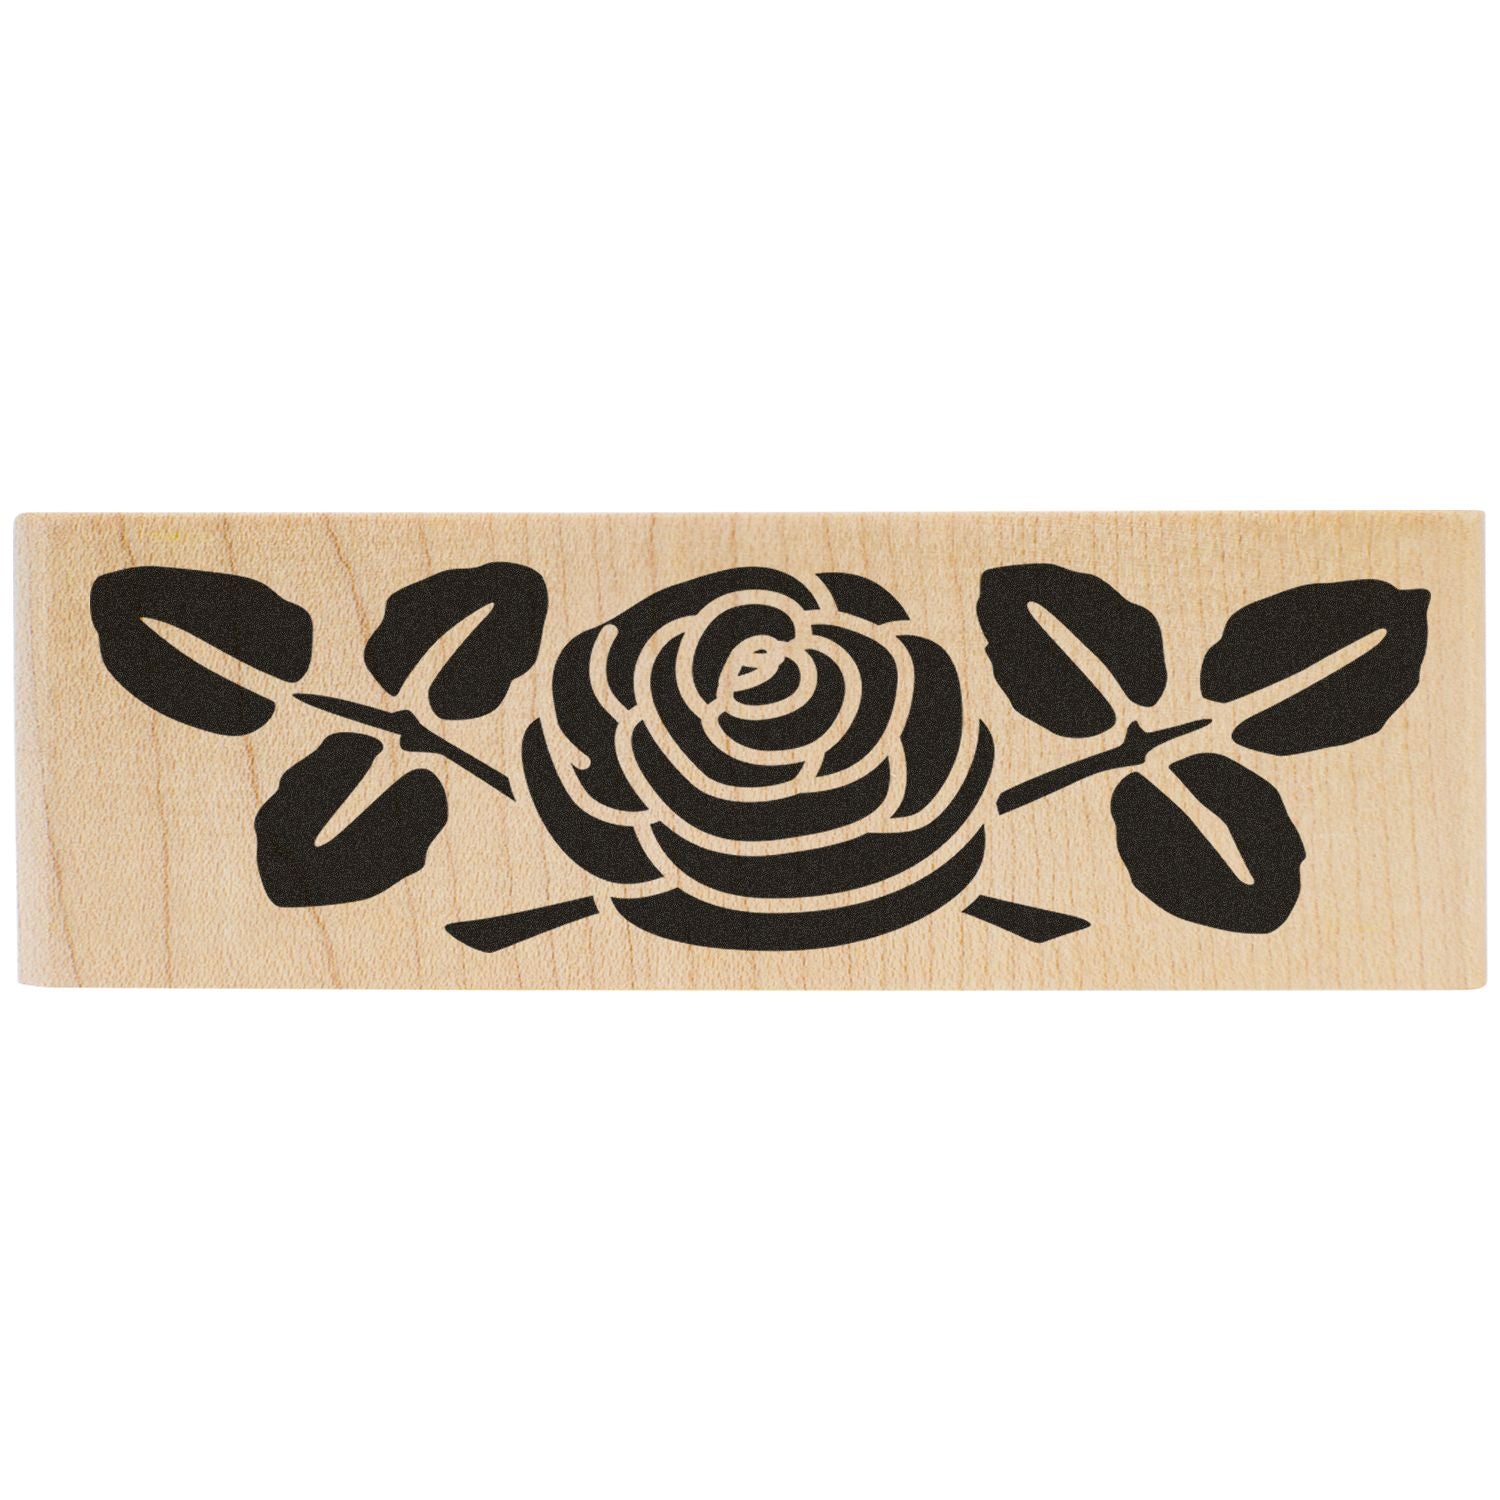
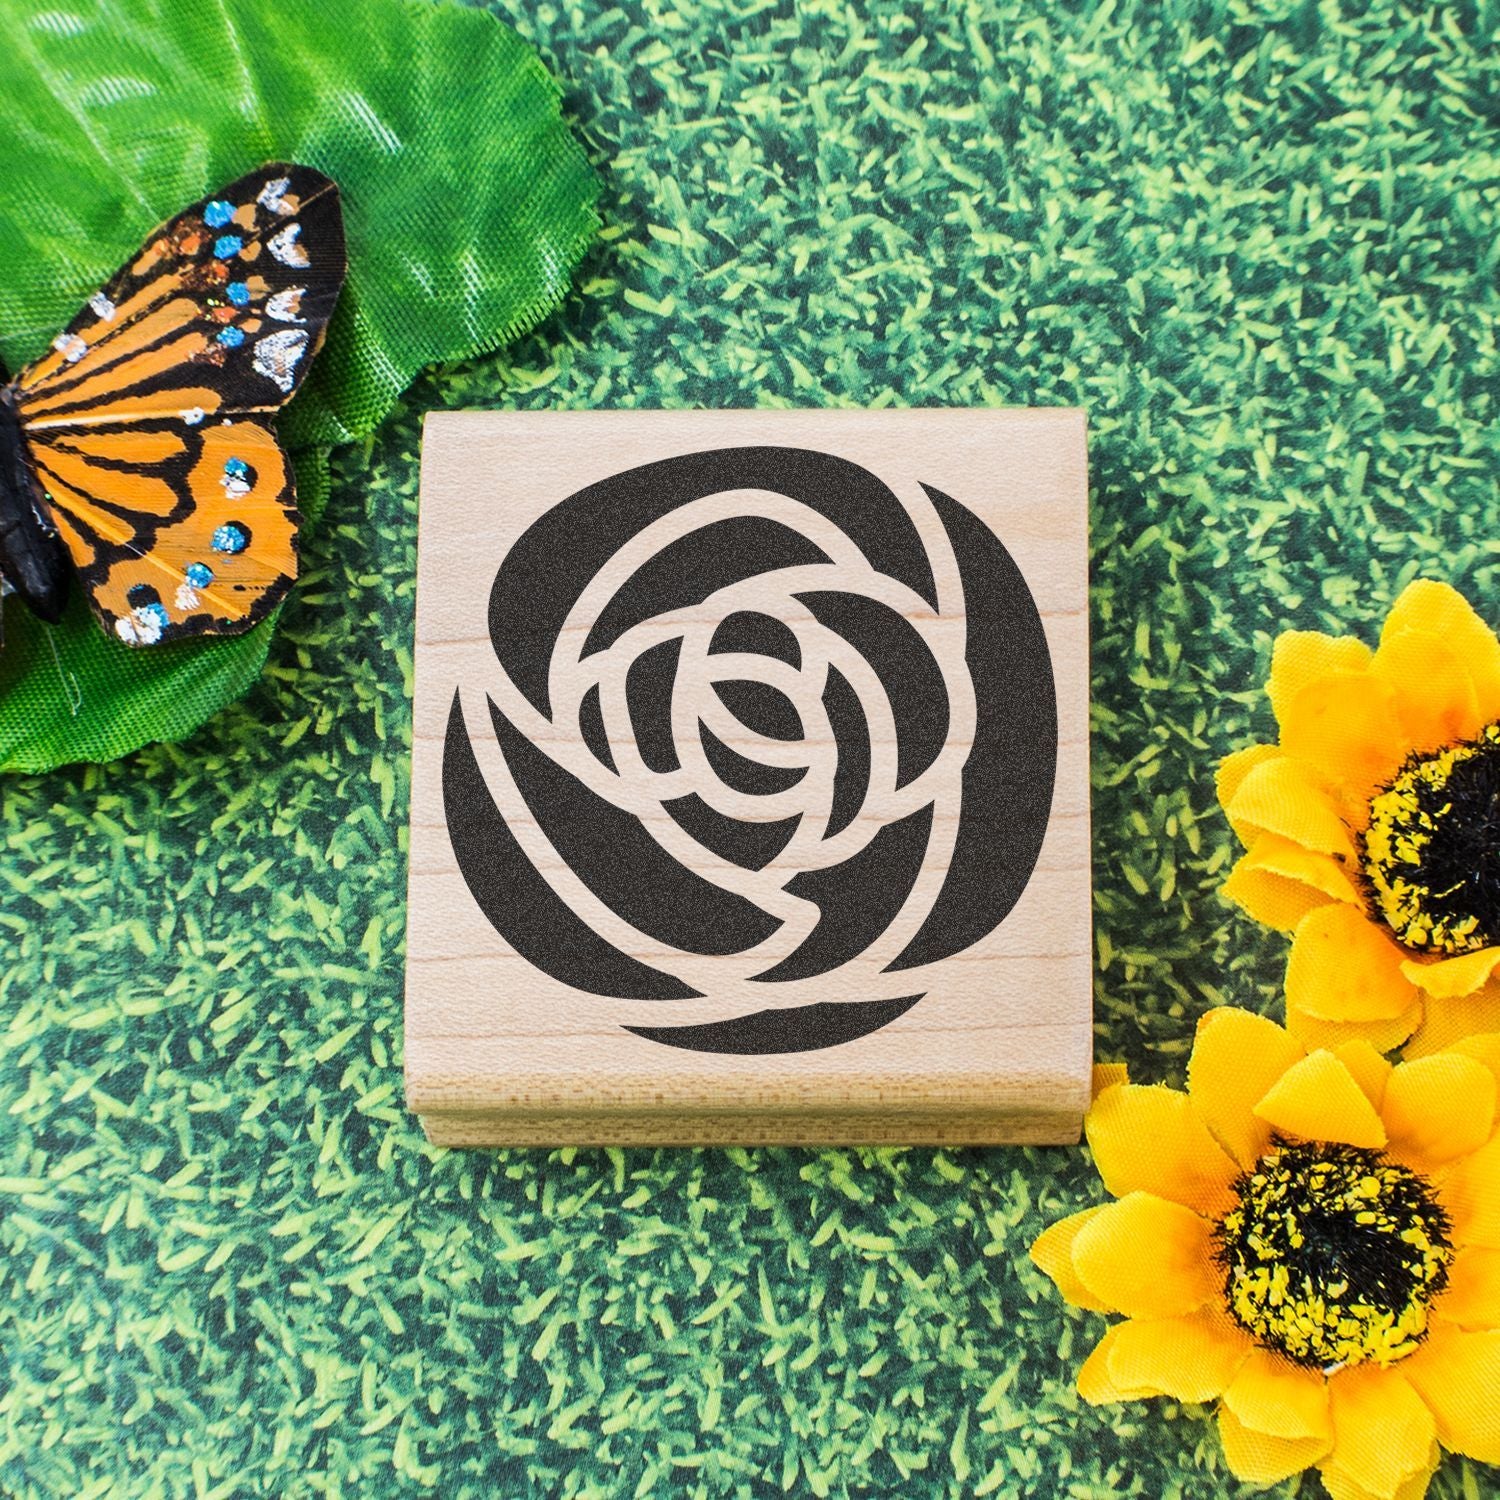
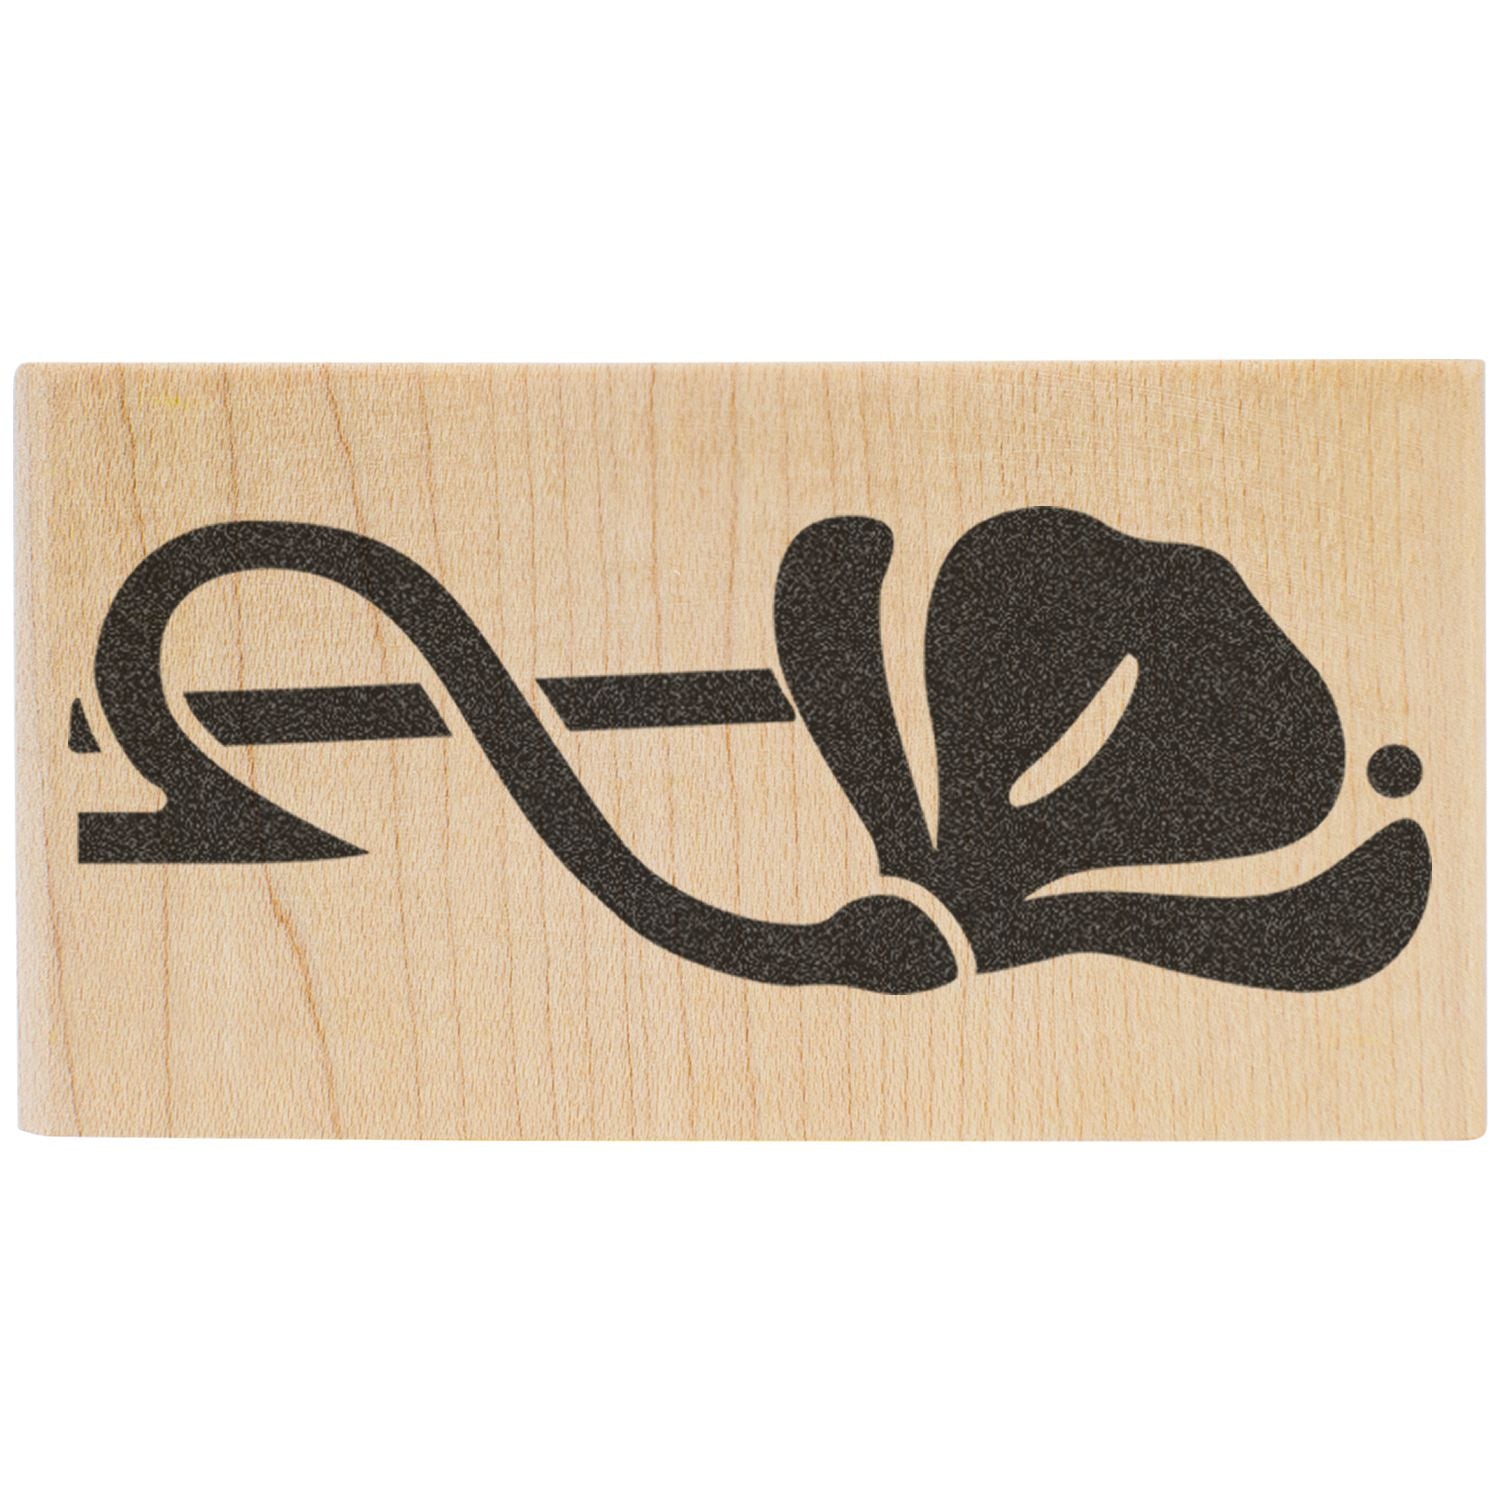
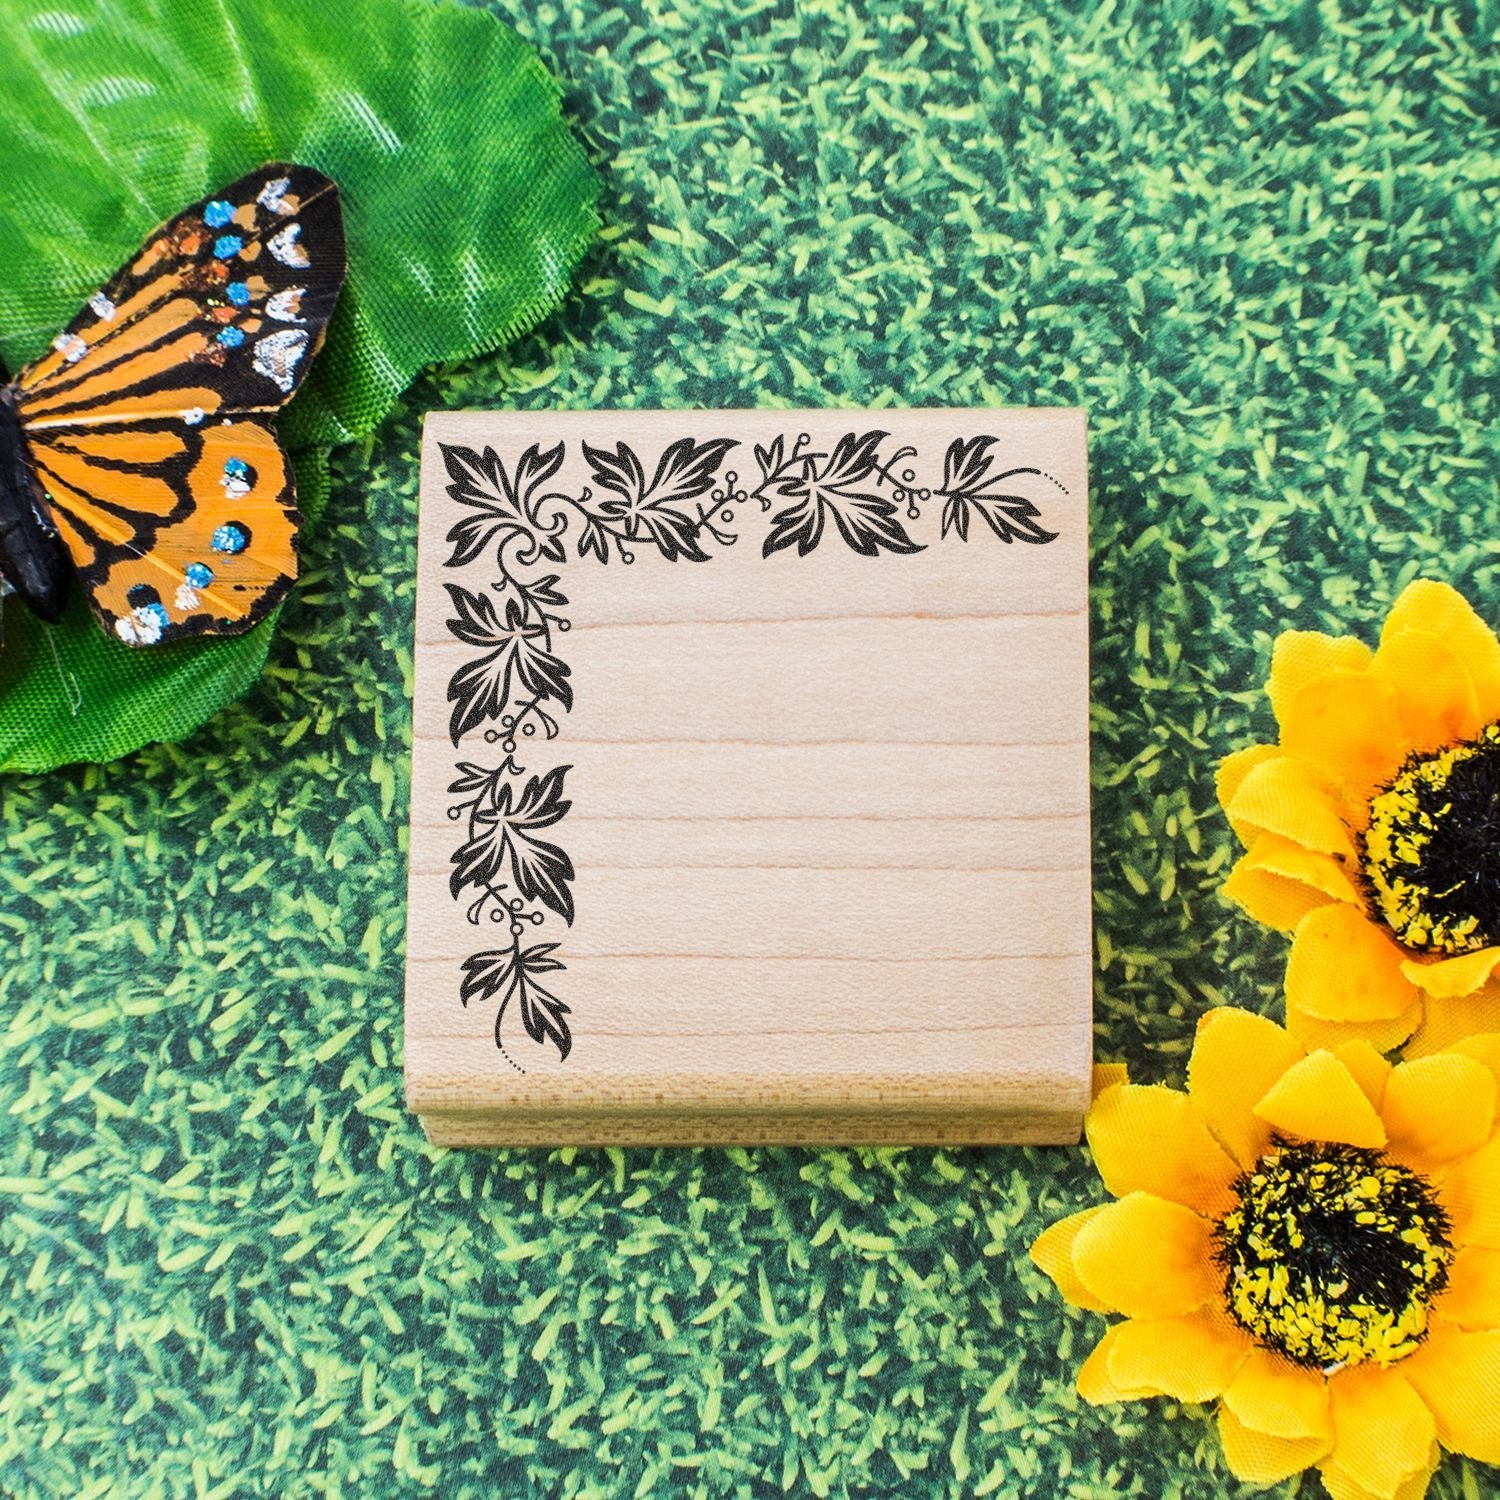
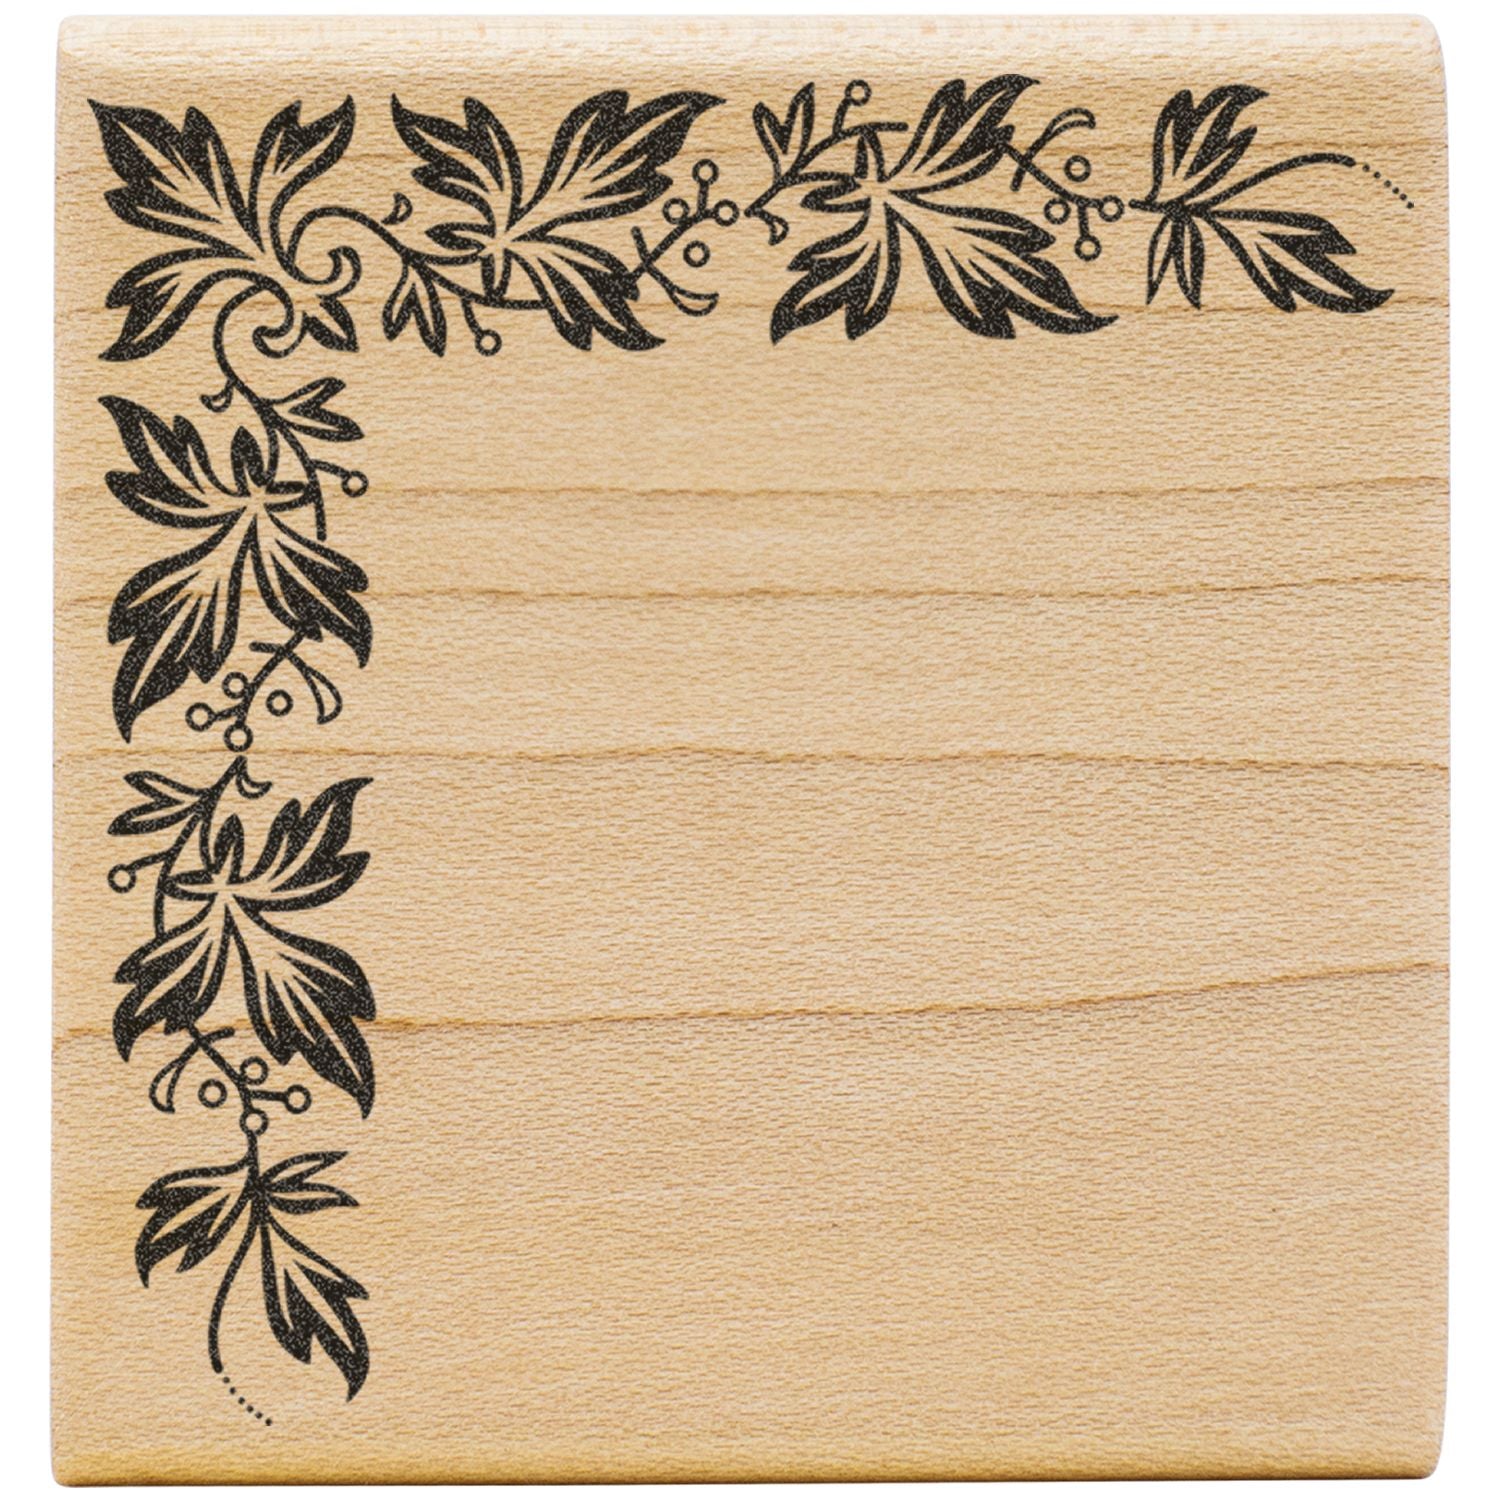
They’re essentially rubber, acrylic, or even foam stamps featuring flower-themed images. You dab them in ink, press them onto a surface like paper or cardstock, and voilà: an instant floral flourish. But the real fun comes from exploring different vines, petals, and blossoms you can mix and match. You might pair a classic rose stamp with a swirling vine accent, or layer a large peony image with tiny leaf clusters. The combinations are practically endless.
Why florals stand out
- Universally appealing: Everyone can appreciate the beauty of a flower motif, regardless of age or crafting style.
- Adaptable to themes: for wedding invitations or holiday greetings, you can tweak color schemes or pair stamps strategically to suit the occasion.
- Beginner-friendly: Even if you’re brand-new to crafting, floral images easily mask minor stamping slips. A slight blur can look like a watercolor effect.
- Budget-conscious: You can start with a single bloom design and still make a range of different-looking projects.
Practical uses
Floral stamps aren’t just for greeting cards. You can decorate planner pages, personalize gift tags, craft wall art, or jazz up classroom newsletters. If you want to keep it simple, stamp a single flower onto a notecard. For more elaborate creations, layer multiple images, add your own doodles, or incorporate a splash of watercolor. The only limit is your imagination.
Pick your stamp material
Before you look at your first floral design, it pays to know which stamp type you’re buying. Stamps can come in different materials, primarily rubber and clear acrylic, though you’ll find some foam and silicone options too. Each has its pros and cons, and your choice often depends on the level of detail you need and the kind of project you have in mind.
Comparing stamp materials
Below is a quick look at common stamp materials, along with reasons you might pick one over the other.
| Material | Pros | Cons |
|---|---|---|
| Rubber | Durable, offers crisp details, easy to find | Often mounted on wooden blocks, so alignment can be tricky |
| Clear acrylic | Allows precise placement, stores flat | May wear out faster if not cleaned properly |
| Foam | Lightweight, easy to handle | Less detailed impressions, not as long-lasting |
| Silicone | Flexible, good for layered stamping | Can lose shape or clarity over extended use |
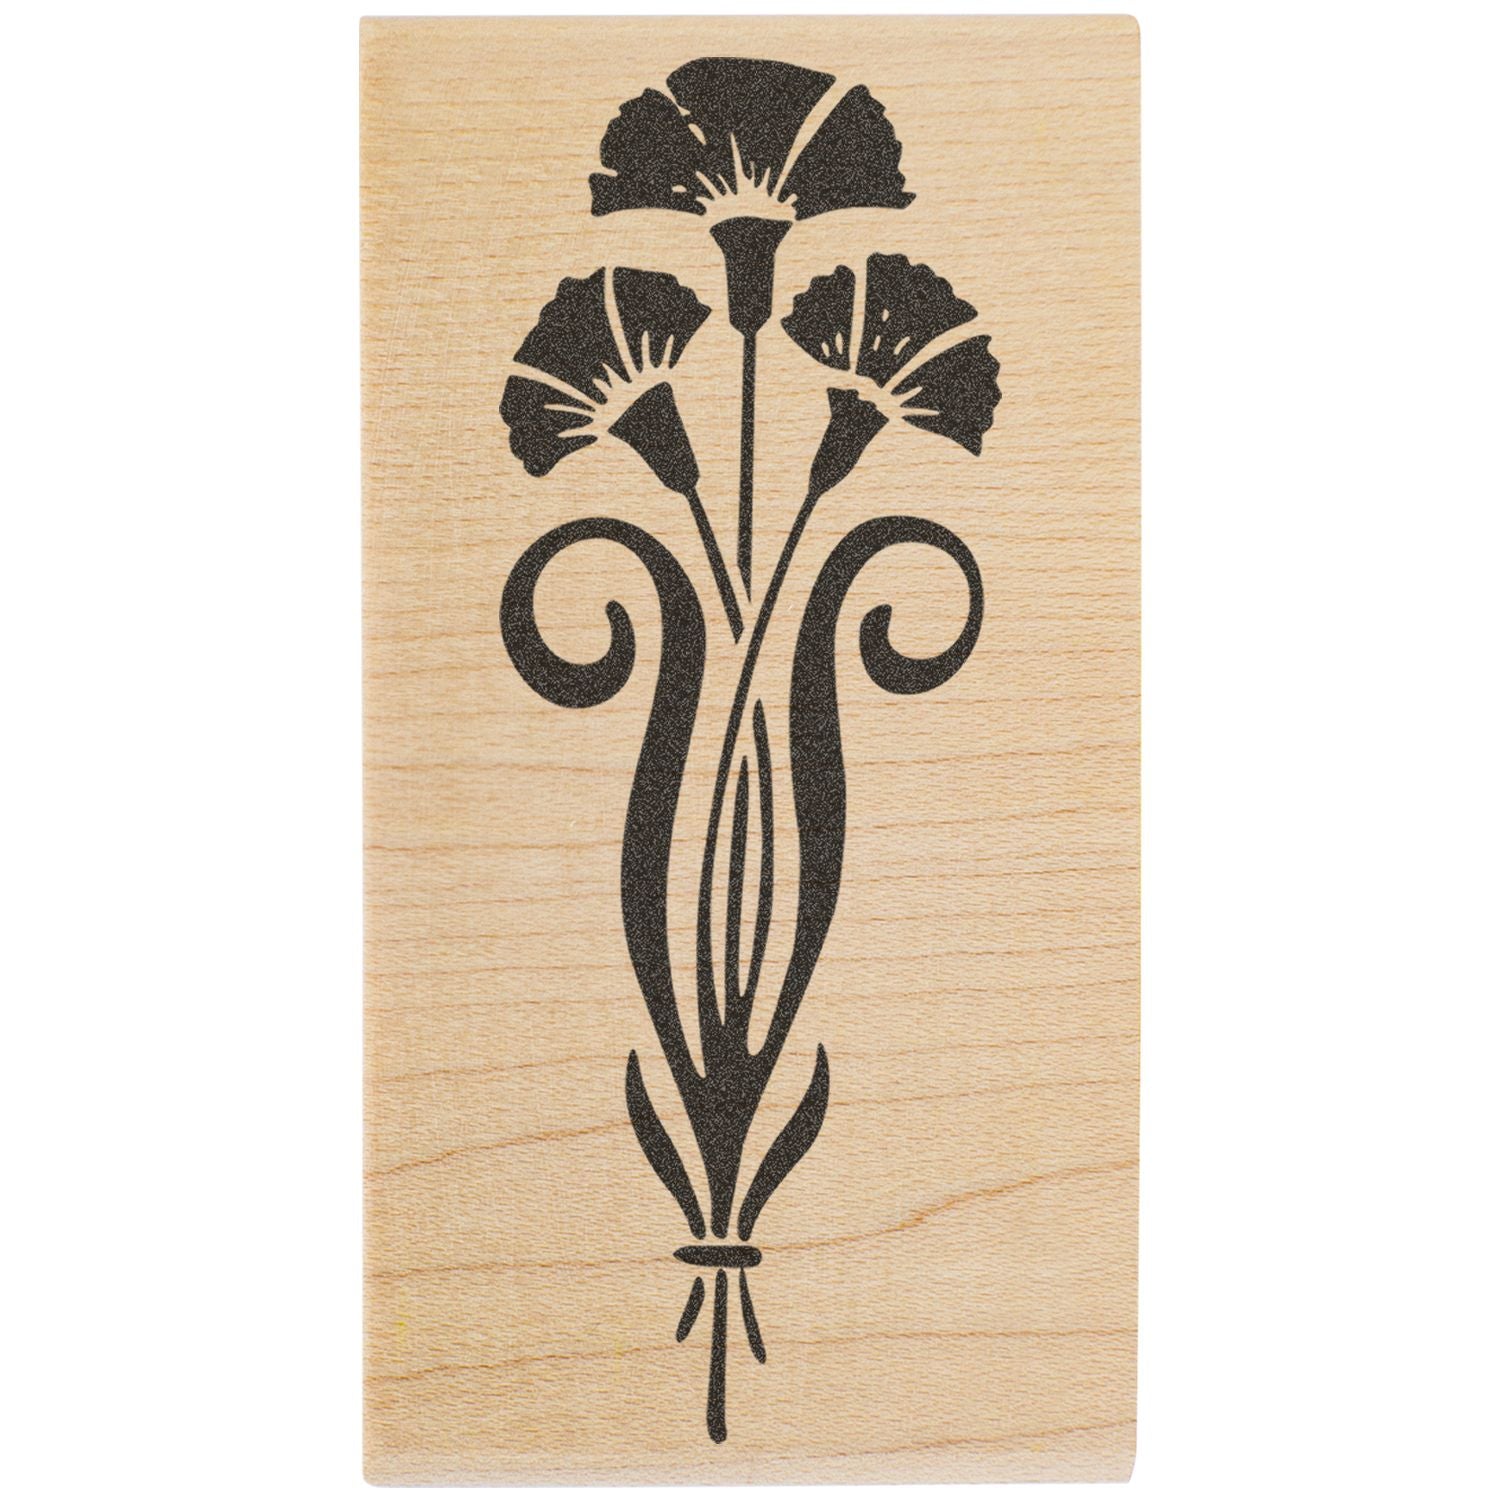
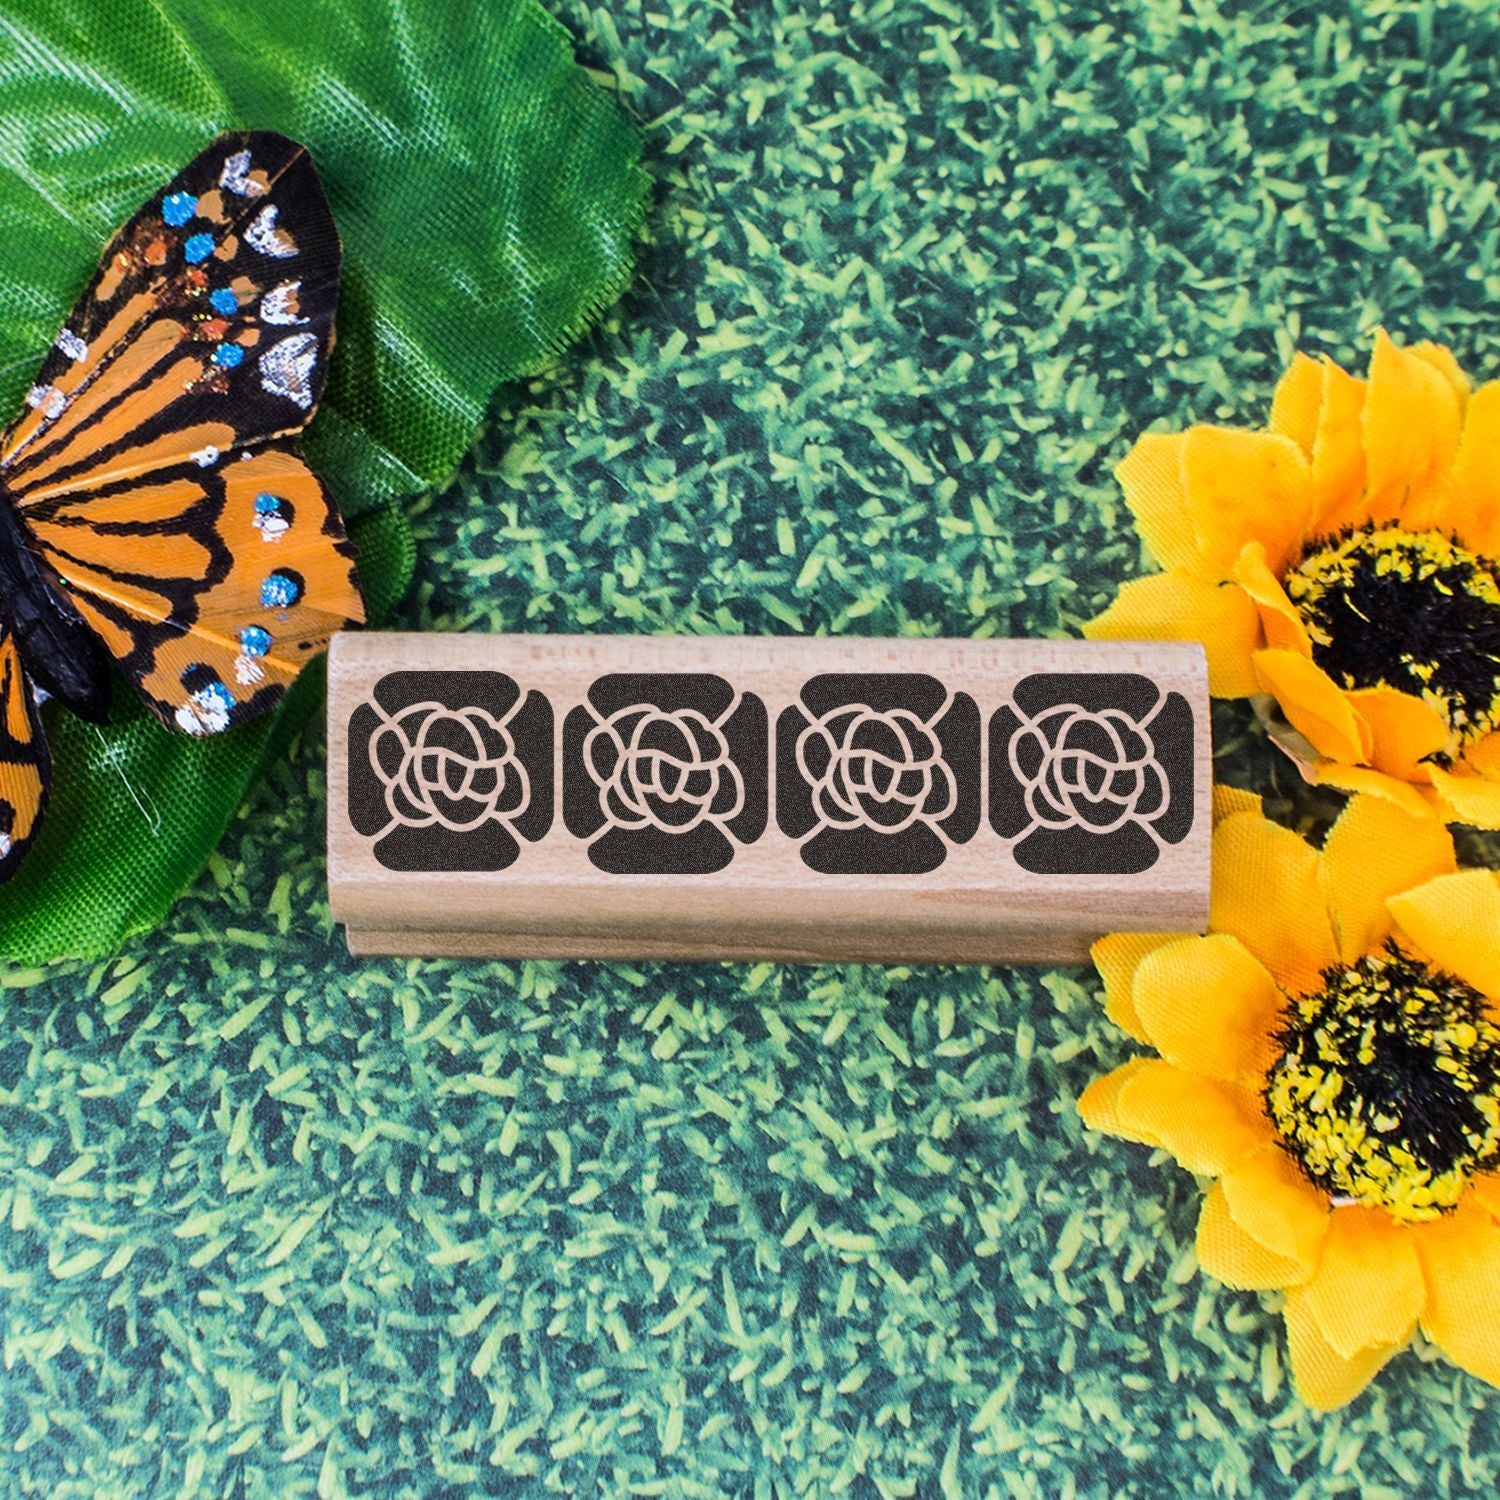
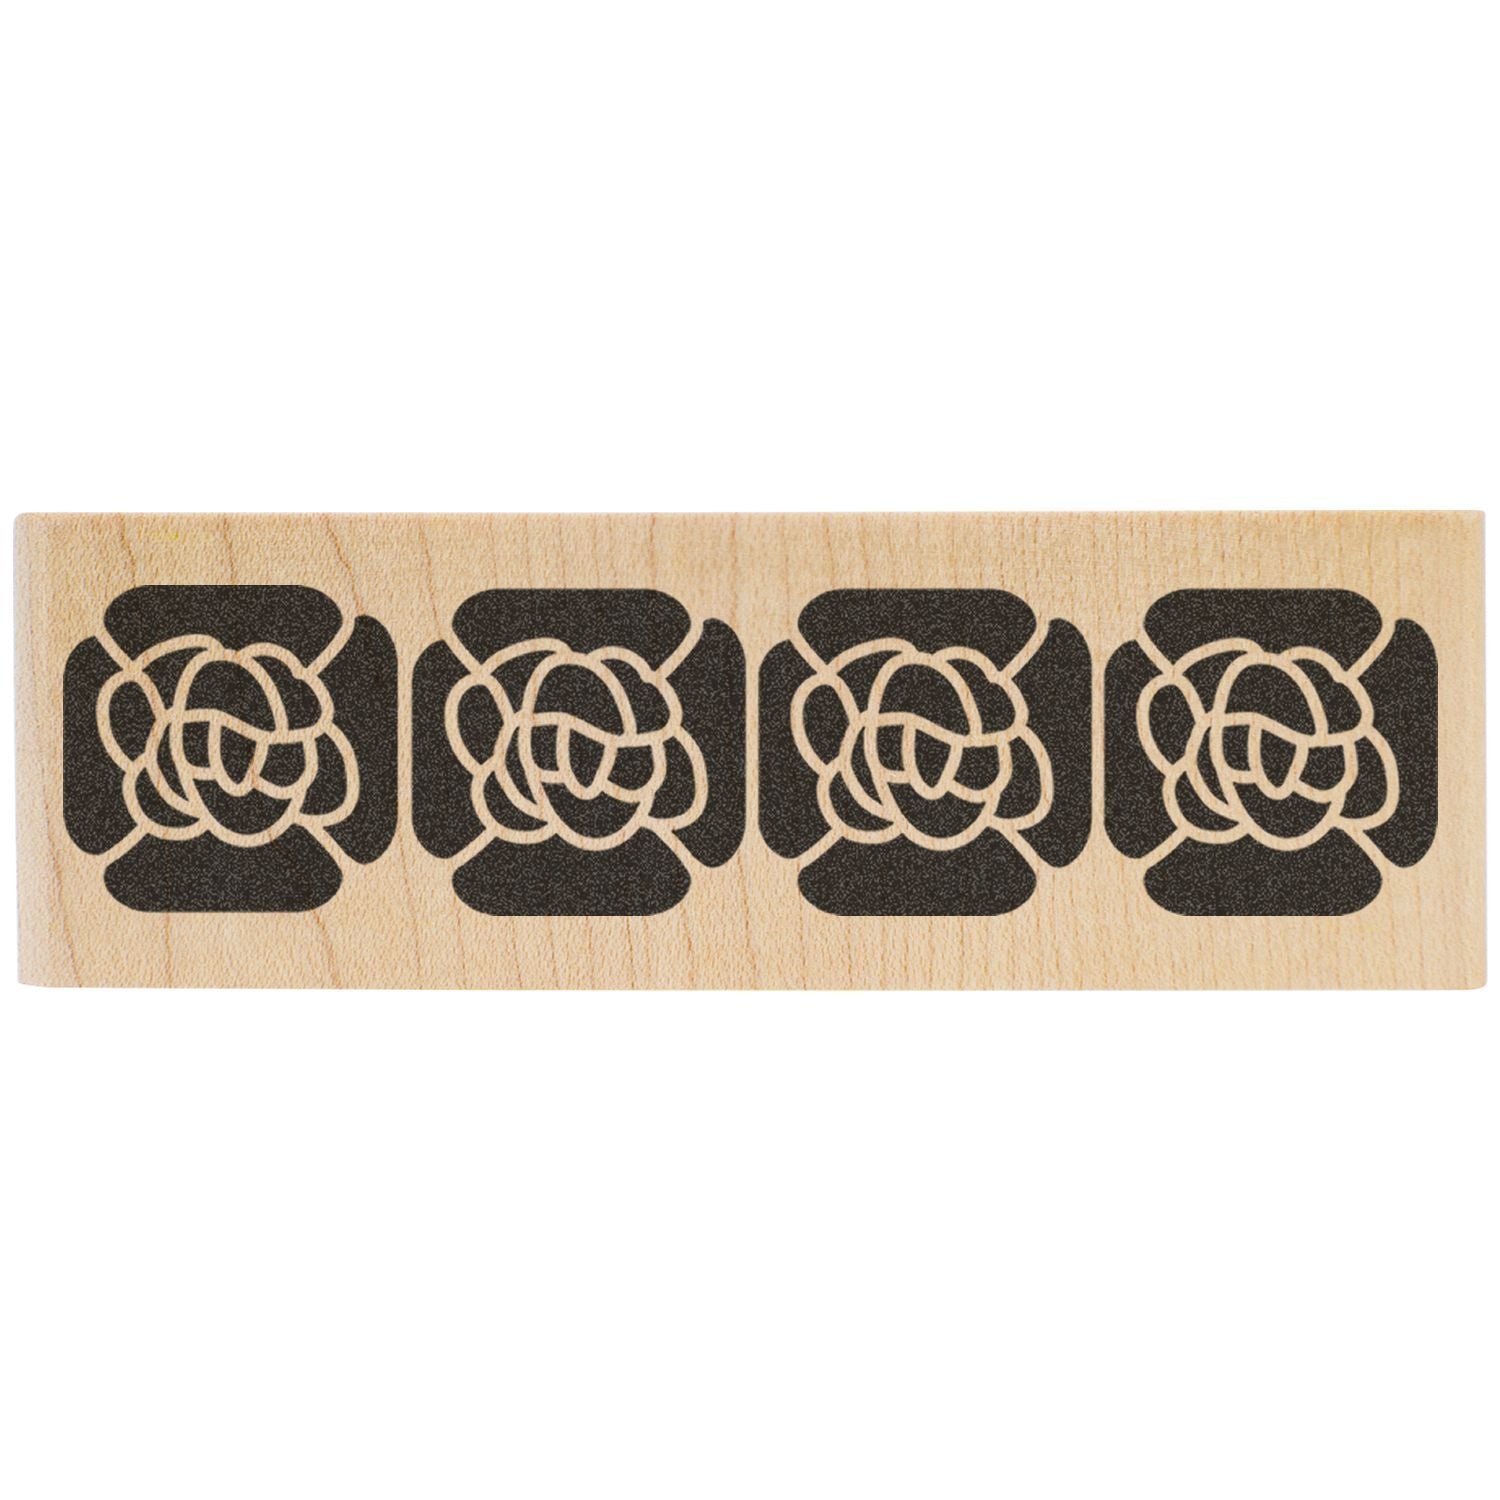
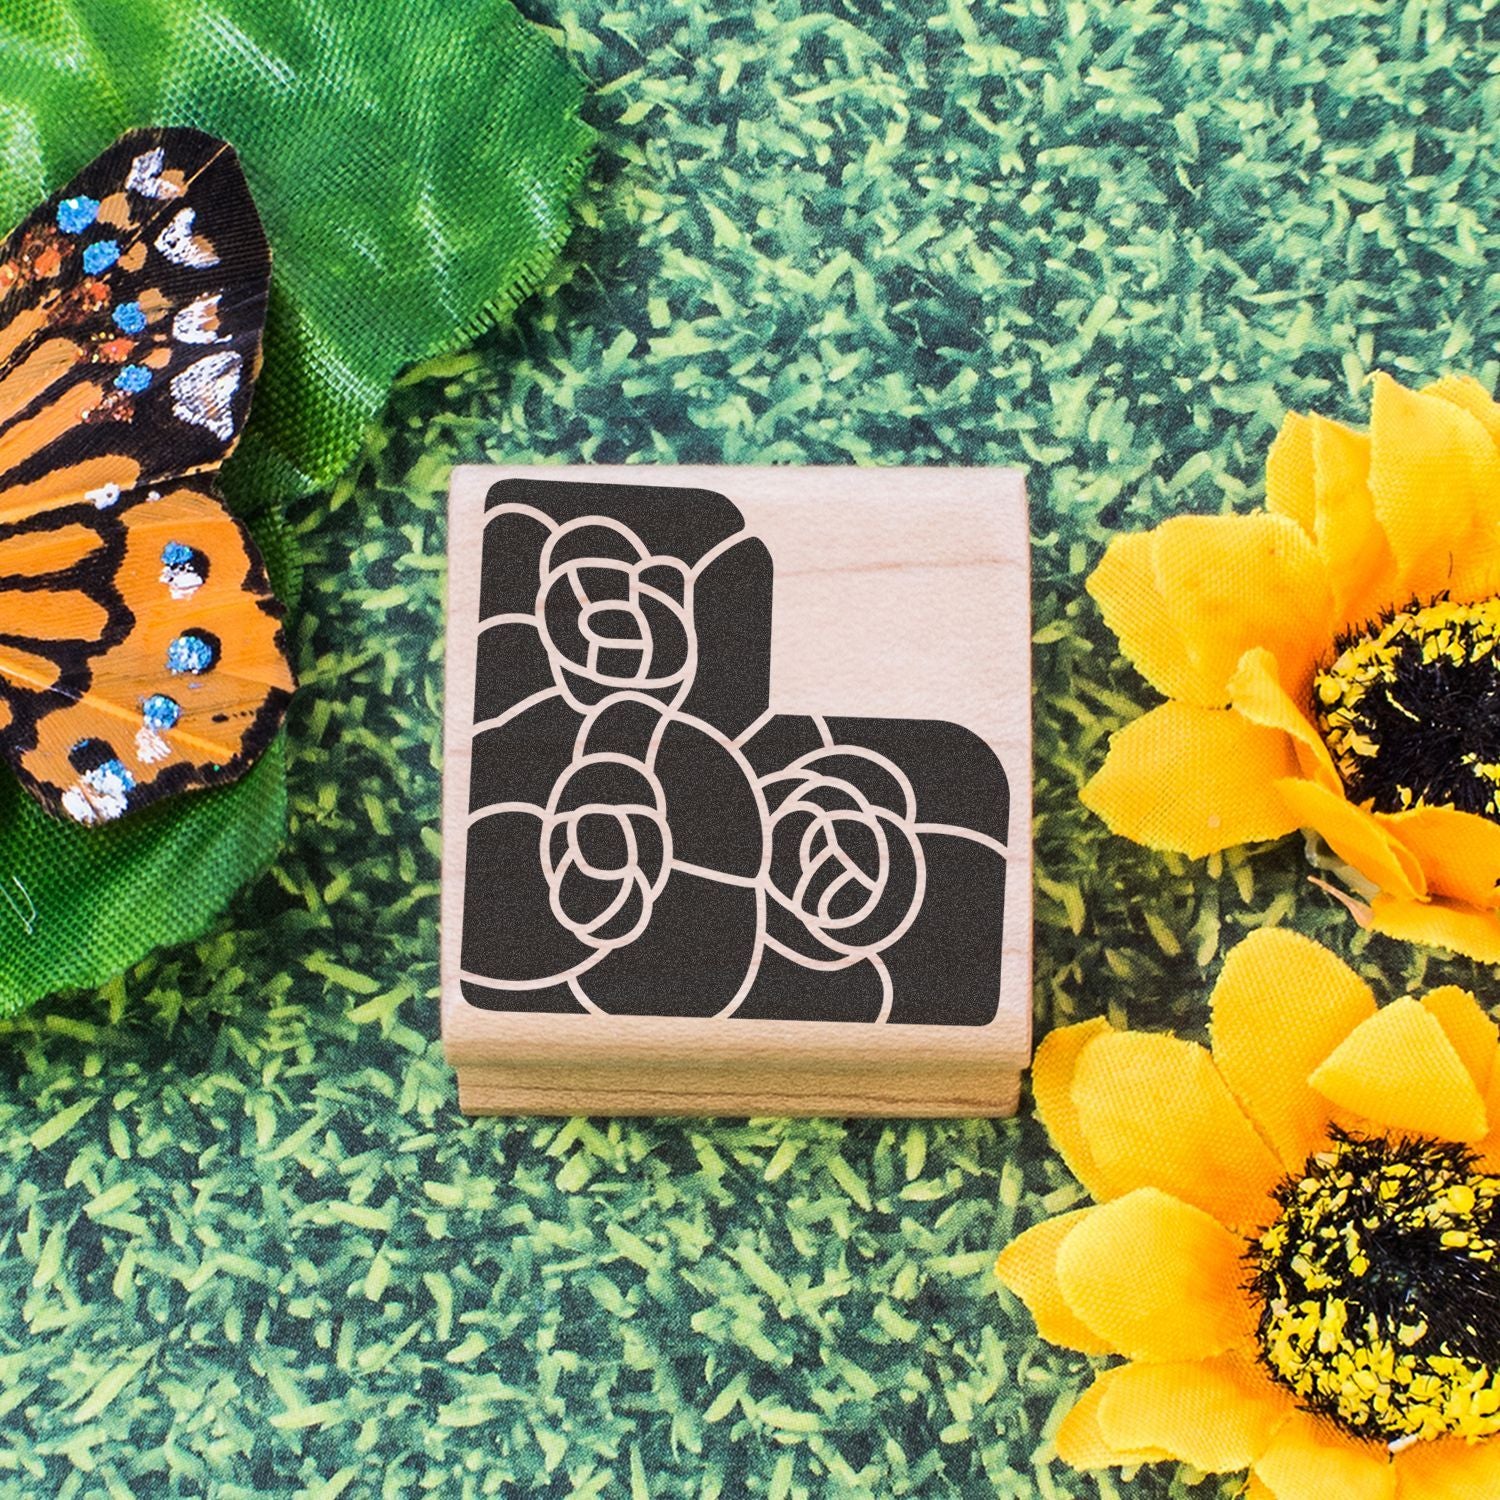
Rubber stamps have been around for ages and are well-known for their sharp impressions. They’re often pre-mounted on wood blocks, which look charming but can feel a bit bulky if you have limited storage. Clear acrylic stamps let you see exactly where you’re placing your design. This transparency is a dream if precision matters, especially for layered floral scenes or borders.
One tip: If you choose acrylic stamps, invest in at least one good-quality acrylic block. The block acts as the mount for your stamp, making it easier to apply even pressure and line up your design.
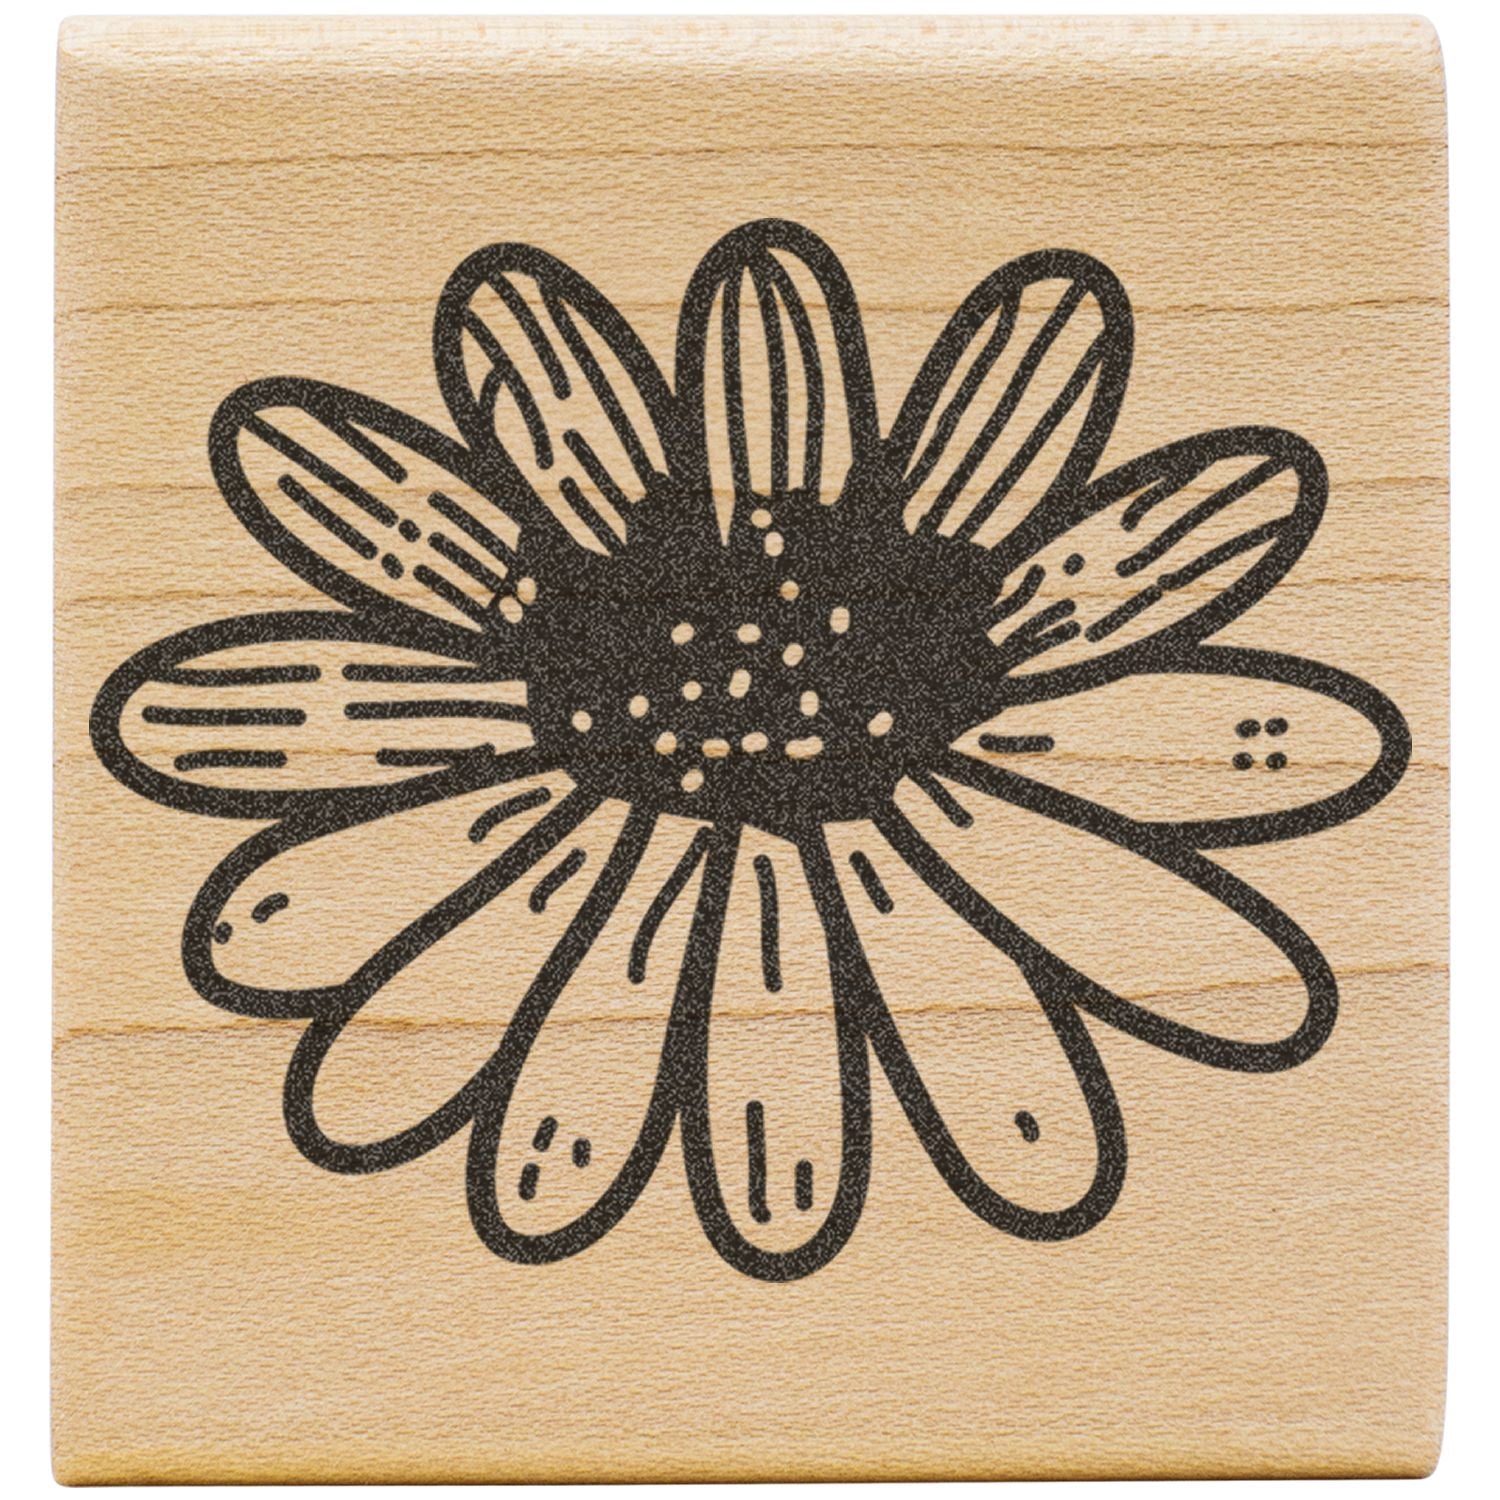
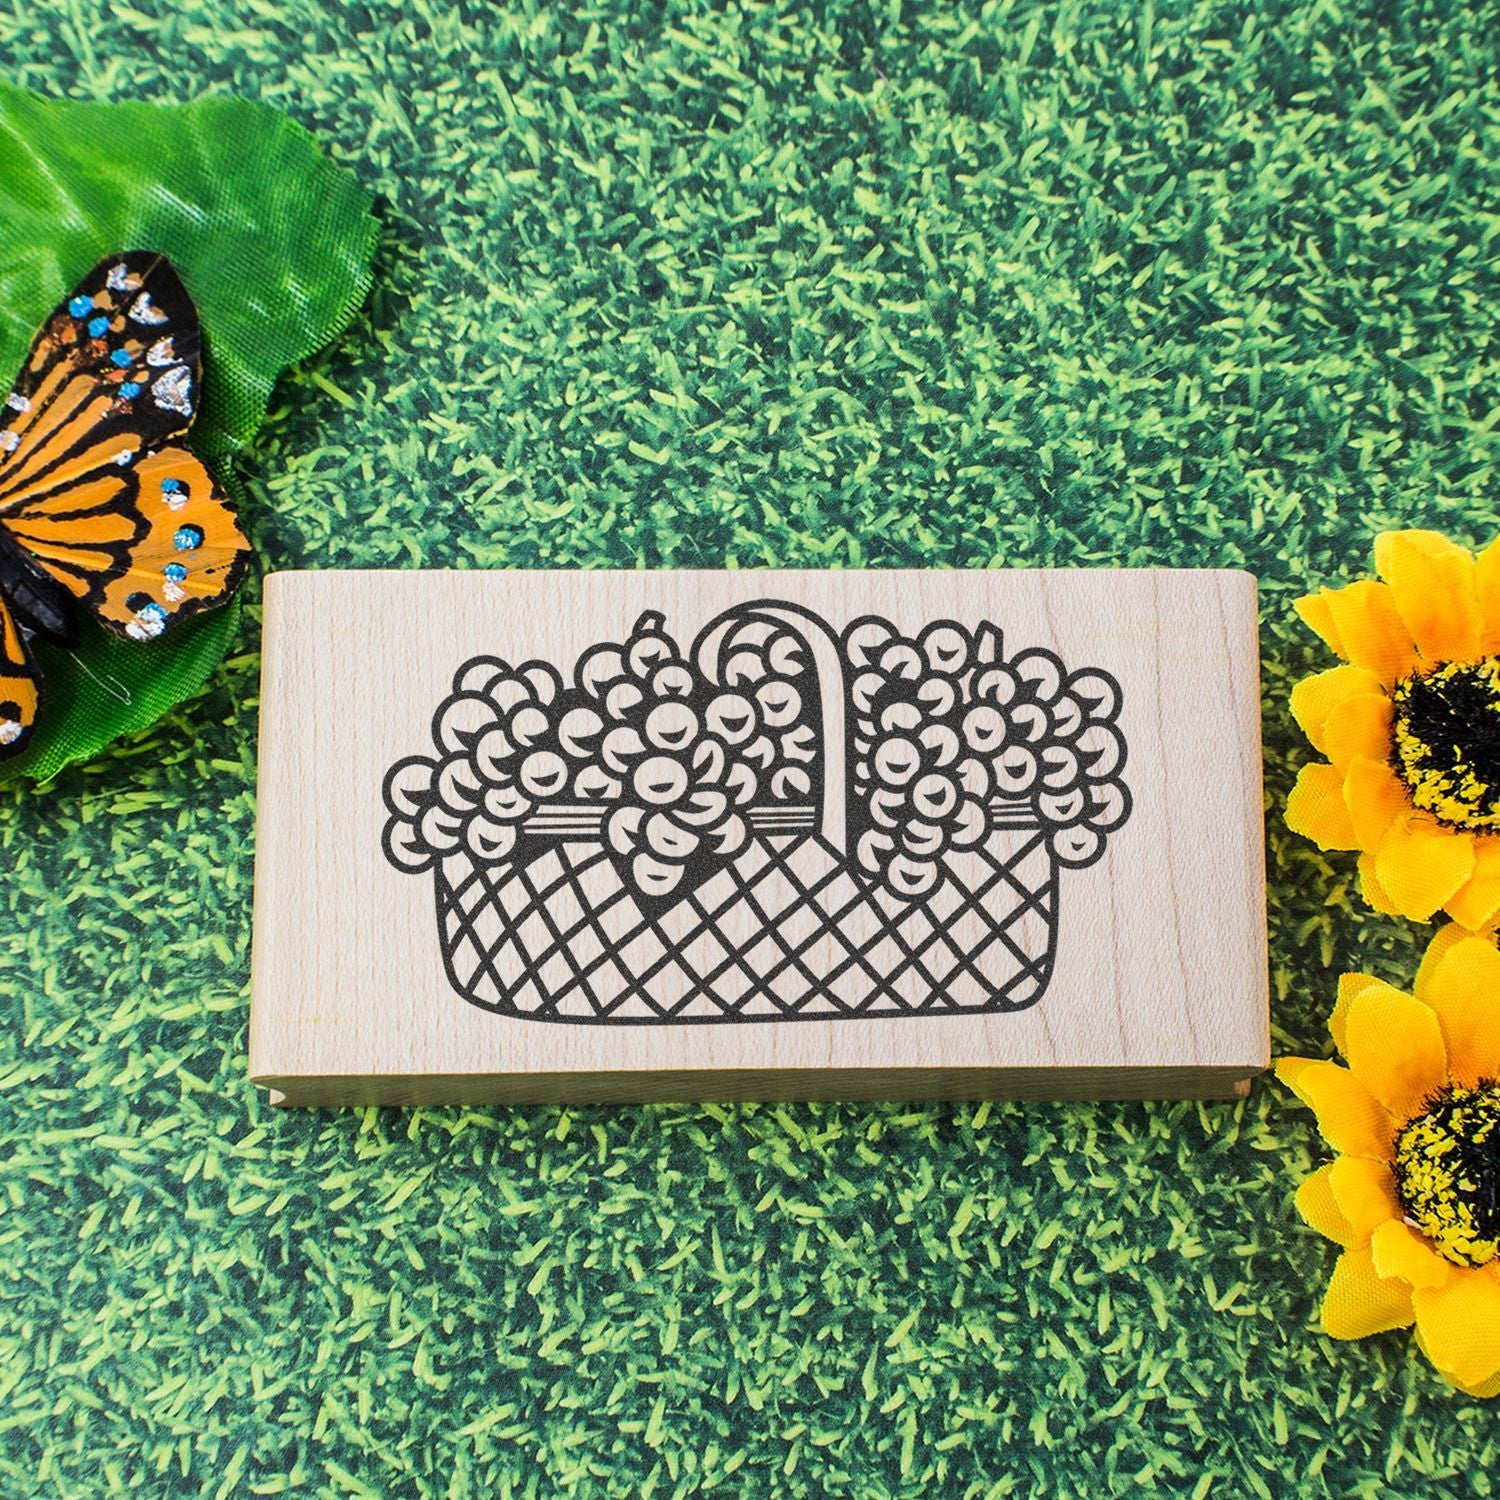
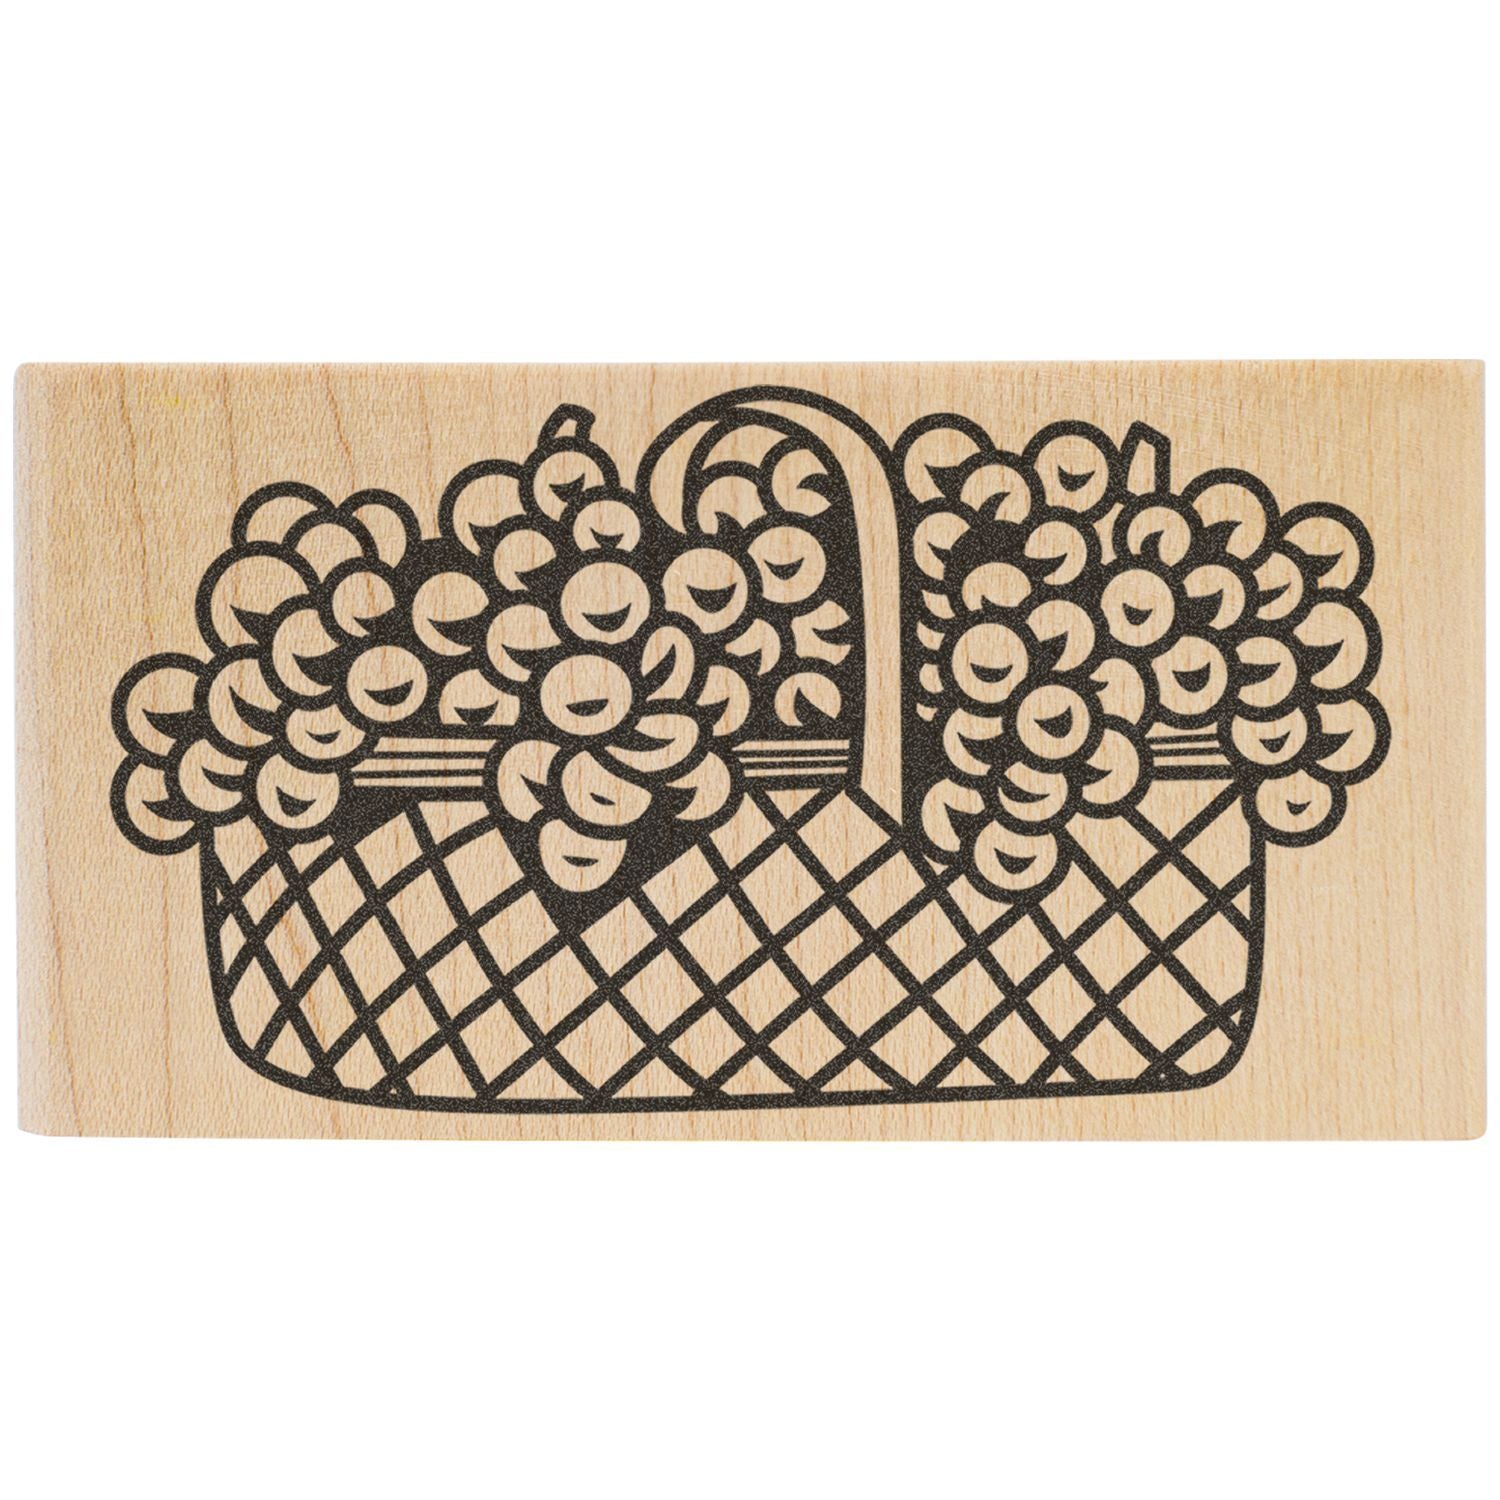
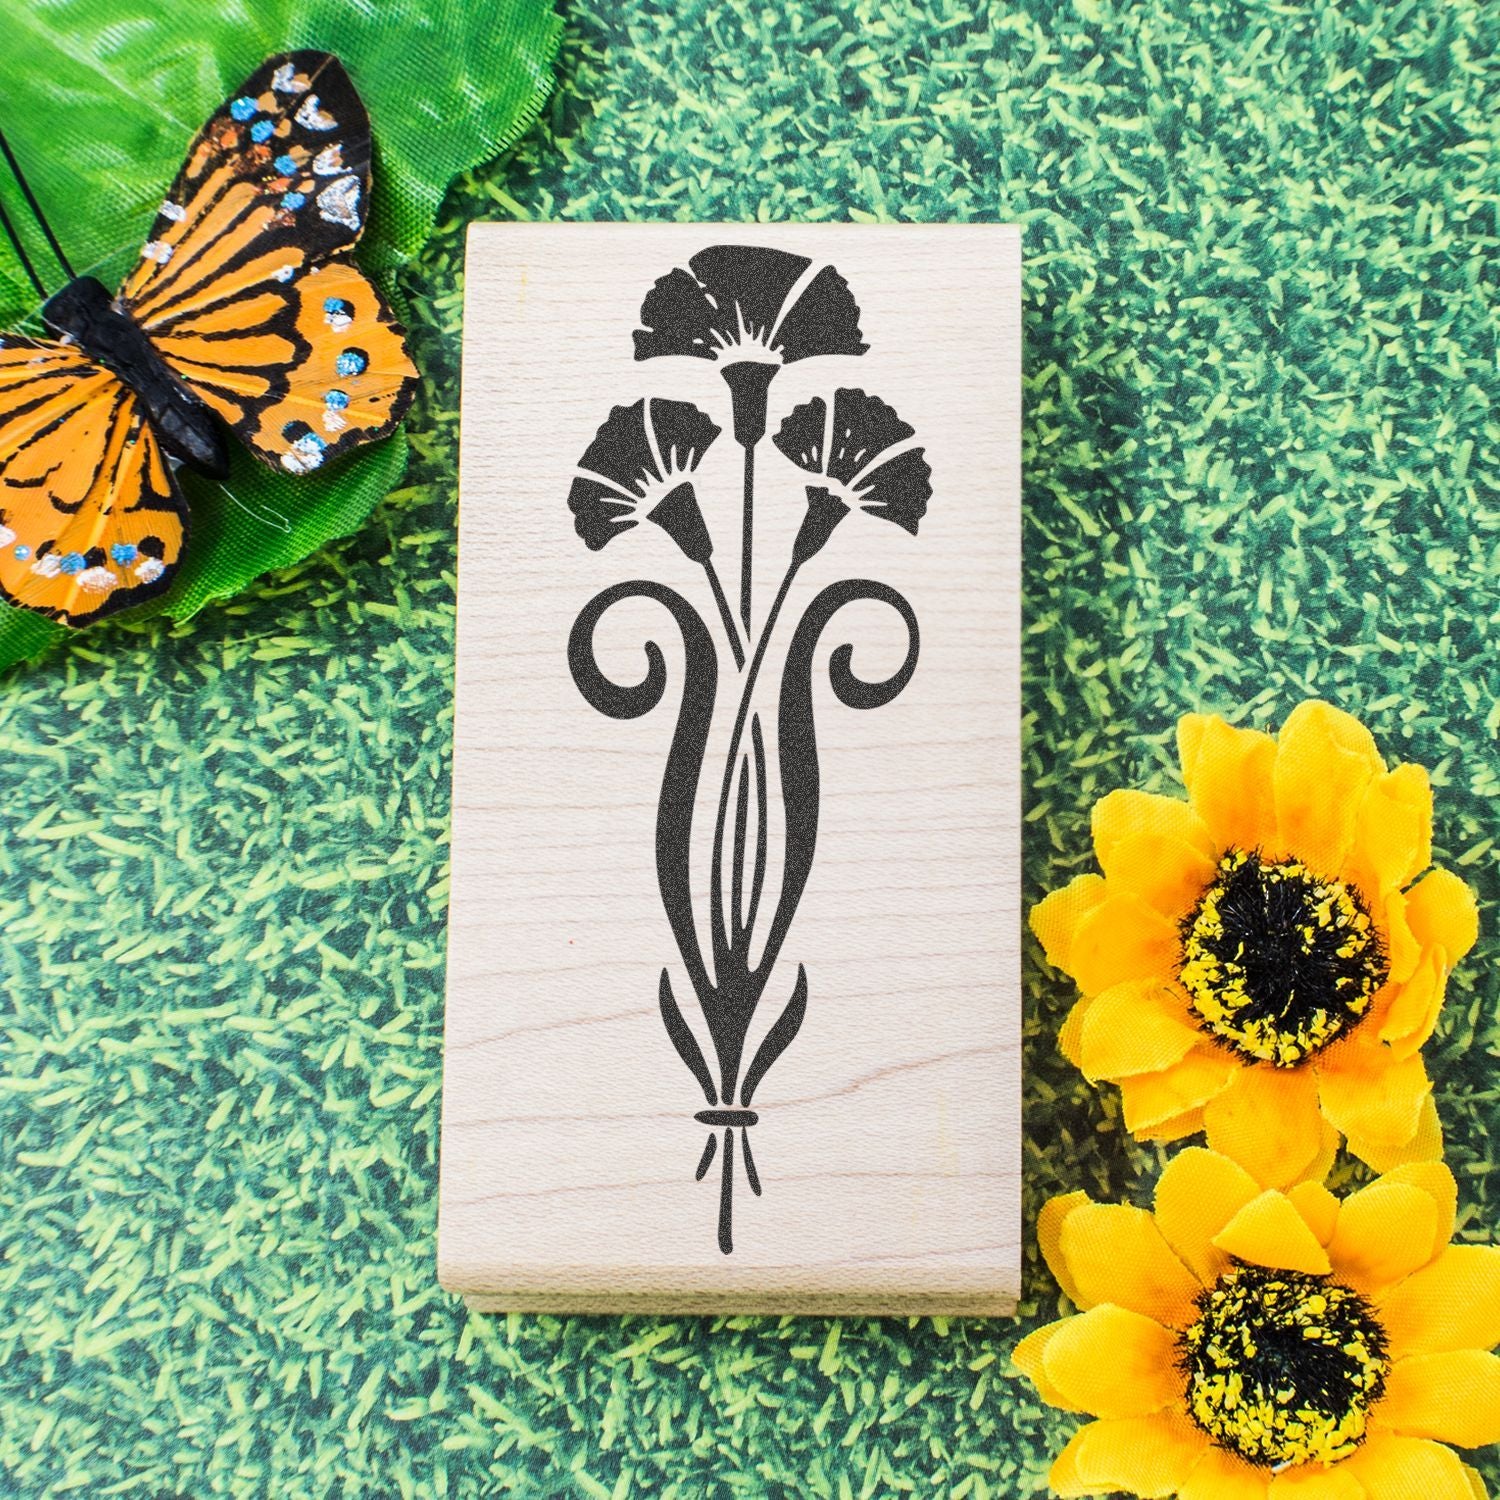
Considering storage and cleaning
Whichever material you pick, you’ll want to keep your floral craft stamps clean and organized. Residual ink can shorten a stamp’s life or make future prints look blurred. Use gentle stamp cleaners or mild soap with water, and pat everything dry before tucking them away. Some crafters use shallow drawers or clear binders for stashing acrylic sets, while wooden stamps often end up on racks or shelves. The more carefully you store them, the longer they’ll last.
Set up your workspace
If you’re new to stamping, you might not think too much about where you work. But trust me, having a well-organized, dedicated space makes a world of difference. A tidy desk, the right surfaces, and a bit of planning can help you avoid ink smudges or misplaced stamps.
Essential supplies
- Stamping surface: A hard, flat tabletop is ideal. Slip a foam pad or a stack of scrap paper under your project to get more even impressions.
- Inks: Start with a fast-drying ink such as dye-based ink, which is beginner-friendly. Pigment inks are slower to dry but offer more vibrant colors.
- Cleaning kit: A stamp scrubber pad or a soft cloth, plus stamp cleaner or mild soapy water.
- Scrap paper: Keep a few sheets handy for test prints or blotting extra ink.
- Paper towels: Wiping up small spills or quickly drying stamps becomes so much easier with these around.
Organizing for comfort
Place all your supplies within arm’s reach. Keep your stamping inks on one side, your scrap paper on the other, and your water cup or cleaning solution off to the side to avoid accidental spills. If you’re using multiple colors, you’ll thank yourself for having an orderly system. Because once you mix up ink pads and stamp them in the wrong color, it can create muddy results that are tough to correct.
Lighting and posture
Good lighting helps you gauge the intensity and accuracy of your stamped images. If possible, work near a window during daylight hours, but a desk lamp with a warm bulb is a fine backup. Also remember that stamping can feel like a mini workout for your wrist. Try to keep your elbow and wrist aligned to avoid unnecessary strain, especially if you plan on churning out dozens of stamped designs in one sitting.
Try basic stamping steps
Once you’ve chosen your stamp and set up your workspace, it’s time to actually get that flower onto paper. If you’re worried about messing up, relax. Stamping is fairly forgiving, and even a slightly imperfect print can be charming.
Step-by-step instructions
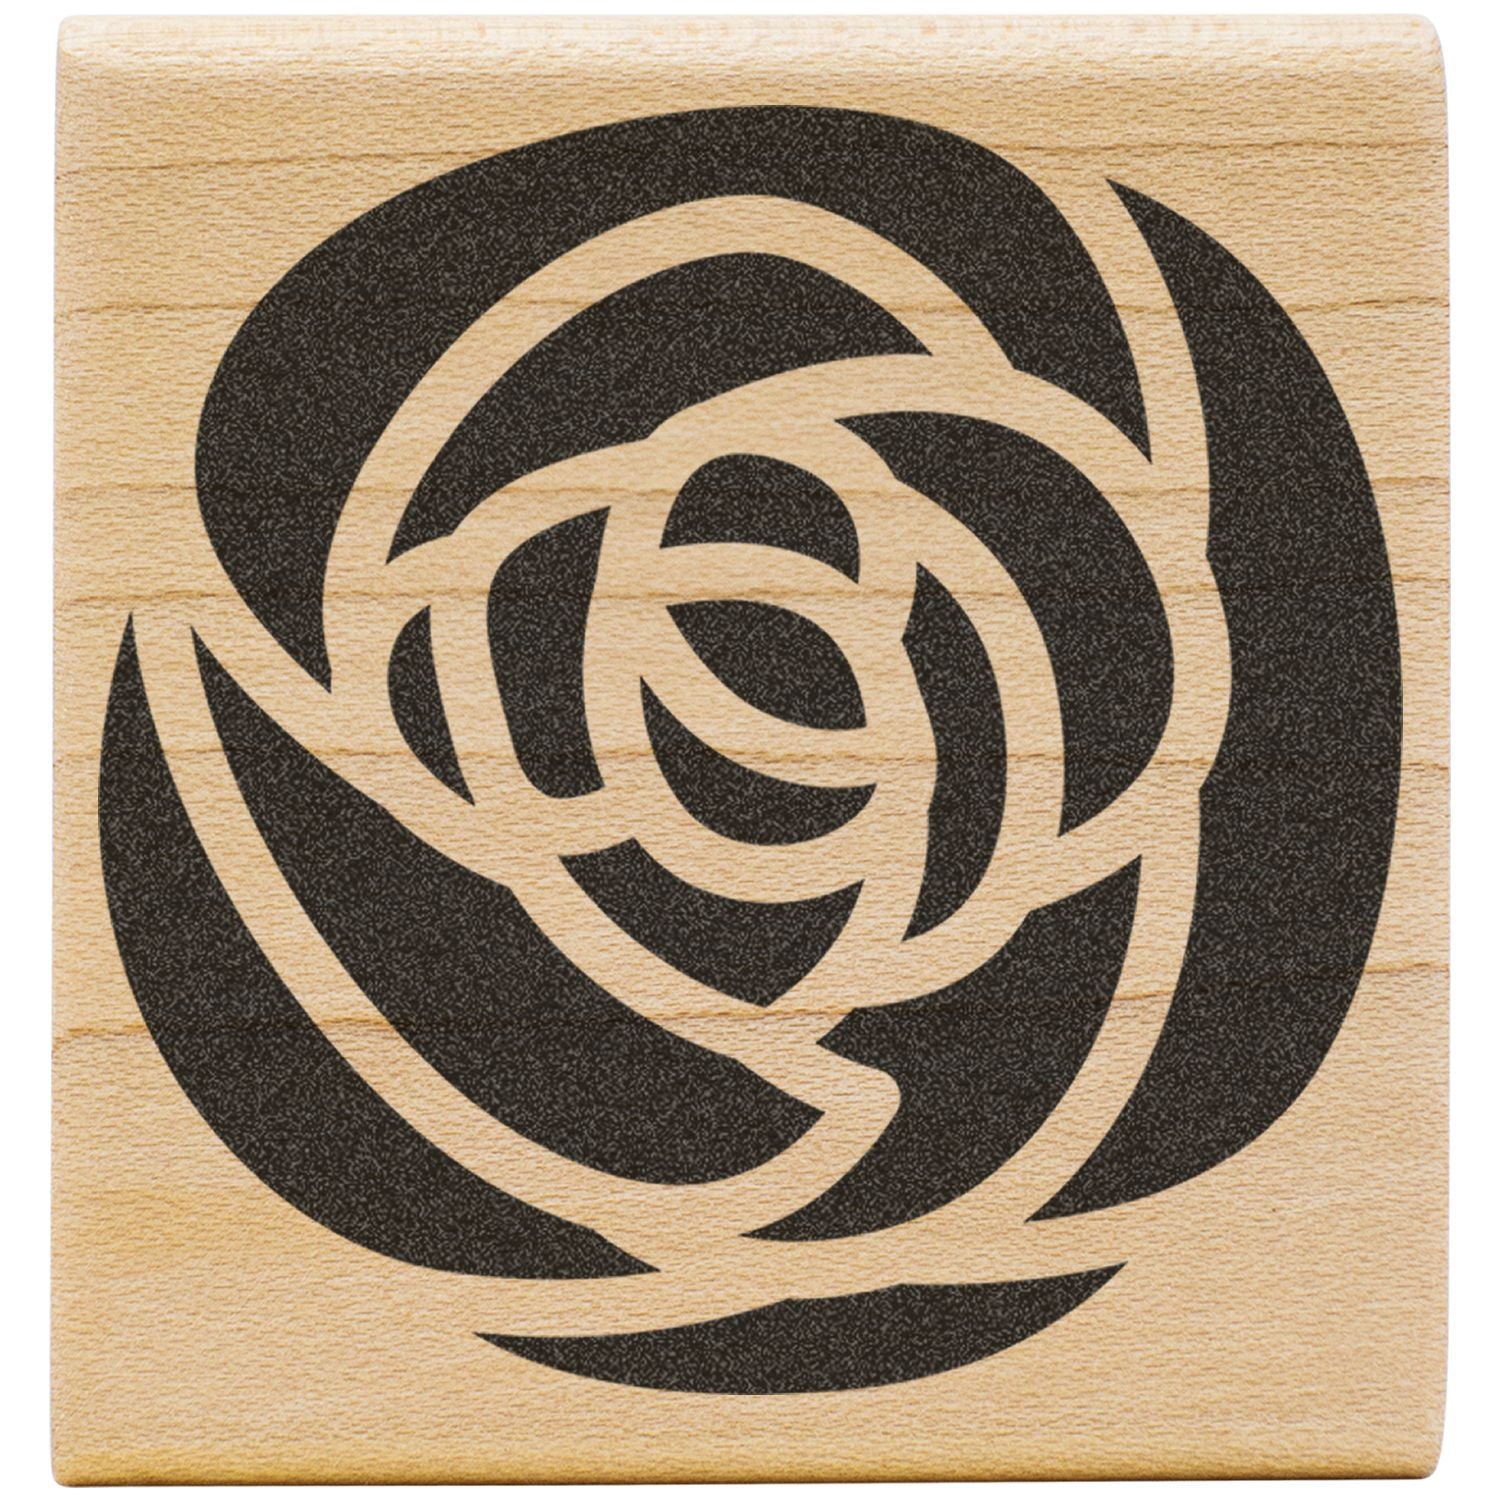
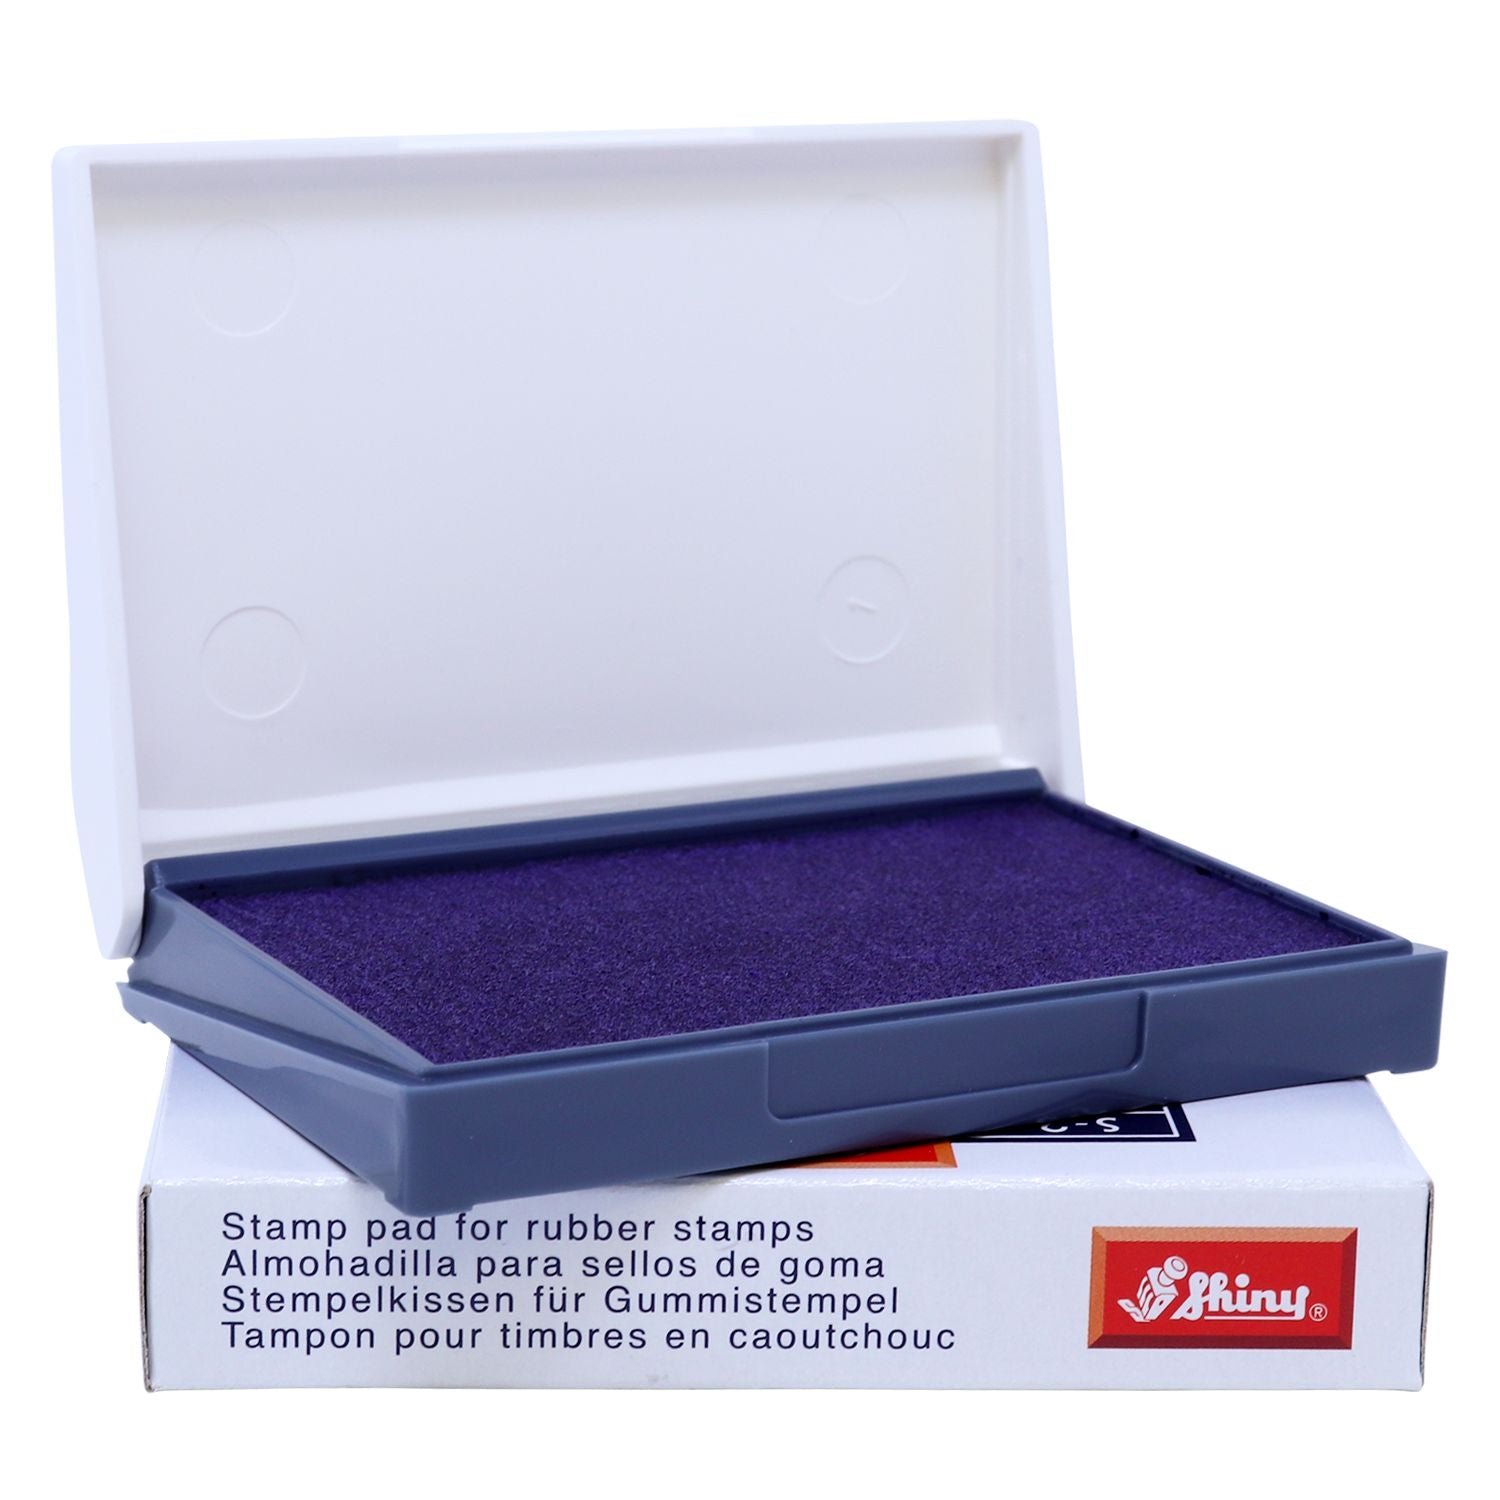
- Ink up your stamp: Gently tap your floral stamp onto the ink pad, ensuring you cover the entire design with a thin layer of ink. Avoid pressing too hard, or you’ll end up with ink in the negative spaces.
- Test print: Do a quick test on scrap paper. This helps gauge the stamp’s coverage and gives you a chance to see if you need more or less ink.
- Press onto your project: Align your stamp on the target area, then press down with firm, even pressure. Hold it there for a couple of seconds, letting the ink settle into the paper’s fibers.
- Lift straight up: Gently pull the stamp away without sliding it, which can smear the image.
- Clean promptly: Either wipe the stamp clean with a cloth or rinse it with water if you’re switching ink colors. A well-maintained stamp will last much longer.
Common mistakes to avoid
- Over-inking: This can result in a blurred print. Aim for just enough ink to saturate the raised design.
- Uneven pressure: If your stamp is more heavily pressed on one side, you’ll see a faded image on one end and a dark puddle on the other.
- Sliding the stamp: Resist the urge to wiggle it for extra coverage. Typically, a smooth upward lift ensures the best print.
- Skipping the test print: Inking can be unpredictable, especially if your pad is new or your stamp is large. A trial run can save your final project.
Explore coloring techniques
Plain black outlines can look elegant on their own, but you’ll eventually want to add color to your floral prints. This is where the fun reaches a whole new level. From watercolors to markers and colored pencils, there’s no shortage of ways to bring out the beauty of each bloom.
Choosing the right medium
- Watercolor paints: Offer a dreamy, translucent effect. You can blend different shades to mimic the natural shading of petals.
- Alcohol markers: Provide vibrant, smooth coverage with minimal streaking. Great for detailed designs but require specialized marker-friendly ink that won’t bleed.
- Colored pencils: Allow for precise shading and layering. They’re also more forgiving if you make small mistakes.
- Gel pens: Ideal for adding fine highlights or metallic accents, especially around the edges of petals or leaves.
Blending and shading tips
When coloring floral craft stamps, try to imagine how light naturally falls on real flowers. Petals often have deeper colors near the center, gradually lightening toward the edges. If you want a more durable look, blend two or three shades of the same color. For instance, you could start with a pale pink in the center, transition to a medium pink mid-petal, and finish with a darker pink near the edges.
If you’re using water-based markers or inks, be careful not to oversaturate the paper, which could cause warping or pilling. In these cases, consider a heavier cardstock designed for wet media.
Quick swatch practice
Before coloring your final piece, test your chosen medium on a small stamped image or simple outline. This helps you dial in your shading technique without the pressure of messing up your main project. It also ensures the colors you’ve picked actually match your vision. Sometimes, that pink you saw in the pen barrel could turn out to be more of a bright neon once it’s on your paper. Swatching keeps surprises to a minimum.
Work on special projects
Looking for ways to showcase your new stamping skills beyond traditional cards? There’s a whole universe of possibilities. From home décor to personalized gifts, your floral designs can delight friends, family, or even customers if you decide to sell your creations.
Greeting cards and invitations
Greeting cards are a classic first project since they’re straightforward and small-scale. If you’re making wedding or party invitations, floral designs add a refined, romantic touch. You can stamp an outline of roses in each corner, then color them lightly to match the event’s theme. Or go bolder with a single large flower across the middle, layered with a simple text stamp specifying the event details.
Scrapbook layouts and memory albums
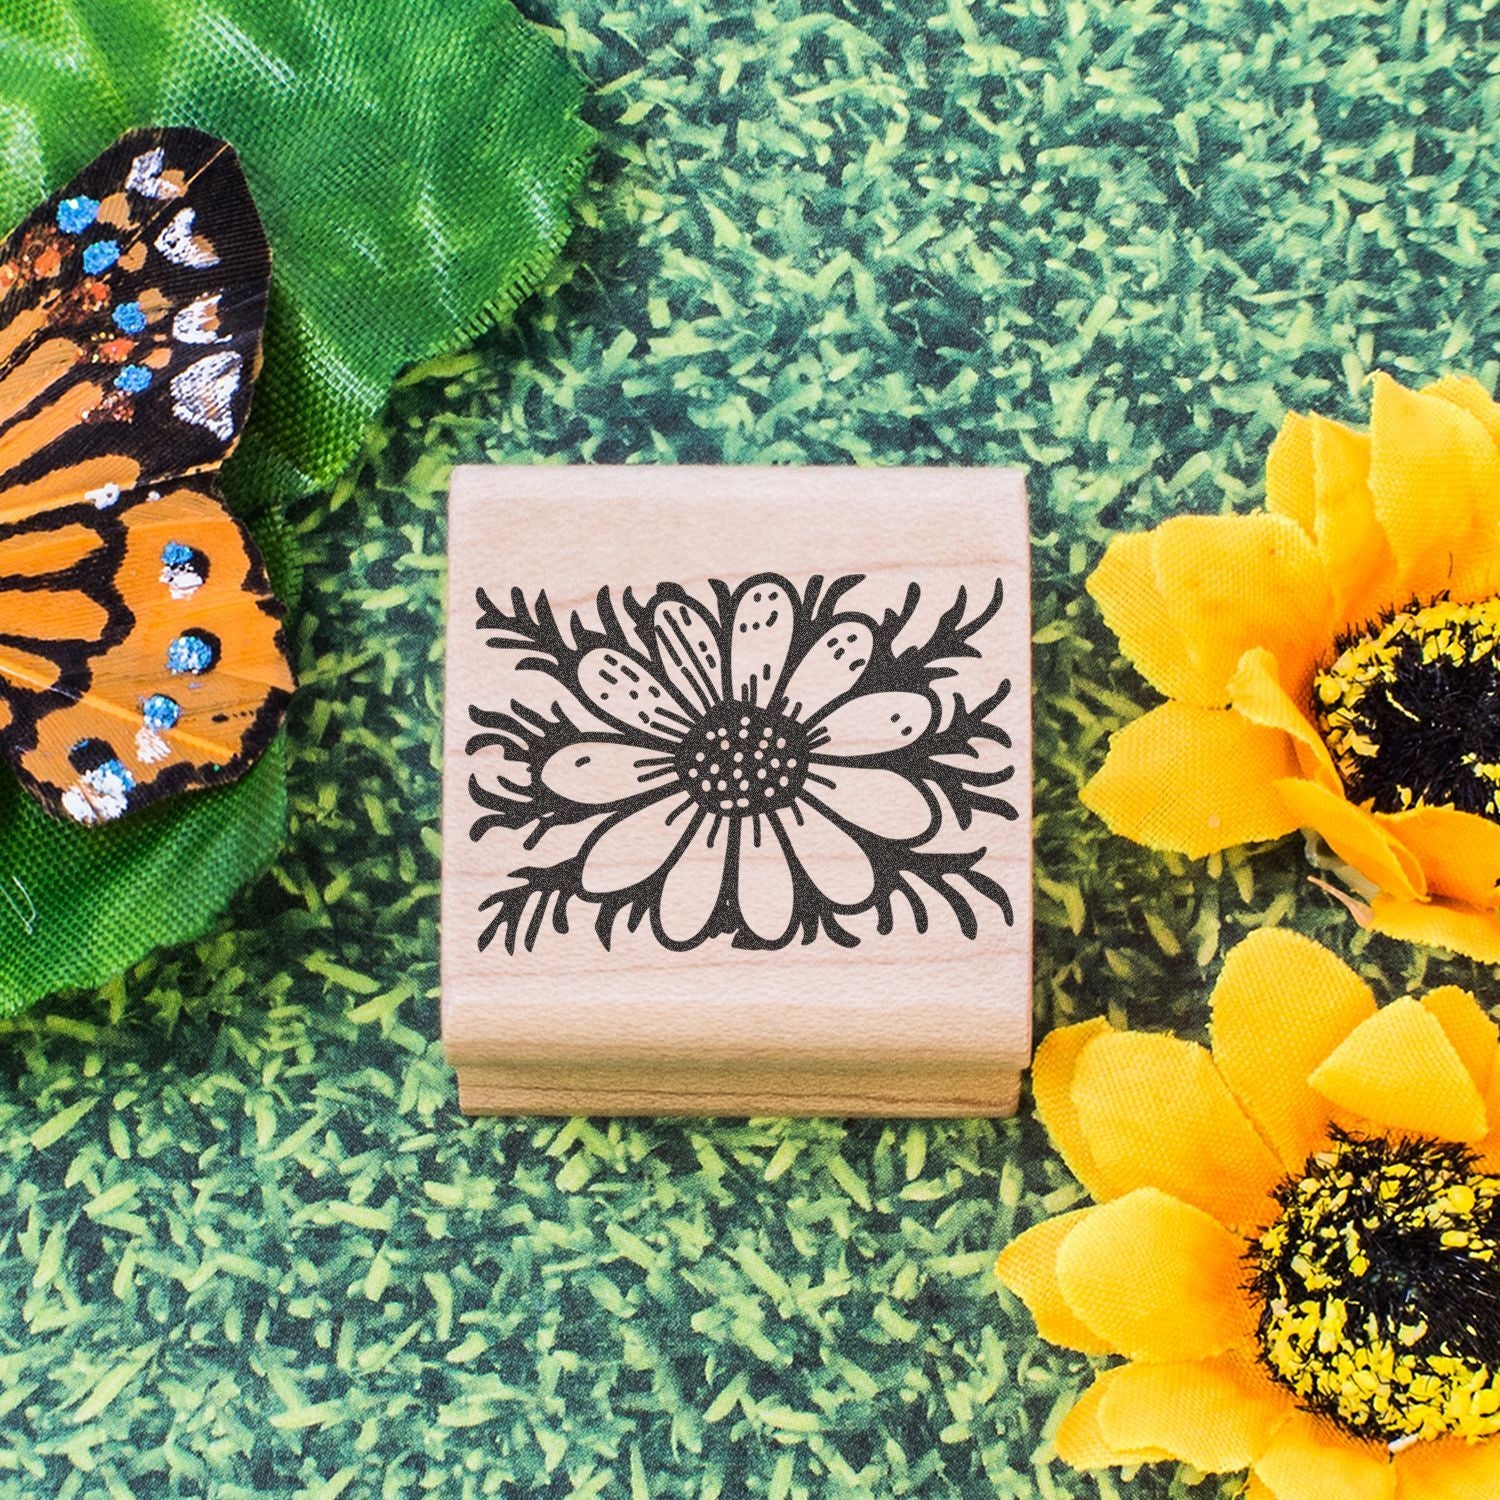
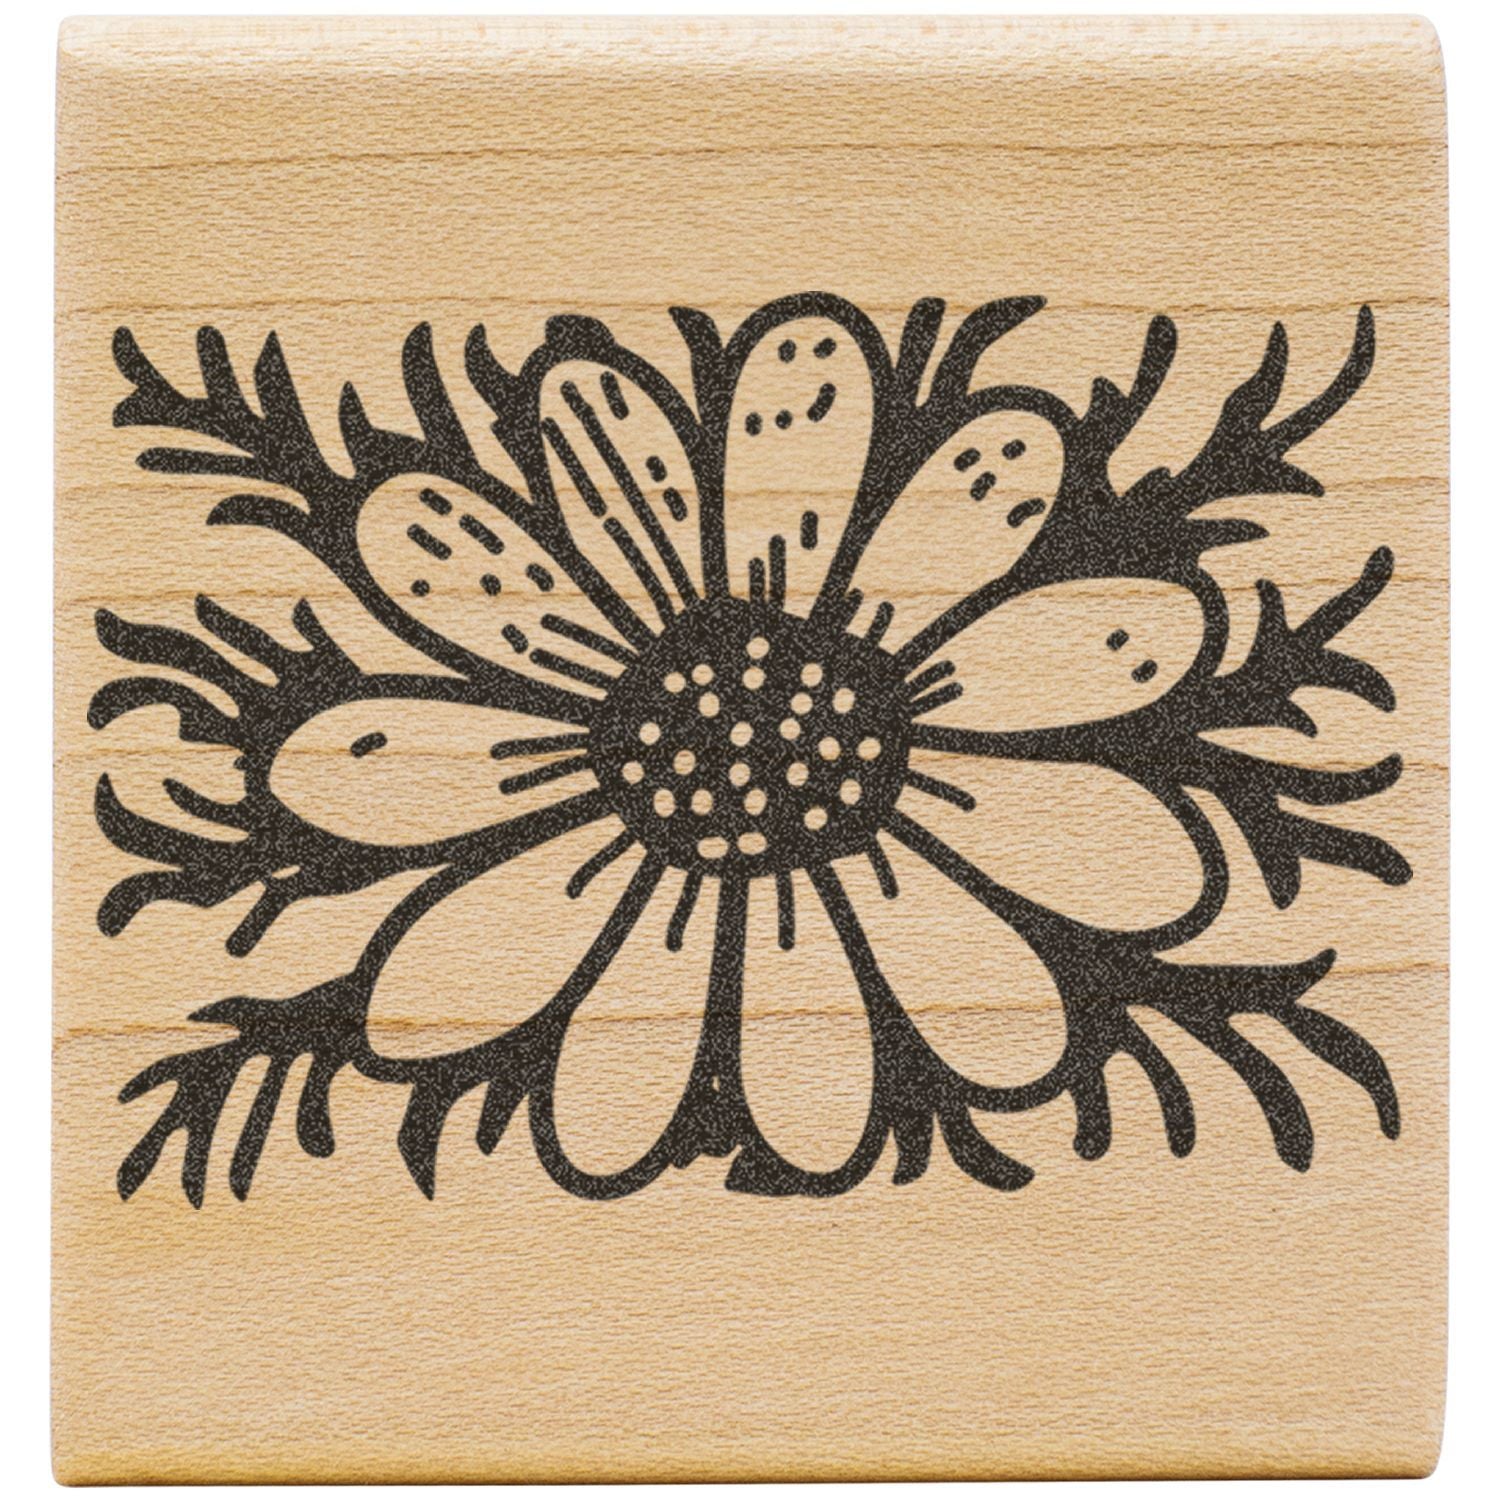
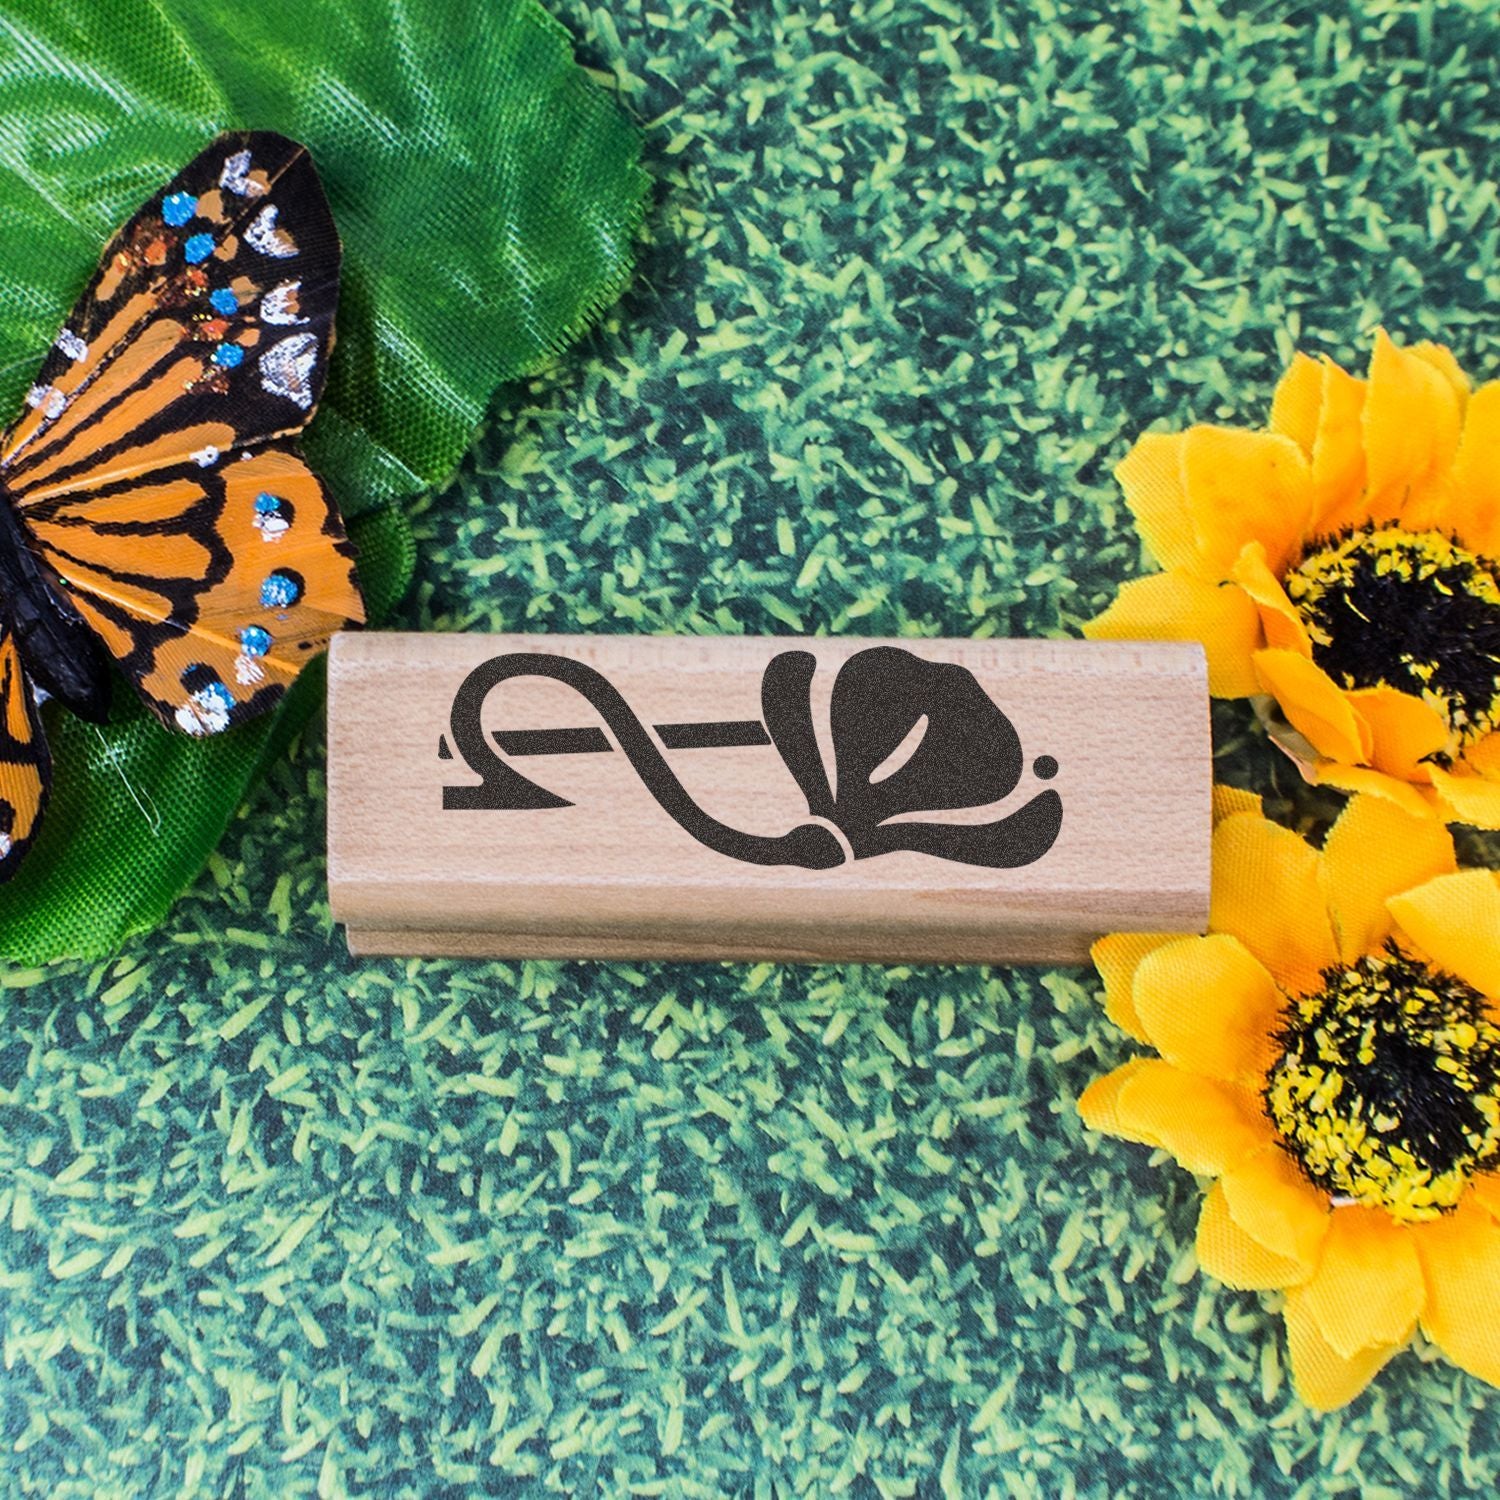
Flowers and memories go hand in hand, making floral craft stamps a fabulous option for scrapbook and memory pages. Stamp a border of blossoms around a cherished photo, or showcase a title page with a big, dynamic bouquet. For extra pizzazz:
- Layer multiple stamped images, cutting some out to create a 3D effect.
- Use embossing powder on your floral outlines for a raised, shiny finish.
- Incorporate small journaling spots shaped like petals or leaves, where you can write brief notes about the memory.
Planners, journals, and bullet journals
If you love personal organization, let your floral stamps double as functional décor in your planner or bullet journal. Stamp small flowers in the corners of your weekly layout or create custom headings that pop with botanical flair. You can combine them with mild liners or colored pencils to differentiate tasks, track habits, or simply bring sweet visual interest to an otherwise plain schedule.
Party favors and packaging
Hand-stamped gift tags, favor boxes, and packaging can transform an ordinary item into something memorable. For example, if you’re throwing a baby shower, decorate mini treat bags with a pastel floral pattern. Guests will appreciate the thoughtful detail, and you’ll have fun designing each piece. Don’t forget you can experiment with heat embossing or metallic inks to improve the look when the occasion calls for a bit of sparkle.
Layer and add dimension
You’ve probably seen layered floral stamps that create a seemingly intricate floral cluster with varied tones and textures. This technique is easier to accomplish than you might think, and it adds remarkable depth to your projects.
Layered stamping 101
Layered stamping refers to stacking multiple impressions of different colors or details on top of each other. Some stamp sets are explicitly designed for layering, with each stamp featuring a different layer of shading or outline. For instance, one layer might provide the base color of the flower, another layer might add mid-tone shading, and the final layer outlines the edges or center details.
Here’s how you can do it:
- Start with the lightest ink color: Stamp the base of your flower.
- Use a slightly darker ink: Stamp the second layer, often featuring partial details like lines inside the petals.
- Finish with the darkest shade: Apply the final layer that highlights the edges or center of the bloom.
Using masks for depth
Masking is another clever technique for dimension. By cutting out a stamped image on a sticky note or masking paper, you can layer other flowers behind it without overlapping lines. For example, stamp one flower, cover it with your mask, then stamp another flower slightly behind. When you remove the mask, it appears as if the second flower is tucked behind the first.
Masking works great if you want to create wreaths, bouquets, or fields of flowers on a single page. Just remember to plan your scene before you start stamping, because once the ink is down, it’s not so simple to adjust your layout.
3D elements
If you’re feeling adventurous, you can physically layer cut-out stamped flowers on top of each other. Stamp the same flower multiple times, color each one, and carefully cut them out. Then stack them with foam tape or glue dots. It’s a bit more work, but it looks gorgeous in dimensional cards and framed art. Each layer creates a sense of realism, making your blossoms practically leap off the page.
Finish with unique touches
Even after coloring and layering, there’s still room to look for that extra dash of creativity. Simple enhancements like glitter, embossing, or stenciling can really spruce up your floral craft stamps, making them pop.
Glitter, sequins, and rhinestones
If you want some sparkle, a fine layer of glitter around the edges of petals or the center of your stamped flowers can catch the light nicely. You could also nestle a small rhinestone or sequin in the center of each bloom for a subtle, shimmery highlight. Just remember that a little glitter goes a long way. Too much can overshadow the floral artwork you worked so hard to create.
Heat embossing
Heat embossing is a favorite technique among stampers. It’s achieved by inking your stamp with a slow-drying pad, sprinkling embossing powder over the design, tapping off the excess, and then heating it with an embossing heat tool. The result is a shiny, raised outline or filled area, which stands out most with metallic powders. Gold or silver outlines on a large floral design can add a touch of sophistication to wedding invitations or holiday cards.
Background stenciling
After stamping your central floral design, you might consider adding a faint background using stencils. A lightly sponged geometric pattern or a subtle swirl behind your flowers can tie your entire layout together. Just be careful not to compete with your main design. Backgrounds should be gently emphasized, allowing your flowers to remain the focal point.
Splattering ink or paint
For a trendy artistic finish, try flicking some diluted ink or paint onto parts of your design. This technique adds a playful, freestyle quality that can balance the symmetrical shapes of stamped flowers. If you do this, lay down some scrap paper around your project because splatter can travel far beyond what you’d expect. And go slowly, testing the effect on a separate sheet first.
Choosing your floral stamps
By now, you’ve gathered plenty of practical tips to tackle any floral stamping adventure. You know how to pick a stamp material that fits your needs, set up a comfortable workspace, handle basic stamping steps, color your designs, and even layer them for depth and dimension. Once you feel confident in the fundamentals, you can explore side projects, experiment with embossing, or try more advanced techniques like masking.
Remember, each project offers a chance to learn something new, whether it’s discovering a fresh color combo or figuring out how to create artistic backgrounds. The more you stamp, the more your creativity blossoms, pun absolutely intended. If you ever feel stuck, a simple stamp test or a quick search for inspiration online often gets the juices flowing again.
Above all, enjoy the process. Floral craft stamps can transform even the simplest paper into a piece of art that feels heartfelt and personal. If a design turns out differently than you planned, embrace it. Your unique style and experiments will make your work stand out, and you’ll learn something you can apply to your next project. With stamping, every impression is an opportunity to refine your techniques, play with color, and share something beautiful with the world.
So go ahead and gather your favorite inks, pick a flower design that speaks to you, and start stamping. Challenge yourself to try a new method or color scheme each time you reach for your stamps. You’ll be amazed at how these simple tools can turn your ideas into beautifully crafted reality. Happy stamping!
Frequently Asked Questions
What are floral craft stamps used for?
Floral craft stamps are versatile tools used to add flower-themed designs to cards, scrapbook pages, journals, gift tags, invitations, packaging, and home décor projects. They’re an easy way to create elegant botanical accents and personalize handmade items.
Which type of floral craft stamp is best for beginners?
Clear acrylic floral craft stamps are often best for beginners because they let you see exactly where you’re stamping, making placement easier and more precise. They’re great for simple card making, journaling, and layering floral designs.
What supplies do I need for floral stamping projects?
The basics include floral craft stamps, ink pads, cardstock or stamping paper, an acrylic block for clear stamps, a stamping surface, scrap paper for test prints, and cleaning supplies. You can also add watercolor paints, markers, embossing powder, or glitter for extra detail.
How do you get a clean stamped floral impression?
For a crisp floral stamp impression, use a light, even coat of ink, press firmly without rocking the stamp, and lift it straight up. Always do a test print first, especially with large or detailed flower stamps, to check coverage and ink amount.
What are the best coloring techniques for floral stamped images?
Popular coloring techniques for floral stamped images include watercoloring for a soft look, alcohol markers for bold color, colored pencils for detailed shading, and gel pens for highlights or metallic accents. Choosing the right paper for your medium helps prevent bleeding or warping.
How can I make floral craft stamps look more advanced?
You can improve floral stamping projects by layering multiple stamp images, using masking for depth, adding embossing powder, creating dimensional 3D flowers, or finishing with glitter, stenciled backgrounds, or splatter effects. These techniques add texture and make your designs look more professional.








