

For crafting pros and anyone just dipping a toe into the creative pool, rubber stamps for crafts can transform your projects in ways you might not expect. From simple handmade cards to elaborate scrapbook layouts, stamps offer you speed, precision, and a professional touch. Best of all, you don’t need a hefty budget to get started. You just need the right mindset, a bit of guidance, and a few good inks. In this guide, you’ll learn why rubber stamps deserve a prime spot in your craft toolkit, plus tips to help you get the most out of them.
Before you shrug off stamps as old-school or overly simplistic, give them a closer look. They’re surprisingly versatile, whether you want crisp outlines for coloring or stylish flourishes to accent a page corner. You can choose from an enormous range of designs, and there’s no limit to the kind of art or sentiment you can incorporate into your projects. Let’s explore how these unassuming crafting tools can let you to improve all sorts of paper, and even non-paper, creations.
Discover the basics
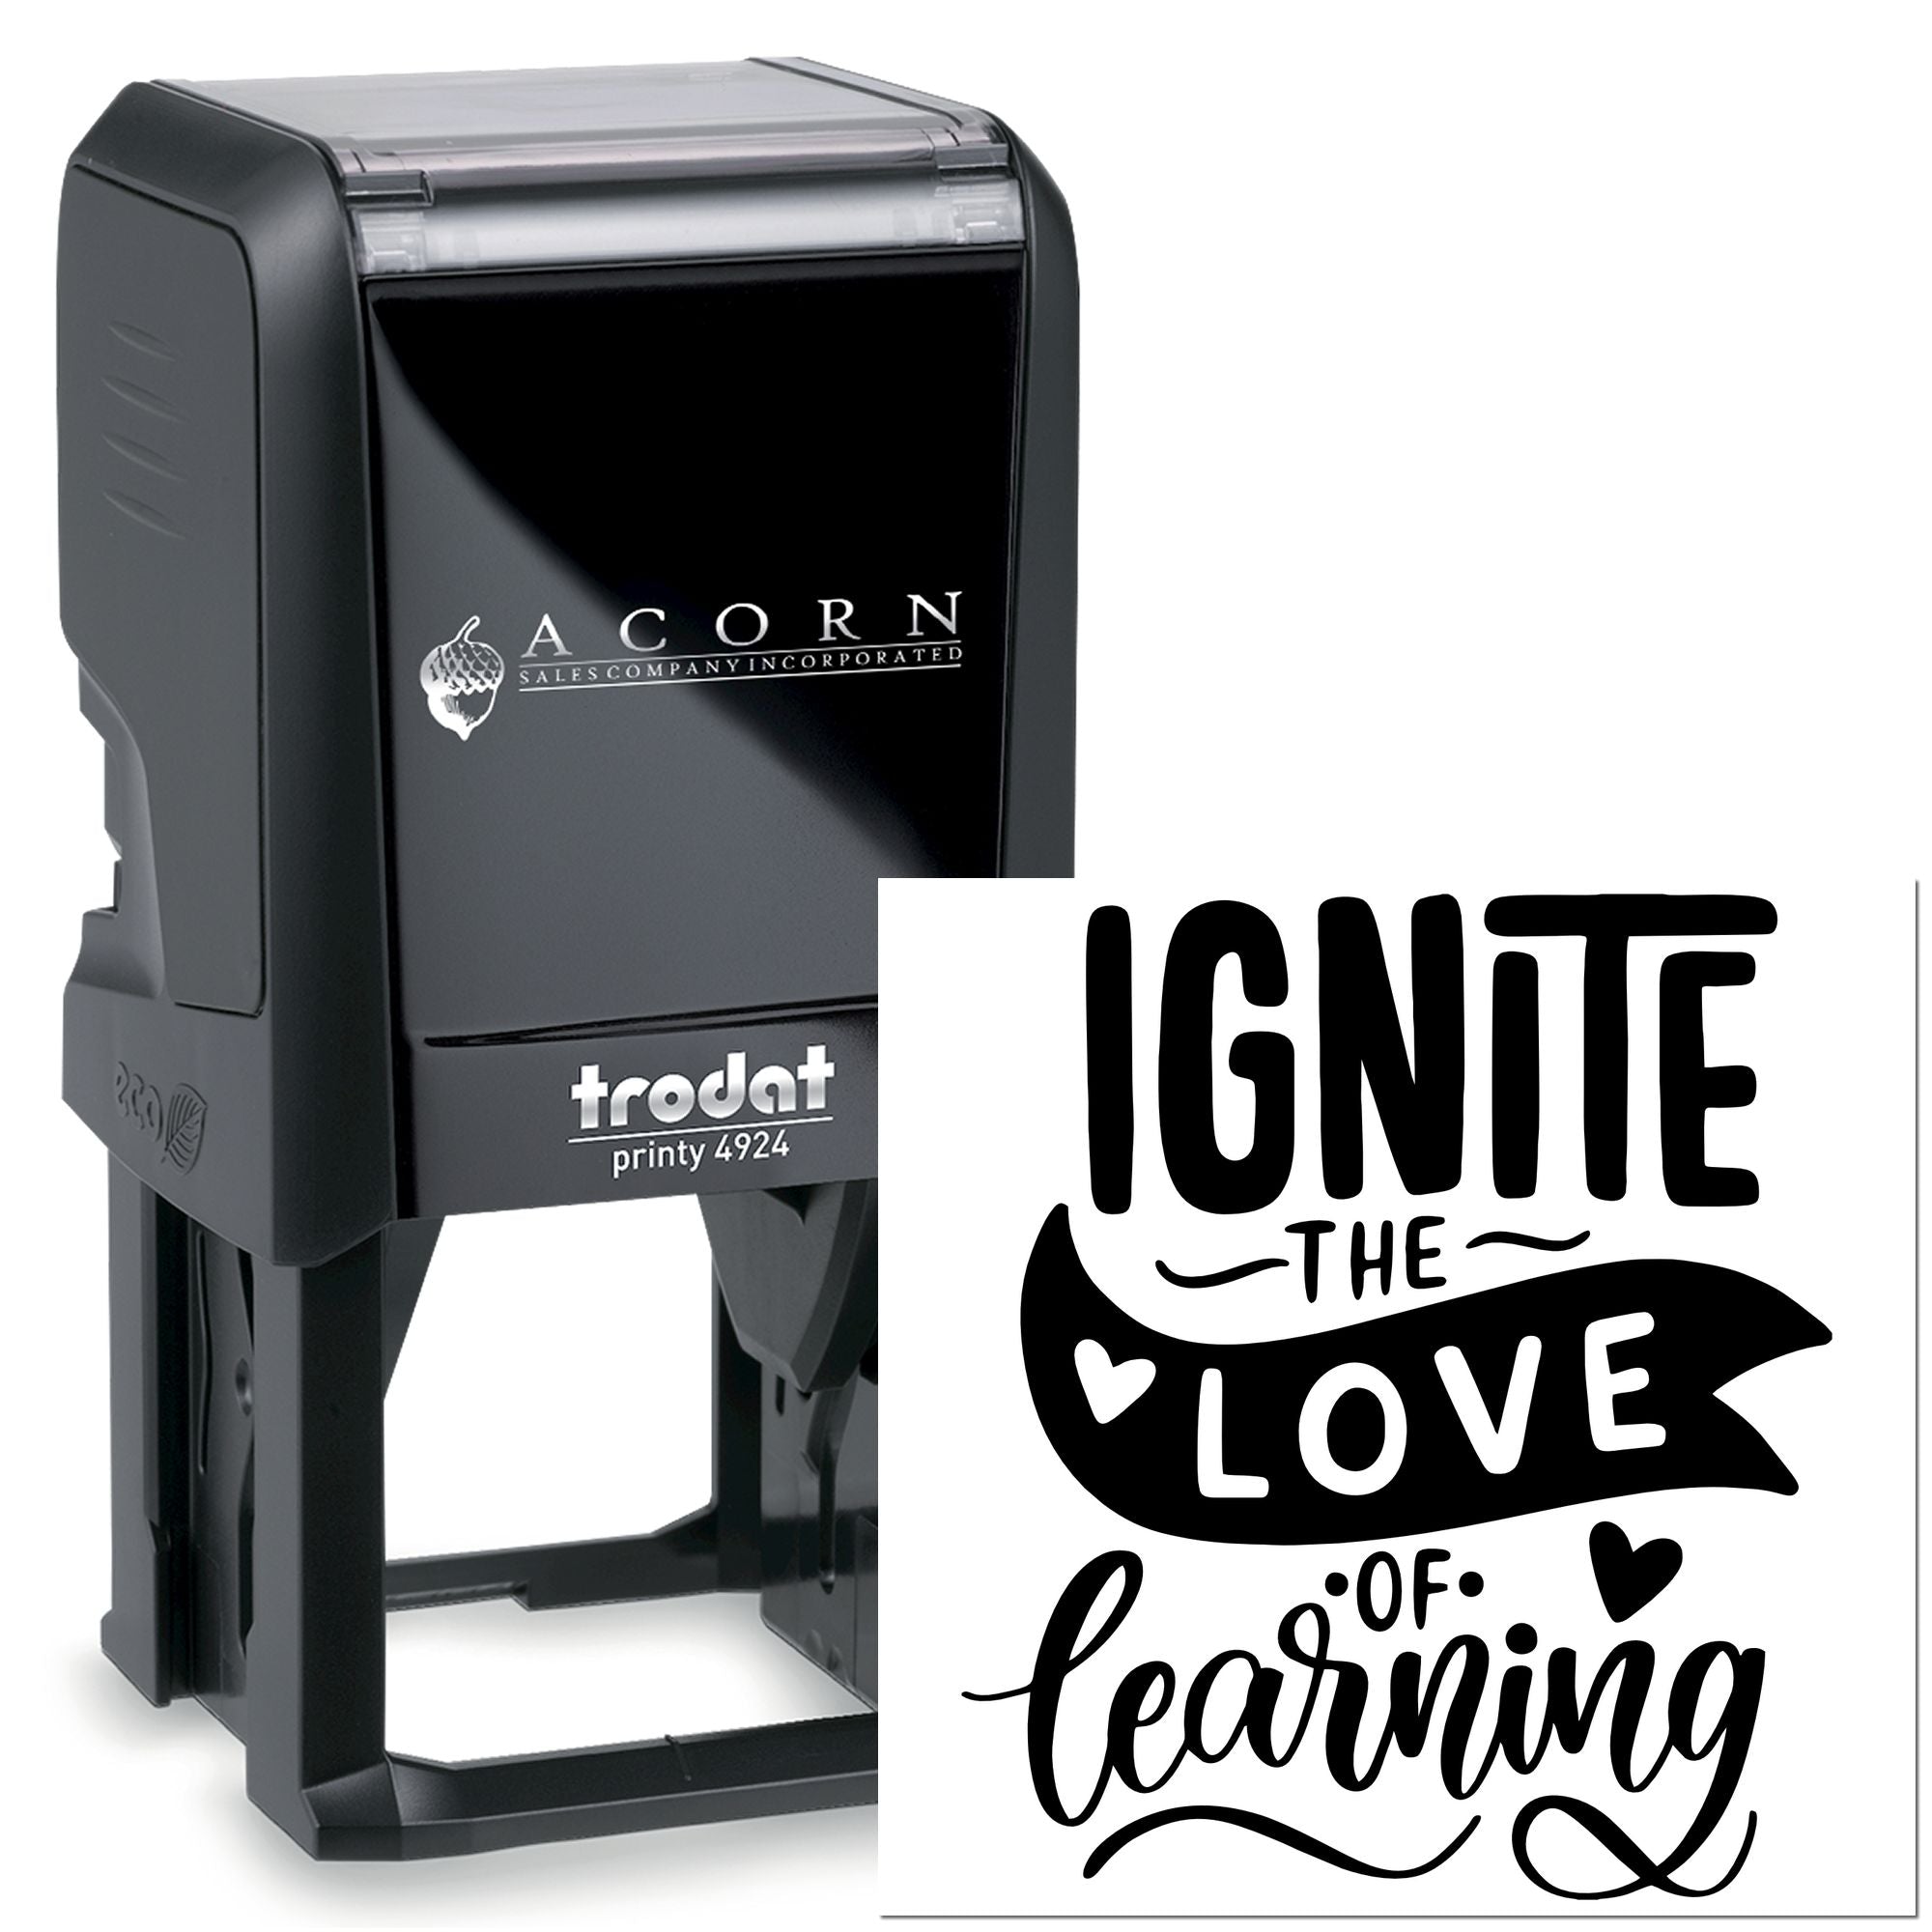
If you’re new to stamping, it helps to understand what sets rubber stamps apart from their digital cousins. At their core, rubber stamps come with a raised rubber design that you coat with ink, then press onto your surface. The result is a neat, consistent impression that can look professionally printed. You can find them mounted onto wooden blocks, cling foam that you attach to acrylic blocks, or even unmounted versions you can temporarily affix to other surfaces.
What makes rubber stamps so special?
- Their raised surfaces pick up and transfer ink evenly, giving consistent impressions.
- They’re often more durable than silicone or clear stamps, which can lose tackiness or warp.
- Wooden-mounted stamps exude a classic charm, but cling-mounted ones are easier to store.
Rubber stamps also hold up well when you’re using different types of ink. You can test out pigment, dye, chalk, or solvent inks to fit your specific project. Each ink has its own drying time, texture, and intensity. For example, dye inks dry quickly and are great for layering, while pigment inks stay wet longer, which suits heat embossing.
Explore creative possibilities
There’s no reason to limit rubber stamps to just one type of craft. Sure, they’re mostly used on paper-based projects, but you can do so much more.
- Custom gift bags and tags
- Decorative fabric prints
- Stamped clay embellishments
- Personalized stationery sets
With rubber stamps for crafts, you can easily coordinate your entire project suite. For instance, if you’re planning a birthday party, you can stamp your invitations, gift tags, and even napkins with the same theme or design for a cohesive look.
How to add variety
Perhaps the simplest way to switch things up is by combining stamps with different markers, colored pencils, or watercolors. Once you transfer the stamped outline, you’re free to shade, blend, or color anyway you like. You can also stamp with a watermark ink, then brush on delicate chalk or metallic powders for a subtle effect.
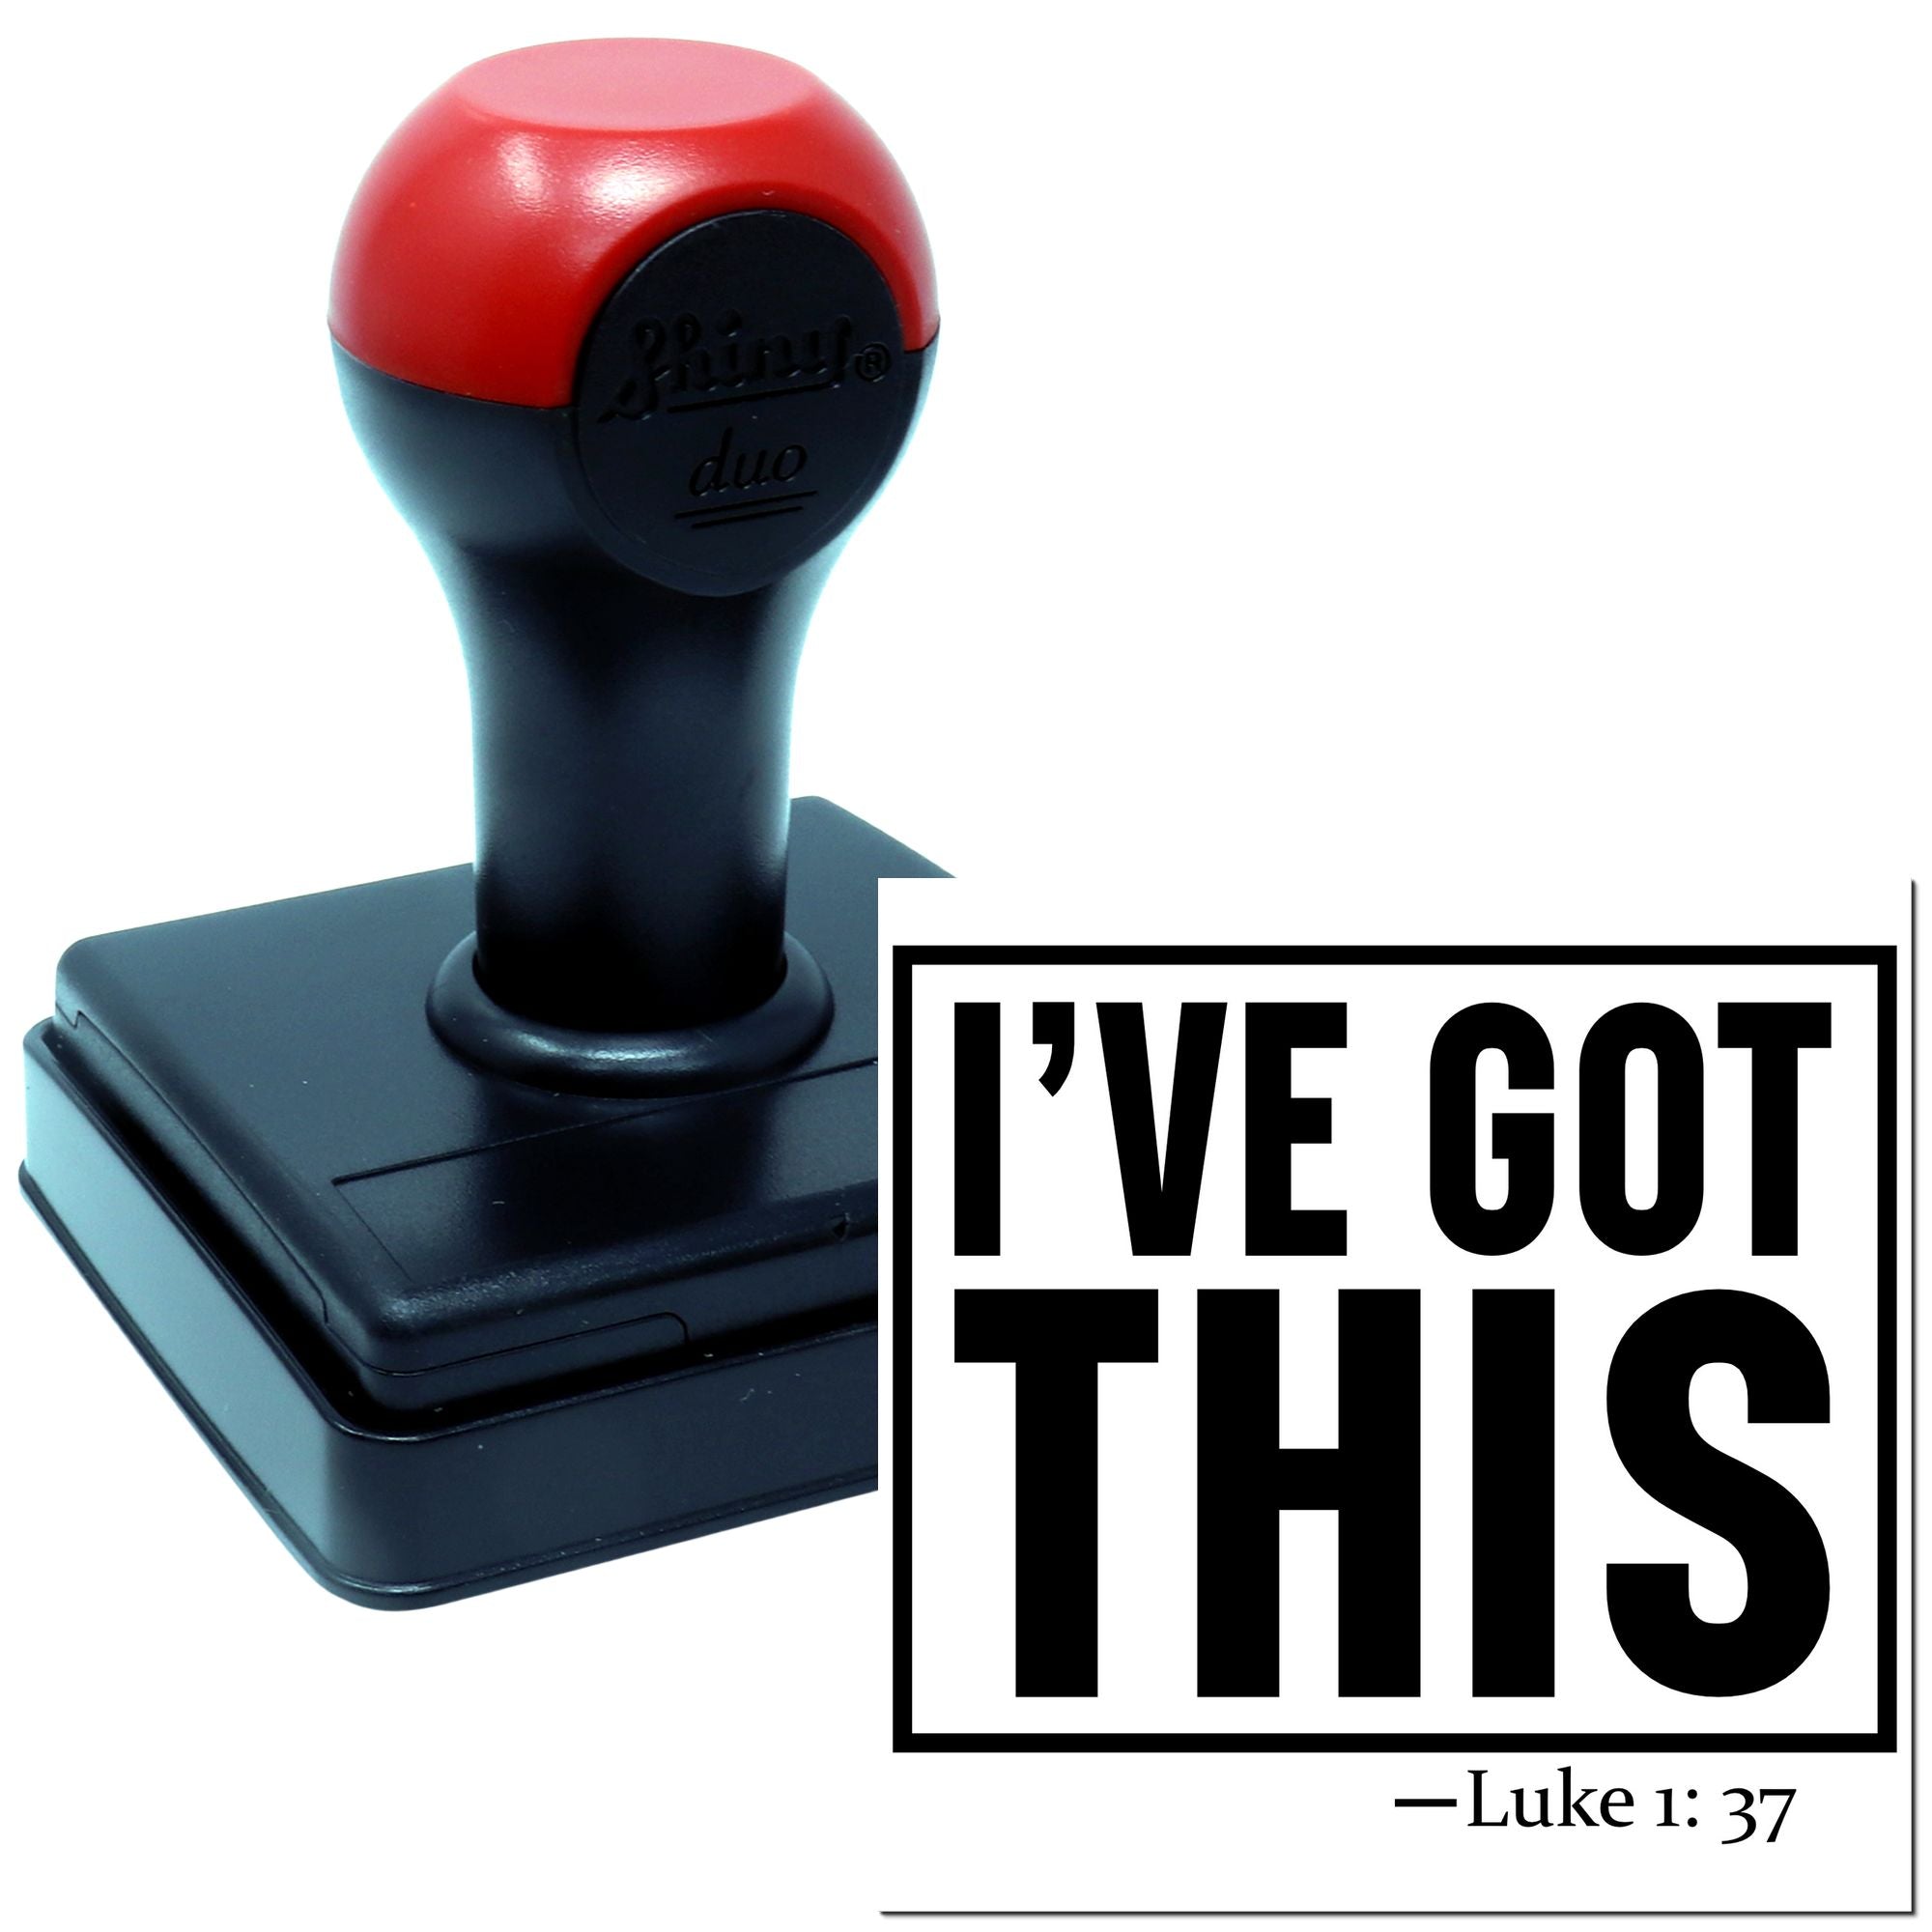

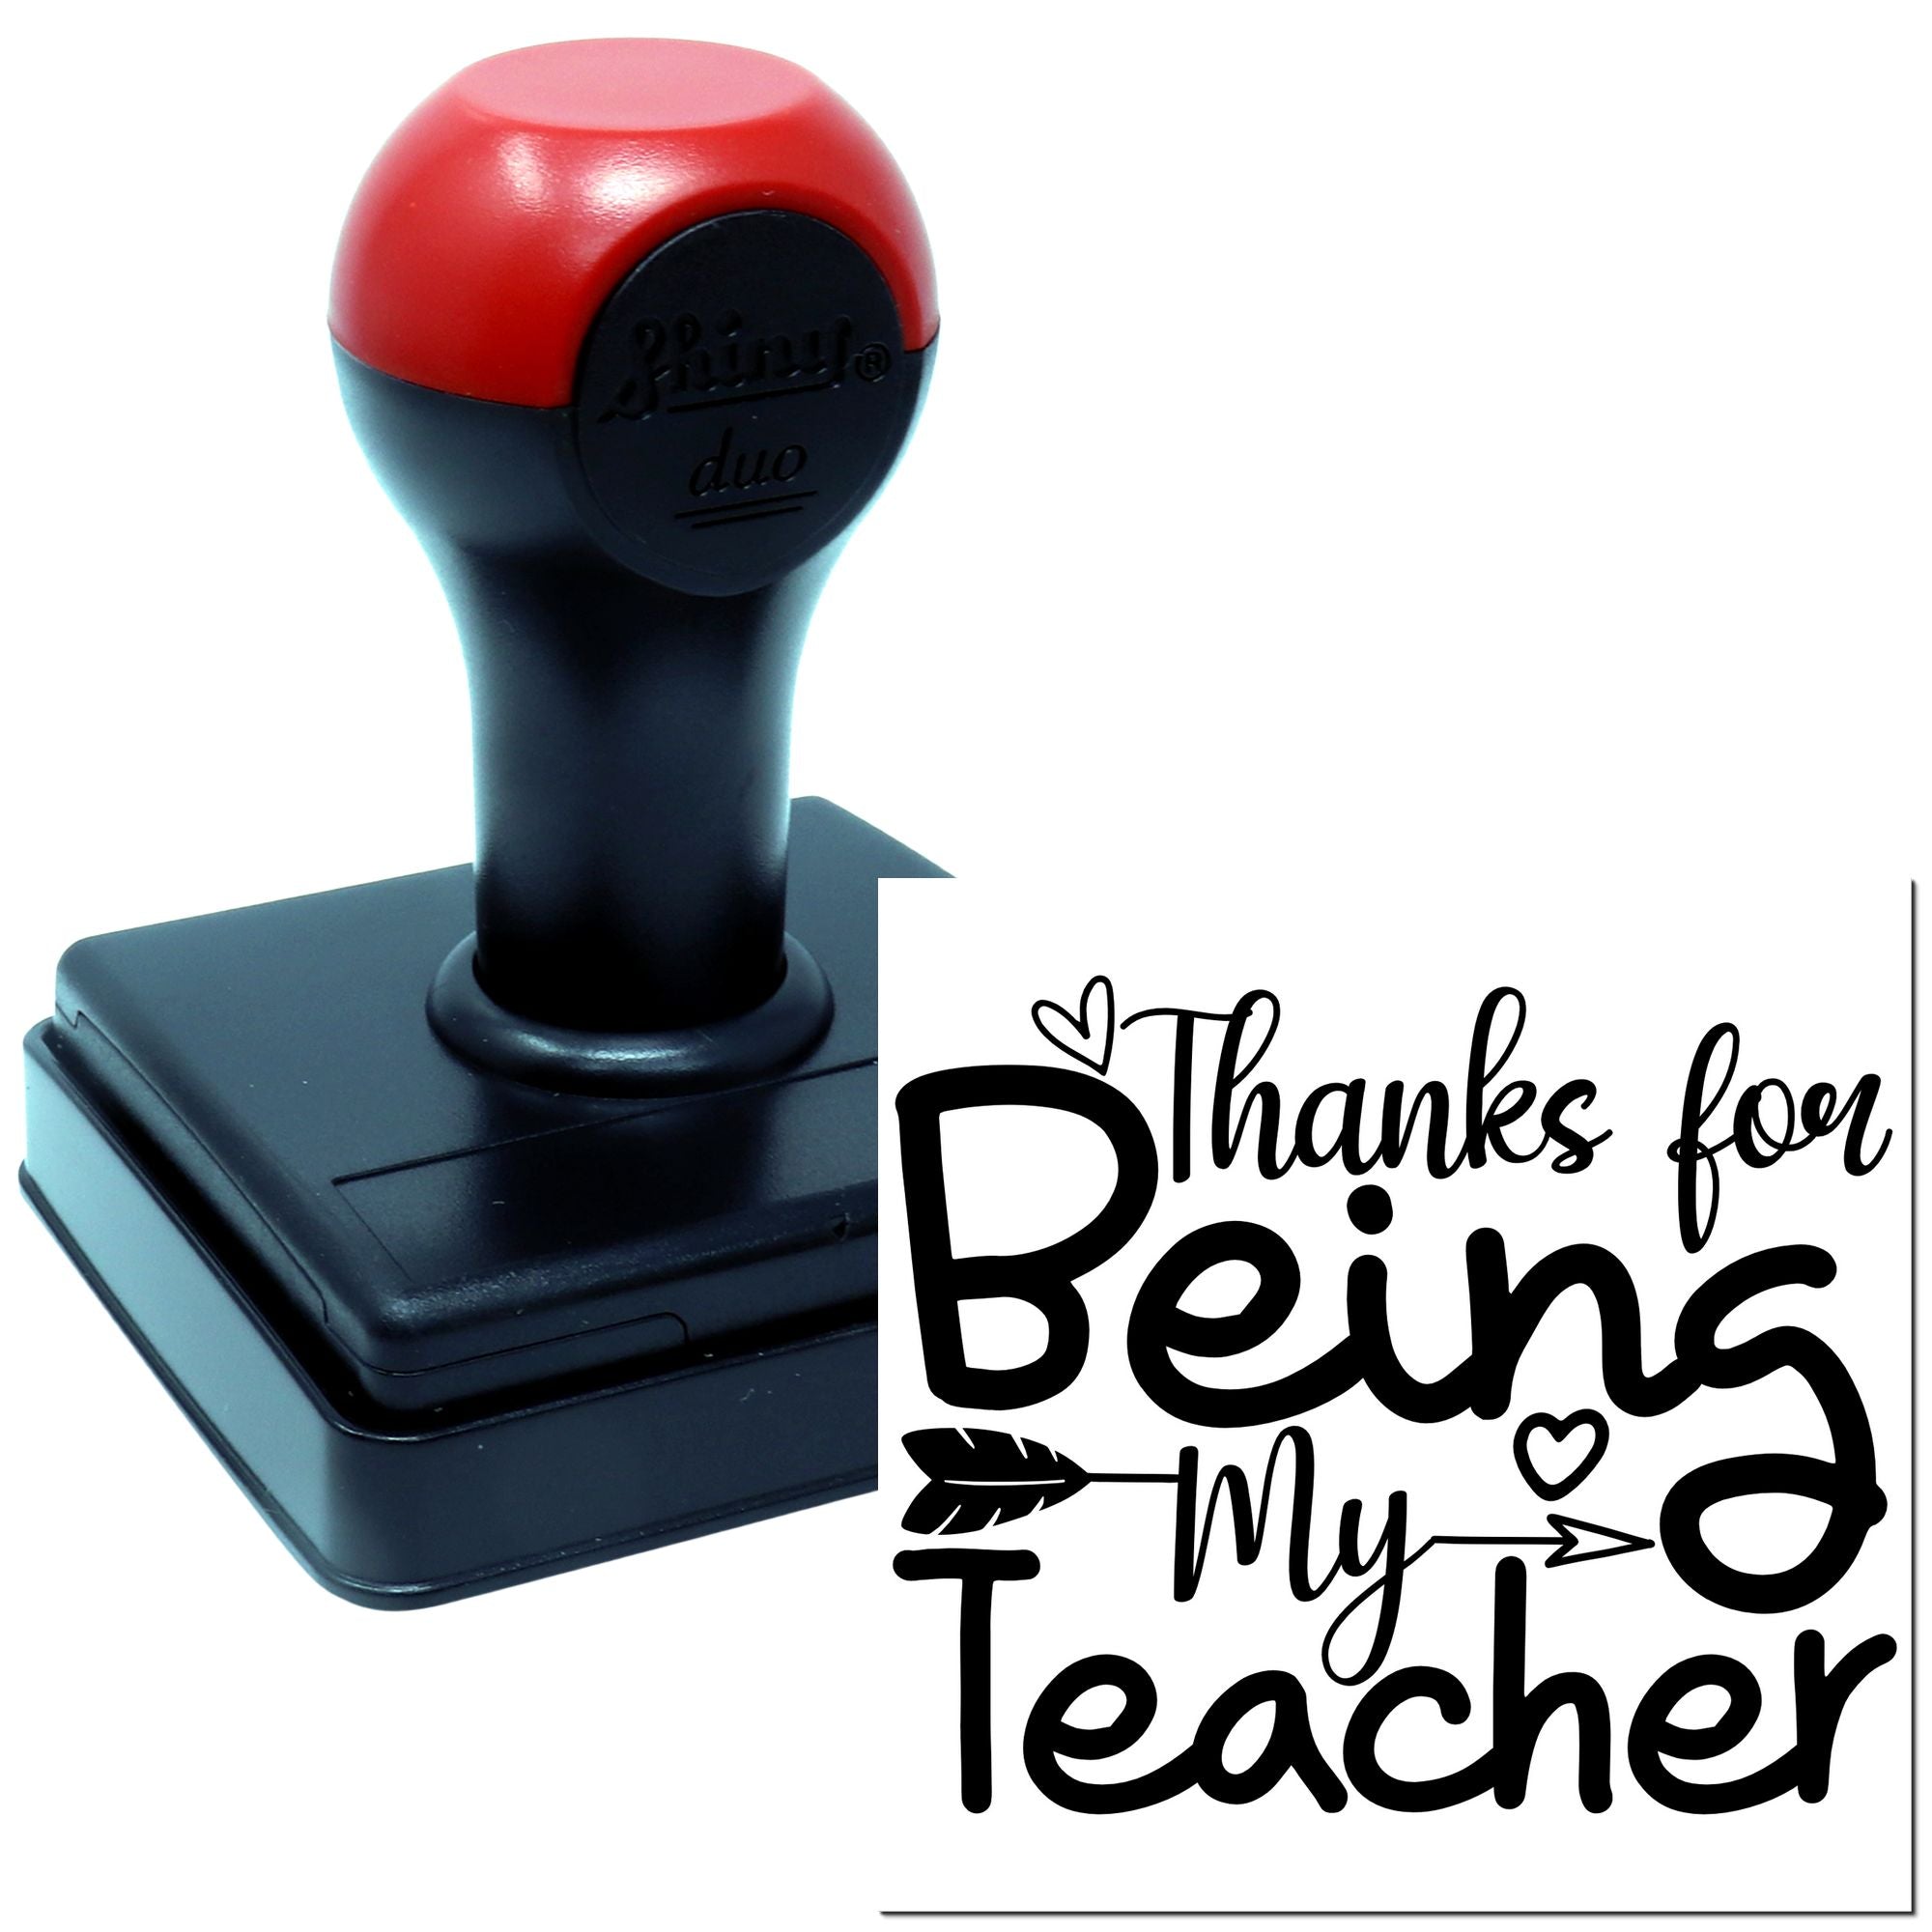

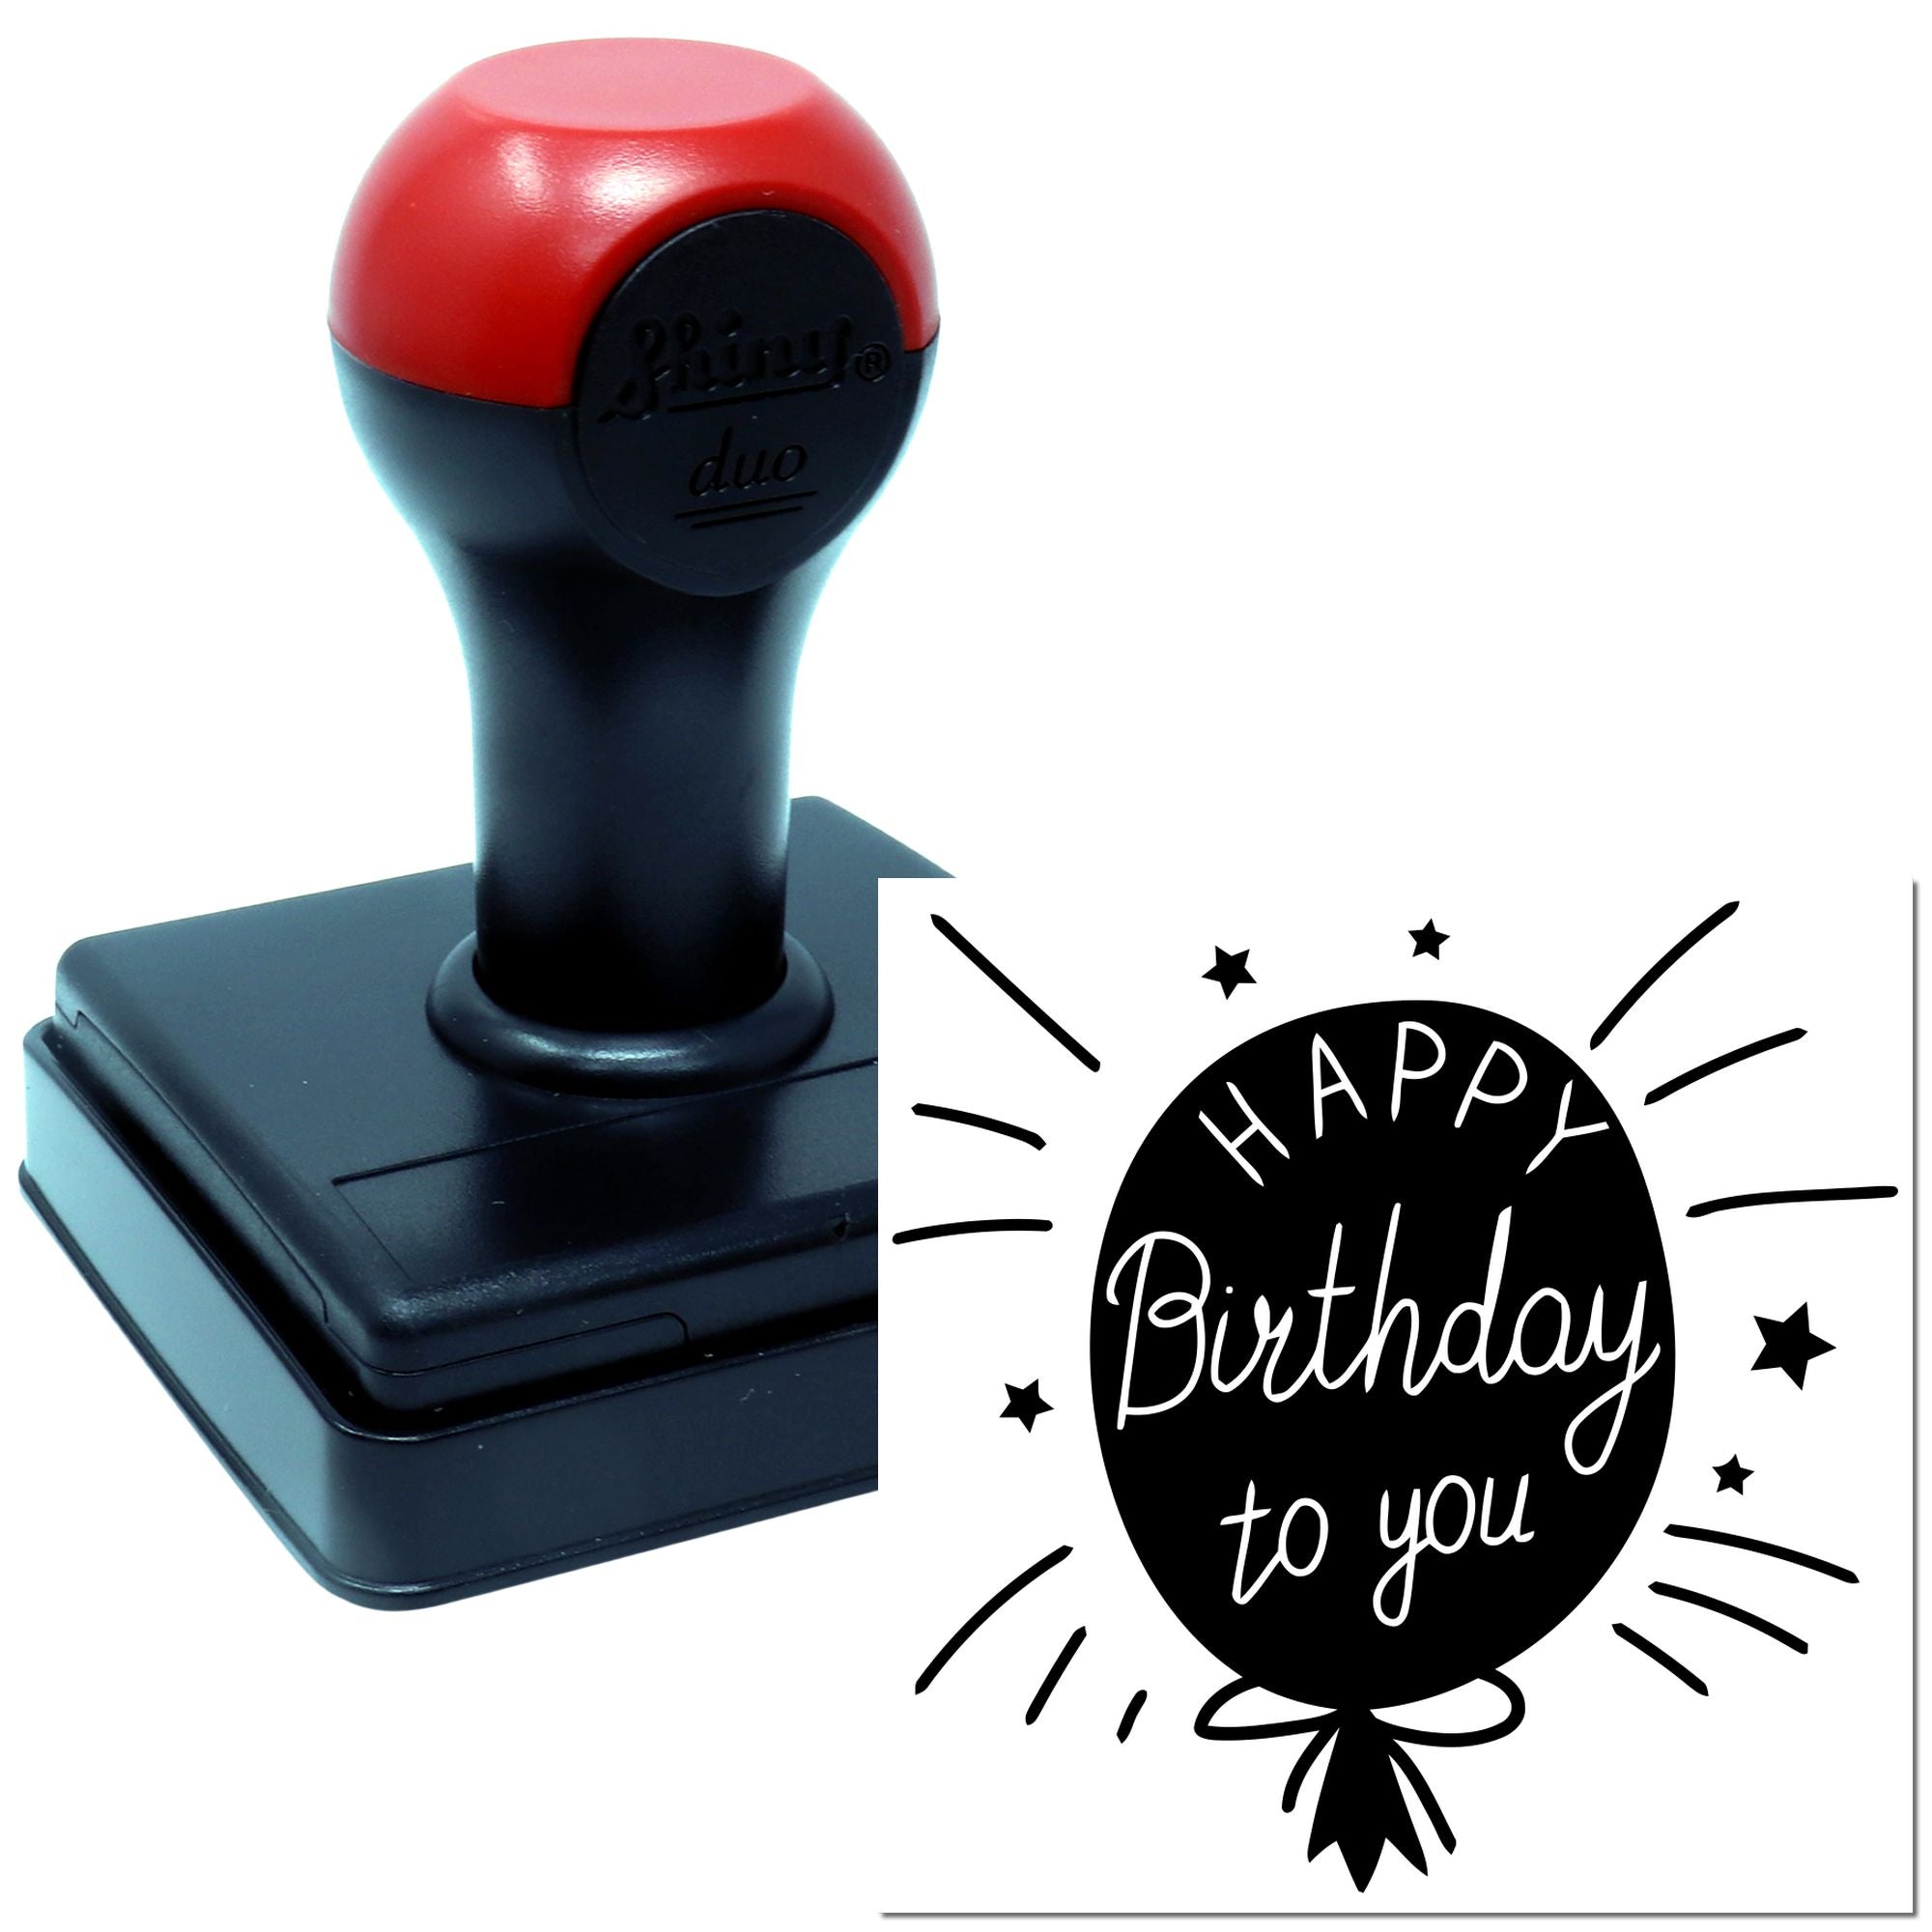

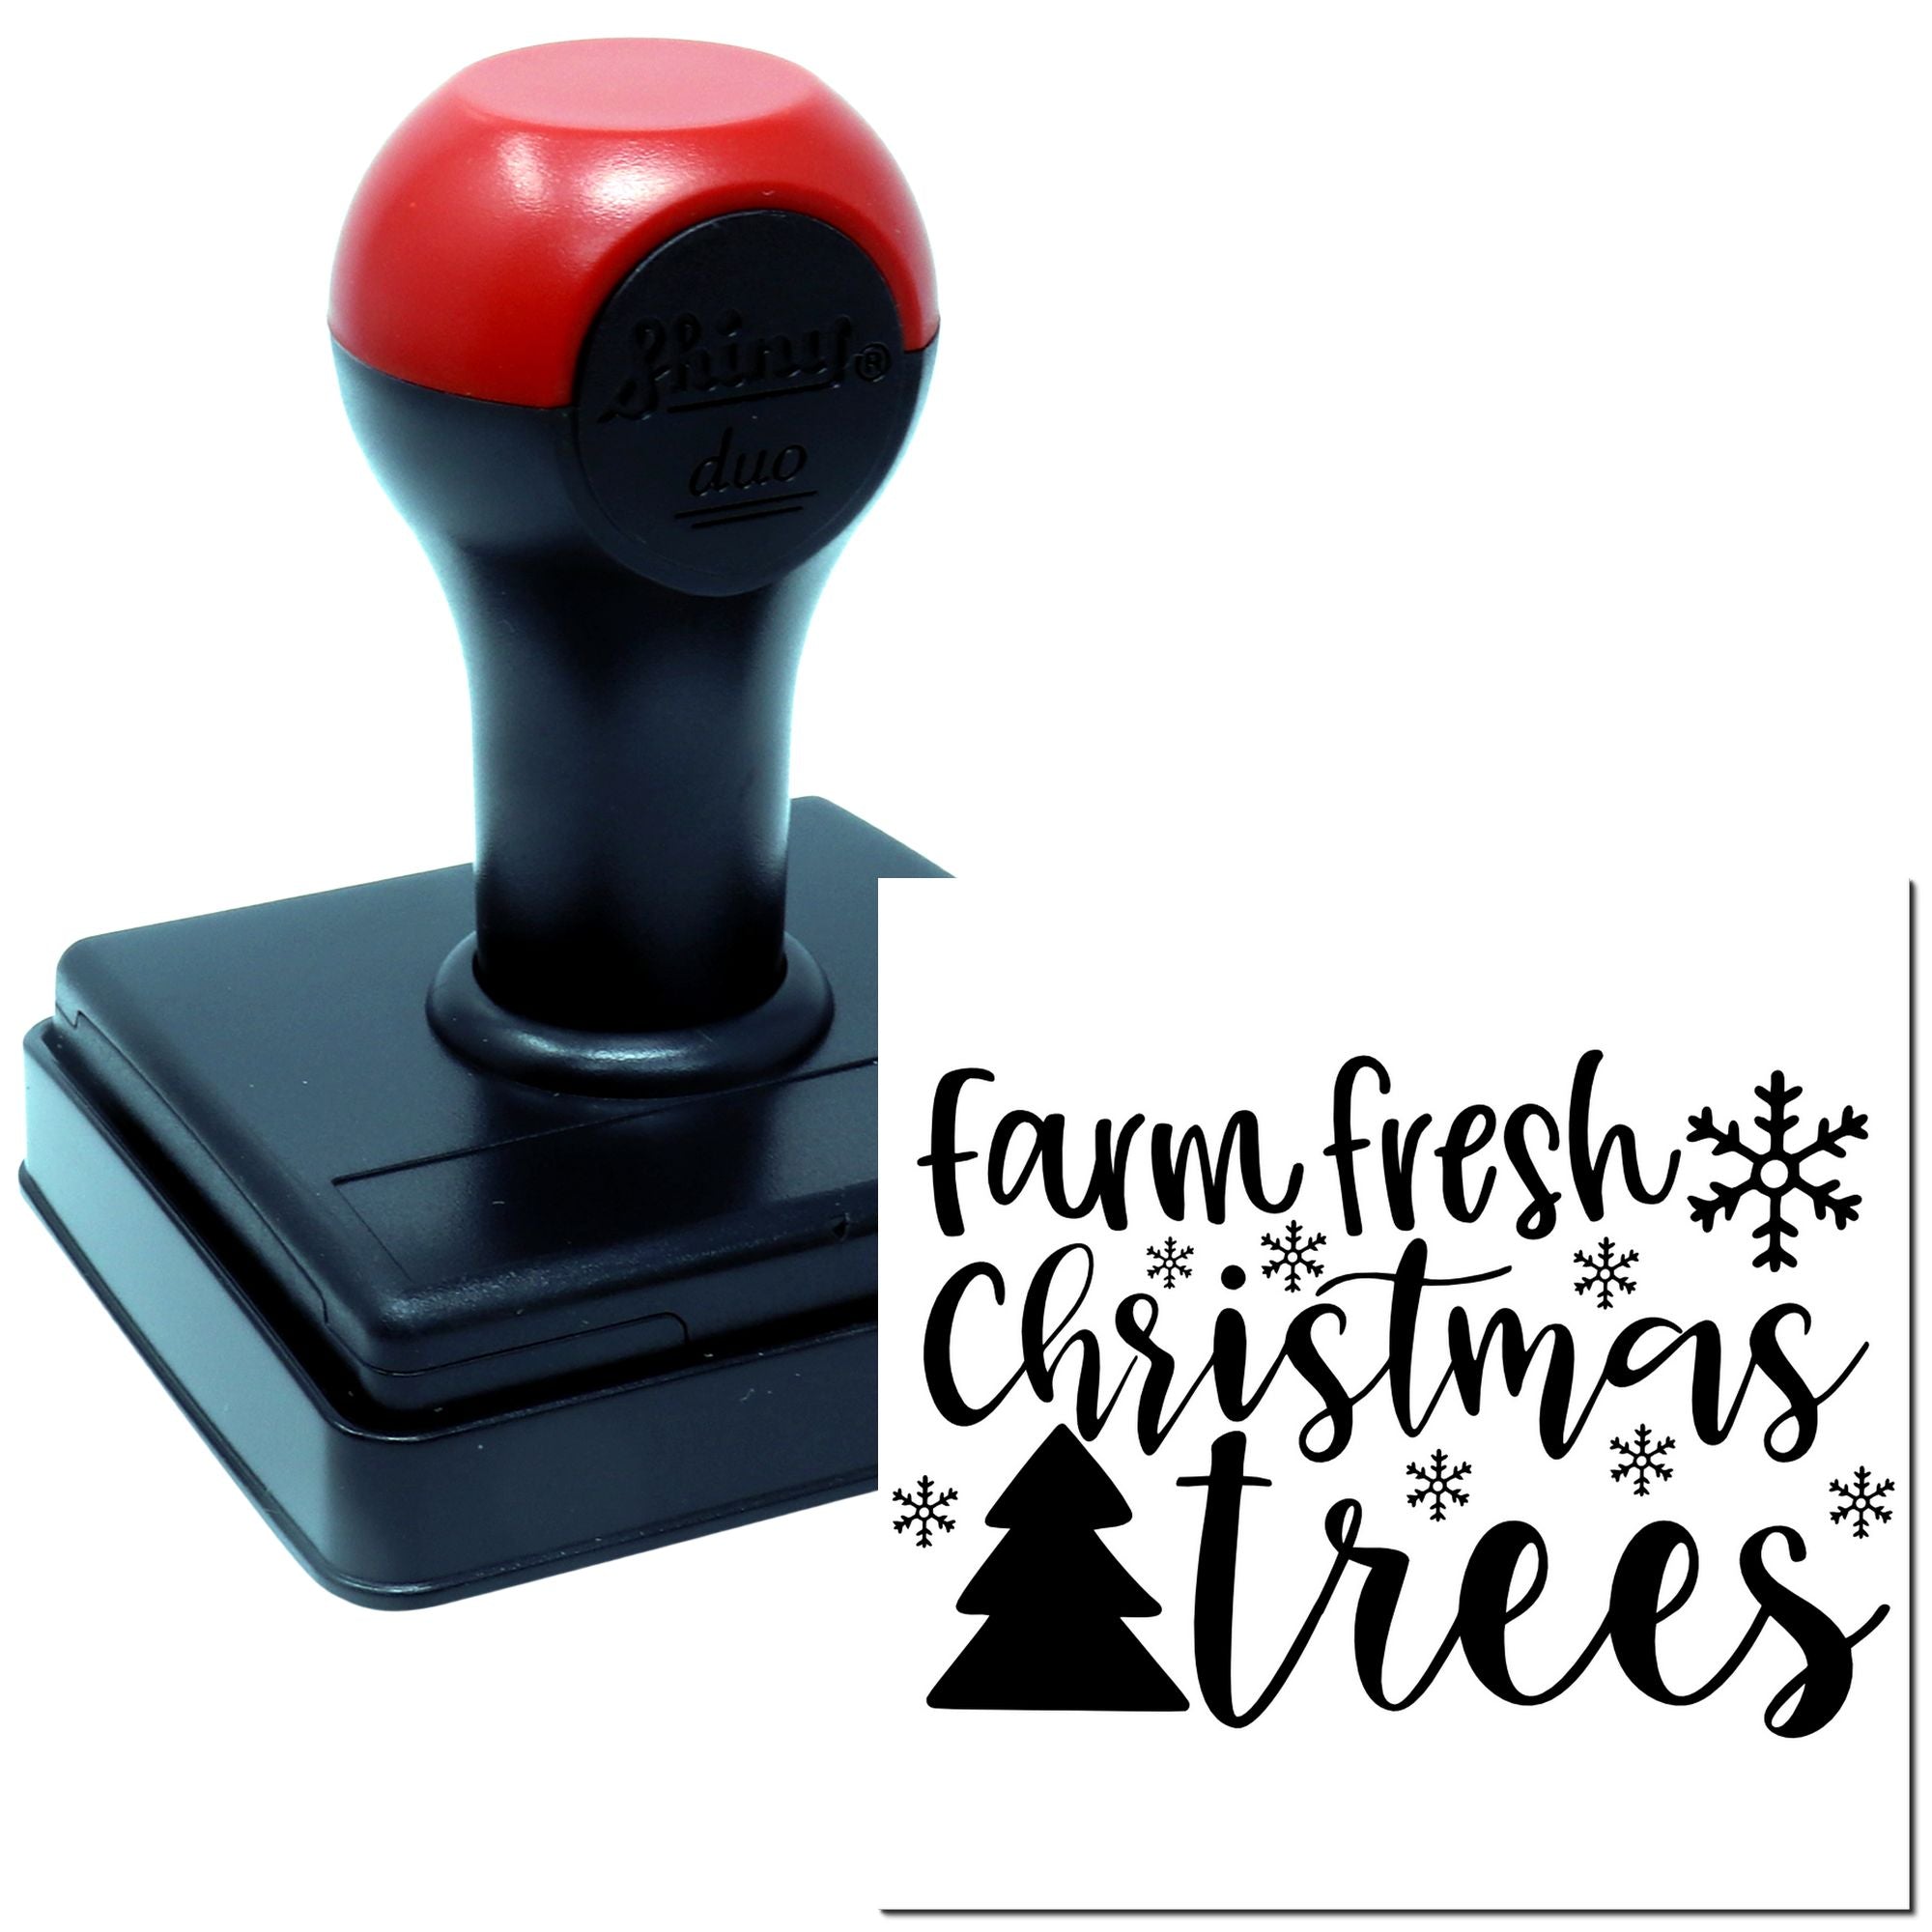

Customize your designs
Do you enjoy adding a personal twist to your hand-crafted items? Rubber stamps are fantastic for that. They offer uniform images, yet they leave room to experiment with color combinations, layering techniques, and more. If you have an occasion to celebrate, a wedding, a graduation, a baby shower, you can easily tailor stamps to match the day’s theme or palette.
Layering tips
- Stamp your first image with a lighter ink color.
- Pick a second stamp design that complements the first, and use a slightly darker color.
- Overlap or align the new impressions with the first to create a layered, multi-dimensional look.
Layering stamps also lets you build beautiful backgrounds. You can alternate large shapes, small flourishes, and text stamps to form unique patterns. These backgrounds can be the foundation for cards or scrapbook borders, giving you a head start on a finished piece without spending hours on freehand illustration.
Simplify repeated tasks
One often-overlooked benefit of rubber stamps is their efficiency. If you’re the kind of crafter who loves to churn out multiple copies of something, like wedding invitations or graduation announcements, you can save a boatload of time with stamps. Instead of carefully lettering each invite, you can stamp out designs in minutes.
When you rely on stamps for repeated elements, you also get consistent results. Handwriting might waver after a hundred invitations, but a stamp’s impression stays reliable from the first to the last. That means no shaky lines or mismatched letters when you’re right at the end of the batch.
Best practices for mass production
- Use a well-inked pad, so each impression is smooth and uniform.
- Keep baby wipes or a damp cloth handy to clean your stamp between color changes.
- Test your stamp on scrap paper every few impressions to ensure it’s still giving a crisp image.
Enhance special occasions
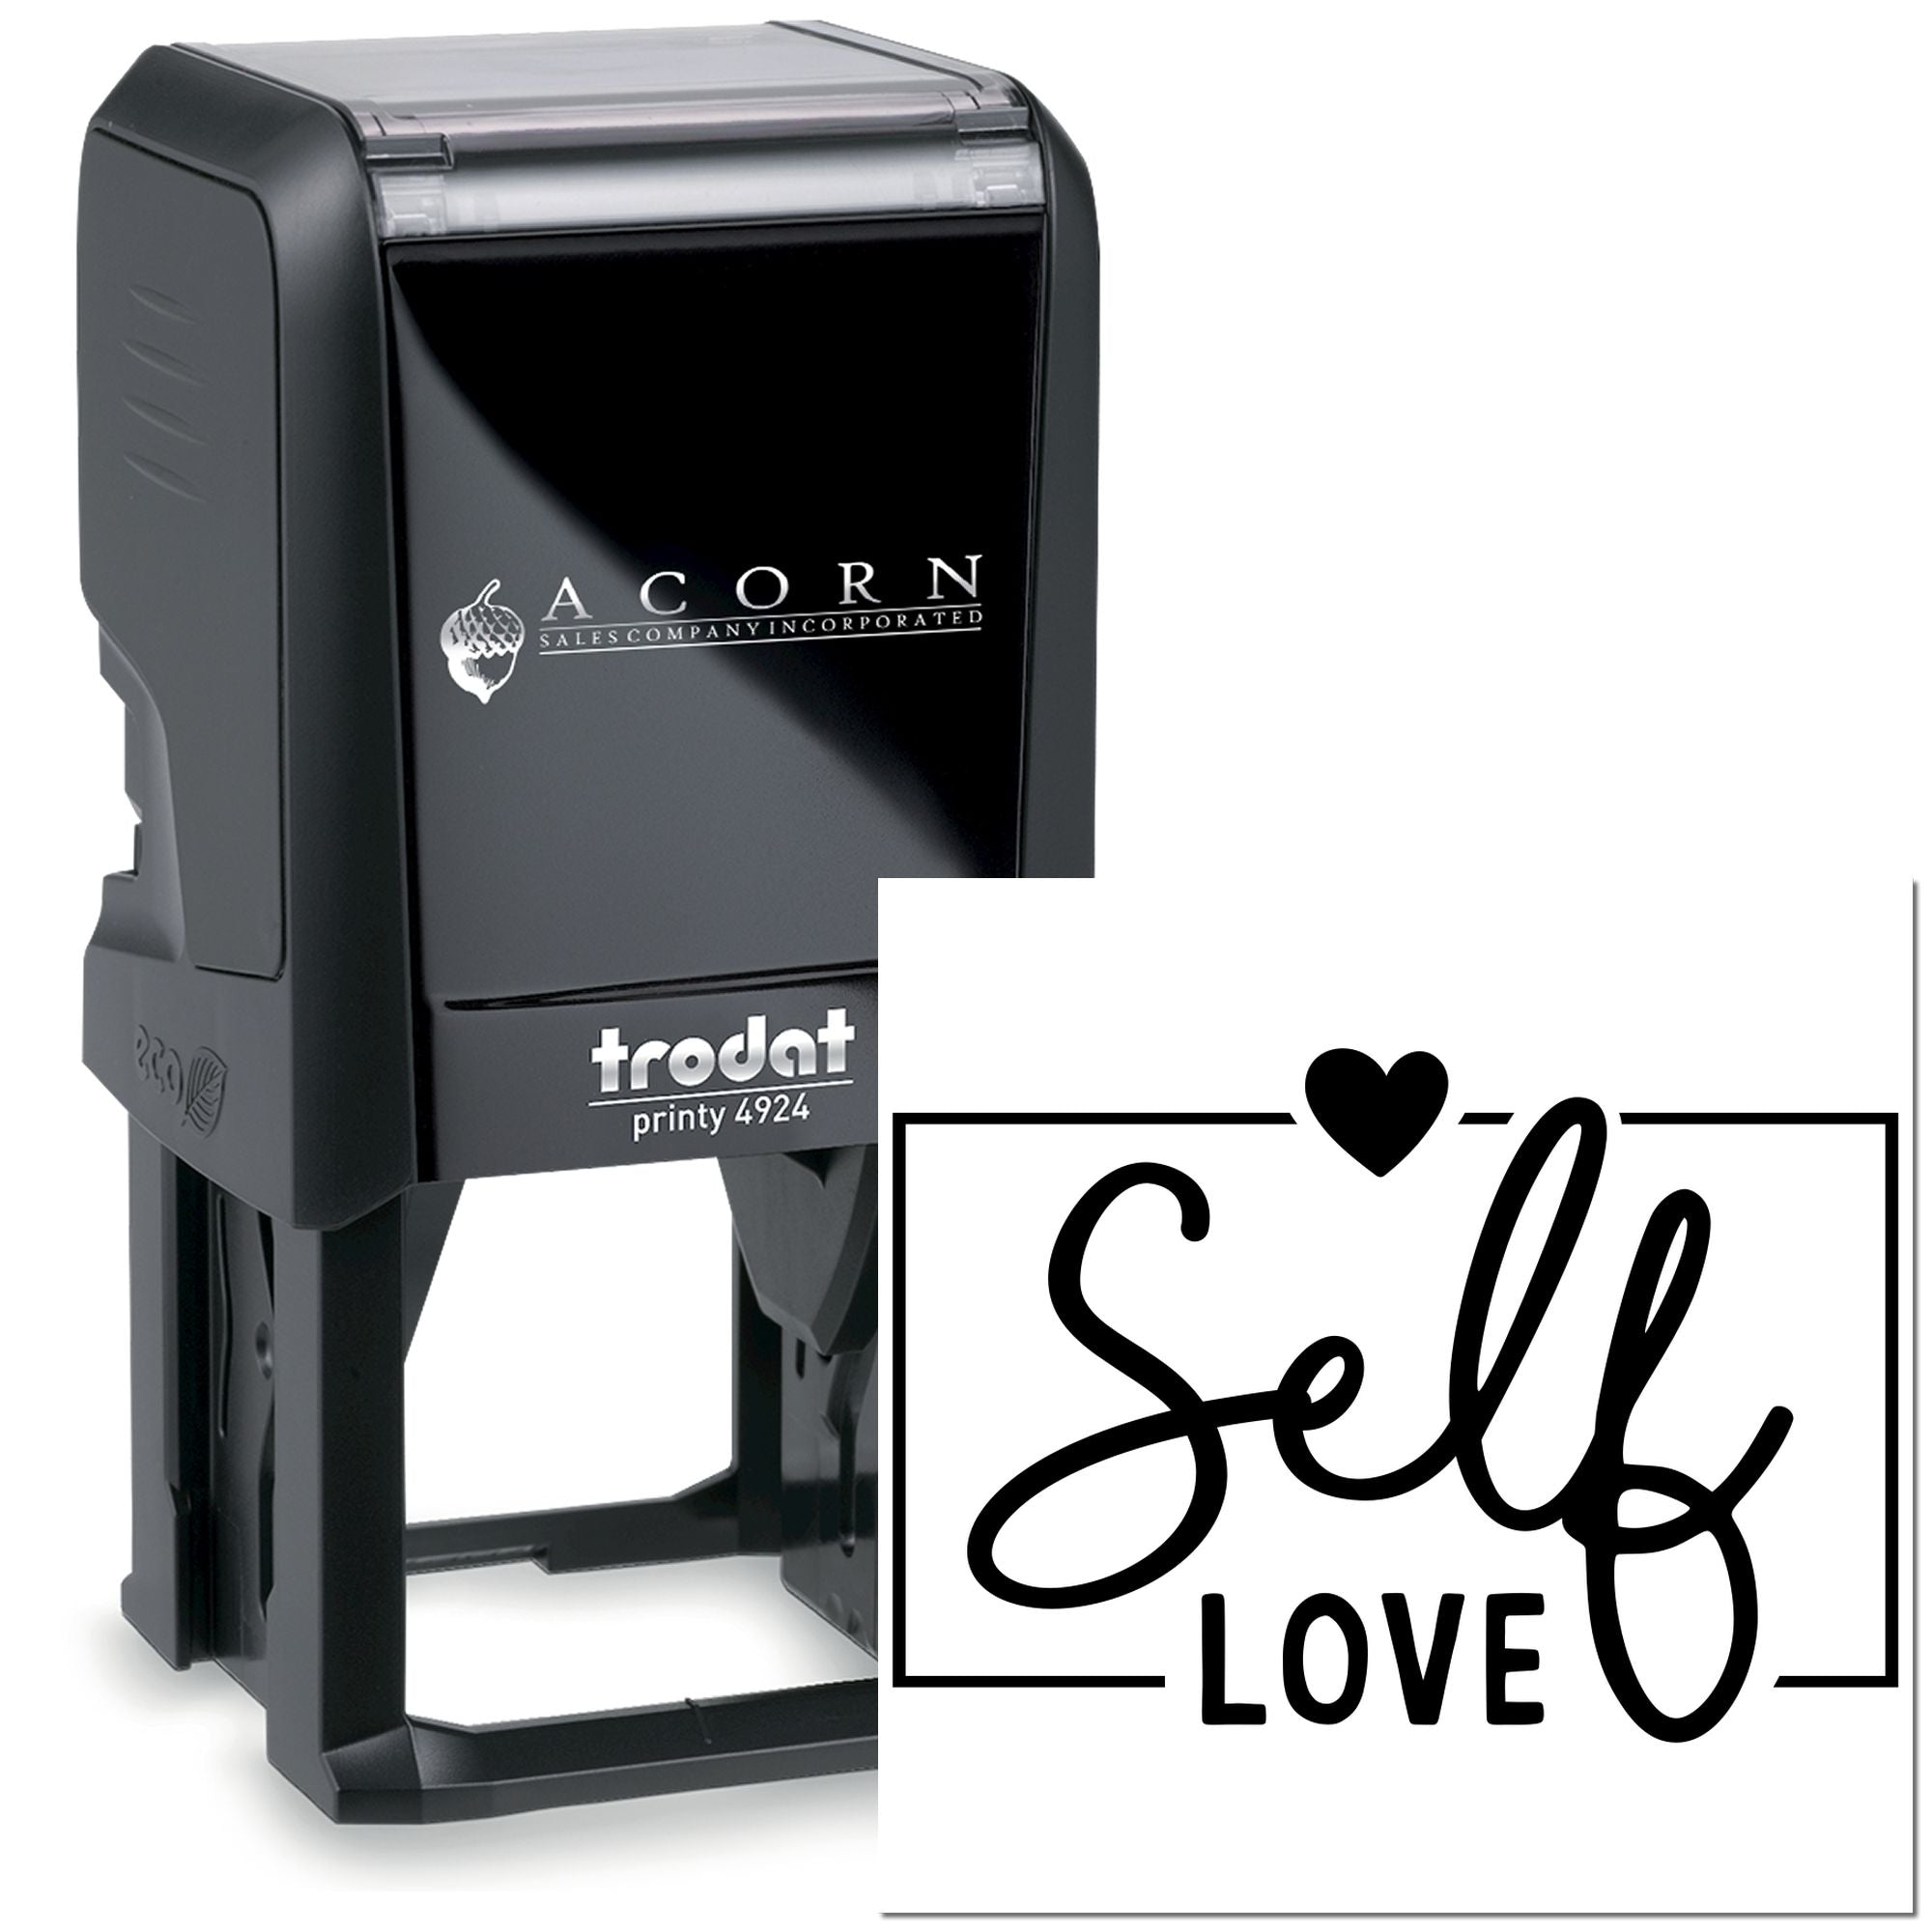
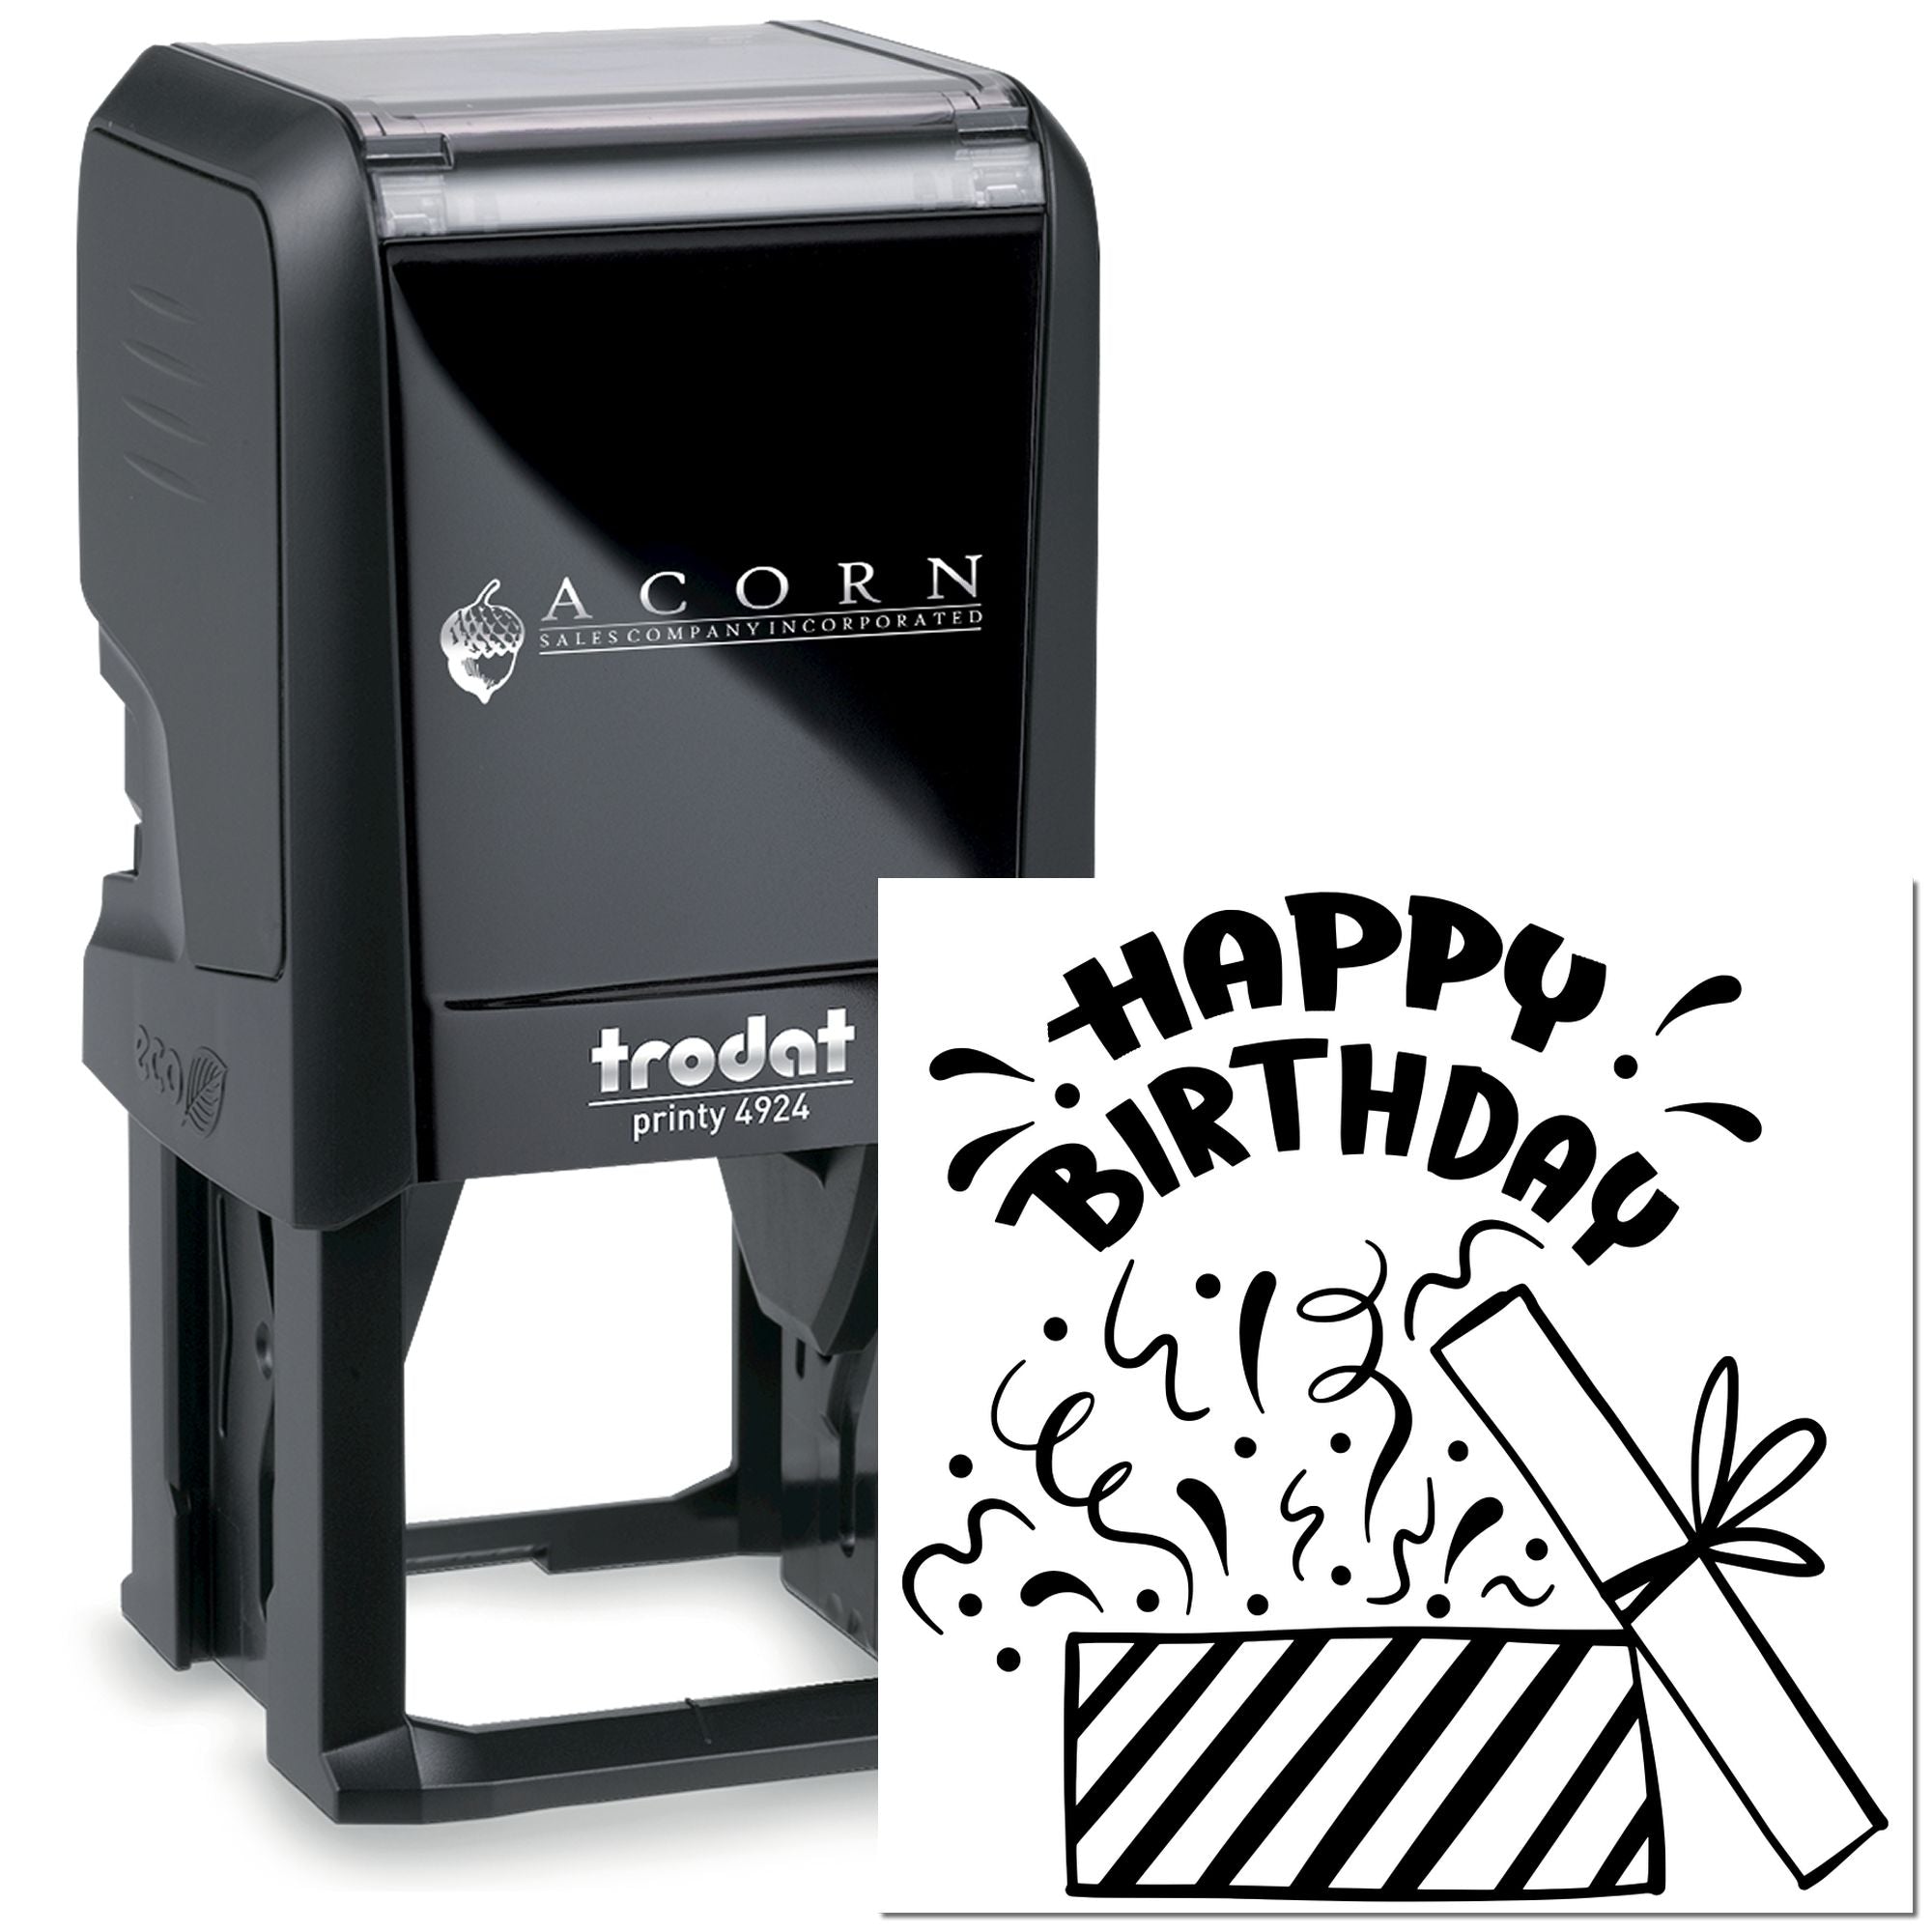
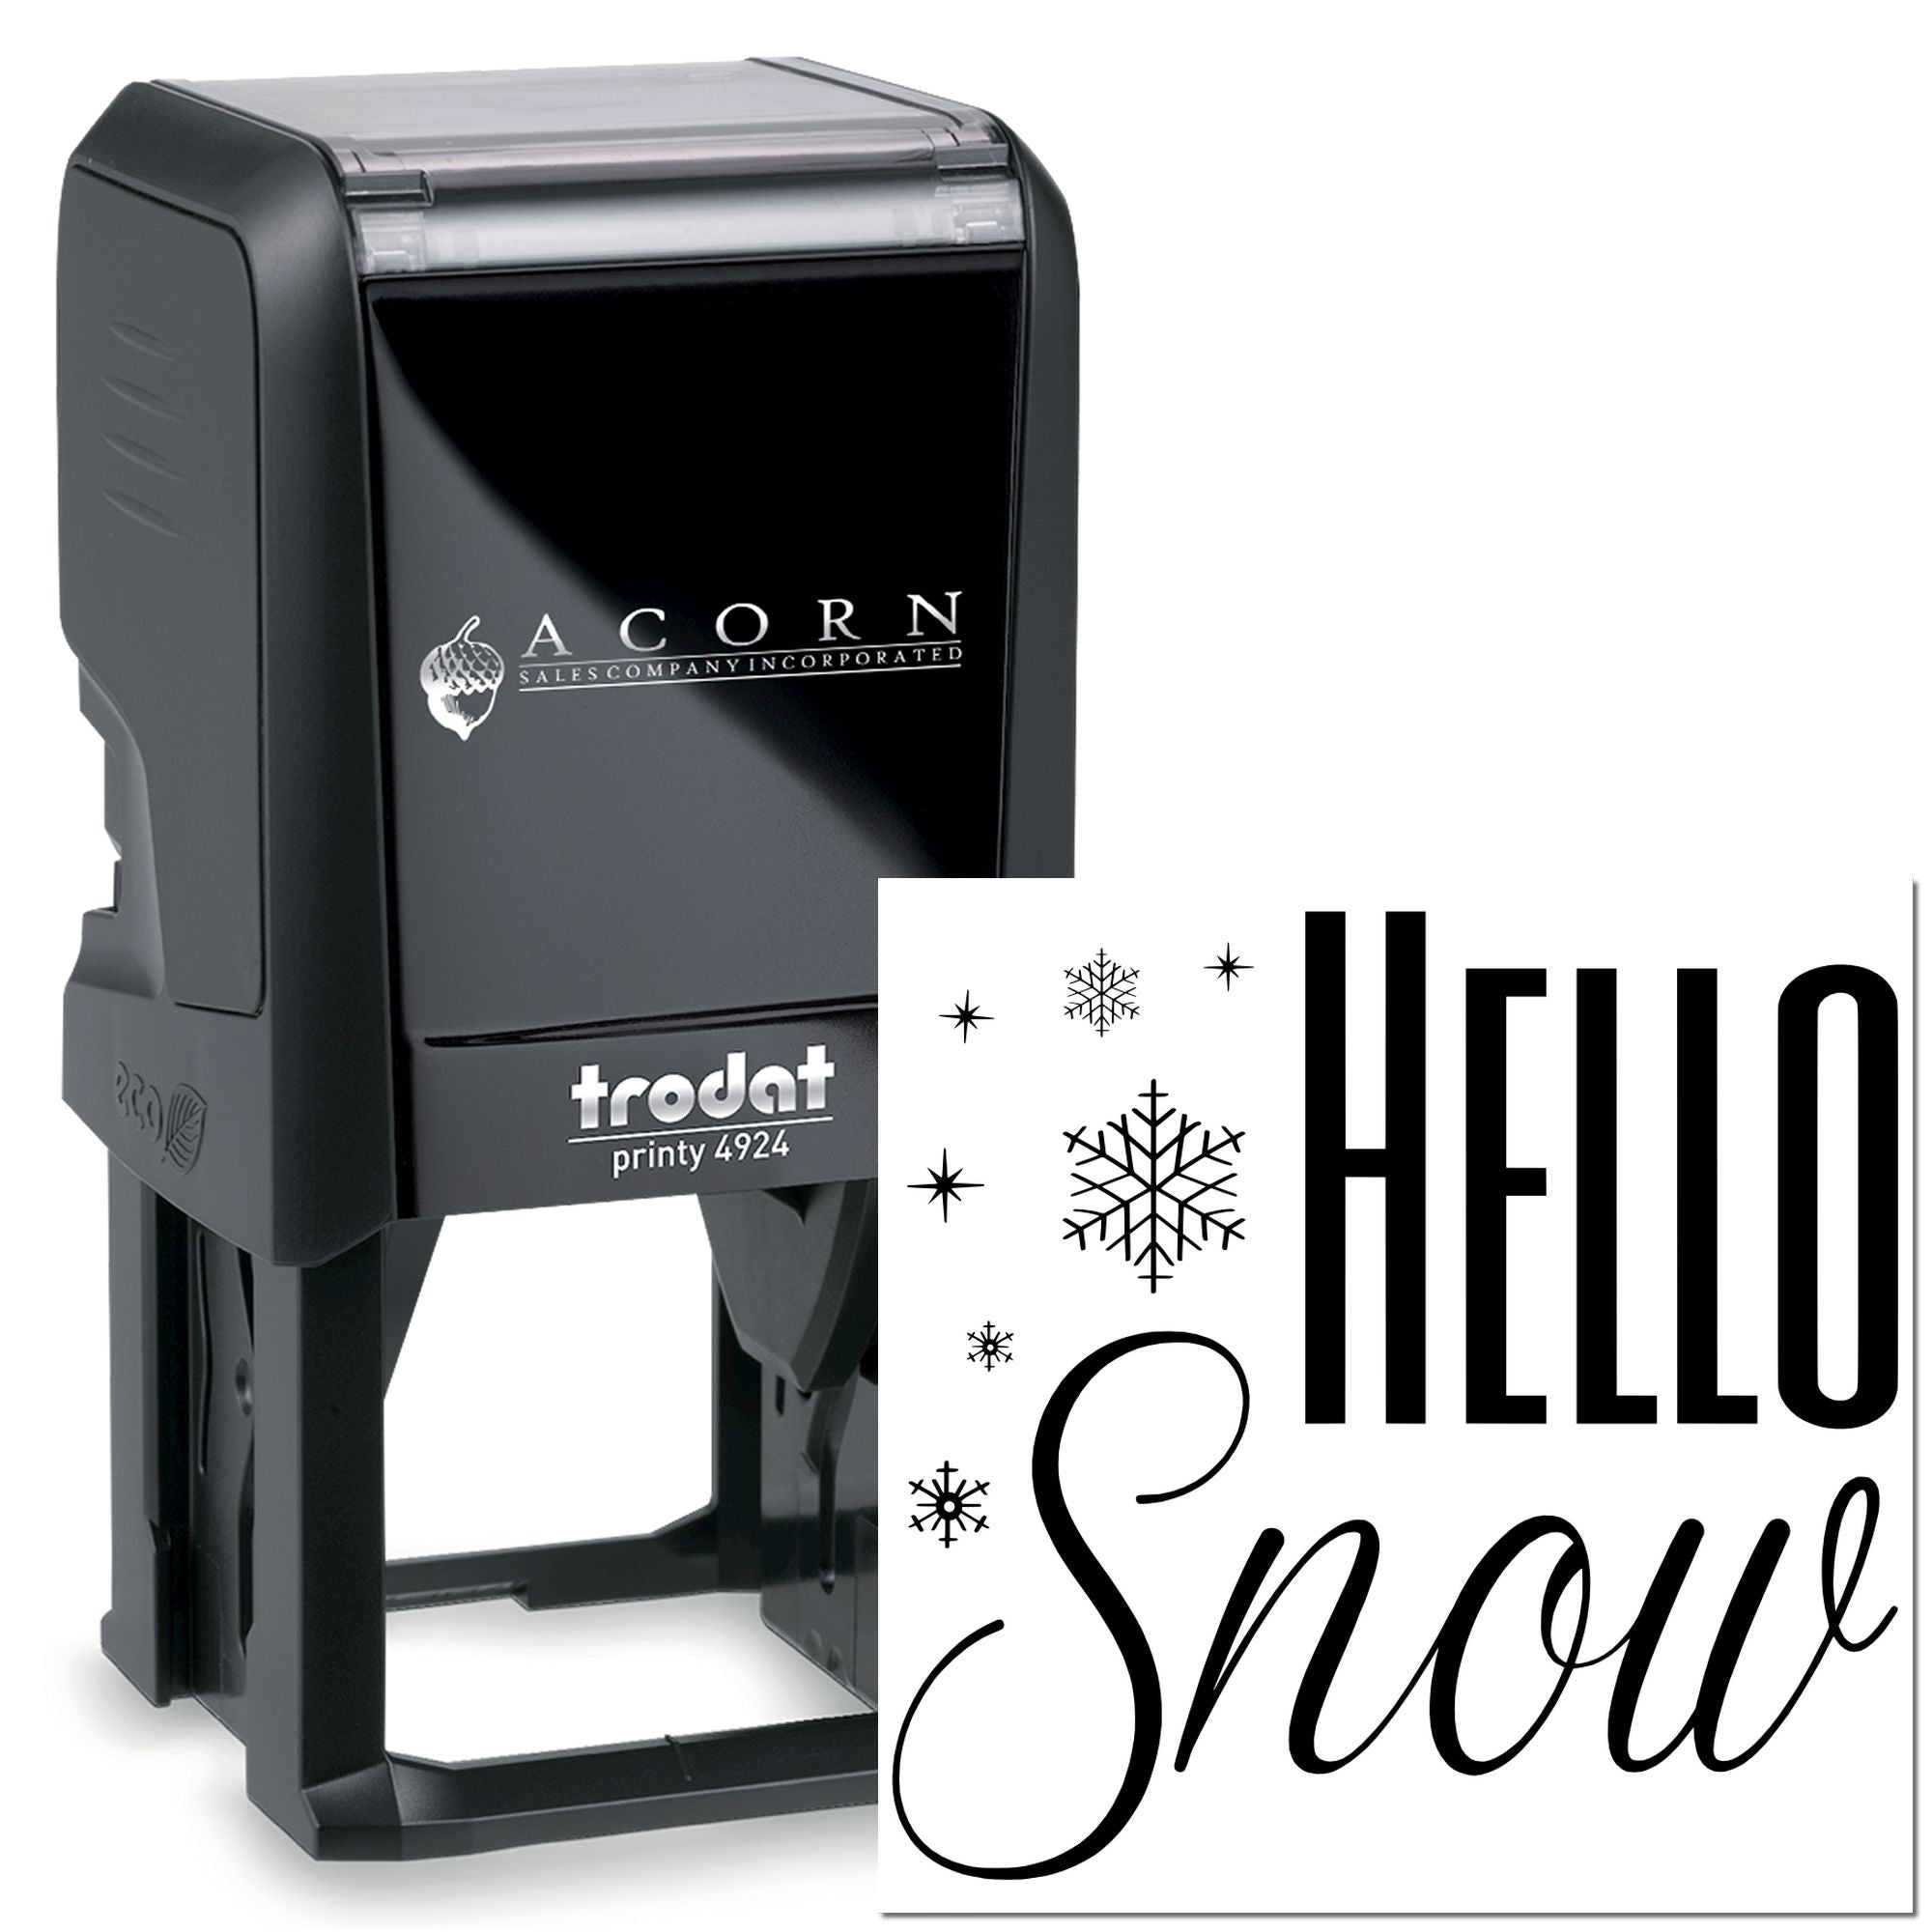
Whether it’s a birthday card or a holiday decoration, rubber stamps can help you infuse every event with personality. Stamps that feature specific greetings (“Happy Birthday,” “Merry Christmas,” or “Thank You”) instantly give your crafts a polished look, without you having to master calligraphy or advanced lettering. Plus, you can match your stamp choice to each season or style, from playful cartoons to elegant cursive fonts.
Events you can level up
- Weddings: Invitations, table place cards, favor boxes
- Baby showers: Thank-you notes, cupcake toppers, party banners
- Anniversaries: Scrapbook covers, sentimental keepsakes, vow renewals
You can also get creative with how you display stamped pieces. Make photo booth props by stamping large designs onto cardstock, cutting them out, and attaching them to dowel rods. Or transform small stamped images into confetti for your centerpiece. The possibilities multiply once you start mixing stamp designs, inks, and embellishments like ribbons or glitter.


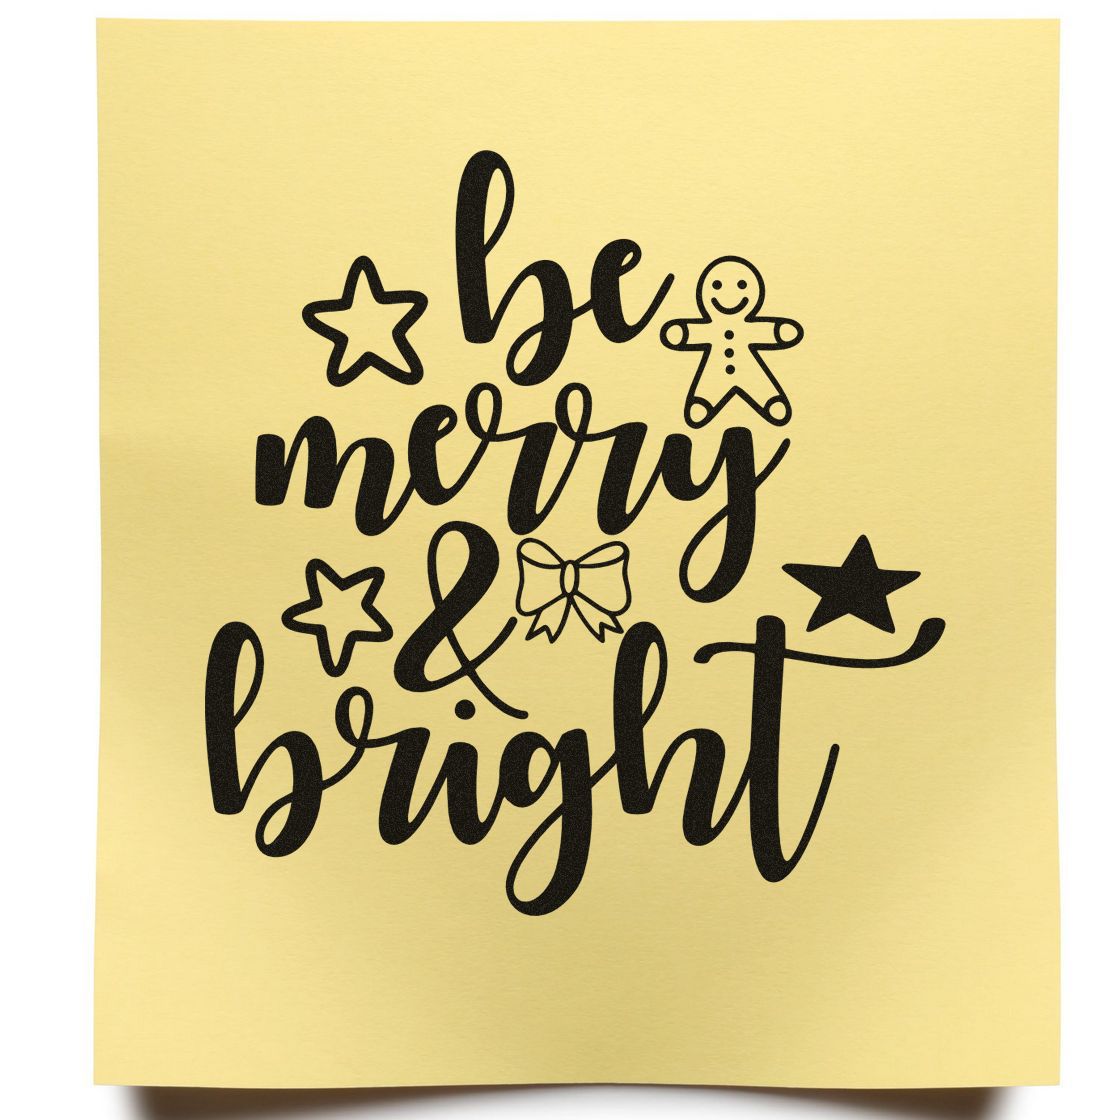



Mix and match for variety
Rubber stamps come in all shapes and sizes. You might find whimsical animals, ornate patterns, modern geometric shapes, or inspiring quotes to suit any style. This variety is where your creativity has the most room. Combine a floral stamp with a geometric border. Pair a monogram or sentiment stamp with a playful image. Try out color-coordinated sets or complementary themes to bring harmony to your layout.
Creative combos to try
- Botanical outlines with metallic inks for an elegant effect
- Alphabet stamps plus scenic stamps for a travel journal vibe
- Tiny icon stamps randomly scattered for a confetti-inspired background
By mixing different rubber stamps for crafts, you unify multiple elements into a cohesive design. If you’re worried about making it look cluttered, stick to a limited color palette. That way, you can experiment with various prints without sacrificing harmony.
Experiment with advanced techniques
Once you’re comfortable with the basics, you might want to push the boundaries of your stamp art. Advanced techniques expand your creative horizons, convincing you that rubber stamps can do far more than produce a single-colored shape.
Heat embossing
Heat embossing is a favorite among stamp enthusiasts. First, you stamp using a slow-drying ink, typically a pigment or embossing ink, then sprinkle embossing powder over the wet print. Tap off any excess powder, then use a heat gun to melt the powder until it turns glossy or raises slightly. You end up with a crisp, sophisticated finish that looks downright professional.
Watercolor stamping
Another fun approach is watercolor stamping, where you lightly mist your inked stamp with water or apply watercolor paint directly onto the stamp before pressing it onto watercolor paper. This creates a soft, dreamy imprint. Just be cautious about using too much water, or your outlines might blur into puddles.
Masking
Masking is great for layering complex scenes. Stamp an image on your paper, then stamp it again on a removable masking sheet or scrap paper. Cut out the replicated image, place it over the original stamped design, and then stamp your second design. The mask protects the first image, so the second appears behind it when you remove the mask. This technique is key for building depth and perspective in your crafts.



Care for your stamps
Maintaining your stash of rubber stamps is important if you want them to last for years. Luckily, this maintenance is simple. You just need a gentle cleanser, a soft cleaning pad, or even plain soap and water if the stamps aren’t too inky. After each use, clean your stamps to prevent ink from drying on the rubber, which can cause the image to lose detail over time.
Cleaning dos and don’ts
- Do rinse gently under lukewarm water with mild soap for water-based inks.
- Do use specialized stamp cleaners for stubborn or solvent-based inks.
- Don’t soak wooden-mounted stamps in water, too much water can warp the wood.
- Don’t scrub aggressively with harsh materials. A soft cloth or sponge is usually enough.
Storing your stamps properly can also prolong their life. If you have wooden-mounted stamps, keep them in trays or drawers with the rubber side up to avoid unnecessary pressure. If you have cling-mounted stamps, a binder or storage sheets keep the cling backs from getting damaged.
Avoid common pitfalls
It’s easy to slip up, especially when you’re new to rubber stamps for crafts. Smudged ink, uneven impressions, or accidental double-stamping can happen to the best of us. But a few quick tips can help you dodge these slip-ups.
- Practice on scrap paper: It sounds obvious, but testing your stamp on a practice sheet helps you spot errors before they land on your final project.
- Let your ink dry: Pigment ink might need extra time to dry, so be patient. If you move or stack your projects too soon, you’ll risk smudging the design.
- Use even pressure: Apply firm, consistent pressure on the stamp for a crisp impression. Don’t rock the stamp from side to side, this can cause blurred edges.
- Keep your supplies organized: You’ll stamp more confidently if you’re not rummaging around for your ink pads or cleaning tools.
When mistakes do happen, don’t panic. You can often cover small smudges with embellishments or layering elements. And if things really don’t turn out? Set that piece aside and use it for scrap. Sometimes accidents breed new ideas.
Find the right supplies
It’s easy to get overwhelmed by the huge selection of stamps, inks, and accessories on the market. You’ll see everything from cheap sets at discount stores to ornate, limited-edition designs from specialty brands. Rather than look at everything at once, focus on building a solid foundation of materials that reflect your personal style.
Types of rubber stamps
| Stamp Type | Pros | Cons |
|---|---|---|
| Wooden-Mounted | Classic look, sturdy handle, long-lasting | Bulkier for storage, can be pricier |
| Cling-Mounted | Compact storage, easy positioning | Need separate acrylic blocks |
| Unmounted | Most flexible, can cut to size, budget-friendly | Requires mounting system for repeated use |
Start with a couple of versatile designs: perhaps a nature-themed stamp for backgrounds, an all-occasion sentiment stamp (like “Thank You”), and a more personalized image you absolutely love. That way, you have enough variety to tackle multiple projects without breaking the bank.
Ink matters
Ink pads differ not just in color but in how they interact with paper. Choose water-based dye inks for quick, everyday projects. If you plan on watercoloring or using alcohol markers on your stamped images, try waterproof or alcohol-friendly inks that won’t smear when you apply color. If you want an opaque look on dark paper, use pigment inks or metallic inks, though they typically require heat-setting or embossing to dry thoroughly.
Answer frequent questions
Below you’ll find responses to a few queries that often come up when people start exploring rubber stamps. If you’re unsure about something, chances are you’ll find your answer here.
Sometimes you might not press evenly, resulting in missing lines. You can carefully line up the stamp to fill in the gap, but that’s tricky. An easier approach might be to take a matching pen or fine-tipped marker and draw the missing lines. If it’s too large a gap, consider covering it with a small decorative element, like washi tape or a stamped embellishment.
Choosing your craft stamps
So there you have it, a deep look at why rubber stamps for crafts can really level up your creative projects. They’re effortless to use, speedy for batch tasks, and flexible enough to adapt to almost any design theme, color scheme, or technique you can imagine. With a handful of carefully chosen stamps, some quality ink pads, and a bit of practice, you’ll be well on your way to crafting cards, scrapbook pages, gift tags, and invitations that look polished and personal.
Don’t be afraid to experiment. Try layering multiple stamps, combining watercolor techniques, or adding foil accents for sparkle. If you discover a new style or devise a favorite trick, your personal stamp collection can become a well of artistic exploration for years to come. After all, one of the best parts of crafting is watching your skills evolve in tandem with your curiosity.
Consider this your invitation to stamp away with confidence. On a single holiday card or a full set of party invitations, rubber stamps give consistent, professional-looking results with minimal fuss. The next time you spot a cute or meaningful design, don’t hesitate to add it to your collection. You’ll thank yourself when you realize just how easy it is to pull out your stamps, ink them up, and turn a plain piece of paper into something uniquely yours. Happy stamping!
Frequently Asked Questions
Do I need multiple ink pads?
It depends on what you want to do. If you prefer a minimal color palette, you can work wonders with one black ink pad and a small set of colored pencils. But if you love variety, pick a few basic colors first, such as black, brown, red, and a bright color that you can’t resist. You can always grow your collection over time.
Will my stamps wear out?
Over many years, rubber stamps can show signs of aging, especially if they’re not cleaned or stored properly. Typically, high-quality rubber stands up well to regular use, so as long as you handle them gently and avoid extreme heat or sunlight, they should last for a long time.
Can I stamp on surfaces other than paper?
Absolutely. You can stamp on fabric, wood, or even plastic, provided you use the correct ink. For fabric, pick a fabric-specific ink that can be heat set, otherwise it may wash out. For non-porous surfaces like plastic, solvent-based inks can work if you let them dry properly.








