
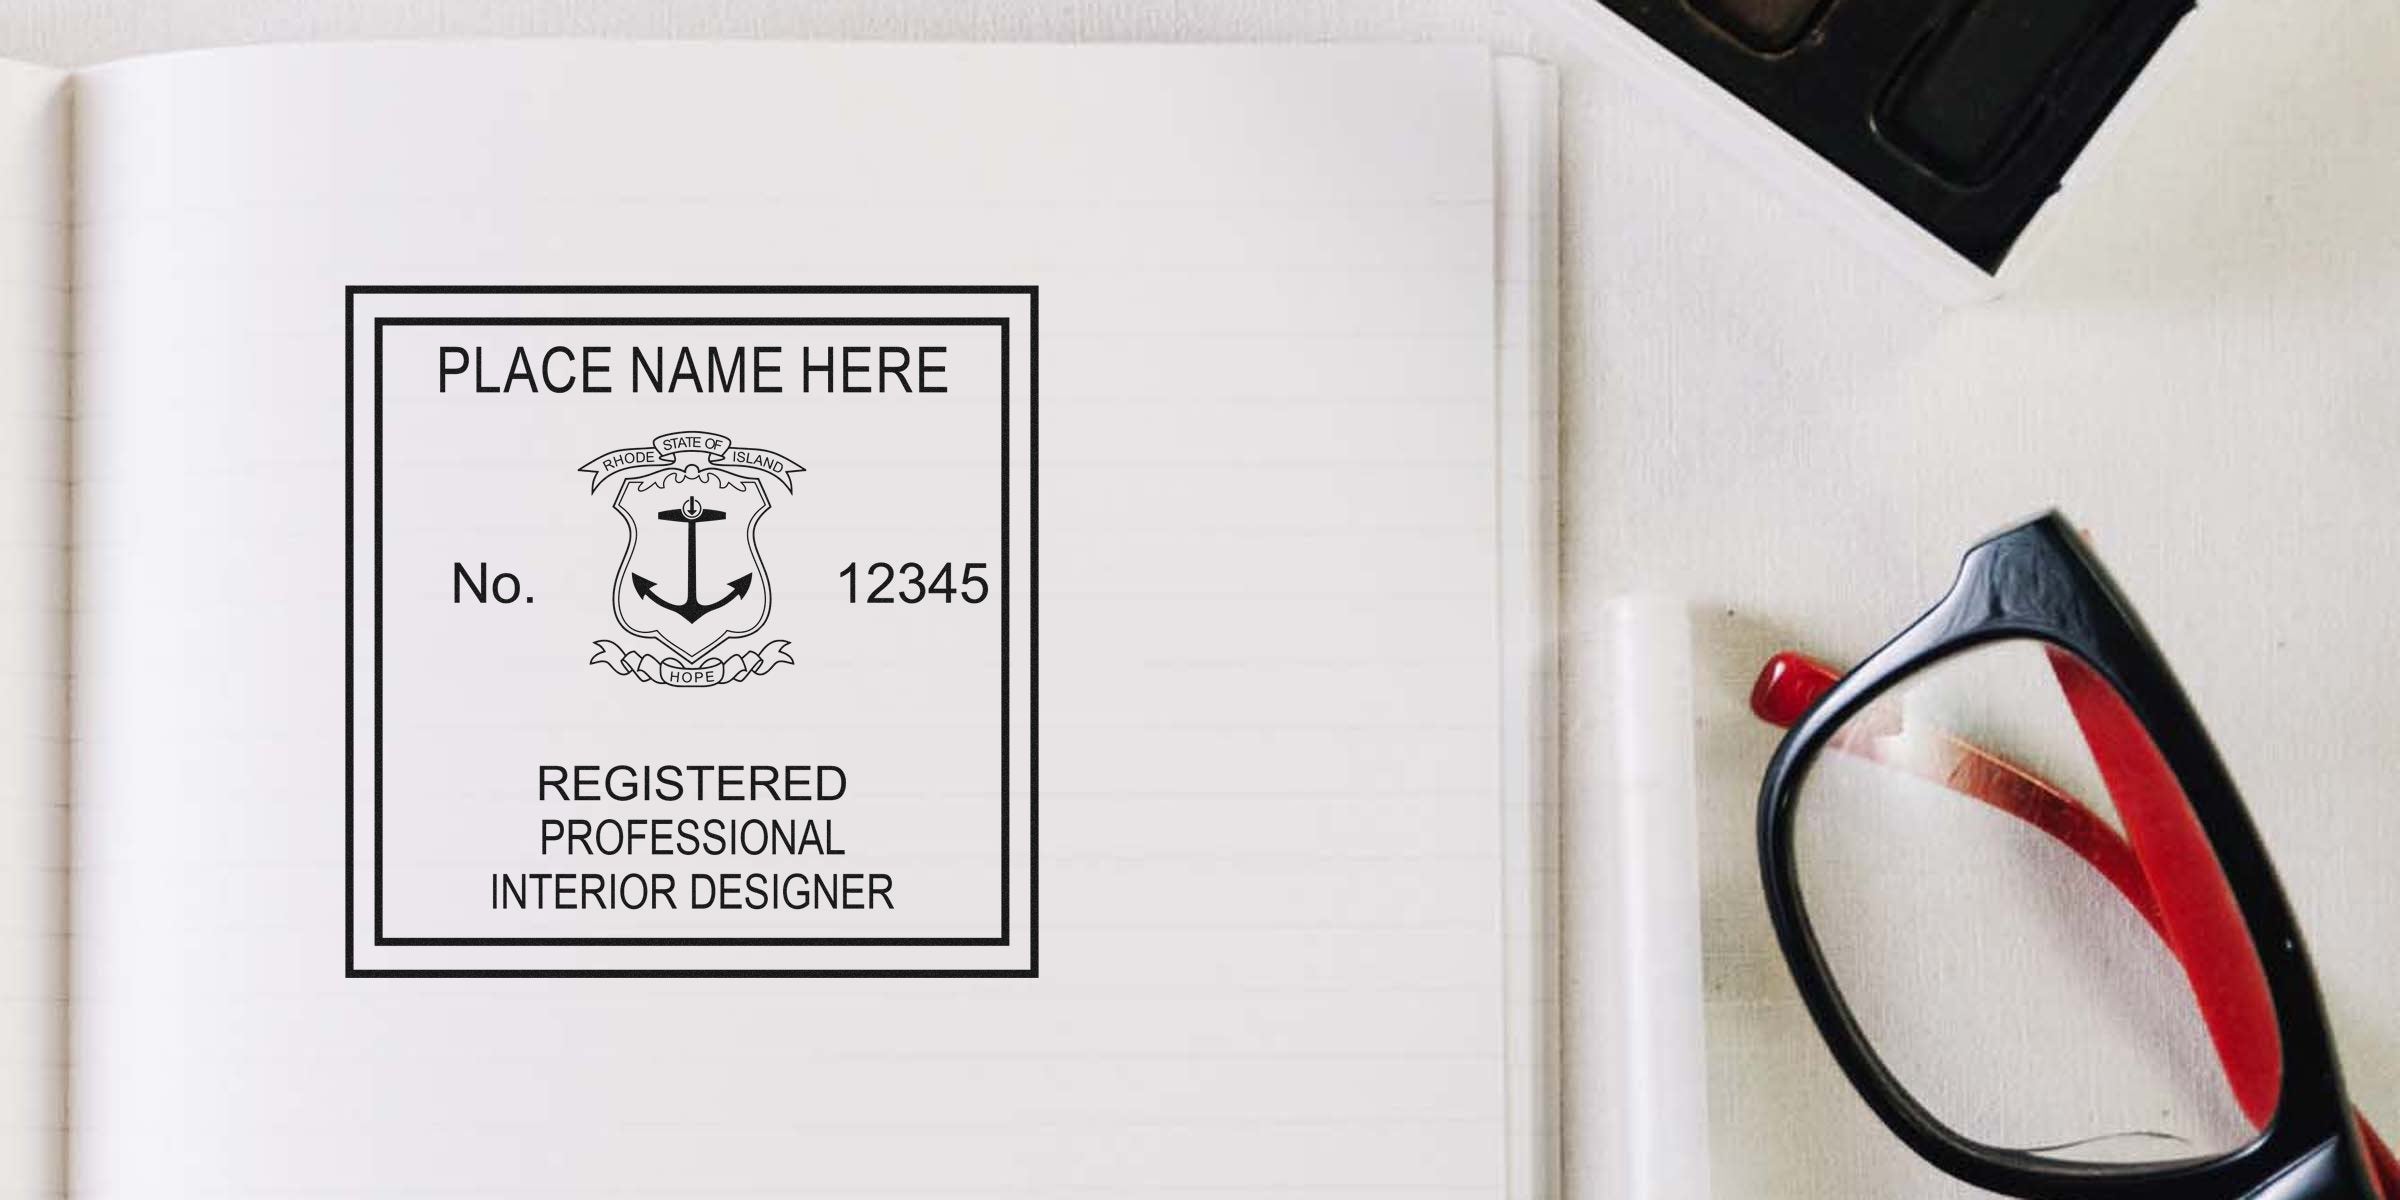
If you have been searching for the Rhode Island interior designer seal application, here is the short answer: there is no application to file. Rhode Island does not license, register or certify interior designers. Read the chapter list for title 5 of the General Laws, the title covering businesses and professions, and there is no interior design chapter in it. No board, no forms, no fee, no examination, no reference letters. The stamp you were trying to qualify for is a purchase you can make today.
That is better news than it sounds. It means the wording, the format and the timing are all yours to decide. This guide covers what Rhode Island actually does and does not do, what belongs on a mark nobody prescribes, and how to order one that makes your drawings look the way careful work should look.
There Is No Application To File
An application process only exists where a credential exists. Rhode Island issues no interior design credential, so no state office reviews your education, your hours or your portfolio, and no Rhode Island document asks an interior designer to seal anything. The sources behind that, including which chapter list was read and what it contains, are set out in Rhode Island Interior Designer Stamp: The Design Is Up to You. If the state ever creates a credential, that page is where the change will be recorded.
What ties a document to you in the meantime is what has always tied it to you: your signature and your name. Sign the drawing, the specification or the letter, put your studio name on it, and the work is attributable. A seal is something you add on top of that because you want the page to look finished, not because a rule obliges you.
What To Do Instead Of An Application
Swap the paperwork for a short round of decisions. Nobody is going to check these, which is precisely why they are worth doing carefully. Ten minutes here is the difference between a mark you keep for a decade and one you reorder in a month:
- Settle your name. Spelled and punctuated the way you sign contracts, including any middle initial.
- Settle your studio name. If the practice name goes on the mark, decide how it is written once and keep it that way.
- Settle your title line. Something honest, such as Interior Designer or Interior Design.
- List real credentials only. A national certificate or a registration from a state that issues one, named with the body that granted it and kept current.
- Measure the space. Look at the spot on your title block where the impression will land and size the device to it.
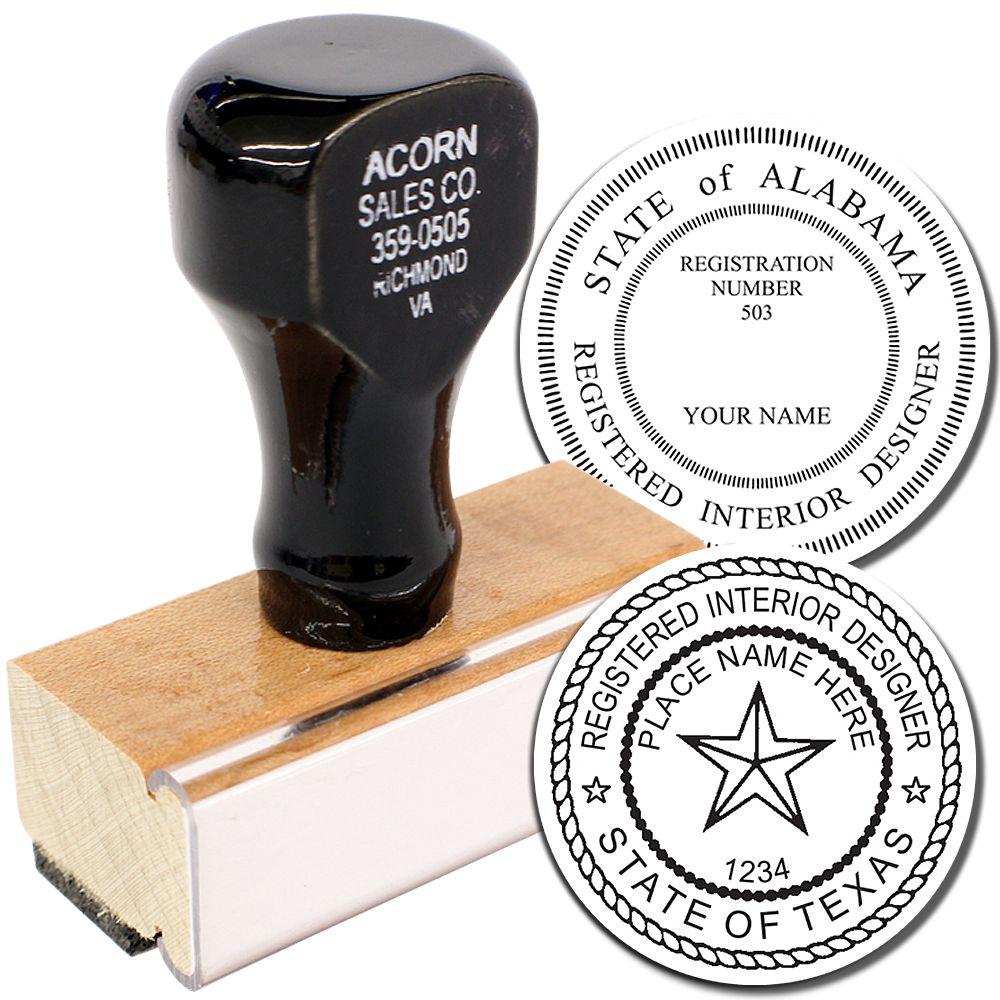

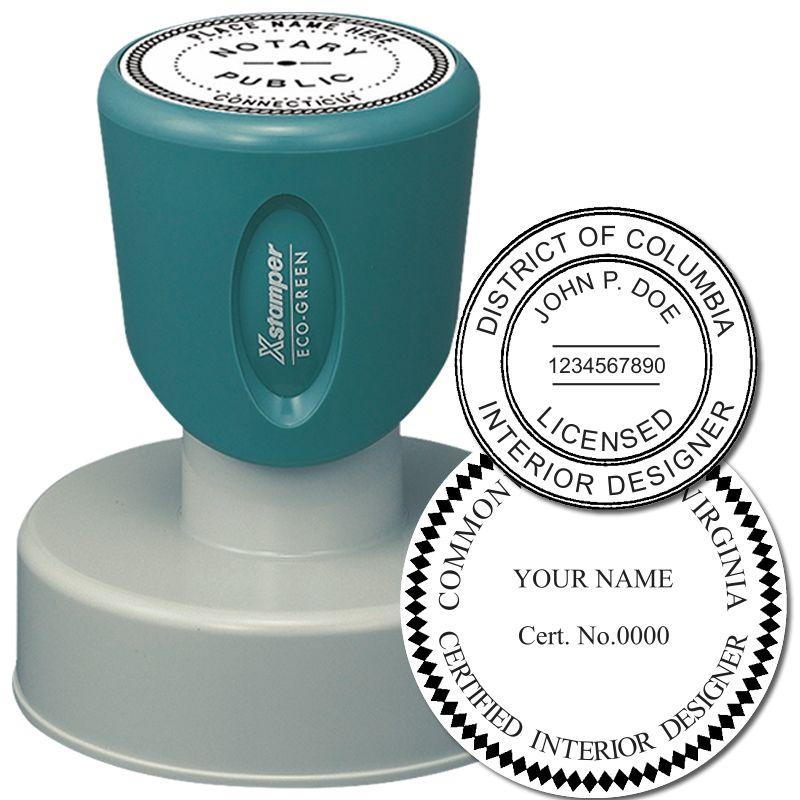



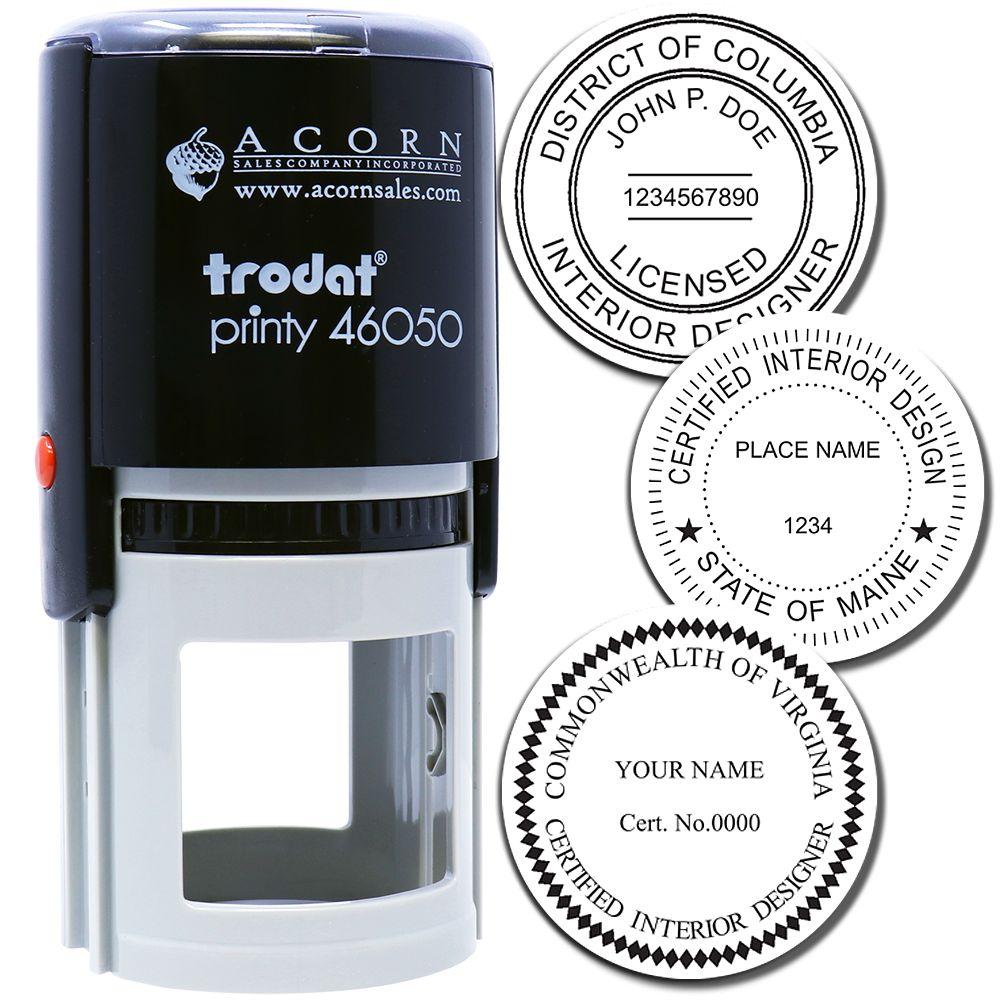
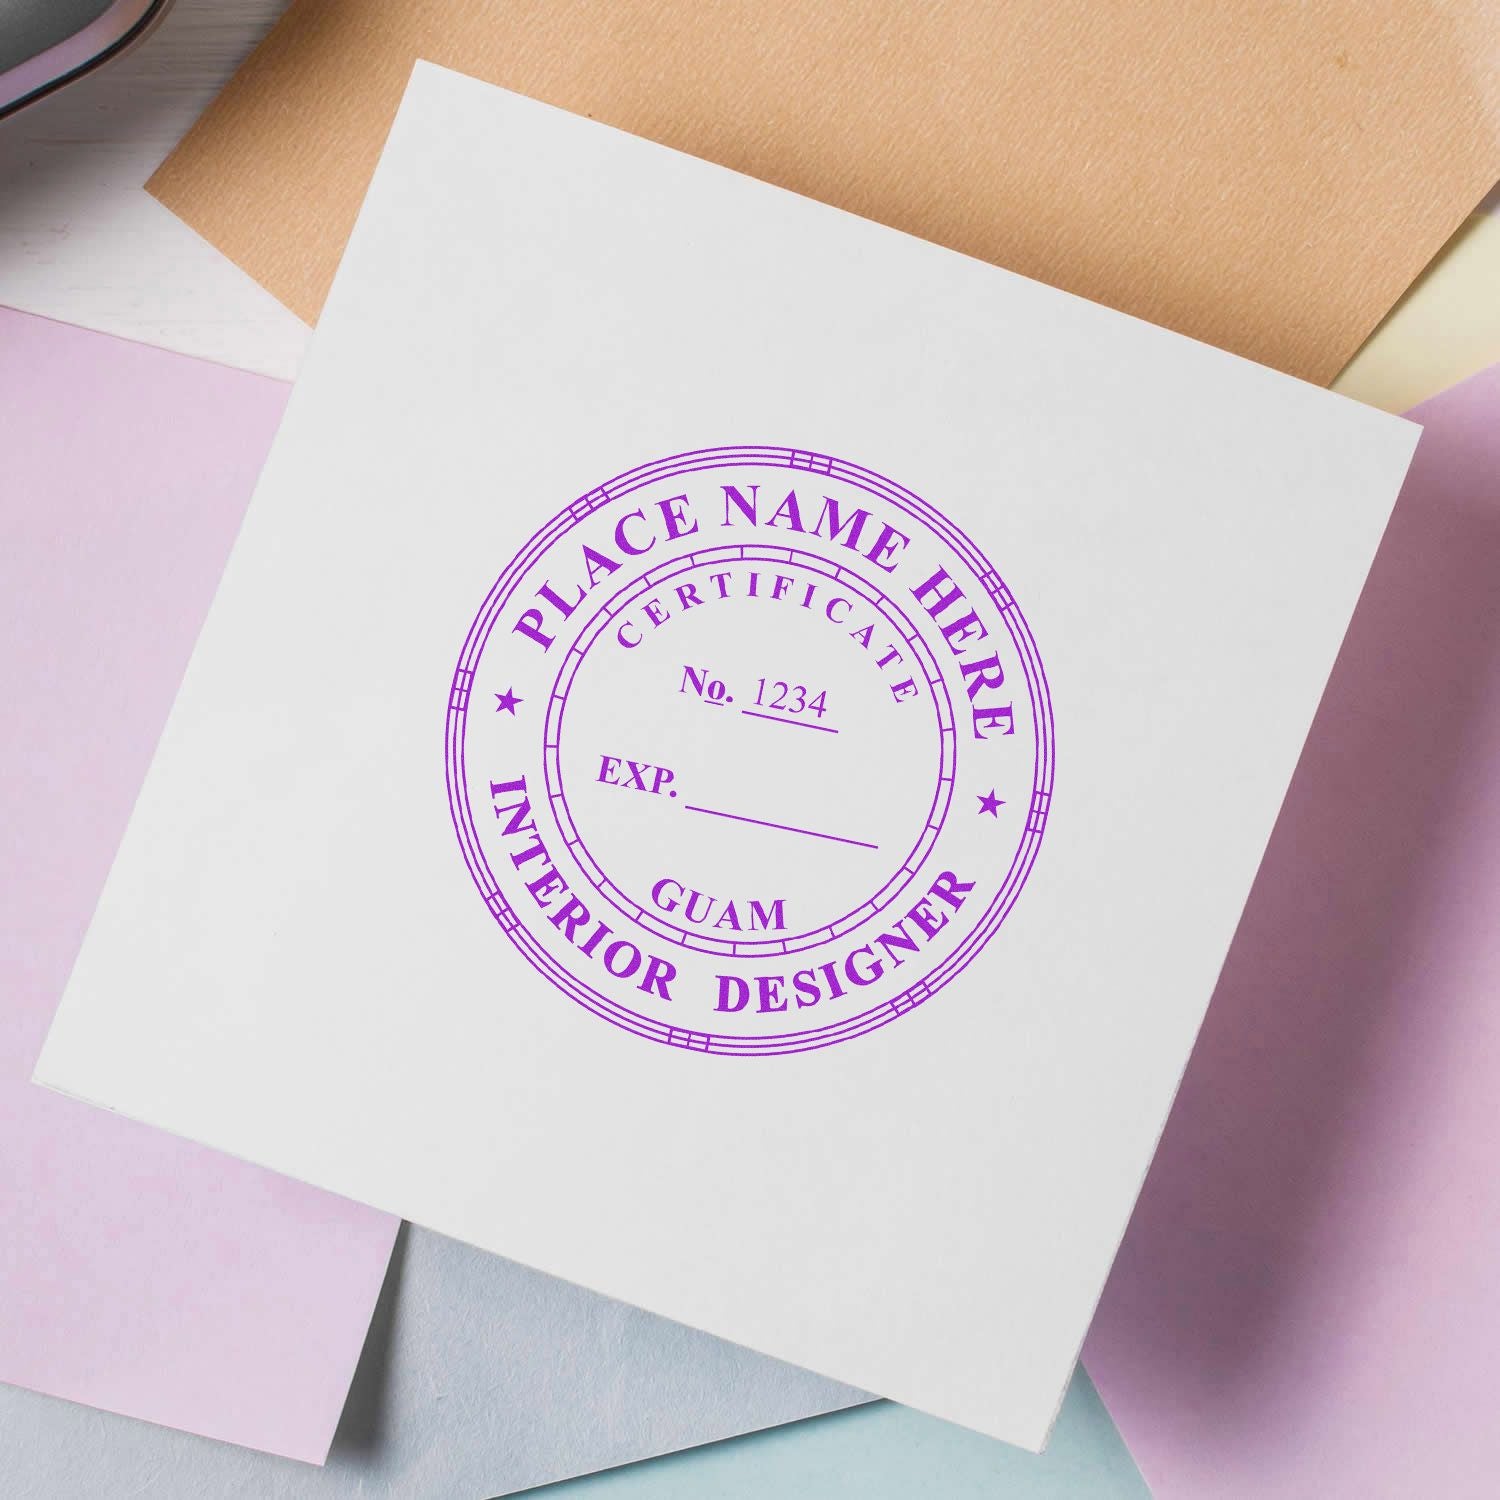
Choose Your Stamp Or Seal
With the wording settled, the next decision is the device. Three formats cover almost everyone.
- Traditional rubber stamp. Ink on paper, used with a separate pad or built into a self-inking mount. Quick, portable and easy to keep running.
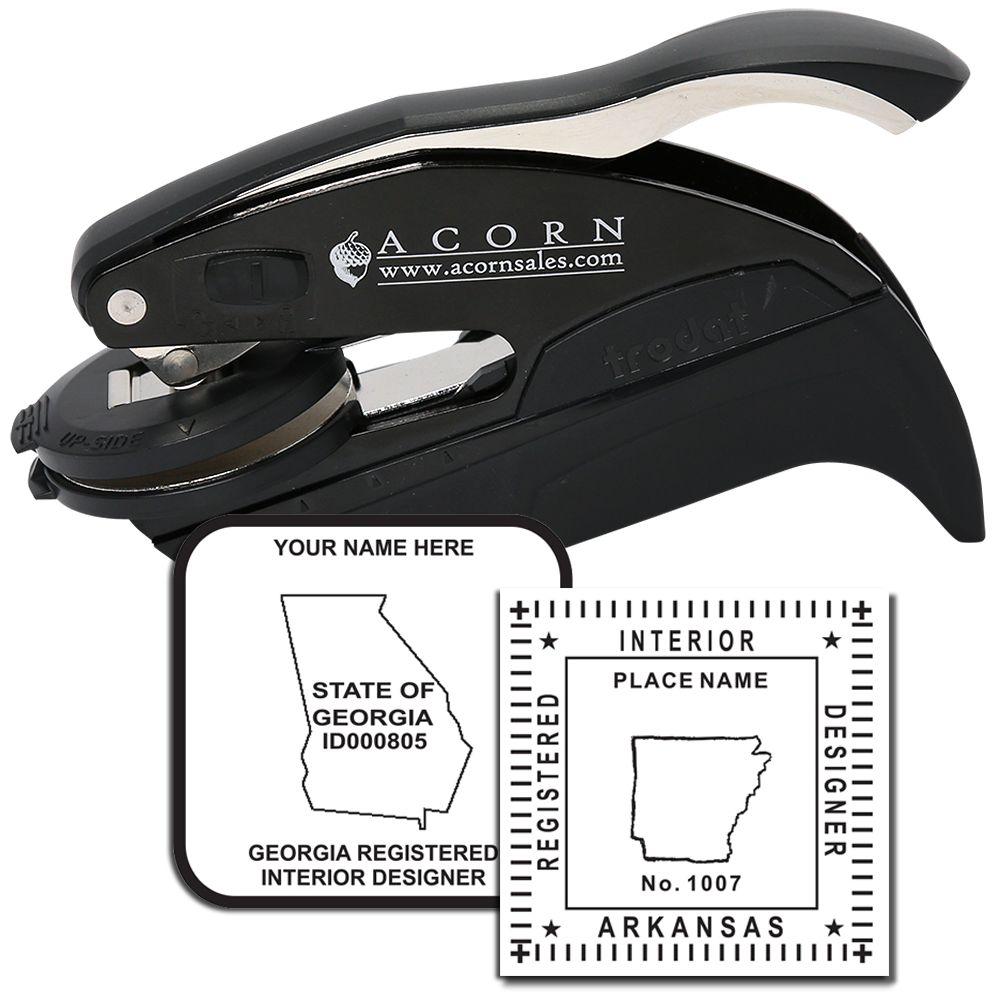
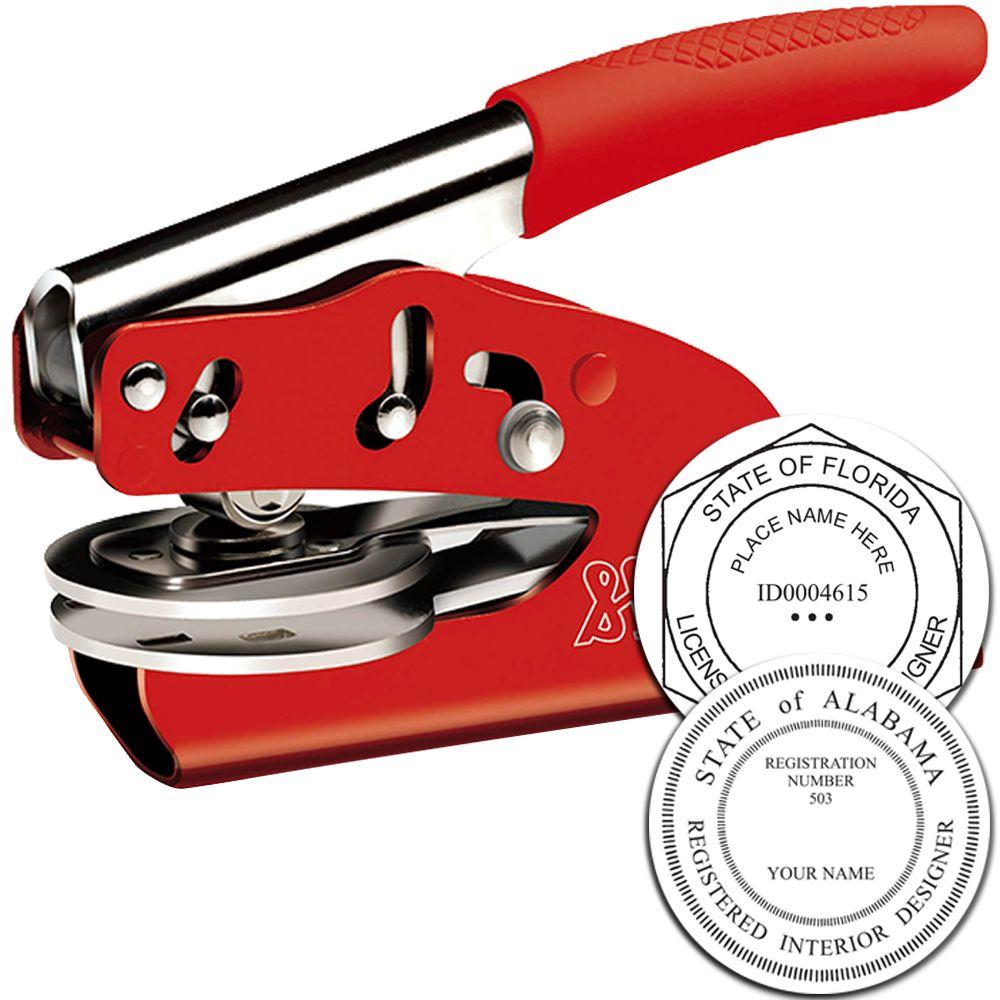
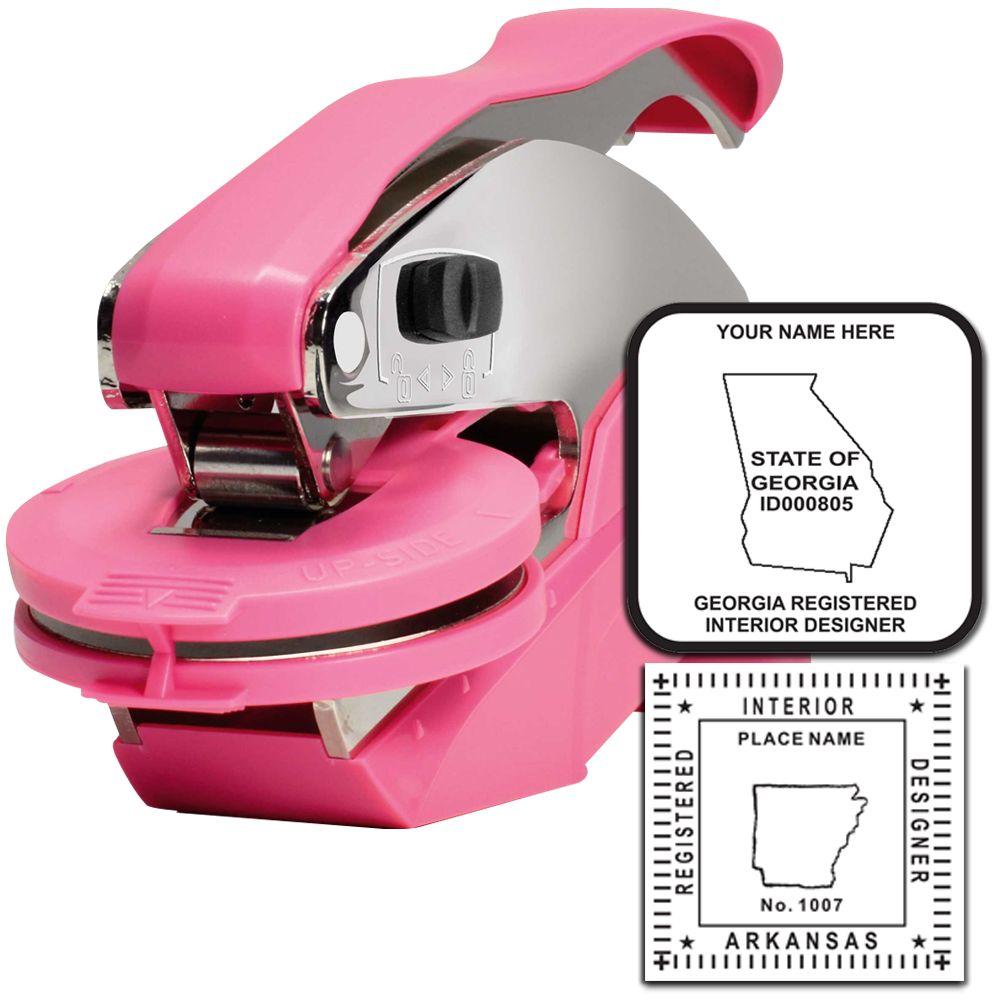
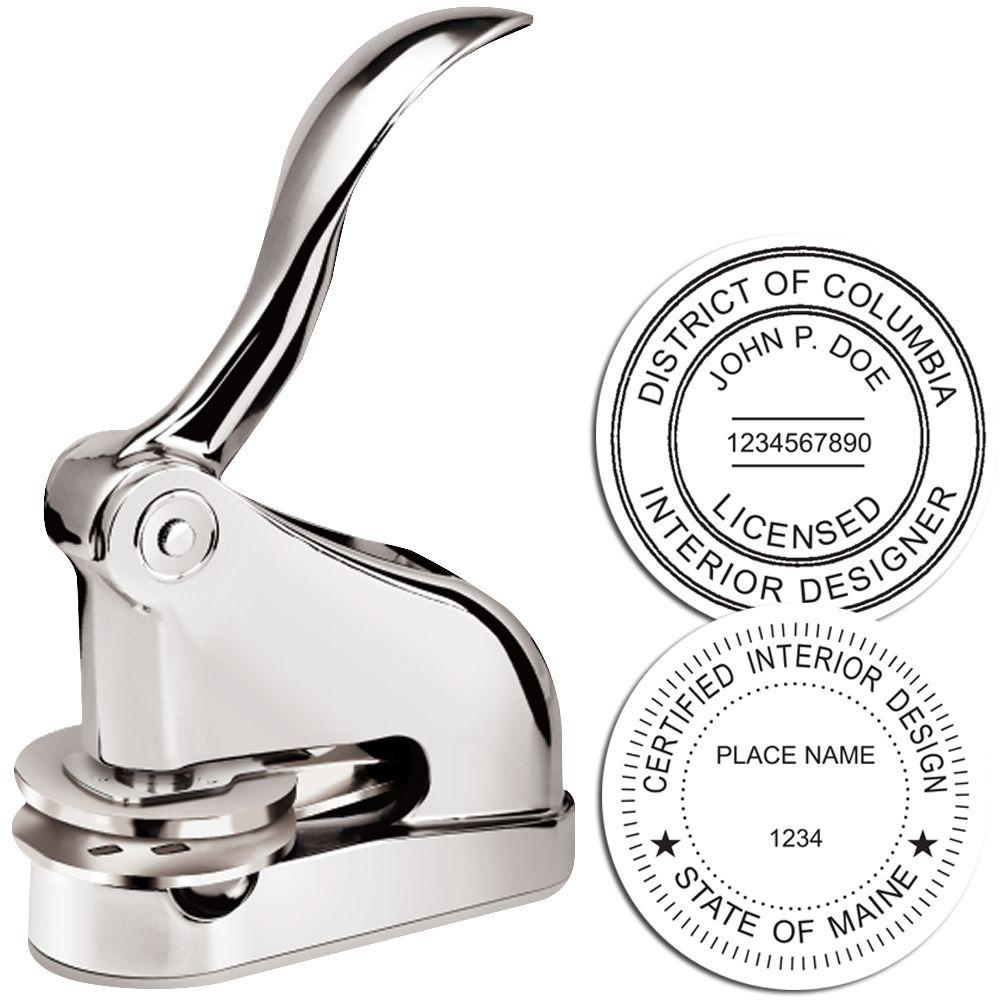
- Hand embosser. Raises the paper instead of inking it, which looks professional on heavier stock and on a copy a client keeps. A raised mark reproduces poorly on a scan, so it suits originals.
- Electronic seal. A high-resolution image file you place directly in a PDF. This is the one most designers end up using most, since so much work now travels by email.
How To Choose Wisely
- Think about where your documents actually go. Scanned and copied sets favor ink. Presentation copies favor an embosser.
- Keep the design simple. An elaborate layout closes up at actual size, and the whole point is that a reader can read it.
- Look for a stamp or embosser that includes the electronic file, so you are not buying the same artwork twice.
- Ask for a proof and look at it small, not enlarged on a screen.
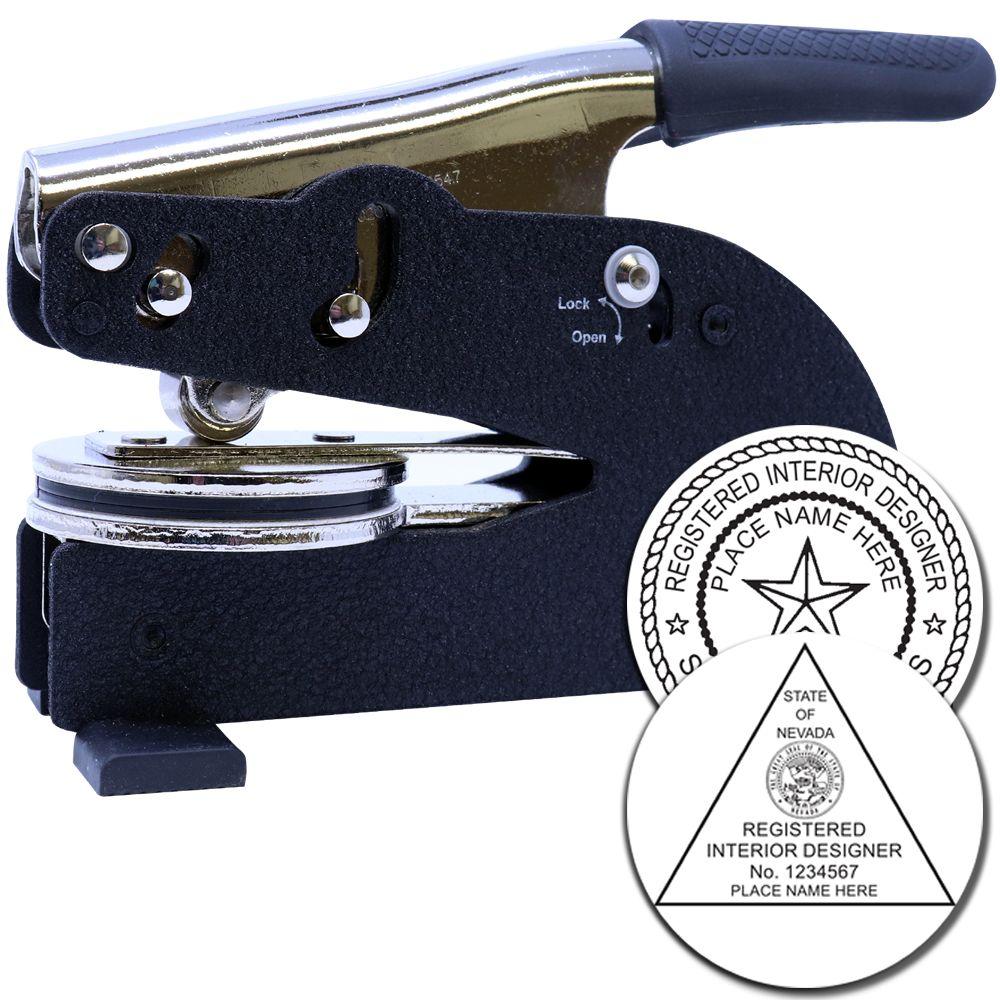



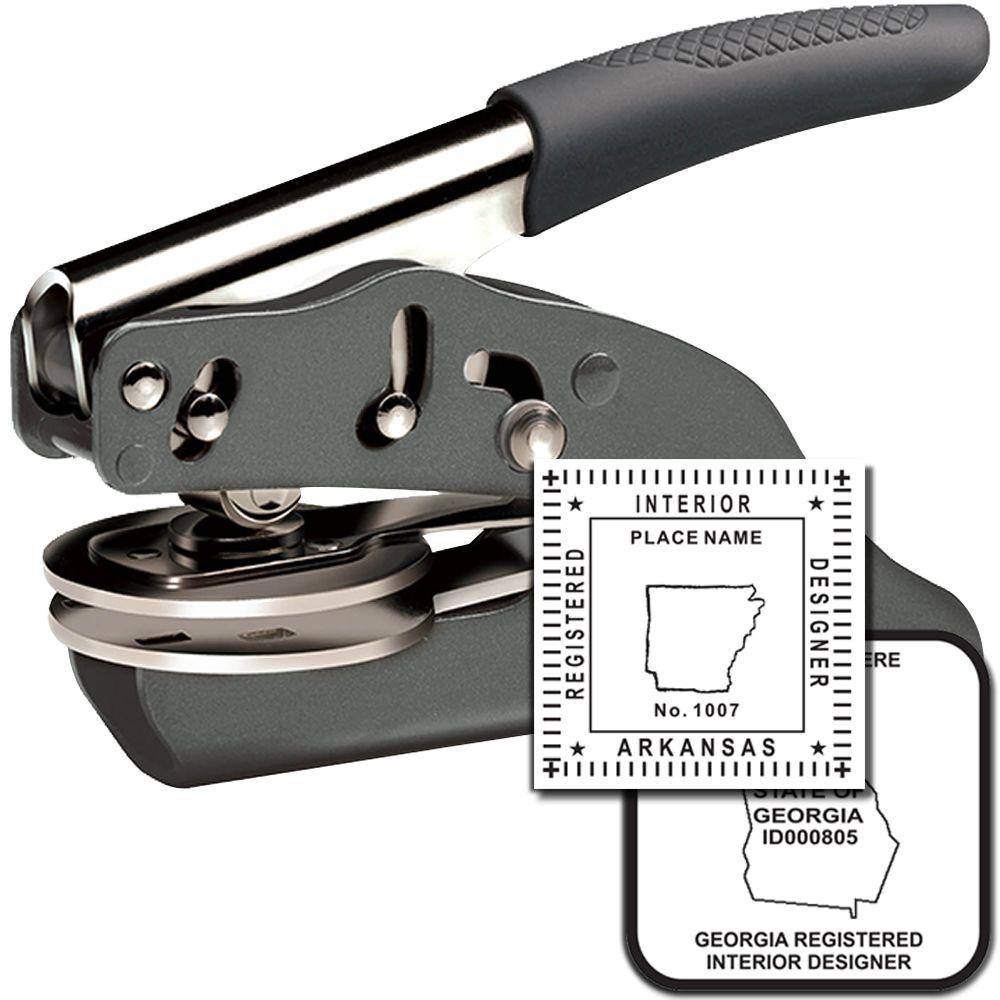
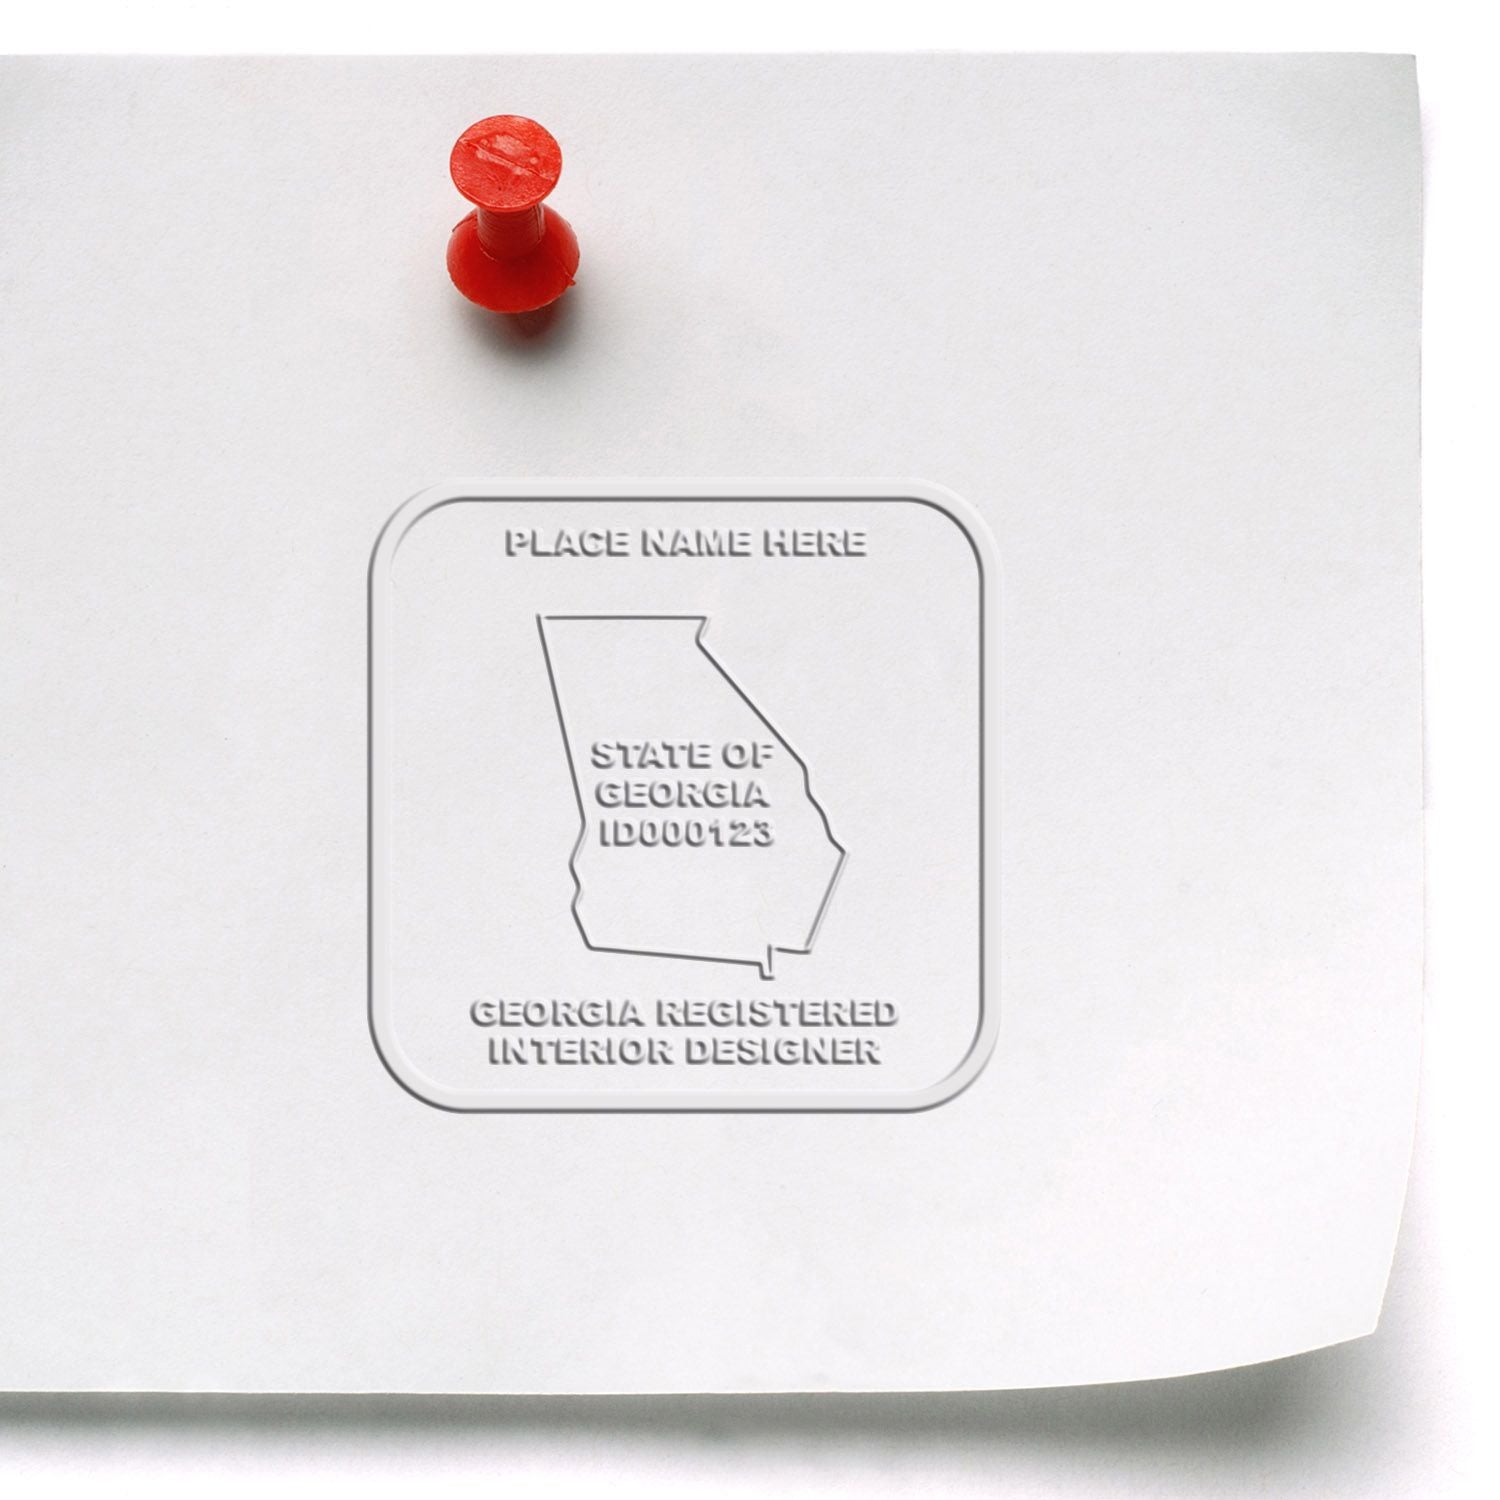

Avoid The Common Mistakes
Since no state office reviews the design, accuracy is entirely on you. These are the slips worth avoiding.
- Claiming a Rhode Island registration. Wording such as Registered Interior Designer, State of Rhode Island asserts a title the state does not grant. It is the one thing on this list that can actually hurt you you can put on a die.
- Printing a license number. There is no Rhode Island interior designer license number to print. If you hold a number from another state or a national body, name the issuer alongside it.
- Copying another state's layout. A format built around a license line makes no sense when there is no license behind it.
- Typos in a name. Names and studio names are exactly the text a fast eye skips. Read the proof character by character.
- Type that is too small. If the smallest line cannot survive a photocopy, it is the wrong size.
An accurate, plain mark with your name and business block on it does everything you want it to do and claims nothing you cannot support. That is worth dwelling on for a second, because the temptation runs the other way. A mark that looks official is tempting precisely because Rhode Island issues nothing official, and a reader who takes a state registration line at face value has been misled by a page you signed. Your name, your studio and a real credential carry more weight anyway, and they keep carrying it when somebody checks.




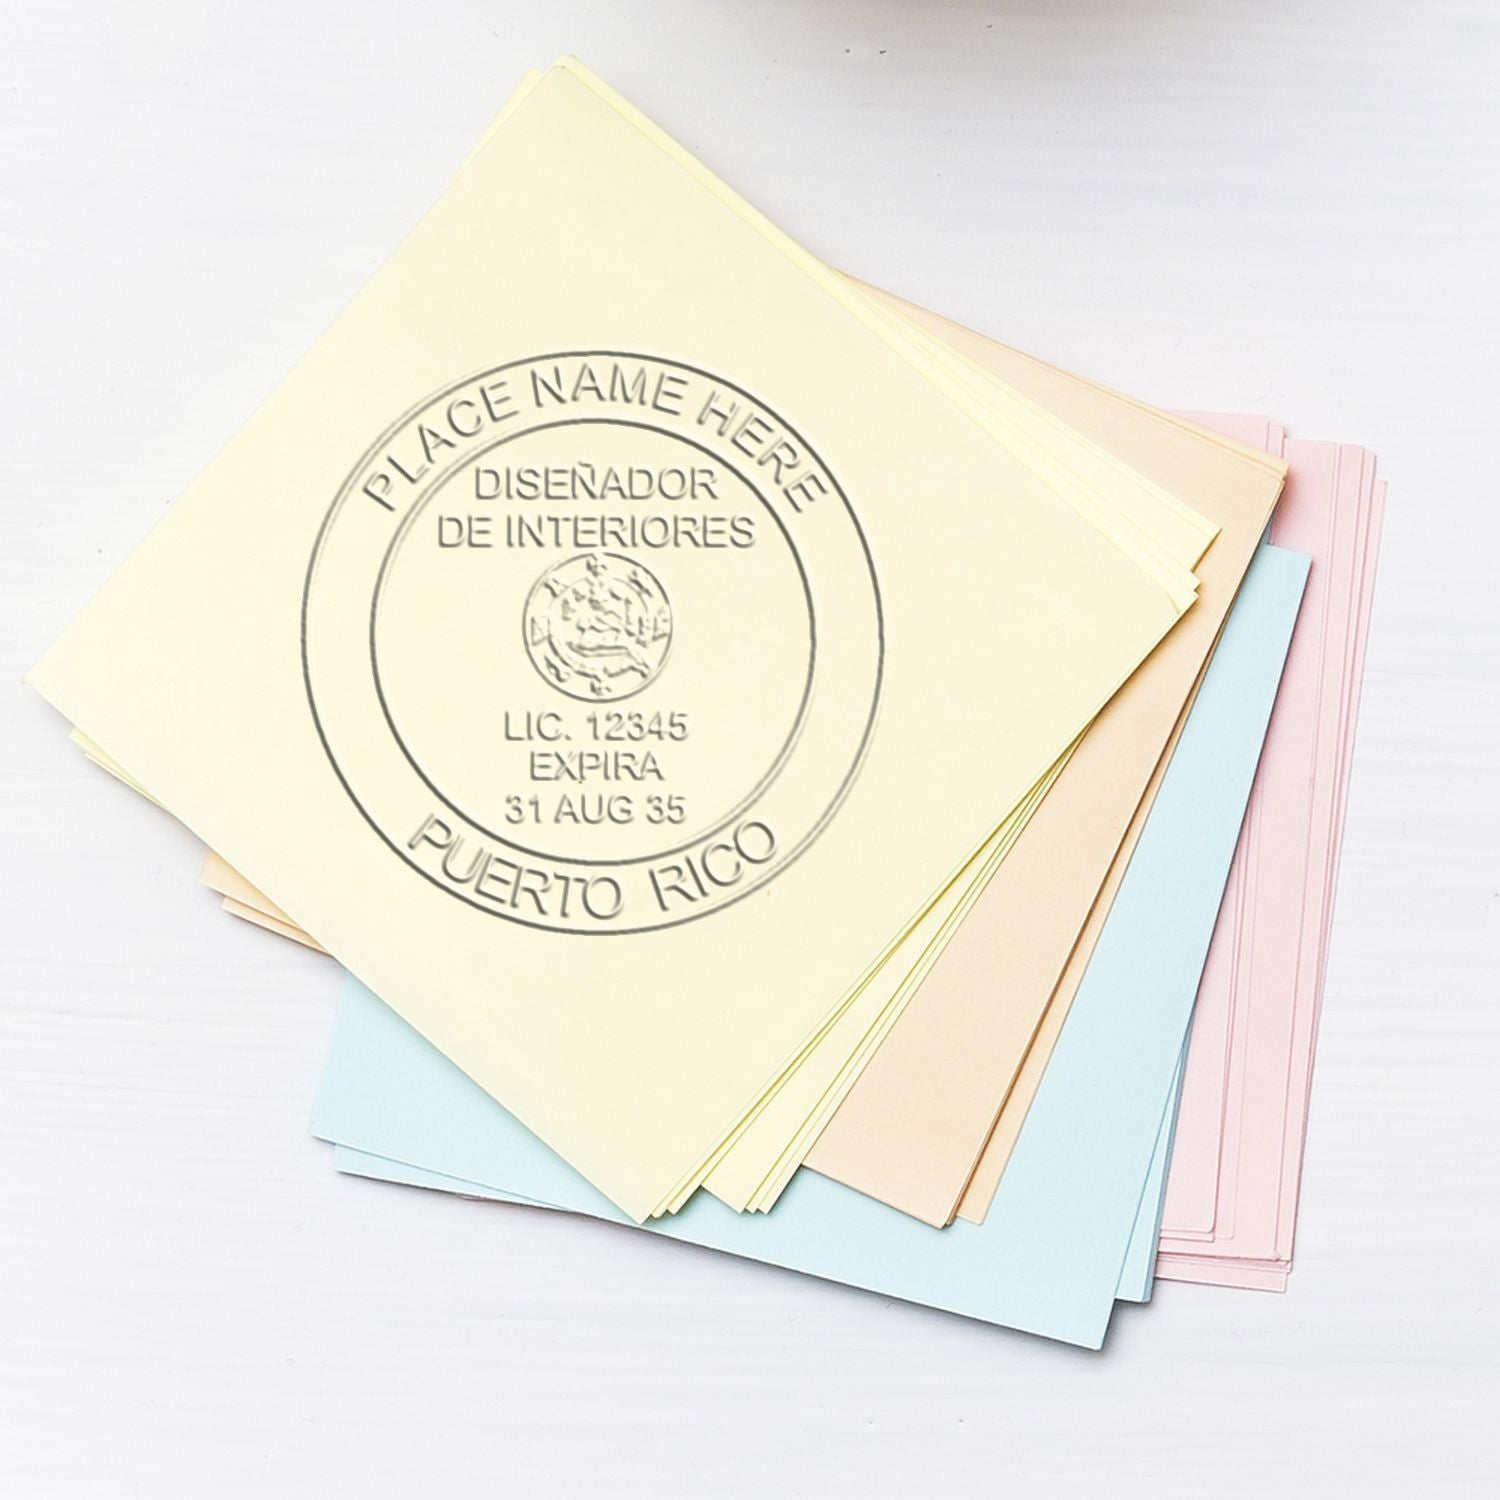
Work With A Trusted Supplier
Picking the maker matters more here than usual, because there is no specification to fall back on. You want a clean die, a mount that holds alignment, and someone who will look at your wording before anything is cut.
Acorn Sales has been serving design professionals for more than 60 years. With an order you get:
- A free electronic seal. The same artwork as a high-resolution file for electronic submissions and presentations.
- A proof before production. Shown at actual size so you can judge legibility rather than guess at it.
- Straight answers on wording. Including telling you, as this page does, that Rhode Island prescribes nothing here.
- Materials that last. Rubber stamps, embossers and seals built to hold a crisp impression through daily use.
If you want a second opinion on your text before you order, contact us with what you have in mind.
Comparing Stamp Options
| Format | Setup | Best For | Upkeep |
|---|---|---|---|
| Rubber Stamp | Ink pad, separate or built in | Everyday marking, sets that get copied or scanned | |
| Hand Embosser | Presses a raised impression | Originals, cover sheets, copies a client keeps | Keep the die clean and dry |
| Electronic Seal | Image file placed in a PDF | Emailed sets, client portals, digital proposals | Keep a backup and restrict access |
Each has its place. If most of your work leaves as a PDF, the electronic file carries the load. If you hand over printed sets and proposals, the physical device adds the finishing touch. Designers who work both ways usually order one physical device and keep the matching file on hand, so a printed cover sheet and an emailed set carry the same mark rather than two versions drawn a year apart.
Recap And Next Steps
There is no Rhode Island interior designer seal application, because there is no Rhode Island interior designer credential. What that leaves you is a design decision and a purchase, both of which you control.
- Skip the search for forms and fees. Neither exists for this profession.
- Decide your name, studio name and title line, and keep them accurate.
- Leave off anything that implies a state registration or a state license number.
- Pick the format that matches how your documents travel, and take the electronic file.
- Read the proof closely before you approve it.
Your mark is not a credential. It is a piece of your presentation, and one of the least expensive pieces. A drawing set that arrives with a clean impression beside a signature reads as work from someone who pays attention, which is the impression you wanted the application to give you in the first place.
Frequently Asked Questions
Do I Need An Interior Designer Seal In Rhode Island?
No. Rhode Island does not license or register interior designers, so no rule asks you to own or use a seal, whether you practice full time or part time. Designers buy one because a clean impression beside a signature makes proposals, schedules and drawing sets look finished and shows who prepared them.
Where Do I Get The Application Form?
There is no form. No Rhode Island board issues an interior design credential, so there is nothing to apply for, no fee to pay and no waiting period before you can order a stamp.
Can My Seal Expire?
The device does not expire and there is no Rhode Island license behind it to lapse. The only reason to reorder is a change in what the mark says: a new name, a new studio name, or a credential from elsewhere that has changed or ended.
Should I Use A Rubber Stamp Or An Embosser?
Whichever suits the page. A rubber stamp is faster and reproduces well on copies and scans. An embosser gives a raised impression that looks formal on an original. Some designers keep both and use each where it belongs.
How Do I Get My Free Electronic Seal?
It comes with your order from Acorn Sales. We send a high-resolution file of the same artwork as your physical device, ready to place in digital documents. Keep it somewhere backed up and restricted to you.








