
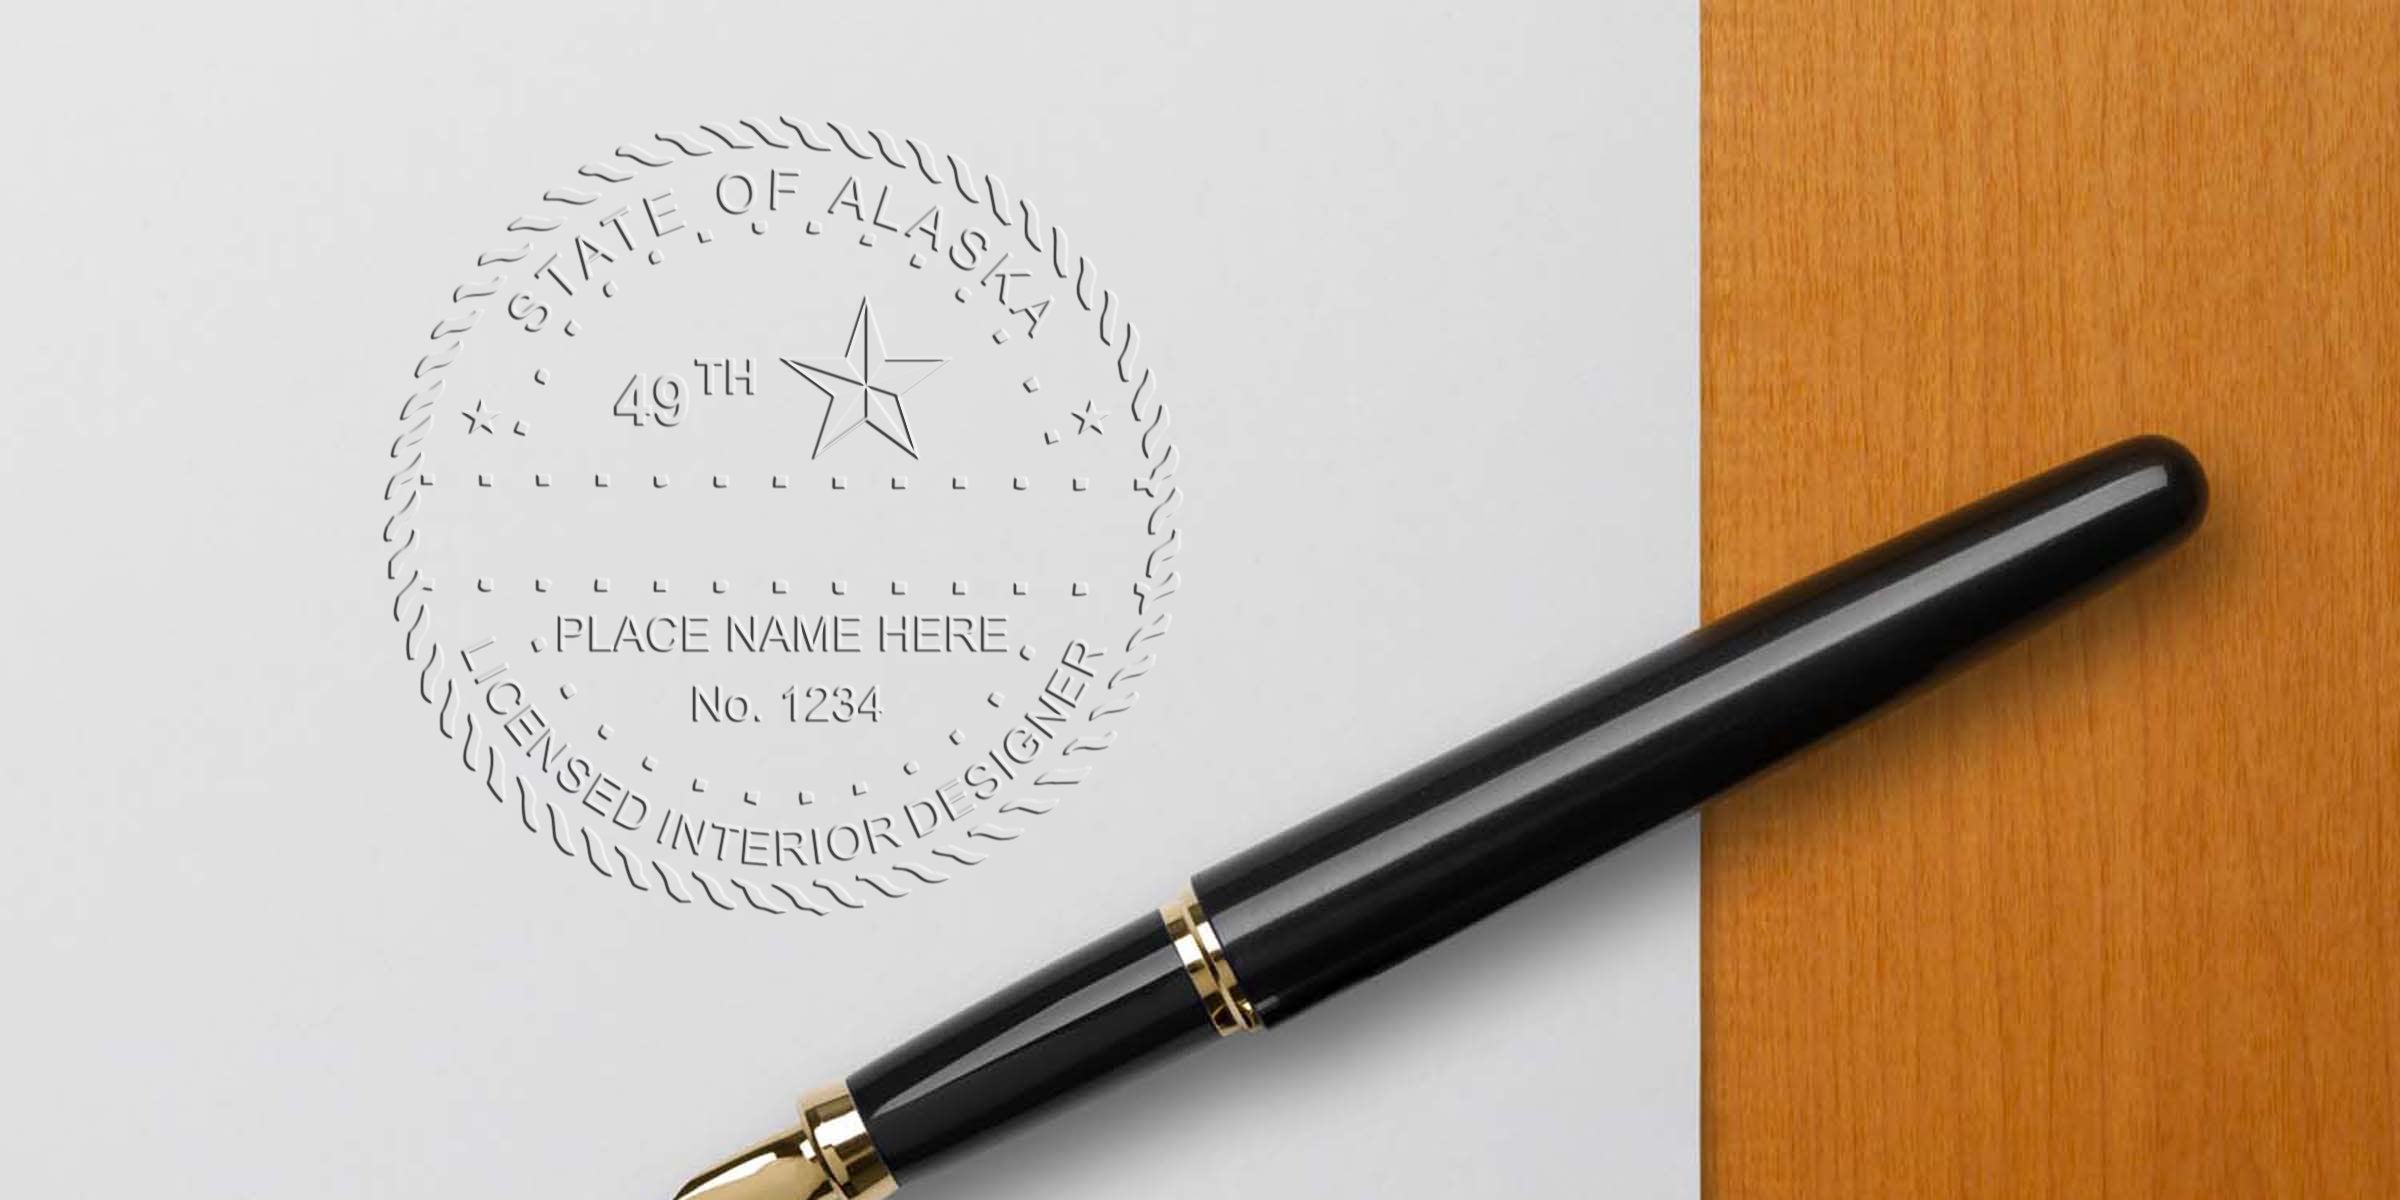
It’s easy to feel overwhelmed by the official paperwork and credentials you need as a working interior designer in Alaska. If you’ve heard about the Alaska Interior Designer Seal and wondered how it fits into your day-to-day practice, you’re in the right place. Having this seal, and knowing how to use it properly, can make all the difference in showcasing your professional status and meeting regulatory requirements.
In this post, you’ll learn what the Alaska Interior Designer Seal is, why it matters for your projects, and how you can quickly obtain one. We’ll also introduce you to a trusted supplier for these seals and stamps, plus share helpful tips to keep your credentials organized. Stick around for the FAQ section at the end, where we’ll answer the most common questions you may have about the process.
Discover The Alaska Interior Designer Seal
The Alaska Interior Designer Seal is an official mark that licensed interior designers use on drawings, specifications, and other project documents. Think of it like a signature that says, “Yes, I’m qualified to make these design decisions, and I stand behind this work.”
What Exactly Is It?
Your seal is usually an impression made on paper, creating a raised or inked design that includes your name, license number, and the phrase that identifies you as an interior designer in Alaska. When you see that seal, it’s an immediate signal to clients, firms, and regulatory authorities that your documents align with recognized standards.
Why You Need One
In many states, professional documentation requires an official seal or stamp before it’s considered valid. Alaska is no exception. Using a seal:
- Validates your professional credentials
- Helps you meet state licensing requirements
- Reinforces trust with clients, government offices, and contractors
Once you start using your seal, you’ll find it becomes a normal part of your workflow. It’s typically pressed onto final drawings or official forms to certify that a licensed professional—namely you—has reviewed and approved the design work.
Why This Credential Matters
Designers often spend years perfecting their craft, but regulatory compliance can still feel daunting. Why invest in getting an official seal right now? Because doing so can establish your credibility, keep you on the right side of Alaska’s design laws, and save you from hiccups later.
Boosting Your Professional Standing
In creative industries, reputation is everything. When you add the Alaska Interior Designer Seal to a document, you’re subtly telling people, “I’m rigorous about my design, and I follow the rules.” Potential clients might not know every detail of Alaska law, but they do recognize high standards. If the seal is missing, they might question your legitimacy.
Avoiding Legal and Financial Risks
Ignoring official requirements could lead to penalties, legal trouble, or projects being delayed. That’s a headache for you and a frustration for your client. If your drawings lack a proper seal, you run the risk of having to redo work, or in the worst-case scenario, paying fines. The simple act of applying the right credential significantly reduces those risks.
Meet The Alaska Requirements
Before you can officially claim your Alaska Interior Designer Seal, you need to confirm that you meet the necessary licensing criteria. The state of Alaska has specific guidelines that determine who can use the seal, so let’s break that down.
Licensing Basics
Alaska typically requires:
- Completion of an accredited interior design program
- Passing of relevant exams (for example, the NCIDQ exam)
- Fulfillment of any experience or apprenticeship requirements you need under state law
Once you fulfill these steps, you’re generally eligible to apply for an interior designer license in Alaska. With that license number in hand, you’re ready to get your seal.
Keeping Your License Current
Remember to stay on top of any continuing education requirements or license renewals. If your license lapses, your seal might no longer be valid. Most designers set a calendar reminder for renewal dates so they never miss a beat. After all, you’ve worked hard to earn your credentials—don’t let them slip away because of a missed date.
Obtain And Use Your Seal
Ready to make it official? Obtaining and using your seal can be a straightforward process once you’ve met the licensing criteria. Let’s walk through the main steps.
Placing Your Order
Many designers order their seal or stamp from a reputable supplier once their license number is confirmed. This supplier customizes the seal with your name, license number, and any state-specific text required. If you also want to explore options for an Alaska Interior Designer Stamp, you can learn more at the alaska interior designer stamp resource.
Applying The Seal Correctly
Once you have the seal in hand, here’s what you need to do to ensure each project document is properly labeled:
- Double-check that the correct name and license number are on the seal.
- Position the seal on the document in a clear, easily visible spot—usually near the designer’s signature block.
- Ensure even pressure when embossing or stamping to avoid smudges.
Digital vs. Physical Seals
Modern practice sometimes calls for digital submissions. Many suppliers now offer free electronic versions of your seal, which come in handy for e-filed projects. If you’re planning to email or upload official docs, a digital seal can save you the hassle of scanning. However, keep a physical seal on standby for offices or agencies that require paper copies.
Partner With Acorn Sales
When shopping for a reliable seal, you want a company that understands the ins and outs of state requirements. At Acorn Sales, you’ll find a trusted supplier for Alaska Interior Designer stamps and seals. We’ve been in the game for over 60 years, constantly refining our craft so you get a high-quality product that meets all the legal specifications.
Why Choose Acorn Sales?
Here’s what you can expect when you partner with us:
-
Free Electronic Stamp Included
We know you’re busy juggling site visits, sample boards, and client meetings. That’s why we include an electronic seal version at no extra cost, making it faster to stamp your drawings digitally. -
Decades Of Expertise
After more than six decades of producing official seals and stamps, we understand the subtle details that each state requires. You won’t have to worry about compliance errors. -
One-Stop Shop
We focus on providing a full range of professional marking tools, from embossers to self-inking stamps, so you can set yourself up with everything you need in one go.
If you have additional questions about selecting the right product, Acorn Sales’ friendly team can walk you through features and customization options.
Additional Tips And Best Practices
Securing your credentials is just the first step. You’ll also want to store and use them responsibly. The Alaska Interior Designer Seal isn’t something you’ll toss in a drawer and forget. Here are some habits to help maintain the quality and integrity of your seal.
Storage And Maintenance
- Keep your embosser or stamp in a dry, stable area to prevent warping.
- Test it periodically on scrap paper to make sure the impression remains crisp.
- If you have a self-inking model, refill it with the correct ink suggested by the manufacturer.
Comparing Seals And Stamps
Sometimes, you might use an embosser, while other times, a rubber or self-inking stamp is more convenient. Here’s a quick comparison:
| Feature | Embossing Seal | Rubber or Self-Inking Stamp |
|---|---|---|
| Primary Impression | Raised design on paper | Ink mark on paper |
| Ideal Document Types | Certificates, thicker stock | Blueprints, everyday design prints |
| Maintenance Needs | Minimal, rarely needs re-inking | Replace ink pads or re-ink regularly |
| Suitability | Formal or elegant look | Quick, efficient, and easily readable |
You may find that using both types of tools is helpful, especially if you handle a variety of documents.
Staying Organized
Try creating a checklist for each project to ensure you never forget an essential step. Your list might include:
- Confirm license is current
- Prepare relevant drawings
- Apply your seal in the designated area
- Scan or save a digital copy
- File completed documents in a secure folder
With a solid routine, applying your seal becomes second nature. By building these habits, you’ll keep your paperwork smooth and consistent across all projects.
Wrap Up And Next Steps
The Alaska Interior Designer Seal is more than just a formality. It’s a tangible marker of your professional commitment, proof of your hard-earned qualifications, and a key step to remaining compliant with state rules. By knowing how the seal works, why it matters, and who you can trust to create it, you’ll save yourself future headaches and reinforce your integrity in every project.
If you’re ready to get started, reach out to a verified supplier like Acorn Sales for a personalized solution, complete with a free electronic stamp. Alongside your seal, consider building a reliable system to track important deadlines, maintain your license status, and keep your design documents in order. With the right approach, you’ll be stamping your projects confidently and focusing on what really matters—delivering standout interior designs for your clients.
Frequently Asked Questions
Do I need separate seals if I’m licensed in multiple states?
Yes. Each state has its own regulations and required wording, so be sure to get the correct seal for every state in which you practice.
How do I know my seal meets Alaska’s specific guidelines?
When you order from a seasoned supplier like Acorn Sales, your seal is crafted according to the state’s guidelines, including license number format and seal text.
Can I use a digital seal for all my official documents?
That depends on each agency’s requirements. Many Alaska offices accept electronic documents, but check if they need a raised or inked seal for archival records. Cover all bases and keep both versions on hand.
How soon can I start using the seal once I receive it?
As soon as your license is active and you have your physical seal, you can begin stamping. Just remember to confirm your license details match the seal’s imprint.
What happens if I change my name or license details?
You’ll need to update your seal. Some states permit a slight grace period, but it’s best to order a new seal right away to stay accurate.








