
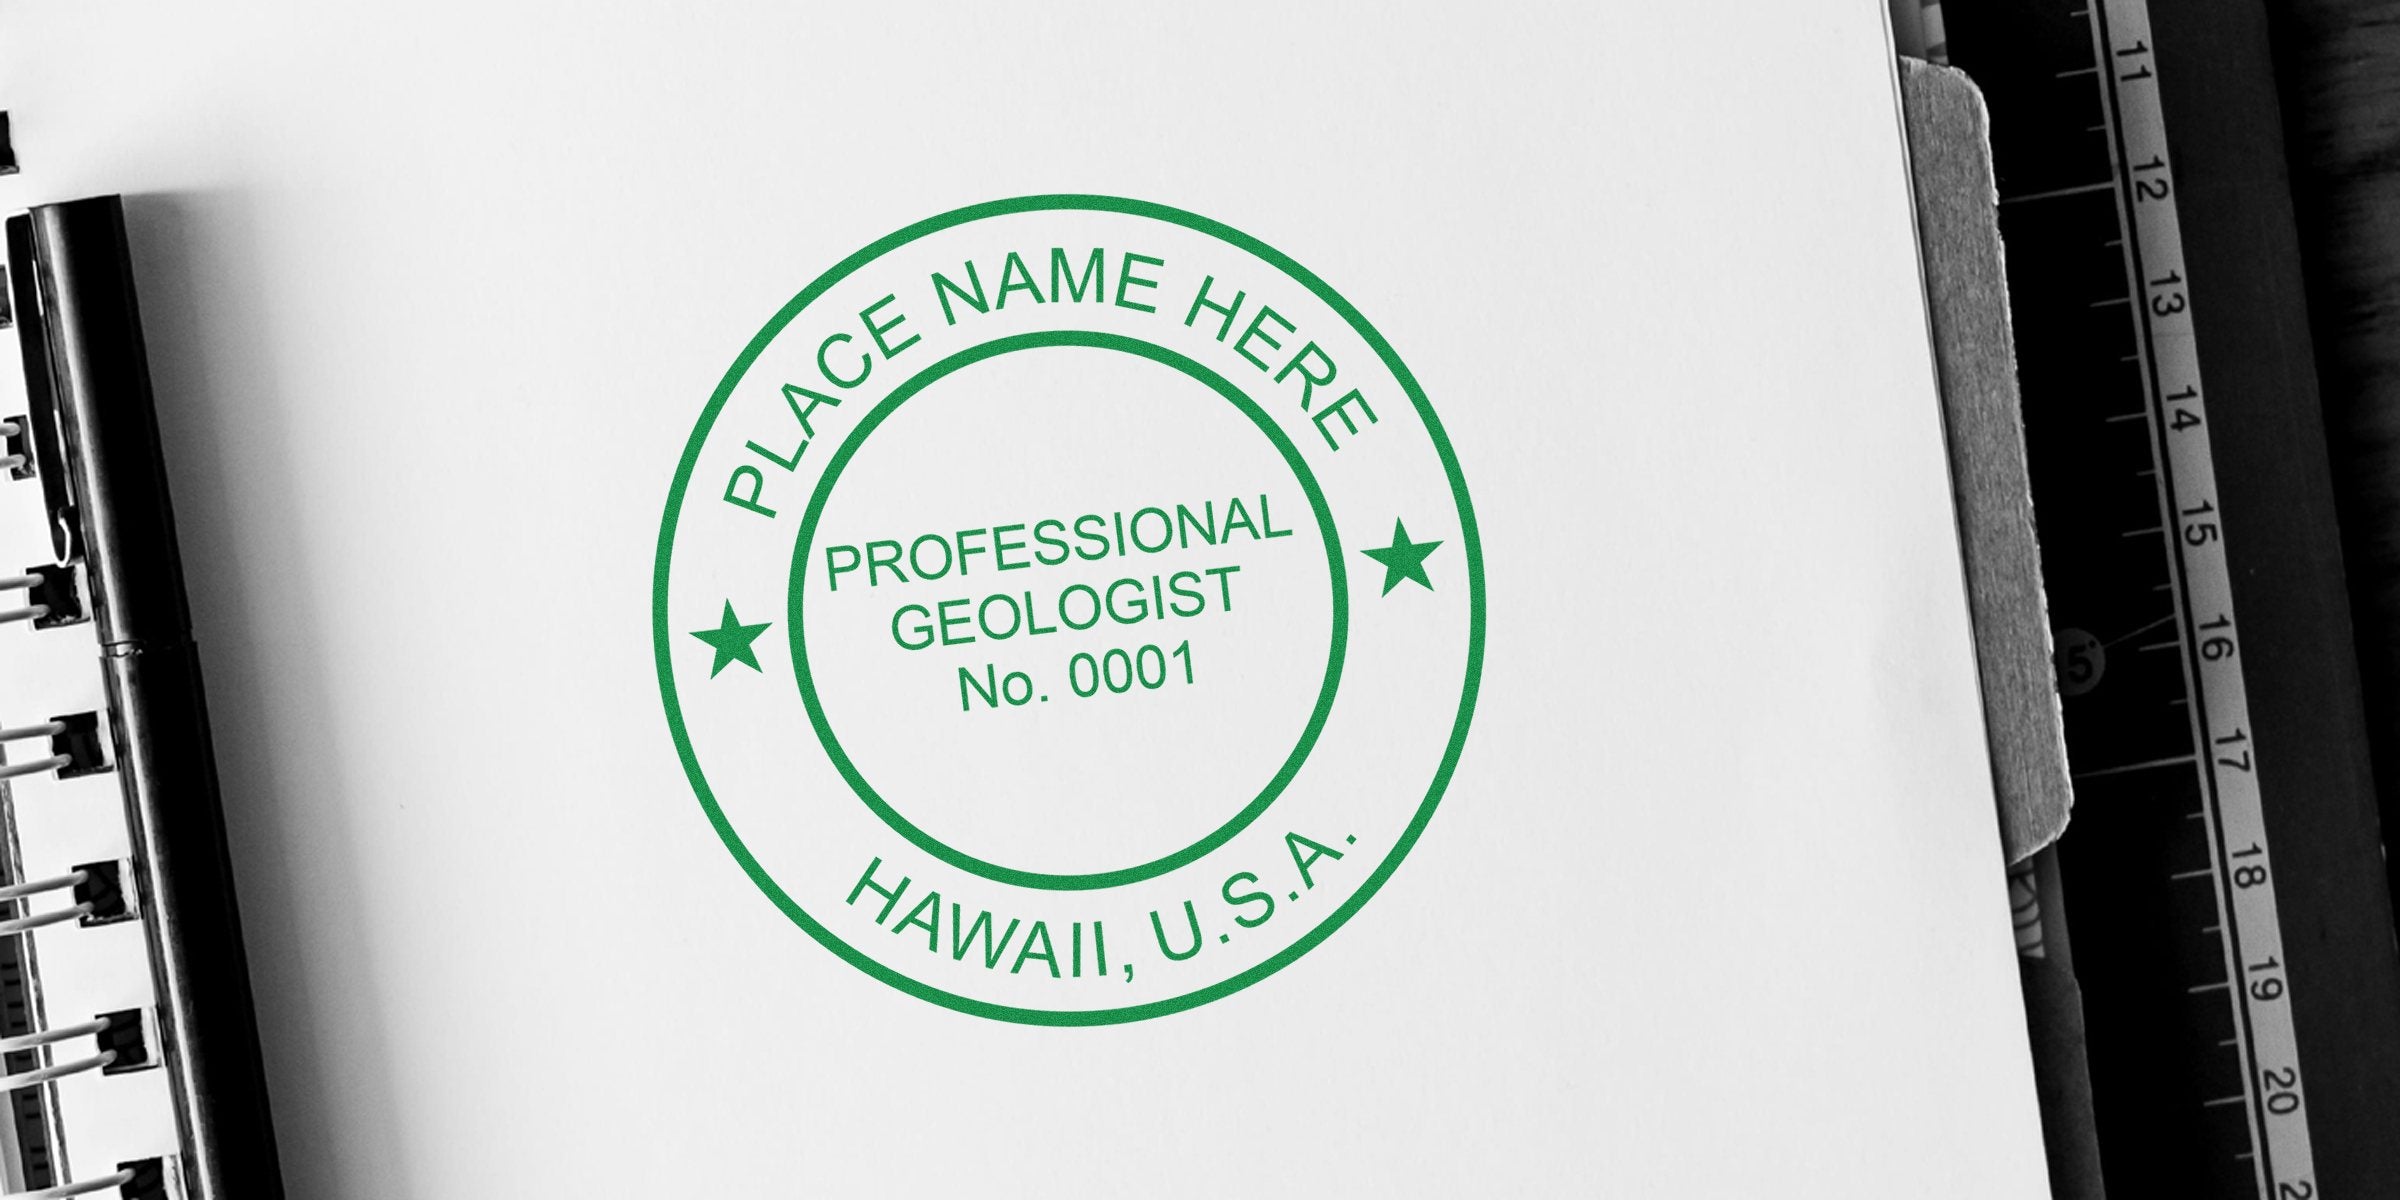
If you’re stepping into a new role as a professional geologist in Hawaii, it’s natural to wonder what official tools you’ll need to operate smoothly. One key item is your Hawaii Geologist Stamp, which validates your work and ensures you comply with state regulations. This little device, whether it’s a traditional rubber stamp or an embosser, does more than just put ink on paper. It represents your professional credibility in a field where precision and reliability truly matter. In this guide, you’ll discover what goes into getting started, including requirements, best practices, and how to choose a reputable supplier.
You might be asking, “Doesn’t a seal do basically the same thing?” In many contexts, the stamp and seal can be used interchangeably, but each might have specific guidelines or design elements you must follow. By the time you finish reading, you’ll know exactly what to check off your list to get properly stamped, sealed, and ready to practice geology in Hawaii.
Understand Your Professional Obligation
Before you invest time and money in any official marking device, it helps to understand why you need one in the first place. As a geologist, you’re not just exploring rocks and formations—you’re often providing assessments that affect public safety, environmental protection, and property decisions. That’s a hefty responsibility. The state of Hawaii requires a clear indication on documents that a licensed professional geologist has carefully supervised or performed the work.
When you affix your stamp and signature, you’re confirming your expertise and your commitment to ethical standards. This process can include anything from environmental impact studies to geotechnical evaluations. If you think about it, the stamp is like your personal footprint on the project, reminding anyone who reads your report that you stand behind its accuracy.
So why does Hawaii require this layer of proof? By mandating a stamp, they’re safeguarding the public interest. Just as a licensed architect or engineer must sign off on structural designs, a geologist’s stamp adds credibility to geoscience-related documents. It reassures clients and regulatory agencies that your professional input isn’t just a guess—it’s backed by formal training, continuing education, and adherence to Hawaii’s legal framework.
Know The Rules And Guidelines
Learning the rules around your stamp usage isn’t just busywork. It’s what keeps your professional license in good standing and ensures your documentation is accepted by Hawaii’s oversight bodies. The Hawaii geologist stamp regulations define how you should display your credentials on official reports, drawings, and digital files.
-
Identify Legal References
- If you’re unsure about any specific rule, you can skim through the official Hawaii geologist stamp regulations. These policies clarify everything from where you place your stamp on each page to which documents must bear your seal of approval.
-
Look for Updated Guidelines
- Regulations can occasionally change. Staying current with state updates or bulletins is key. For instance, you might discover new rules about digital stamping or emerging security measures to prevent tampering.
-
Consult Official Sources
- Official sources often provide a comprehensive overview of the licensing procedure—valuable if you’re migrating from another state or renewing an existing license. You can also review our quick-reference Hawaii geologist stamp guidelines to see how these rules play out day to day.
No two geologists face the same scenario. Some of you might be focused on volcanology, while others specialize in ground-water analysis. Whatever your niche, correctly applying the stamp makes your work legitimate in the eyes of Hawaii’s regulatory boards. That sense of legitimacy goes beyond just “following the law.” It’s an emblem of professionalism and trust in all your documents.
Keep Track Of Stamp Specifications
In Hawaii, the official stamp must meet certain visual, textual, and dimensional standards. Skipping these details can derail your entire licensing effort, so let’s go over them one by one.
Dimensions and Design
You’ll typically see a circle or rectangular border that contains your name, your license number, and a reference to the state of Hawaii. The layout may look strict—because it is. If you haven’t yet explored these more technical details, check out the Hawaii geologist stamp specifications. You’ll find info on graphics, fonts, and precisely what text should appear.
- Alaska or California might allow bigger or smaller shapes, but Hawaii does have its own preference for diameter or width.
- For instance, the Hawaii geologist stamp size usually falls within a specific range to ensure legibility.
When you’re dealing with official documents, clarity matters. If your stamped text is too big, it might bleed over margins or cover essential data. Too small, and you risk the final print being illegible upon submission.
Formatting Tips
- Choose high-quality ink that doesn’t smudge or fade.
- Center your name and license number, matching the alignment guidelines.
- Preview your stamp on sample documents to confirm visibility.
From the color of the ink to the thickness of the border line, each detail has a purpose. If you follow the official professional geologist stamp hawaii guidelines, you’ll significantly reduce the chance of your documents getting rejected for technical reasons.
Plan For Ongoing Costs
A geologist’s work doesn’t end once you secure your license. Neither do the expenses. Everything from document fees to periodic renewals can affect your bottom line, and the stamp itself might be subject to replacement or reordering over time.
-
Initial Purchase vs. Replacements
- The initial cost includes both the physical stamp and any setup fees. Over time, you may need re-inking, re-embossing, or entirely new stamps. A quick visit to the Hawaii geologist stamp cost page outlines typical pricing so you can budget accordingly.
-
Renewal Cycles
- Hawaii may require that you renew the validity of your stamp use at regular intervals. While geologist licensing terms vary, you can often find these details on state licensing websites or in official bulletins.
-
Digital Options
- Electronic stamps might reduce some administrative or shipping costs. However, read the hawaii geologist stamp information carefully to see whether digital stamps are fully accepted for all your applications. Where accepted, going digital could cut a few steps from your workflow.
Setting aside funds each year for these recurring costs protects you from unpleasant surprises. After all, you don’t want to scramble to renew at the last minute. Staying on top of stamp expenses keeps your professional record spotless, ensuring you never have to put a project on hold because your stamp is out of date.
Select A Trusted Supplier
You’ve got the guidelines, the dimensions, and the cost in mind, but how do you find a reliable vendor to craft your stamp? This purchase isn’t like ordering office pens. If the quality is subpar, you risk smudged ink or a metal embosser that breaks during peak project season.
Why Acorn Sales Is Unique
Let’s be honest. You want this process to go smoothly, so your best bet is a supplier that has a proven track record in creating official, regulatory-compliant stamps. Acorn Sales has been in business since 1964, serving many professionals who need to meet specific state requirements. Thanks to decades of experience, they understand the smallest details that can make or break an official geologist seal.
- Customization. Each stamp is crafted to match your state’s guidelines precisely.
- Free Digital Seal. You’ll receive a digital version of your stamp, so you can stamp electronically where accepted.
- Reliability. With over 60 years of consistent quality, Acorn Sales is firmly established as a go-to resource.
When you’re picking a stamp, you also want to ensure your seal matches seamlessly. If you need help designing your Hawaii geologist seal, check out the hawaii geologist seal template to see how aesthetics and compliance can align perfectly. For more on the official physical seal itself, you can learn about the hawaii geologist seal to confirm that your final product checks all the right boxes.
Learn Practical Tips
You might be wondering, “Isn’t it just about pressing the stamp onto a page?” Actually, there’s more to professional stamping than that. It involves knowing when, how, and where to apply your official mark so that it remains clear in archiving, scanning, and compliance checks.
-
Ensure Clean Impressions
- Before you make your first stamp on an official document, practice on scratch paper. If the ink is thin or uneven, it might be time to re-ink your pad. Trying out the impression in different spots also helps you see positional errors or alignment issues.
-
Store Your Stamp and Seal Properly
- You’ll want to keep them in a cool, dry place, away from direct sunlight or moisture. A protective case is ideal. Heat and humidity can degrade rubber stamps and cause embossers to rust over time.
-
Consider Document Layout
- Always place your stamp in a spot that doesn’t obscure vital data. It’s good practice to include a designated stamping zone on your standard templates, just so you’re never fiddling around for space.
-
Cross-Check Requirements
- Certain documents mandate multiple page stamps. In other situations, one stamp on the cover page could suffice. You never want to guess here—review the relevant hawaii geologist stamp guidelines or your project specs.
These practical pointers might seem obvious, but many new geologists face small oversights that lead to document rejections or unhappy clients. A little forethought goes a long way in maintaining a professional image. Remember, your stamp is an extension of your expertise, so treat it with the care it deserves.
On average, you can expect to receive your stamp within a few business days to a couple of weeks, depending on customization. Be wary of any supplier promising instant results without verifying compliance. The process is fast, but it shouldn’t be rushed to the point of risking errors.
As you step forward in your geology career, getting your Hawaii geologist stamp is more than a box to check. It also helps you establish a reputation for thoroughness and accuracy in a field that’s all about investigating the natural world. By understanding state regulations, planning for renewal costs, and picking a trustworthy supplier, you’re on a strong path toward building a successful practice. Once that stamp is in your hand, you’ll be ready to mark your work—and your professional commitment—with confidence.
Frequently Asked Questions
Do I Need Both a Stamp and a Seal?
It often depends on your specific projects. Some agencies require an embossed seal for paper documentation, while others accept inked stamps. Check the hawaii geologist seal guidelines for a better sense of how both tools might fit your needs. You can also explore digital options if permitted.
How Do I Get a Digital Version of My Stamp?
Many reputable suppliers, including Acorn Sales, offer a free digital seal alongside the physical stamp. The digital file is typically in a high-resolution format (like a PNG or JPG). Always confirm whether your licensing board fully recognizes the digital mark before you submit any official documents.
Can I Redesign My Stamp After Purchase?
You can, but you should verify whether the redesign disrupts the official dimensions or text layout. If the updated design still meets Hawaii’s standards, it might be suitable. However, even minor changes (like adjusting a border or font size) can invalidate your stamp if they conflict with the hawaii geologist stamp size or design guidelines.








