
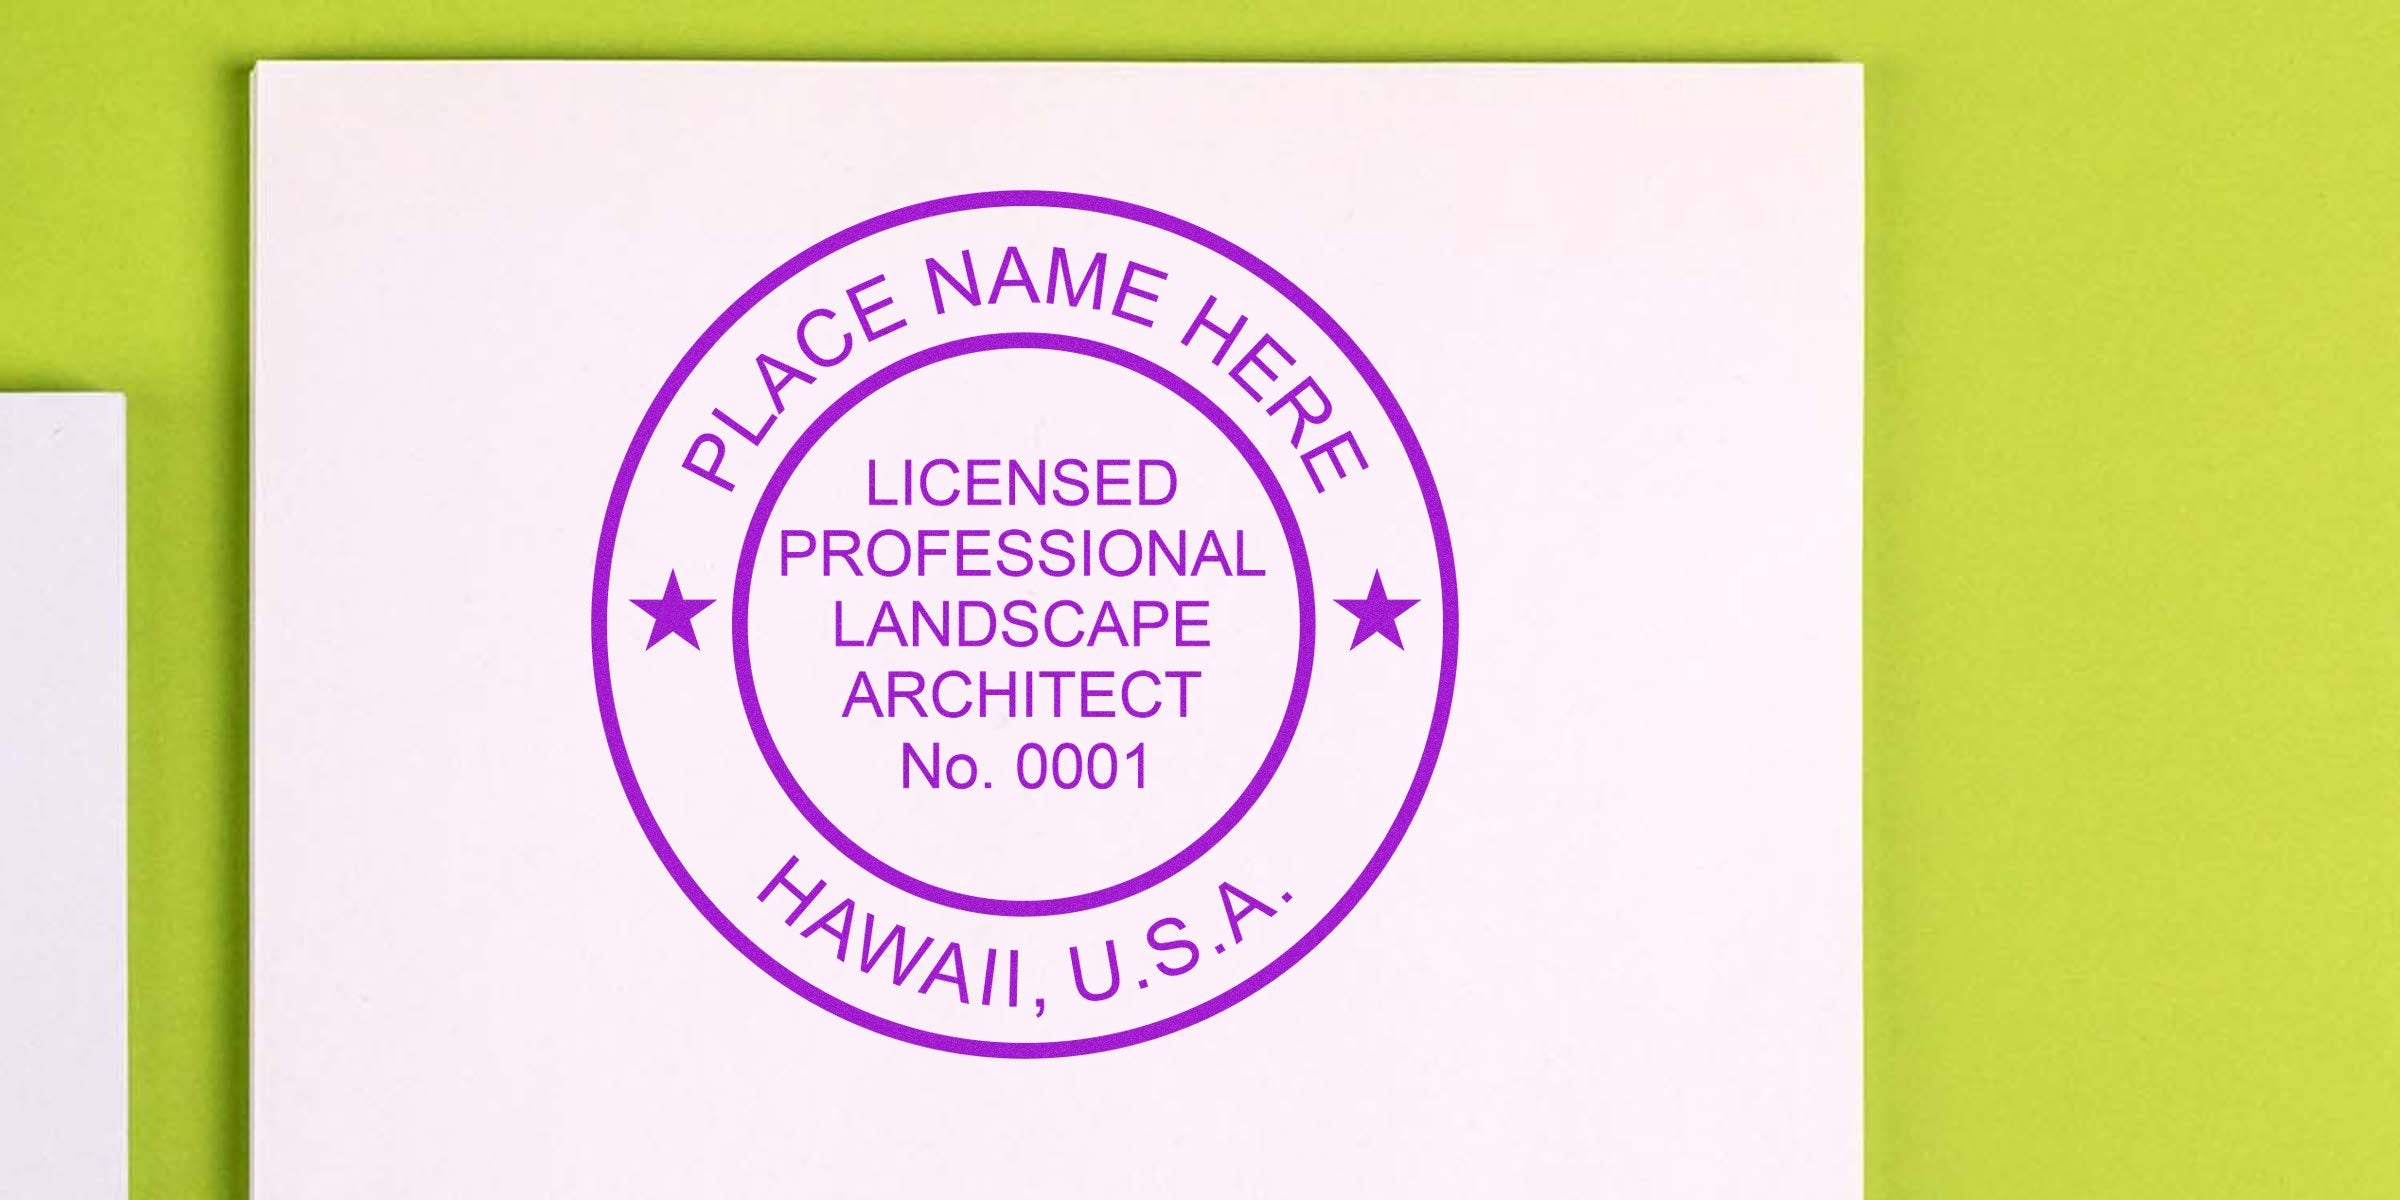
If you’ve been curious about hawaii landscape architect seal embossing, you’re in good company. Embossed seals aren’t just for adding flair. They also confirm your professional credentials, which matters a lot in a competitive landscape architecture market. You want to ensure that your seal is completely valid in Hawaii, easy to apply, and tough to tamper with. Let’s talk through everything you need to know, from what embossing really means to keeping your paperwork squeaky clean.
Know The Purpose
Your seal is more than an artistic accent, it’s a legal mark of your professional authority. Whenever you finalize drawings, specifications, or designs for a project, the state expects a clear, identifiable seal. If you’re a licensed landscape architect in Hawaii, you’re following specific state guidelines. It’s like your official signature, but raised on paper.
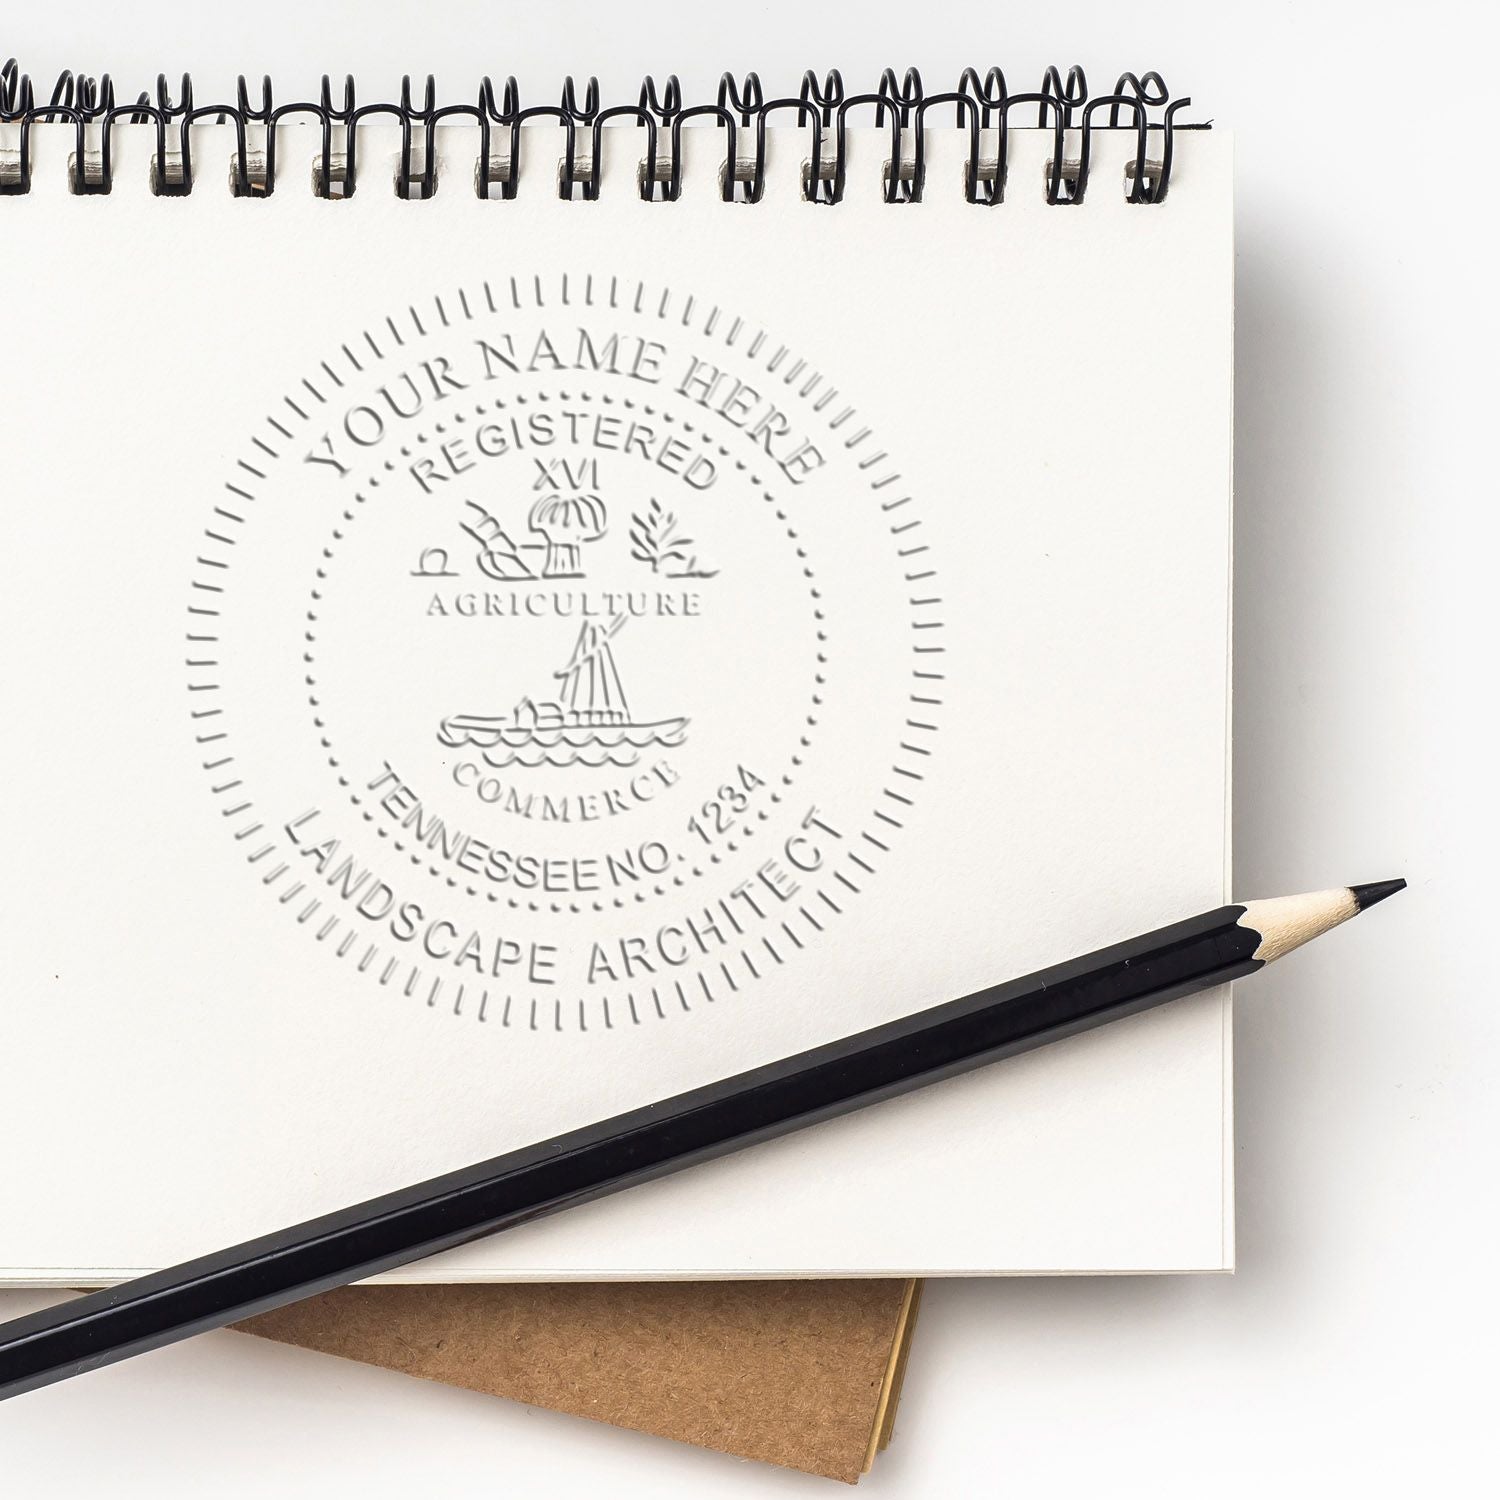
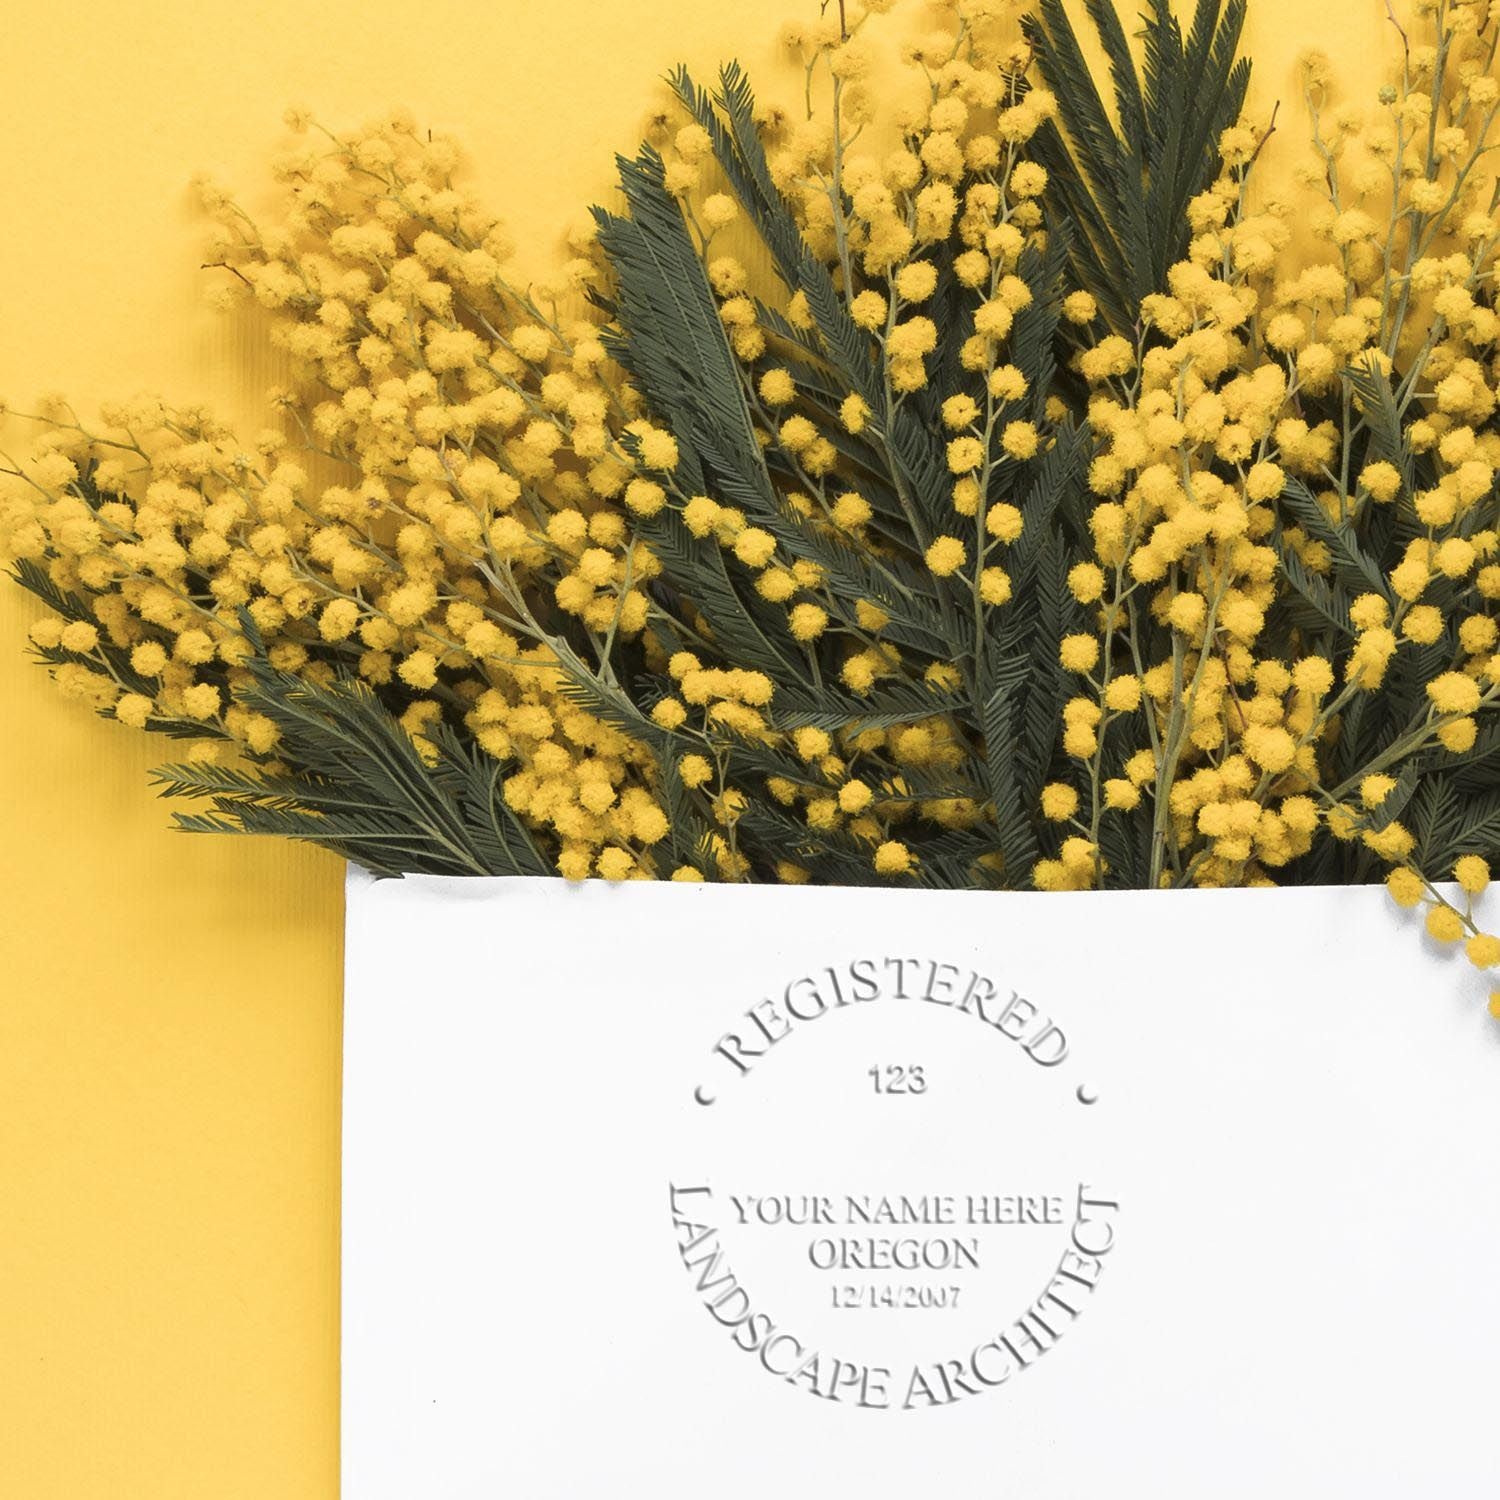
Why emboss instead of using another format? An embossed impression stands out visually, and it’s difficult to forge. By pressing the seal into the paper, you’re showing that each page is genuine. You could think of it like stamping your personal ID on all your official project documents. When clients, contractors, or government agencies see that embossed impression, they know it’s authentic and meets the state’s professional requirements.
On top of that, an embossing tool is portable if you choose a handheld style, or it can be desk-mounted if you prefer more stability. Either way, your seal makes a statement. People might ask, “Why not just print a digital image?” Well, digital seals can be convenient, but many documents still require an embossed imprint. It’s wise to stay prepared for both formats, so you cover all bases. In fact, some suppliers, like Acorn Sales, include a free digital seal when you purchase a physical one, handy for those times when you need a digital backup.
Follow Hawaii Requirements
It’s not enough to have a seal; you need one that meets Hawaii’s rules. The state often stipulates specific size, wording, and layout for your seal or stamp. Usually, you’ll see phrases like “Registered Landscape Architect” and your license number placed around the circular design. The text and numbers must be crystal clear so there’s no confusion over who’s responsible for the work.


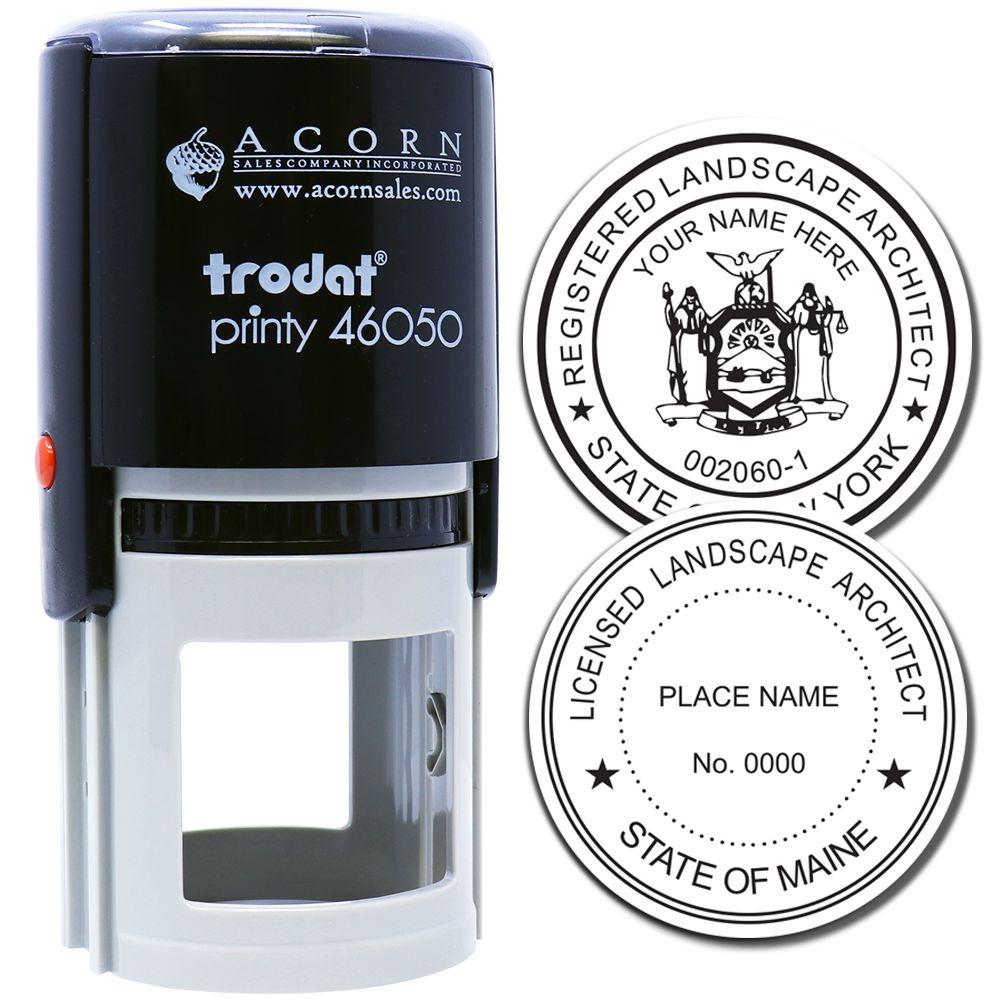

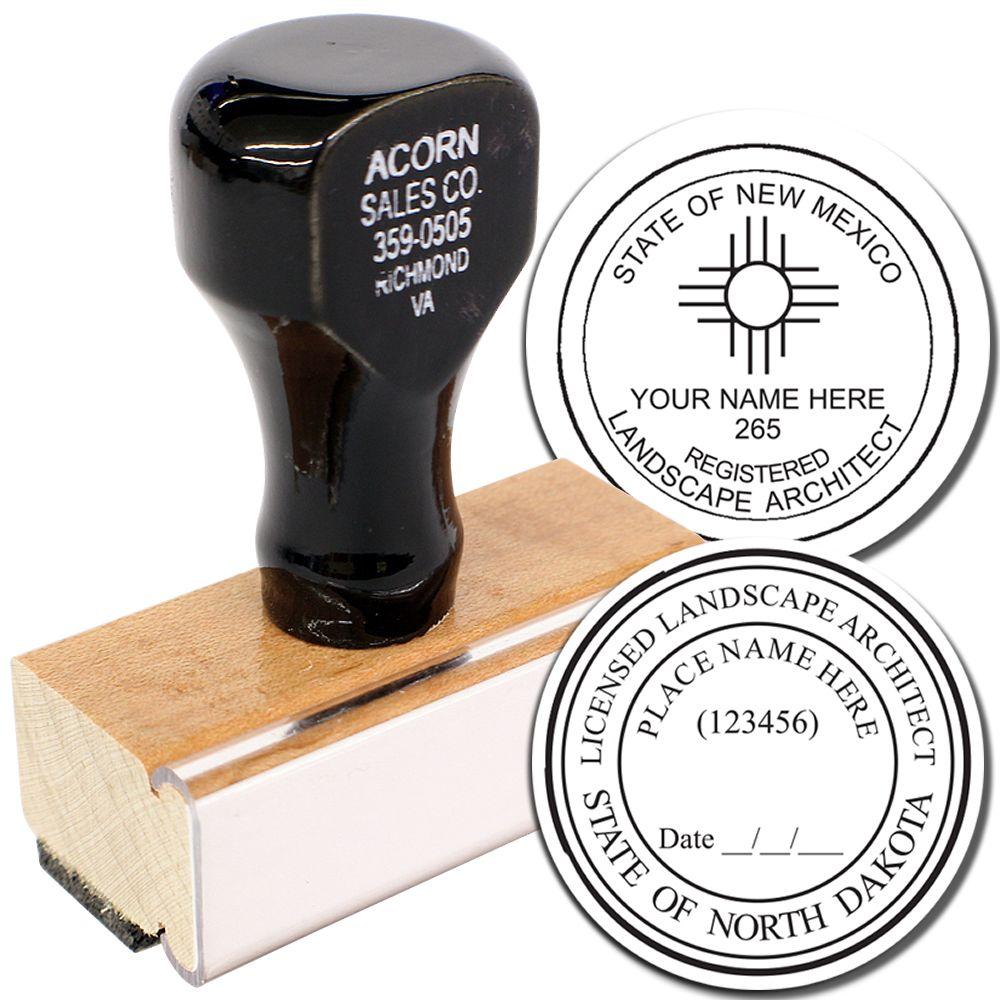
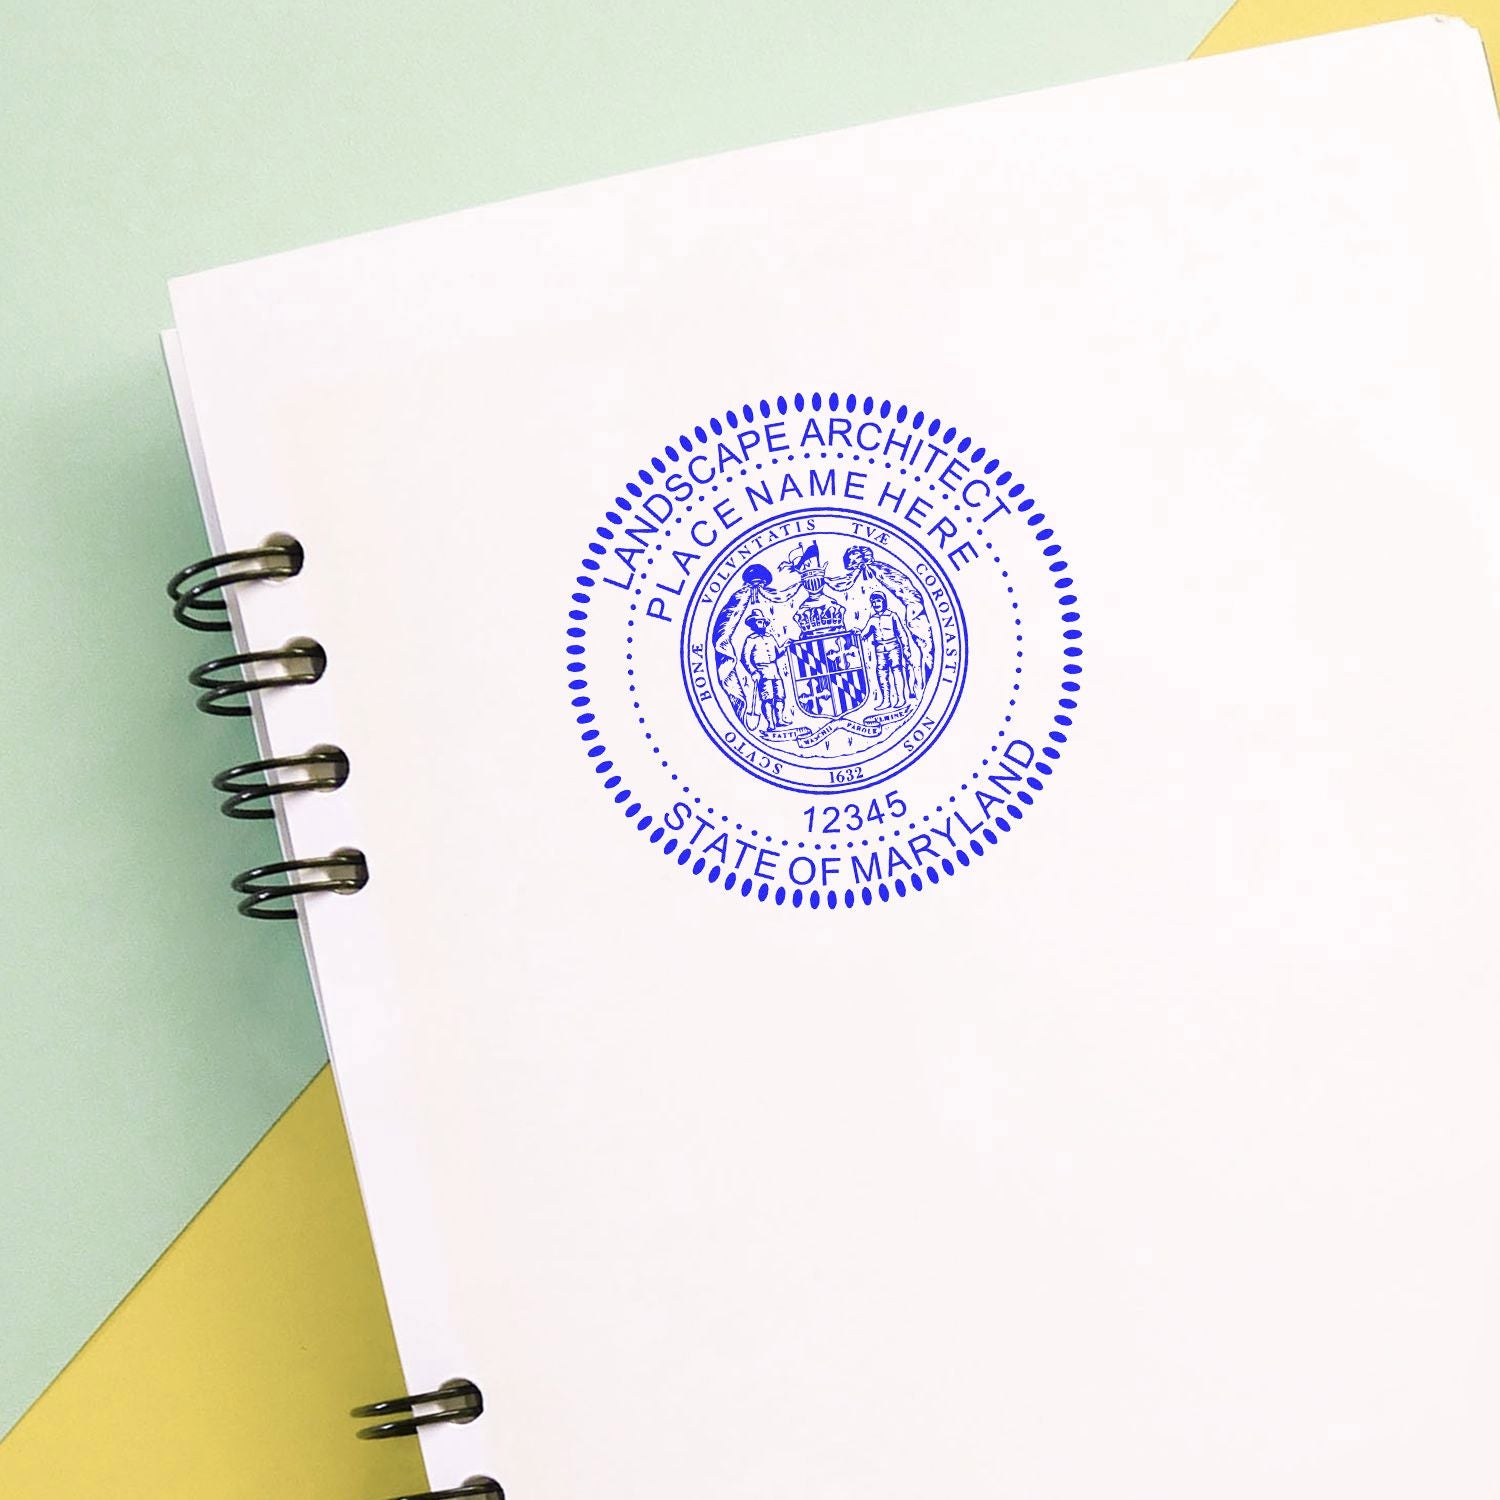
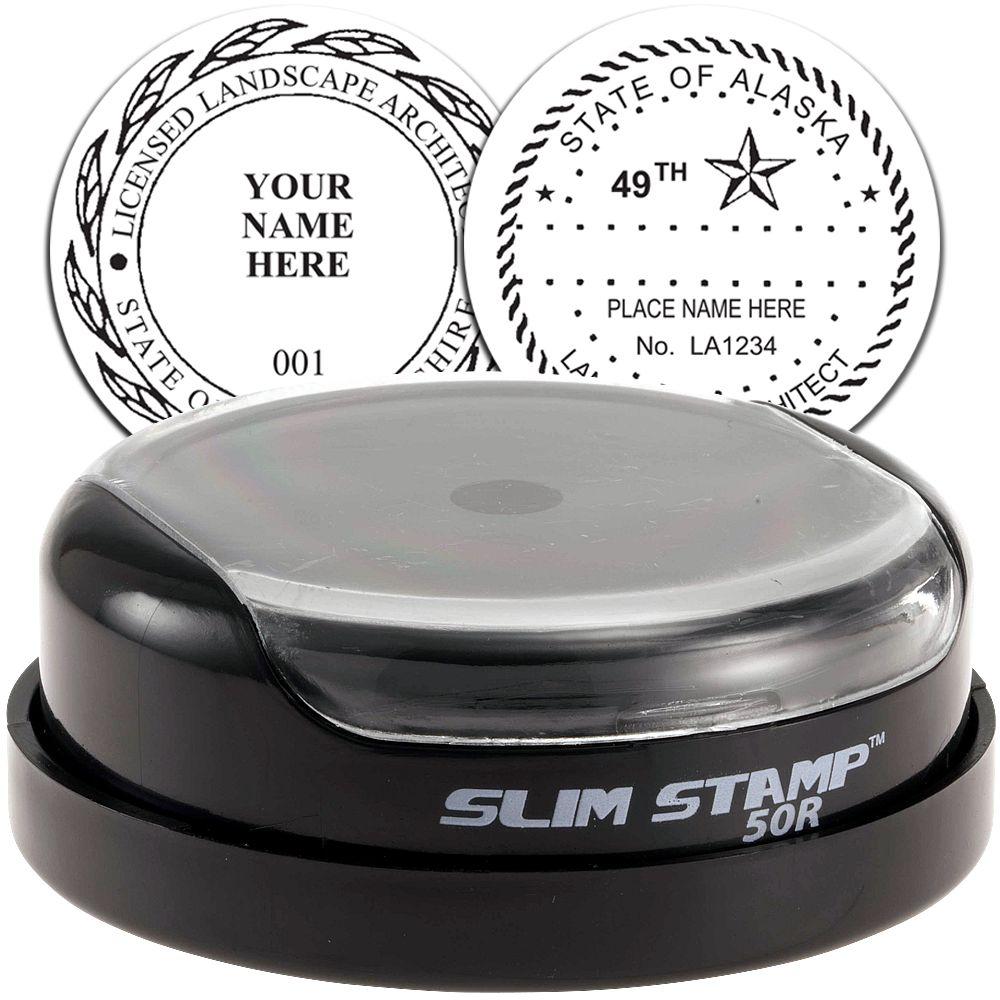
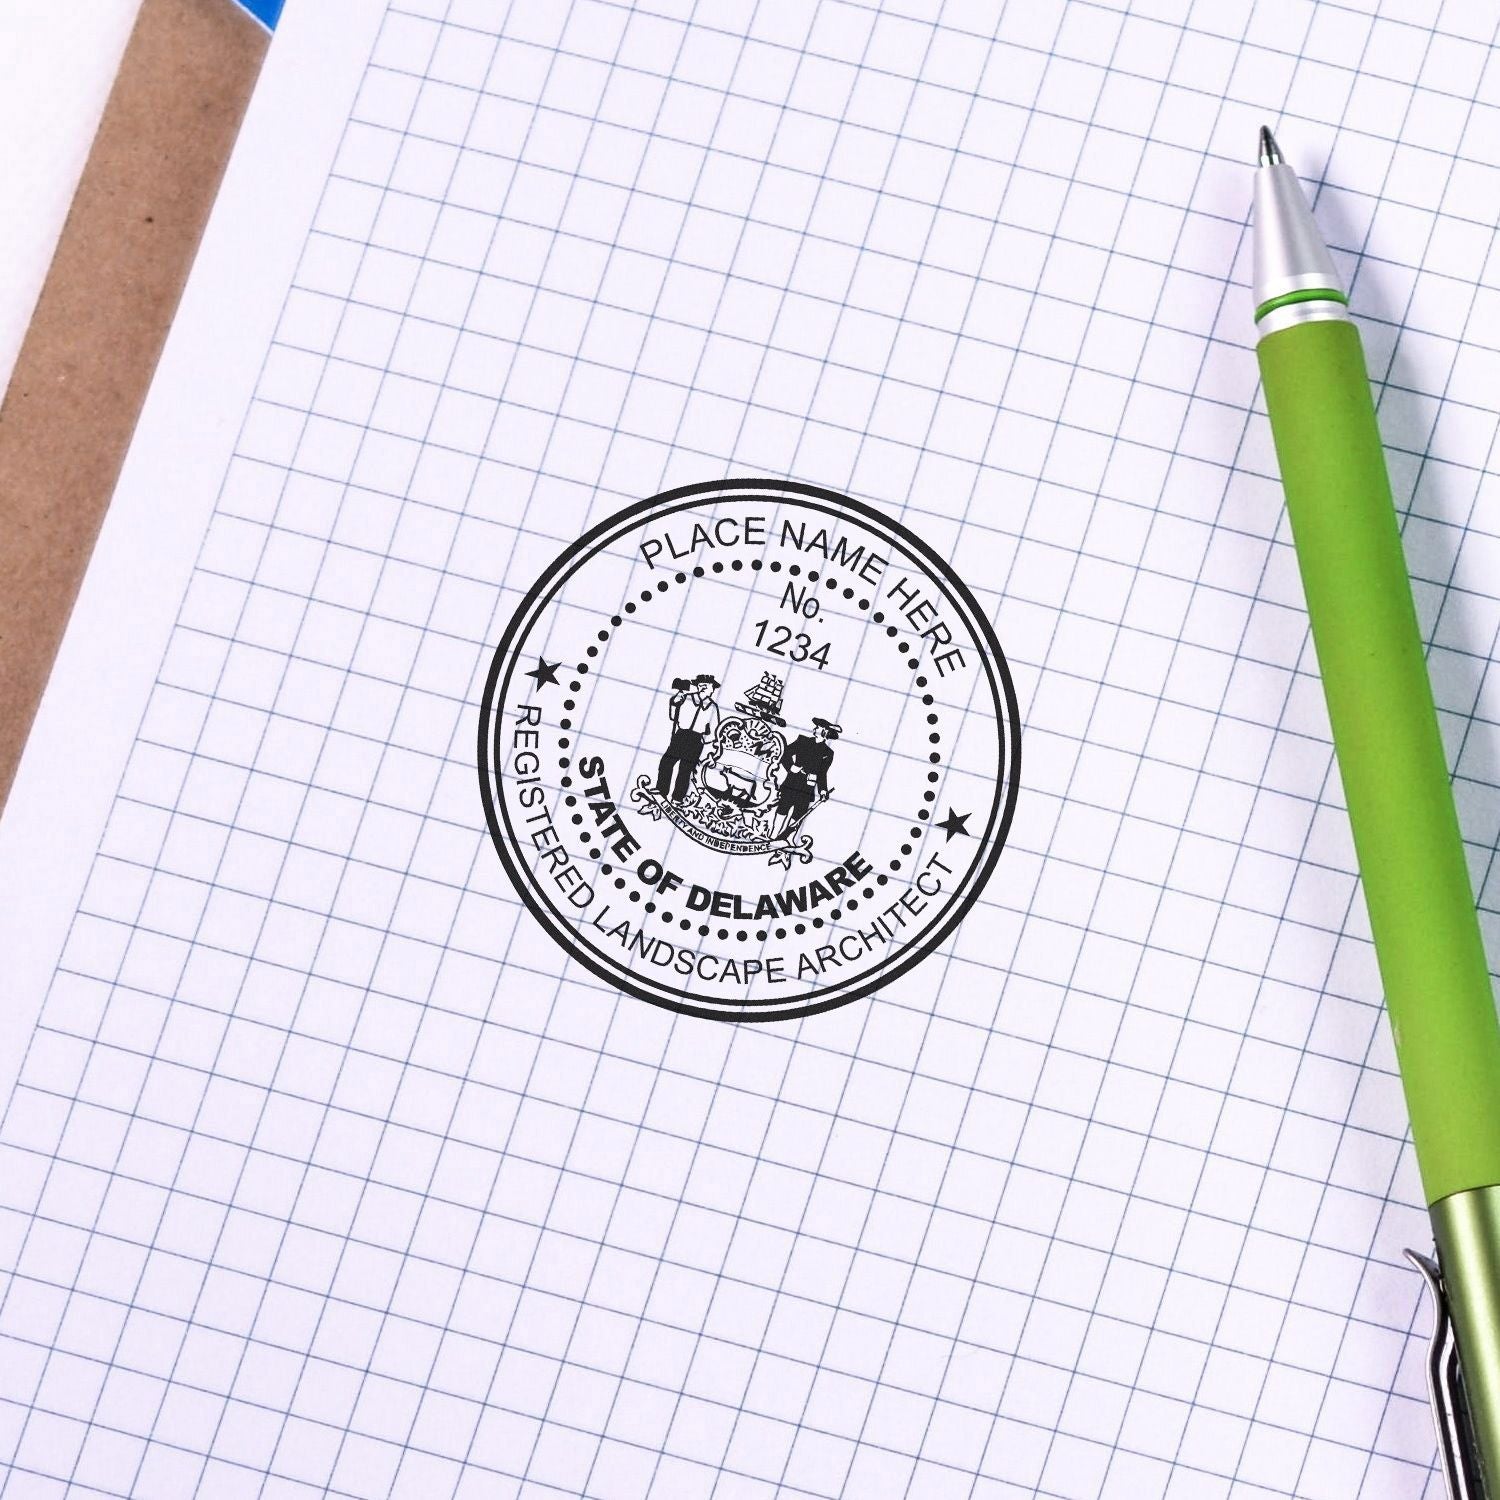
Hawaii has a board that oversees professional licensing for engineers, architects, surveyors, and landscape architects. They keep tabs on everything from exam requirements to continuing education, and they also dictate how your seal should look. Double-check these specifications, so you don’t end up with a beautiful seal that isn’t compliant. For more details on the intricacies of state-sanctioned formatting, you might want to review these official guidelines on what’s needed for a stamp or seal in Hawaii. This link can help you confirm you’re ordering the correct design.
If you send in drawings without the correct embossed seal, you could face delays in project approvals, or worse, you might have to re-stamp everything. That’s a headache you do not need. By following local guidelines upfront, you’ll fast-track your documents through the city or county’s approval process.
Pick The Right Embosser
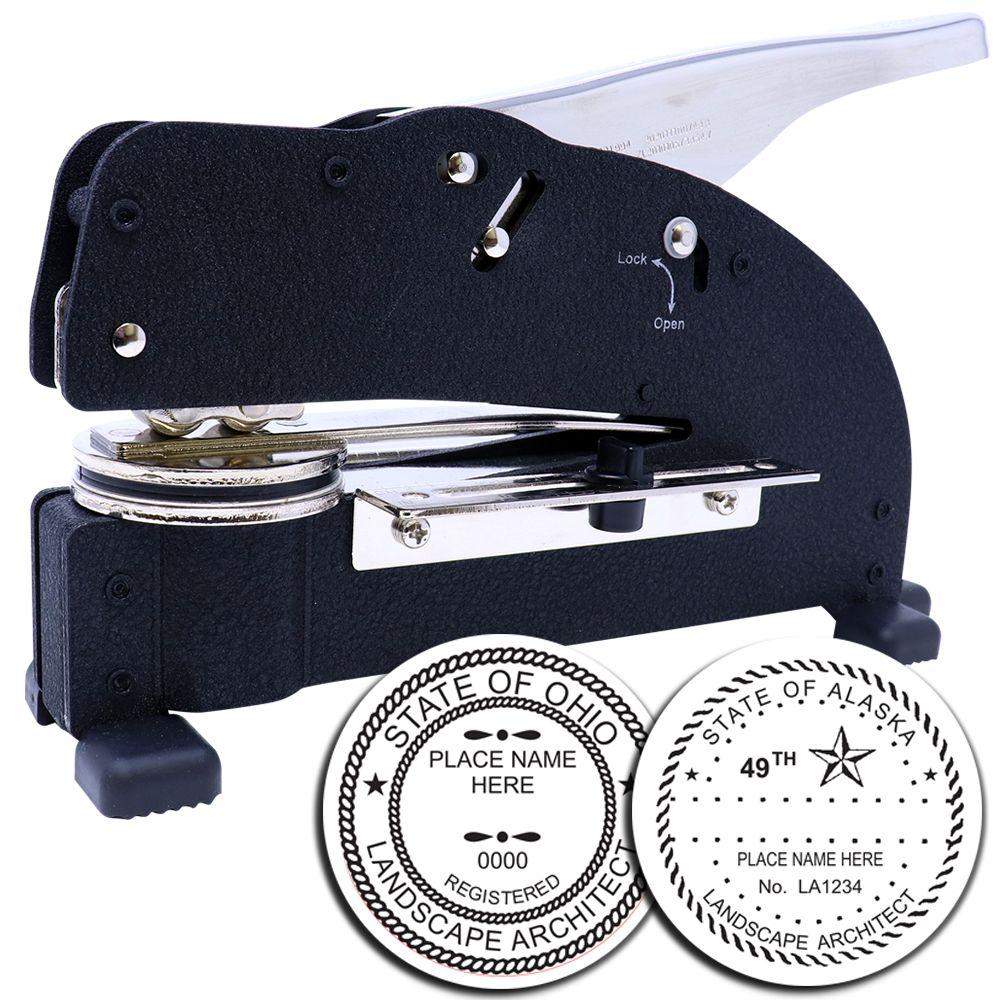
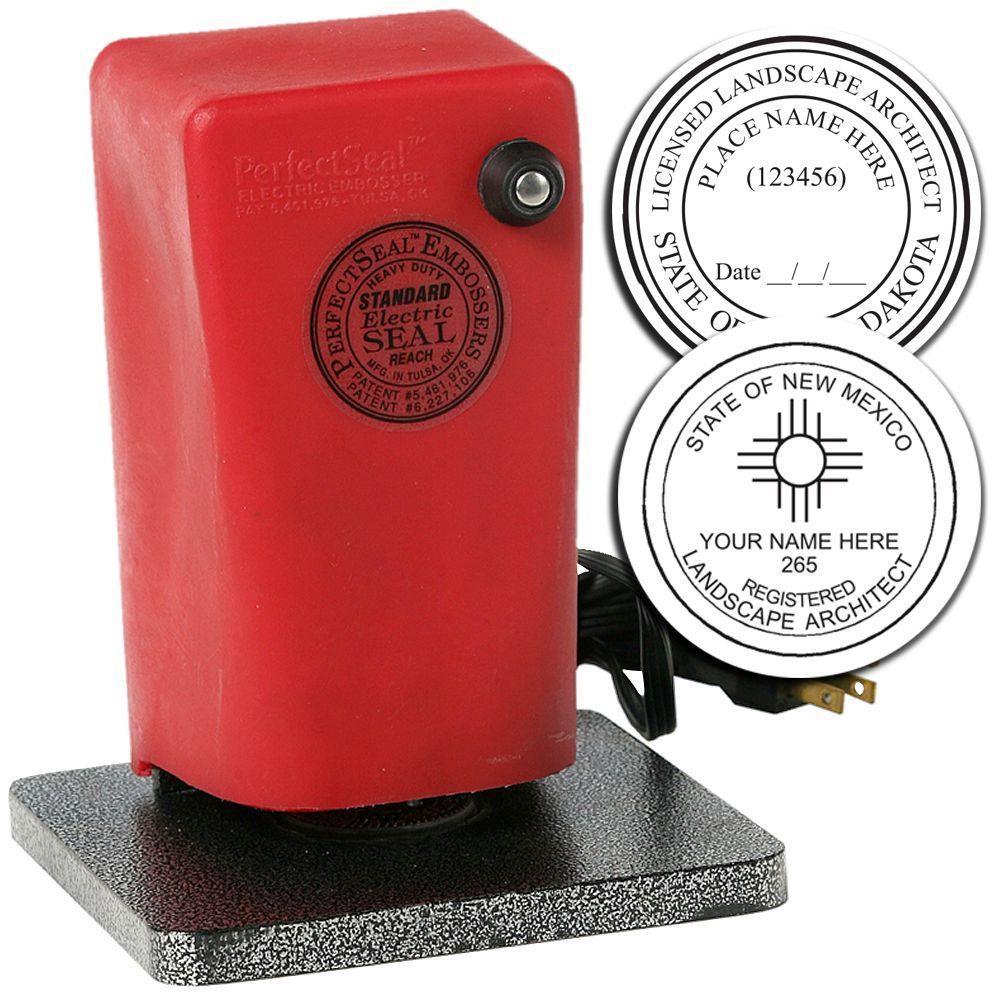
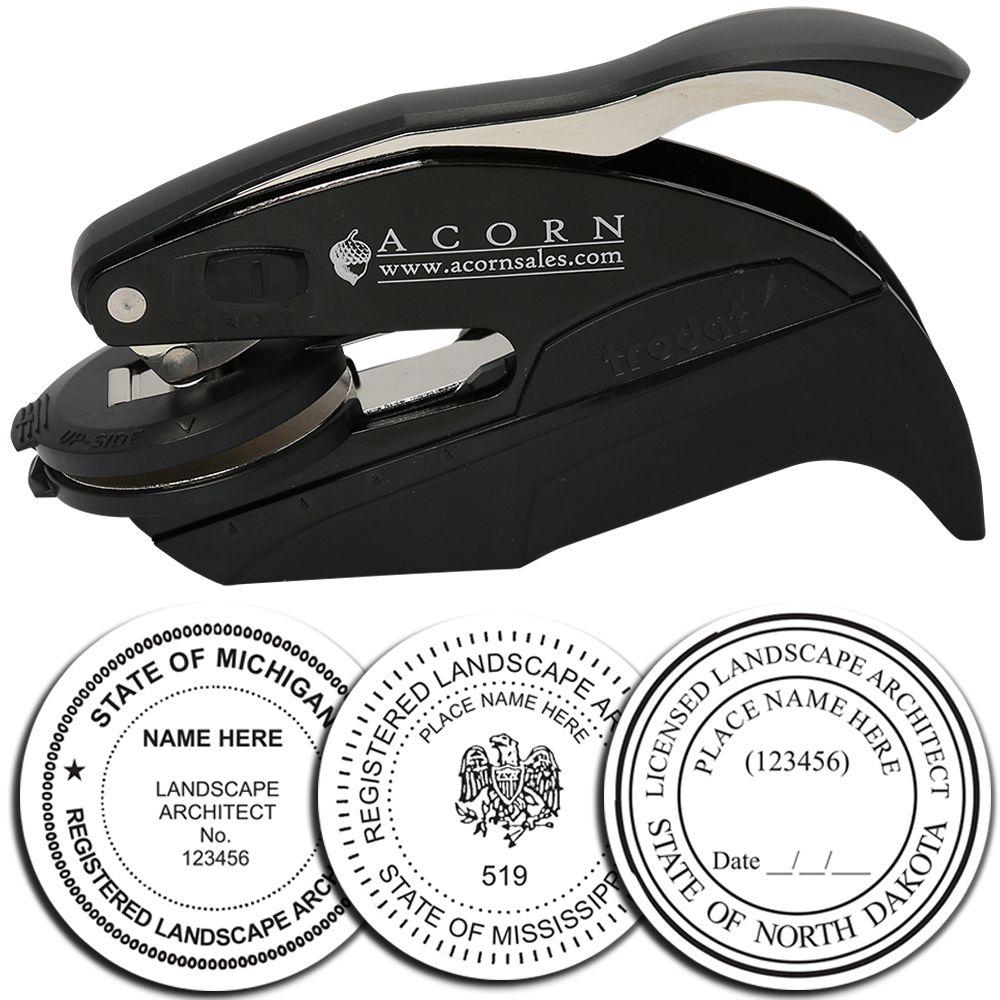
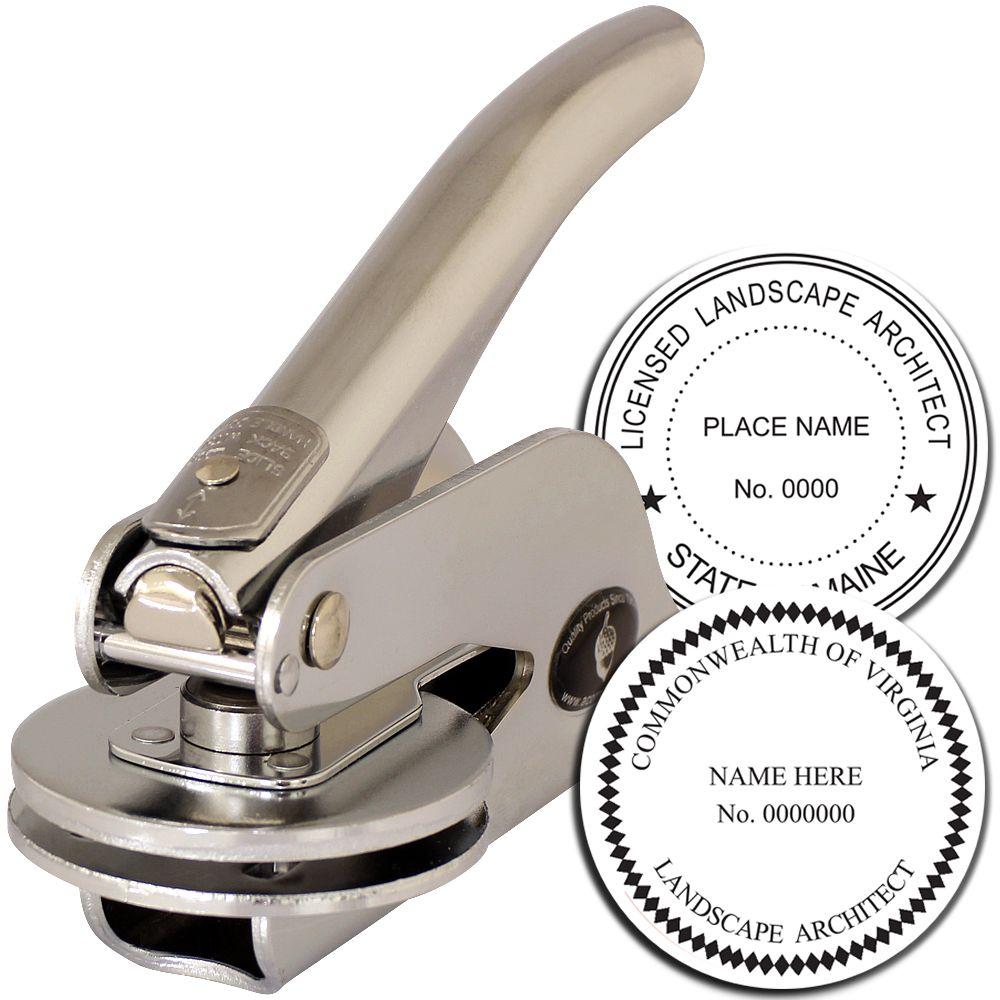
Not all embossers are created equal. You’ll find everything from handheld plier-style devices to desk embossers designed for heavier workloads. Some people prefer handheld models if they’re working on the go and want something that travels well. Meanwhile, a desk embosser can be steadier, providing uniform pressure every time you squeeze the handle.
Here are a few ideas to help you decide:
-
Handheld (Pocket) Embosser:
Lightweight and compact
Suits the traveling professional
Best for low-volume sealing
Desk Embosser:
Stable design for consistent impressions
Ideal if you’re stamping lots of pages
Takes up some desktop real estate
Before picking one, think about how frequently you’ll be using it. If you’re looking at a high-volume scenario, large design plans, multiple sheets, or a busy firm workflow, opt for a sturdier embosser that won’t wear you out. Also, keep an eye on the orientation. Do you need a device that presses at the bottom, top, or sides of a page? Check the reach (throat depth) to see if you can emboss deeper into larger sheets. You probably don’t want to wrestle with your tool every time you use it.
It’s also a good idea to test a sample impression. A reliable supplier will provide proofs or guides. You want crisp, legible text with no smudging or half-raised letters. That ensures your documents look professional and your seal meets official requirements. Some suppliers, like Acorn Sales, have been in business since 1964, so they know a thing or two about creating an embosser that stands the test of time. With their experience, you’ll likely avoid those dreaded patchy or uneven marks.

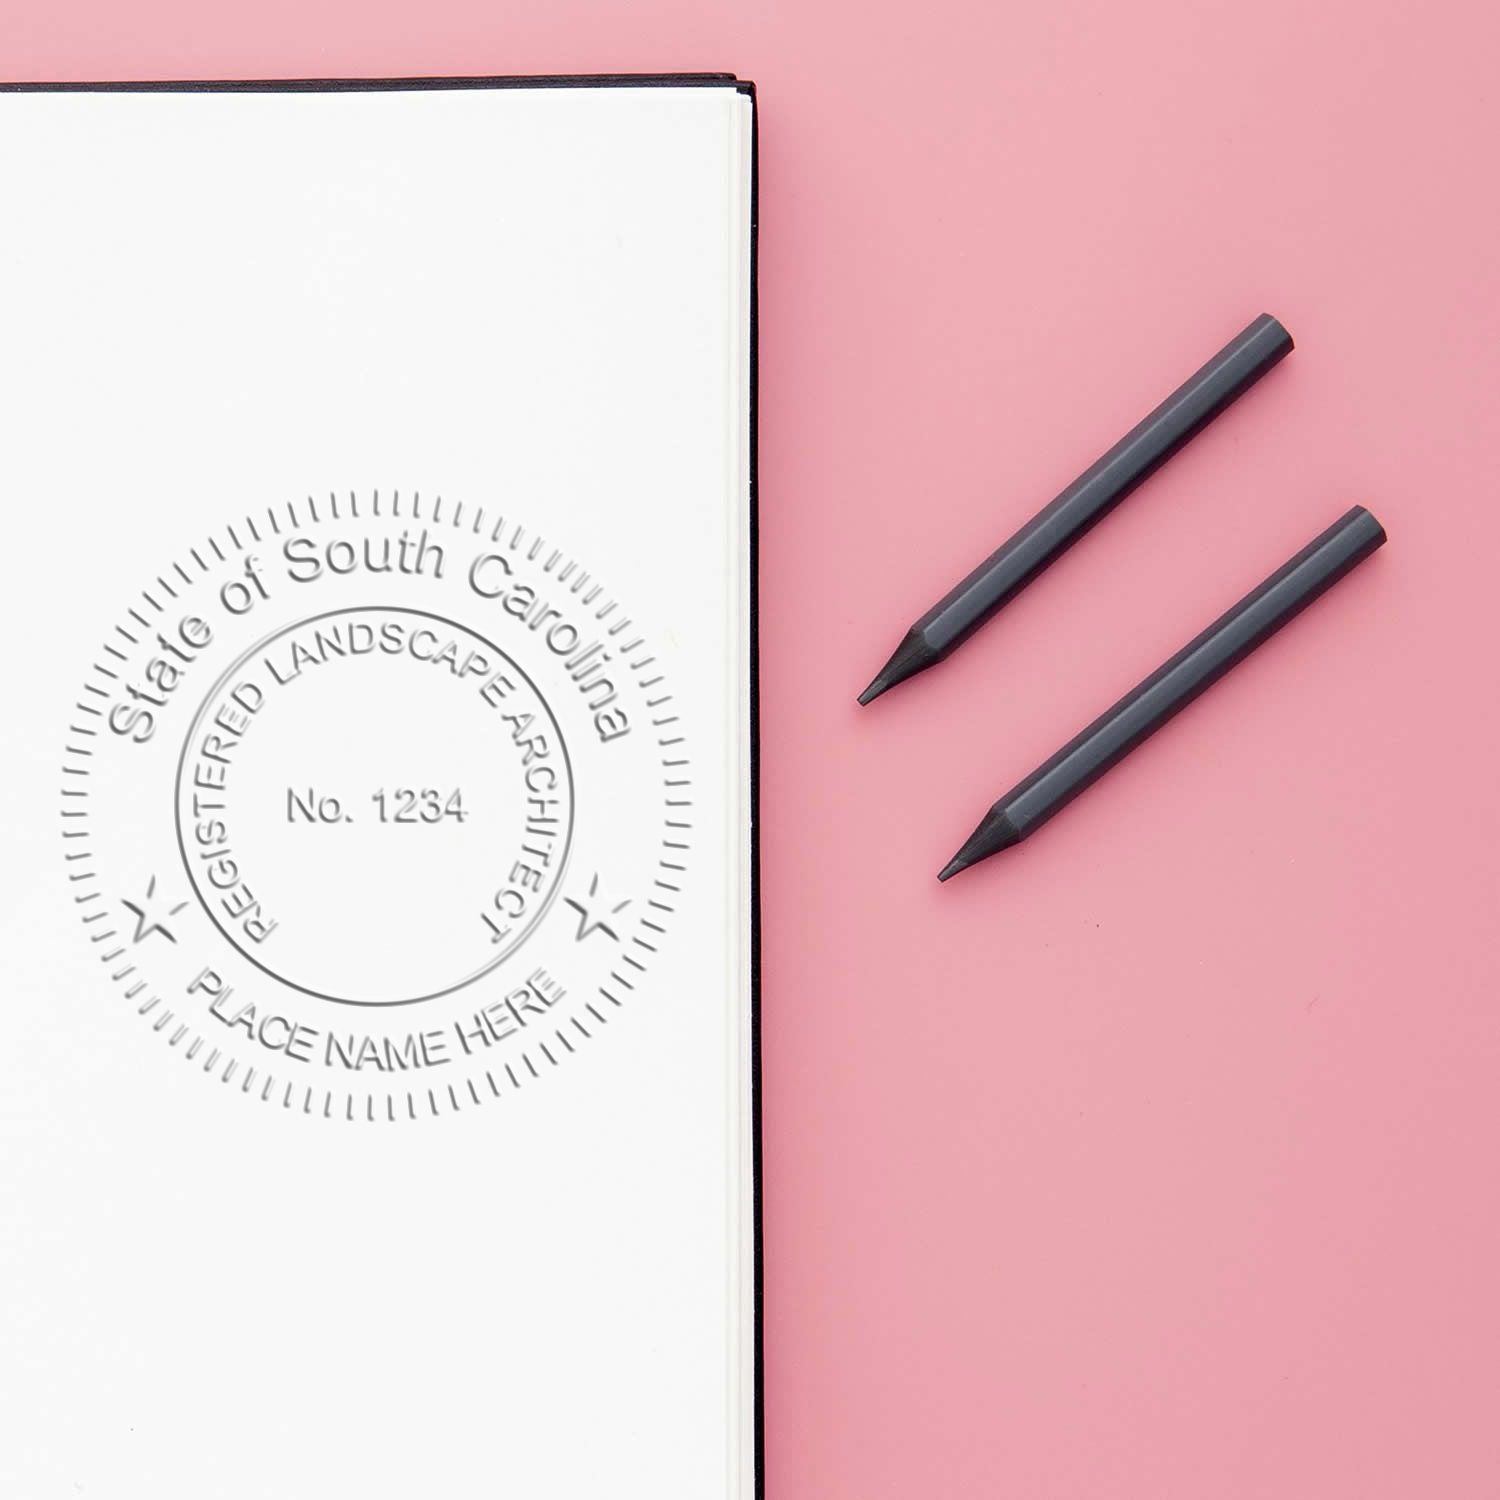
Use It With Confidence
Let’s be honest, your first attempt at hawaii landscape architect seal embossing might feel a bit nerve-wracking. You’ve got an important stack of design plans, and you want to get that perfect imprint on every page. But relax, it’s easier than it sounds.
Here’s a simple process to get you started:
-
Inspect Your Device:
Make sure everything’s in working order. No loose parts, and the die is oriented correctly. If your embosser is misaligned, your text might appear backward or uneven. Arrange Your Paper:
Slide your document into the embosser’s throat. Line it up so that your seal goes where you want it. If you’re required to stamp the lower-right corner, position the page accordingly.Press Firmly and Evenly:
A quick, firm press usually produces the best result. If you press too lightly, your seal might look faint. Too hard, and you risk tearing the page. So aim for a balance, enough pressure to push an even impression into the paper without scratching or ripping it.Double-Check Legibility:
Lift the embosser and inspect the seal. Can you read every word and number? Does the design look sharp? If it’s off-center or incomplete, you may need to redo it. Over time, you’ll feel exactly how much grip and force to use.Document and Move On:
Record the date or keep a log if your office requires that. Each sealed page might need its own entry in your project tracking system.
This process becomes second nature once you get in the rhythm. You’ll feel more confident each time you grip the handle, especially when you see how neat and professional your final product looks.
Keep Your Documentation In Check
Embossing is a must for official documents, but don’t skip the rest of your compliance steps. Typically, each piece of project documentation needs a signature and date alongside the seal. Some local agencies want a signature that overlaps a portion of the seal, while others prefer it close but separate, requirements can vary, so it’s good to confirm.


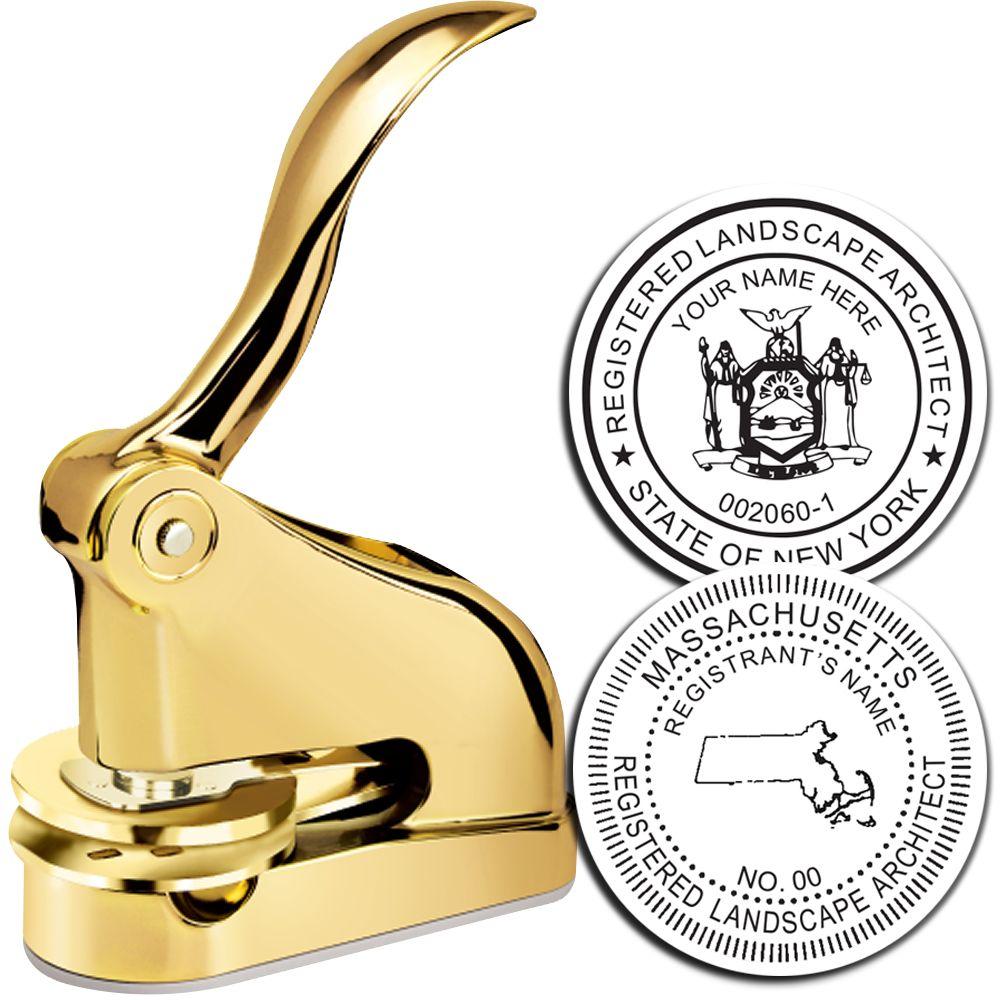



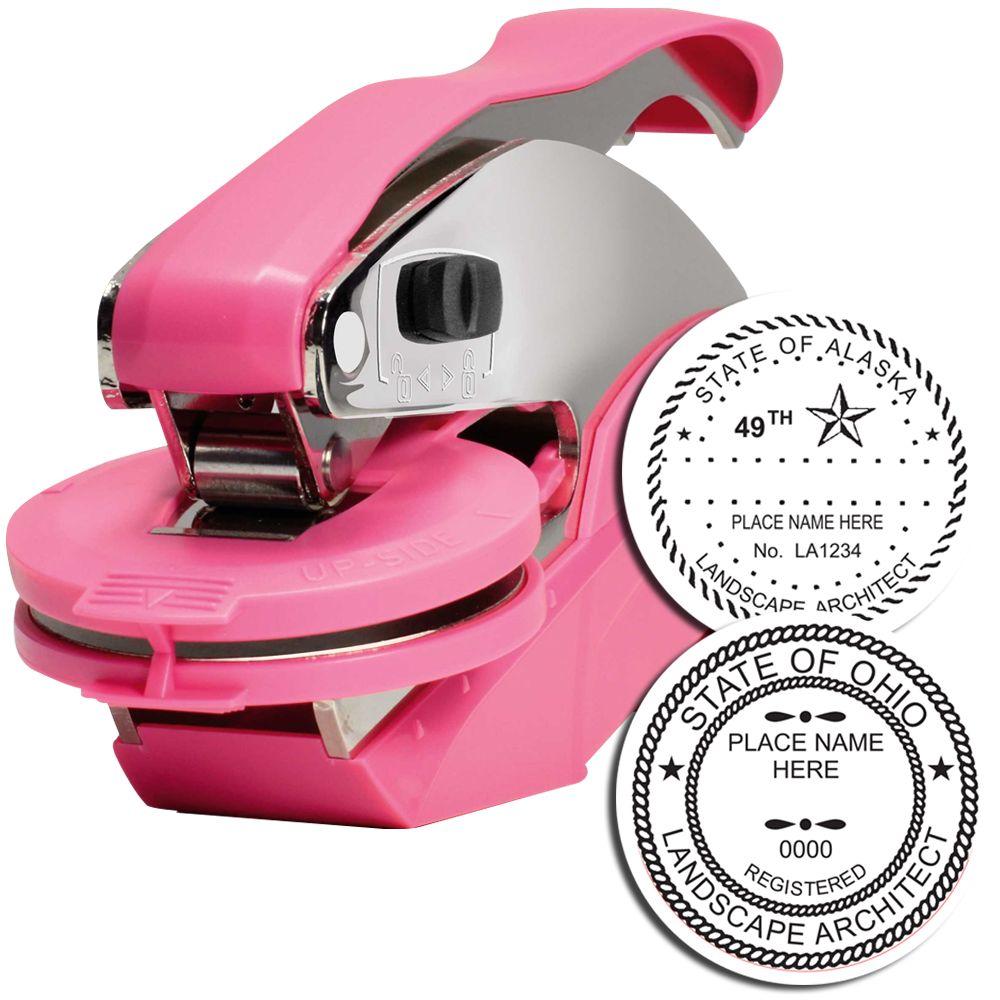
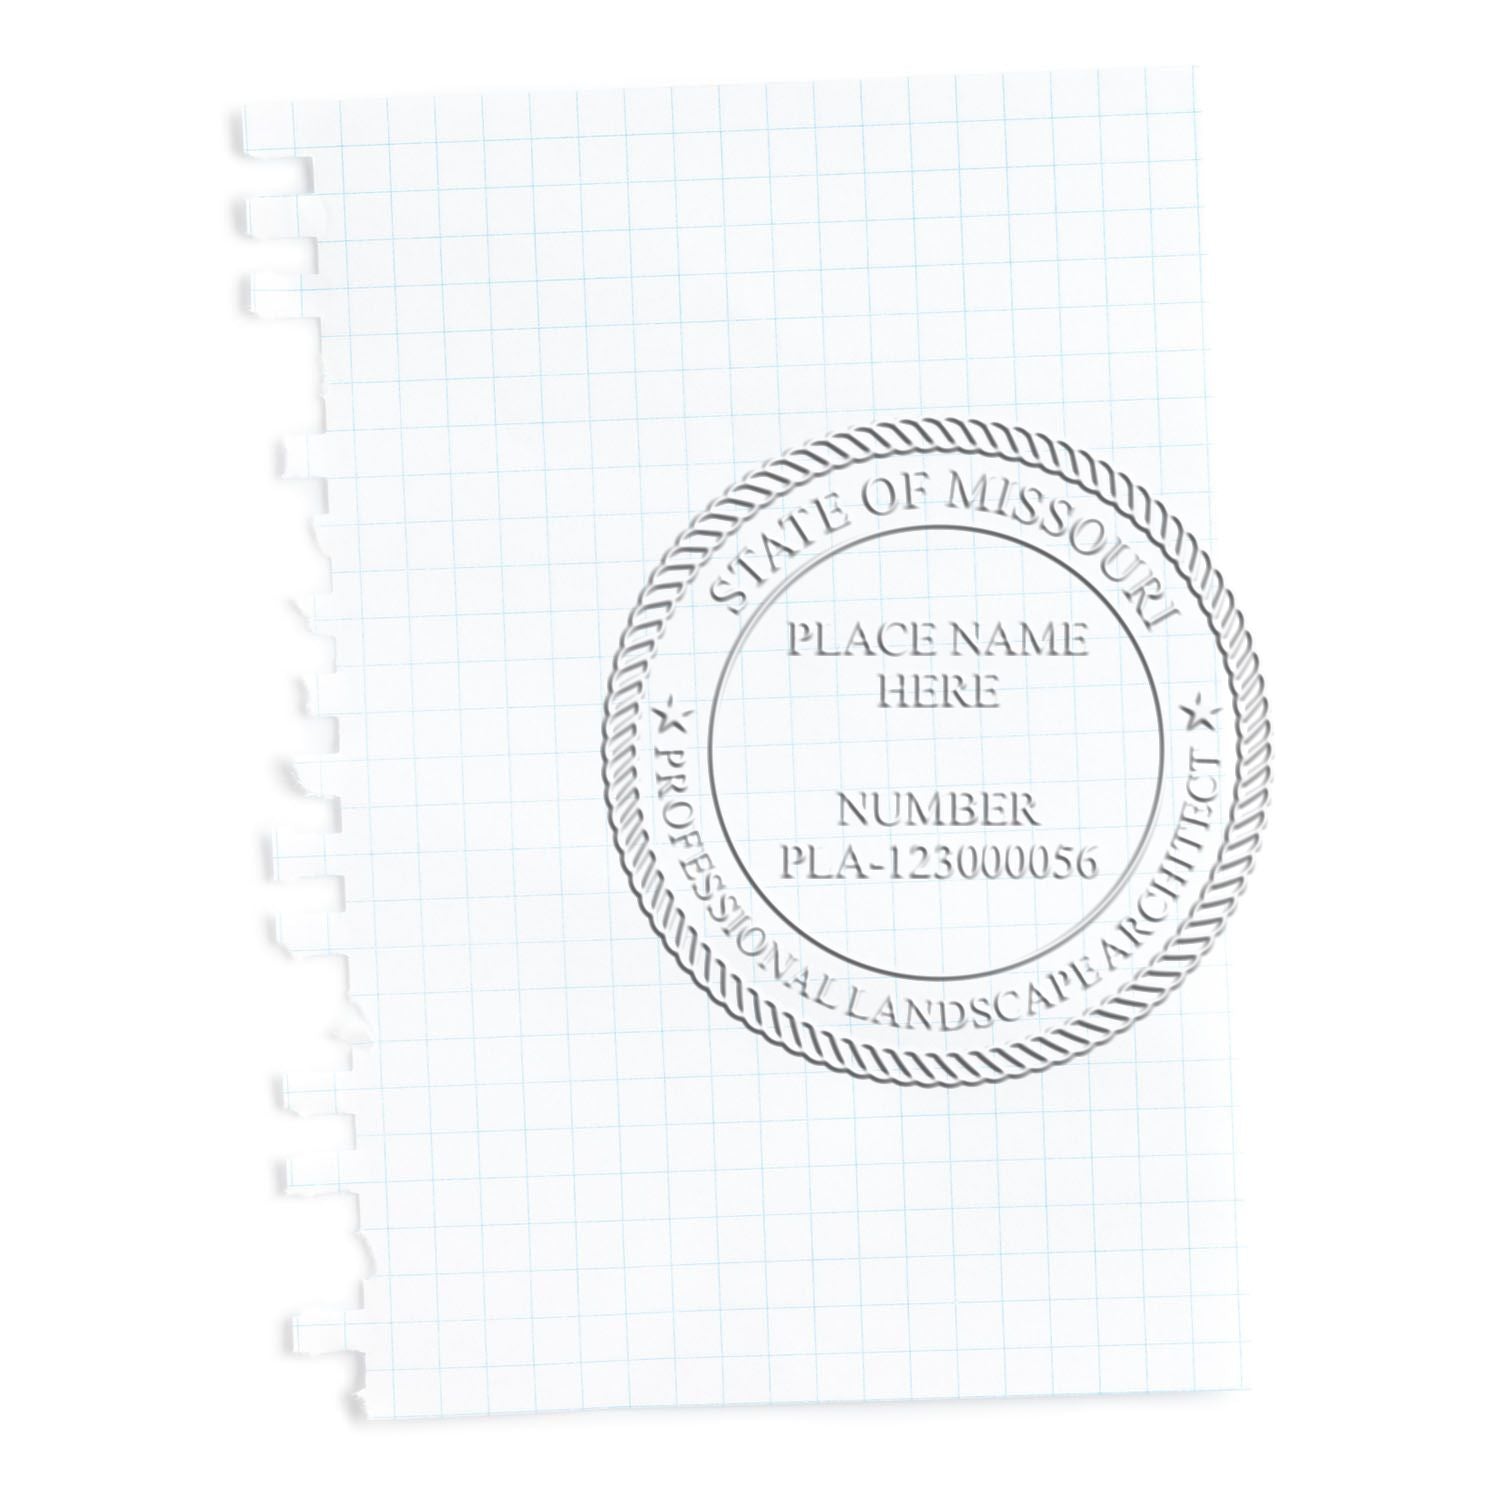
Storing your records is also part of being a responsible landscape architect. Keep backup copies of all sealed documents, whether in paper form or scanned digitally. If a project dispute arises, you’ll have a clear trail of which plans you authenticated and when. For digital copies, scan at a high resolution so the embossed imprint is still somewhat visible, or keep a separate notation in your digital files. That way, you cover all your bases.
If multiple team members have access to your embossed seal, consider setting up a tracking system. Identify who used the device and for which documents. Professional guidelines often require you, the license holder, to maintain control over your seal. Leaving it out in the open could lead to unapproved usage, which can land you in hot water with the licensing board. A straightforward sign-out sheet or locked storage drawer can do wonders for peace of mind.
Find A Trusted Source
Choosing a trustworthy supplier means you’re confident the seal is accurate and built to last. Look for a company that specializes in official stamps and seals, especially for professional licenses. For Hawaii professionals, that means verifying the vendor understands the unique design requirements set forth by the state. Don’t just pick a random online shop. If you accidentally order a seal that’s missing critical text, you’re wasting time and money.
Acorn Sales is a popular go-to, especially since they’ve been around since 1964. Their years of expertise give them insight into Hawaii’s guidelines, so you get a seal that’s legit from day one. Plus, they include a free digital seal, this is a huge bonus when you need a digital format for PDF submittals or electronic files. Having both an embossed seal and a digital version covers all scenarios.
It’s also helpful to have a support team to ask if you are unsure about anything. For questions about pocket vs. desk embossers, or verifying your name as it should appear on the seal, a quick message through our contact page can clear up confusion fast.
Before you emboss
Putting your official mark on important landscape architecture documents in Hawaii doesn’t have to be complicated. You’re simply verifying that you have the professional credentials and legal right to practice in the state. By choosing an embosser that meets the legal specifications, pressing it confidently onto your pages, and storing it responsibly, you’re upholding the integrity of your work. In turn, you’re giving clients and regulatory agencies reassurance that every coastal design, park layout, or sustainable resort plan is properly endorsed.
Hawaii landscape architect seal embossing might sound technical at first, but once you try it, you’ll wonder why you were ever hesitant. It’s a quick, straightforward process, just secure your paper, press firmly, and marvel at your new, crisp seal. Don’t forget to keep an eye on compliance details, so you’re always up to speed with state regulations. And if you ever question whether your seal is 100 percent correct, remember that a reputable source (like Acorn Sales) can guide you in the right direction.
Think of it like the final handshake on every project you finish. It’s your way of saying, “Yes, this is my work, and I stand by it.” That’s pretty powerful. As you get more comfortable, you’ll emboss your documents with confidence, and it will feel just as routine as checking your inbox each morning.
Below, you’ll find some frequently asked questions that many professionals just like you have. These should help clarify lingering concerns and give you a solid starting point. If you have more specific questions, look to your state board or a trusted supplier for exact details.
By now, you should have a clearer picture of what hawaii landscape architect seal embossing involves and why it matters. Before you finish your day, consider checking your own seal specifications, your storage system, and your digital backup. That way, your next project submissions should go smoothly and meet what clients and local agencies expect. Good luck, and happy embossing!
Frequently Asked Questions
What Exactly Is Included On A Hawaii Landscape Architect Embosser?
You’ll typically see your name, your license number, and the phrase “Registered Landscape Architect” in a circular design. Some versions include the state’s name, but the specific layout can vary. Always confirm with local guidelines before ordering.
Do I Need A Digital Version Of My Seal?
It’s often useful, especially if you submit electronic plans or need to email PDFs to clients. Many suppliers, including Acorn Sales, offer a free digital seal so you can stay flexible in different project scenarios.
How Often Should I Check My Stamp Requirements?
It’s smart to review them at least once a year or whenever your license is renewed. Regulations can change over time, and you don’t want to get caught using an outdated seal format. Also, watch for announcements from Hawaii’s licensing board.
Can I Let My Coworker Use My Embosser?
Typically, the seal is linked to your personal license. You, the license holder, are responsible for ensuring it’s used correctly. If someone else needs to emboss documents, they should have their own seal, unless your local regulations say otherwise.
How Do I Maintain My Embosser For Years To Come?
Keep it clean and store it in a safe place. Wipe down any dust or debris, and avoid pressing over staples or thick bindings that could wear out the sealing insert. If you notice a drop in impression quality, contact your supplier for replacement parts.








