
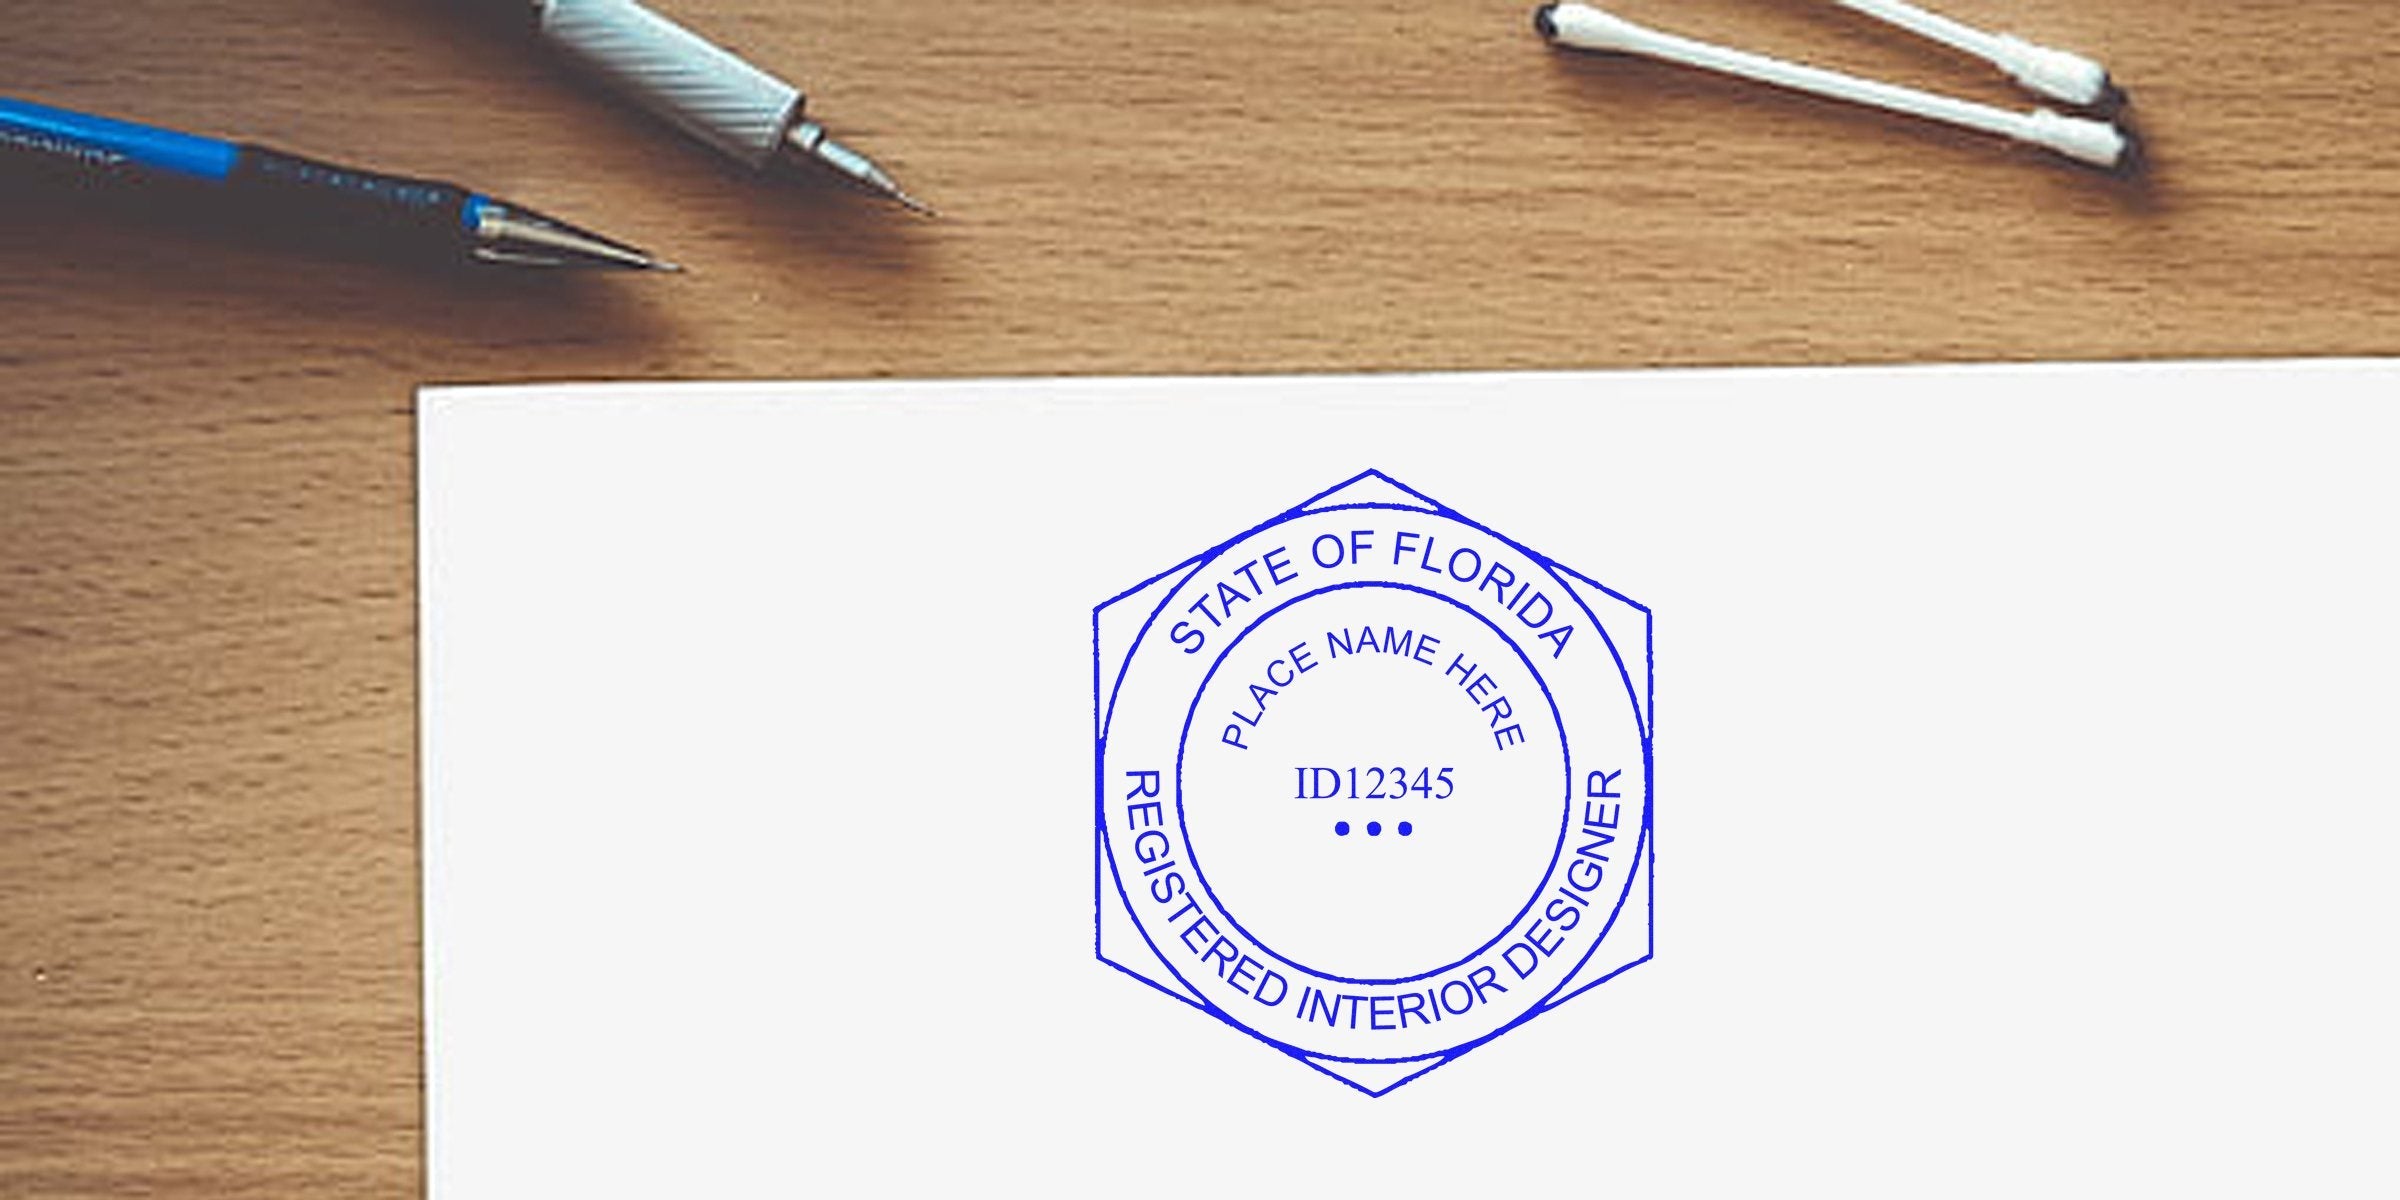
Welcome. If you’ve ever felt puzzled by Florida interior designer seal embossing, you’re in the right place. You already know your stamp or seal needs to match up with state guidelines, but you might not be sure how to emboss it correctly or what the actual rules are. Stick around, and we’ll walk you through the basics so you can confidently use your seal, follow the regs, and get back to designing beautiful spaces.
In this post, you’ll learn what those Florida requirements actually mean, how to handle embossing like a pro, and which tools might make your life a whole lot easier. We’ll also talk about free digital seals, trusted suppliers, and extra tips to keep your projects on track. By the end, you’ll understand the key steps to create an impression (no pun intended!) that passes inspection and satisfies your clients. Let’s get started.
Understand Florida Requirements
The first thing you should do is look into Florida’s guidelines for interior designers. Each state has its own specifics, but Florida is pretty clear that you need a properly executed seal or stamp for legal documents, drawings, and specifications. The main goal is to confirm your professional identity, so your clients and local officials trust the work you submit.
If you’re unsure about where to begin, it’s wise to check the Florida Building Code or contact the Florida Board of Architecture and Interior Design for the finer details. You can also look into more information on florida interior designer stamp requirements. This resource will help you pin down everything from the exact seal dimensions to the wording you need.
Key Requirements To Note
- Your seal must include your name and license number (or certificate number if that applies).
- The seal imprint must remain clear and legible.
- You may need to place the seal on final drawings or official documents before submitting them for approval.


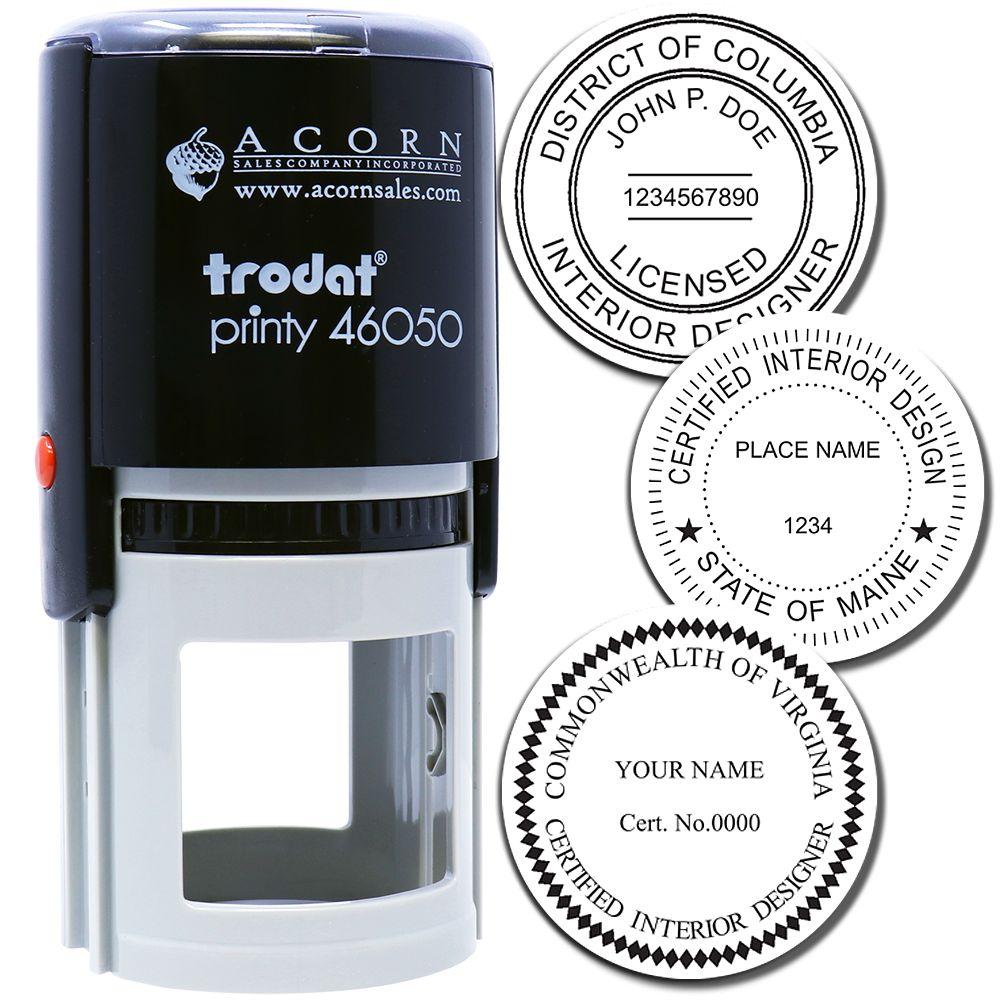
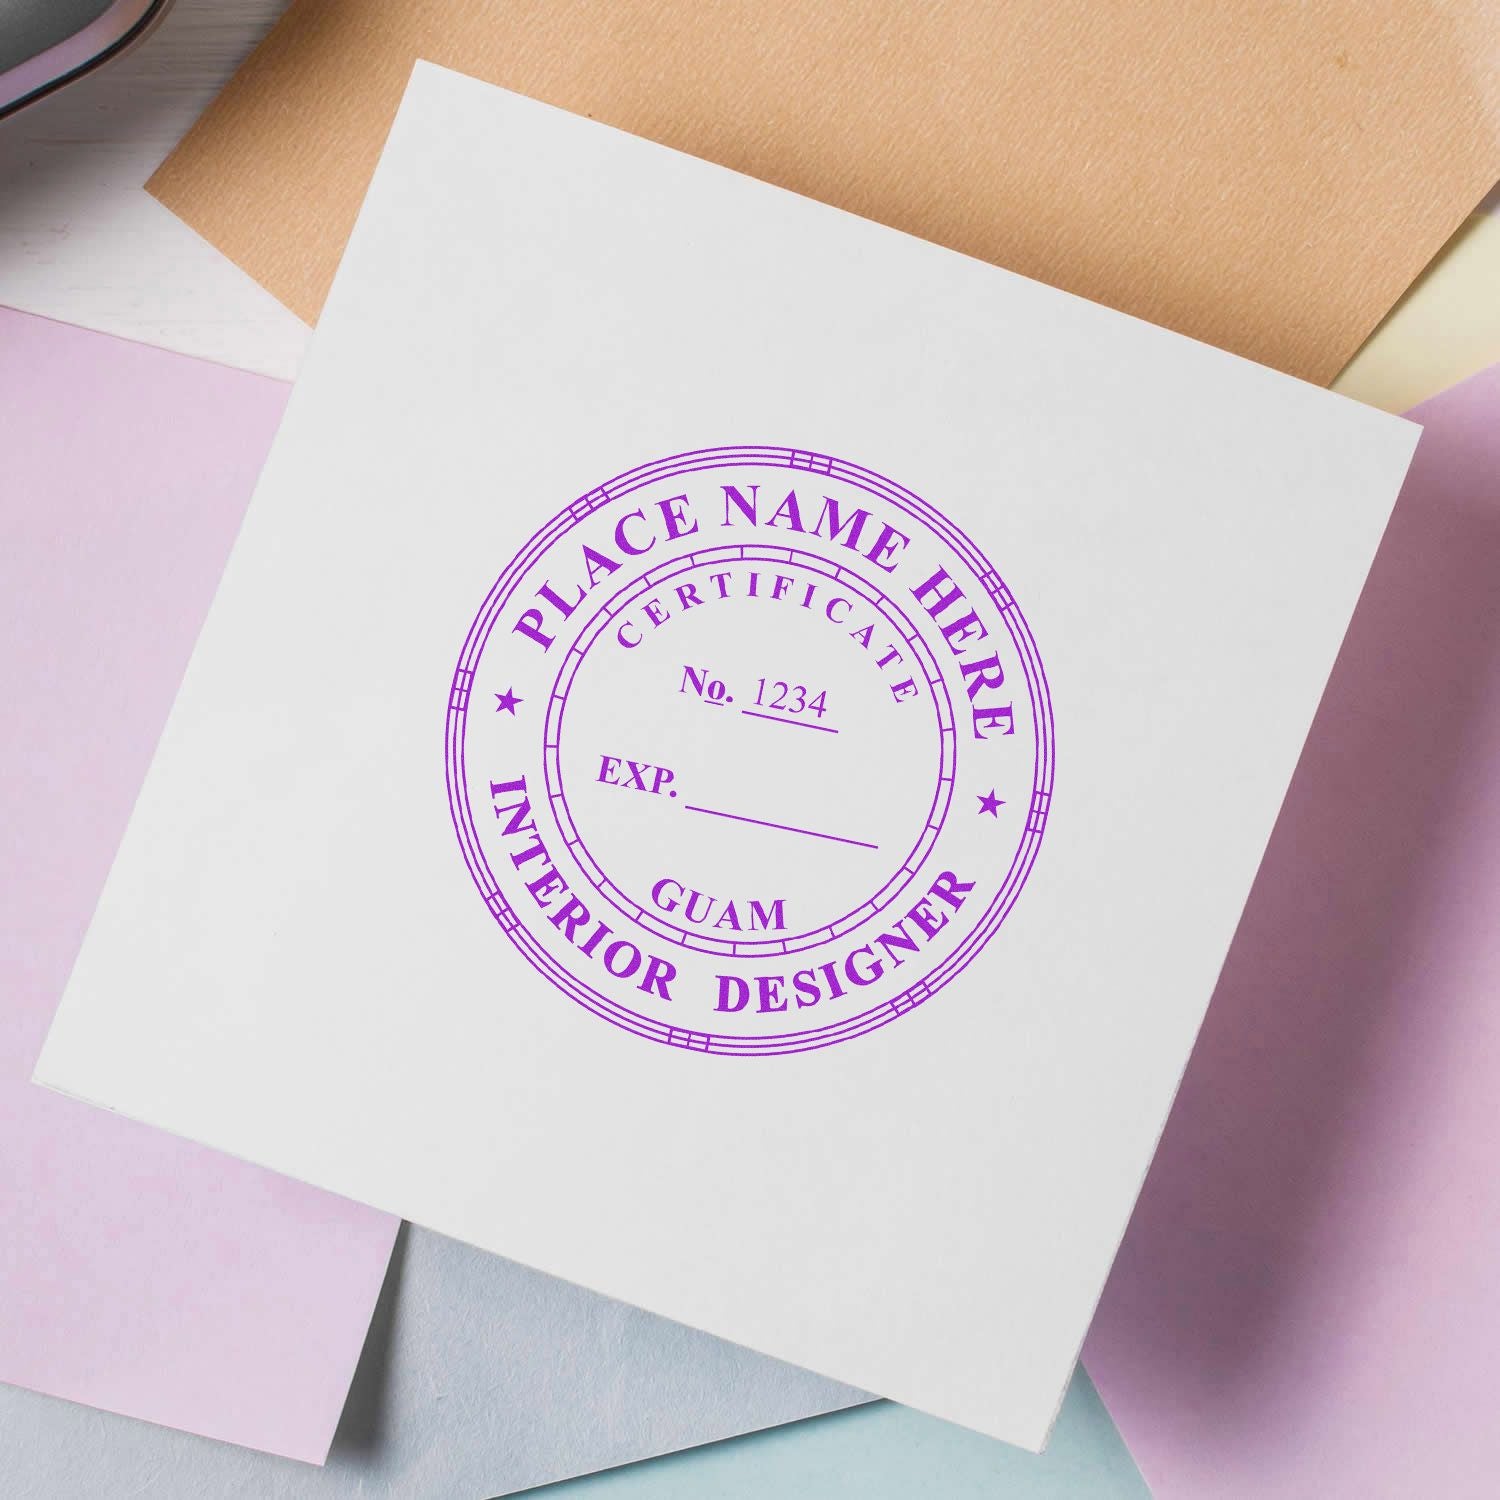
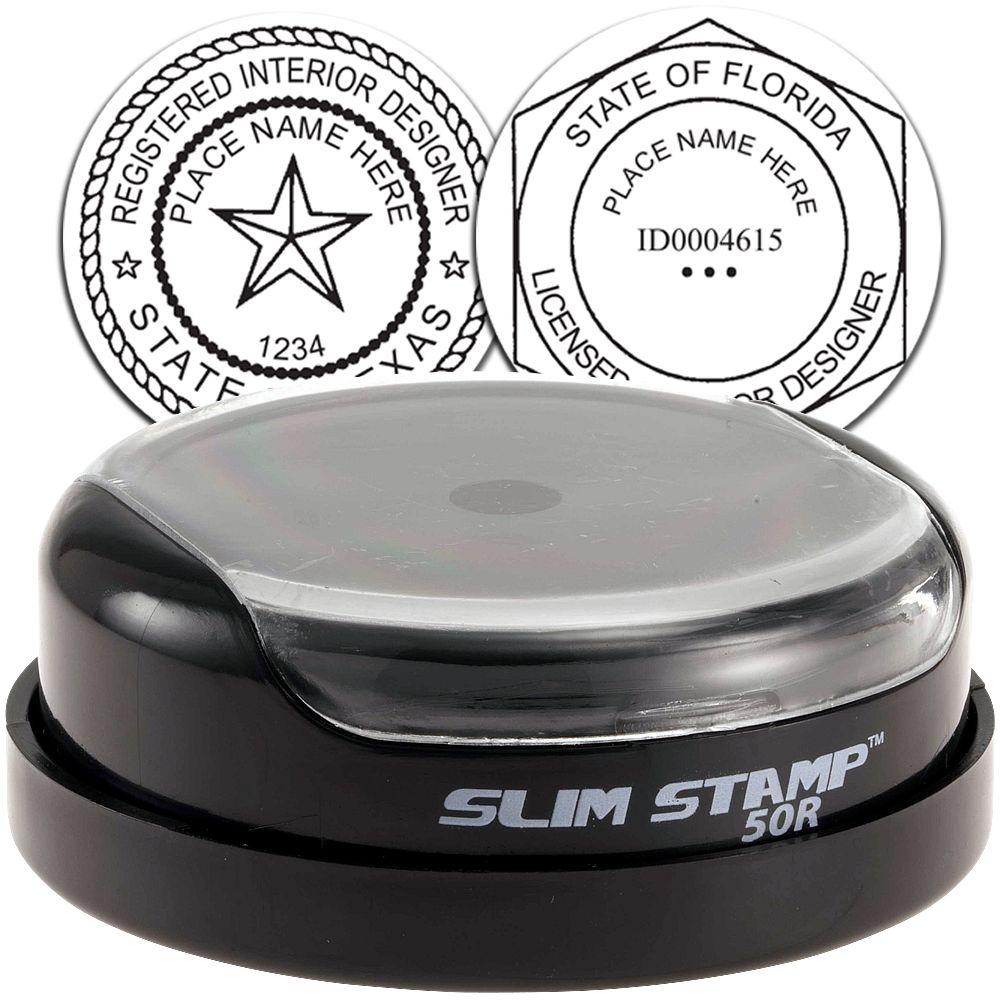
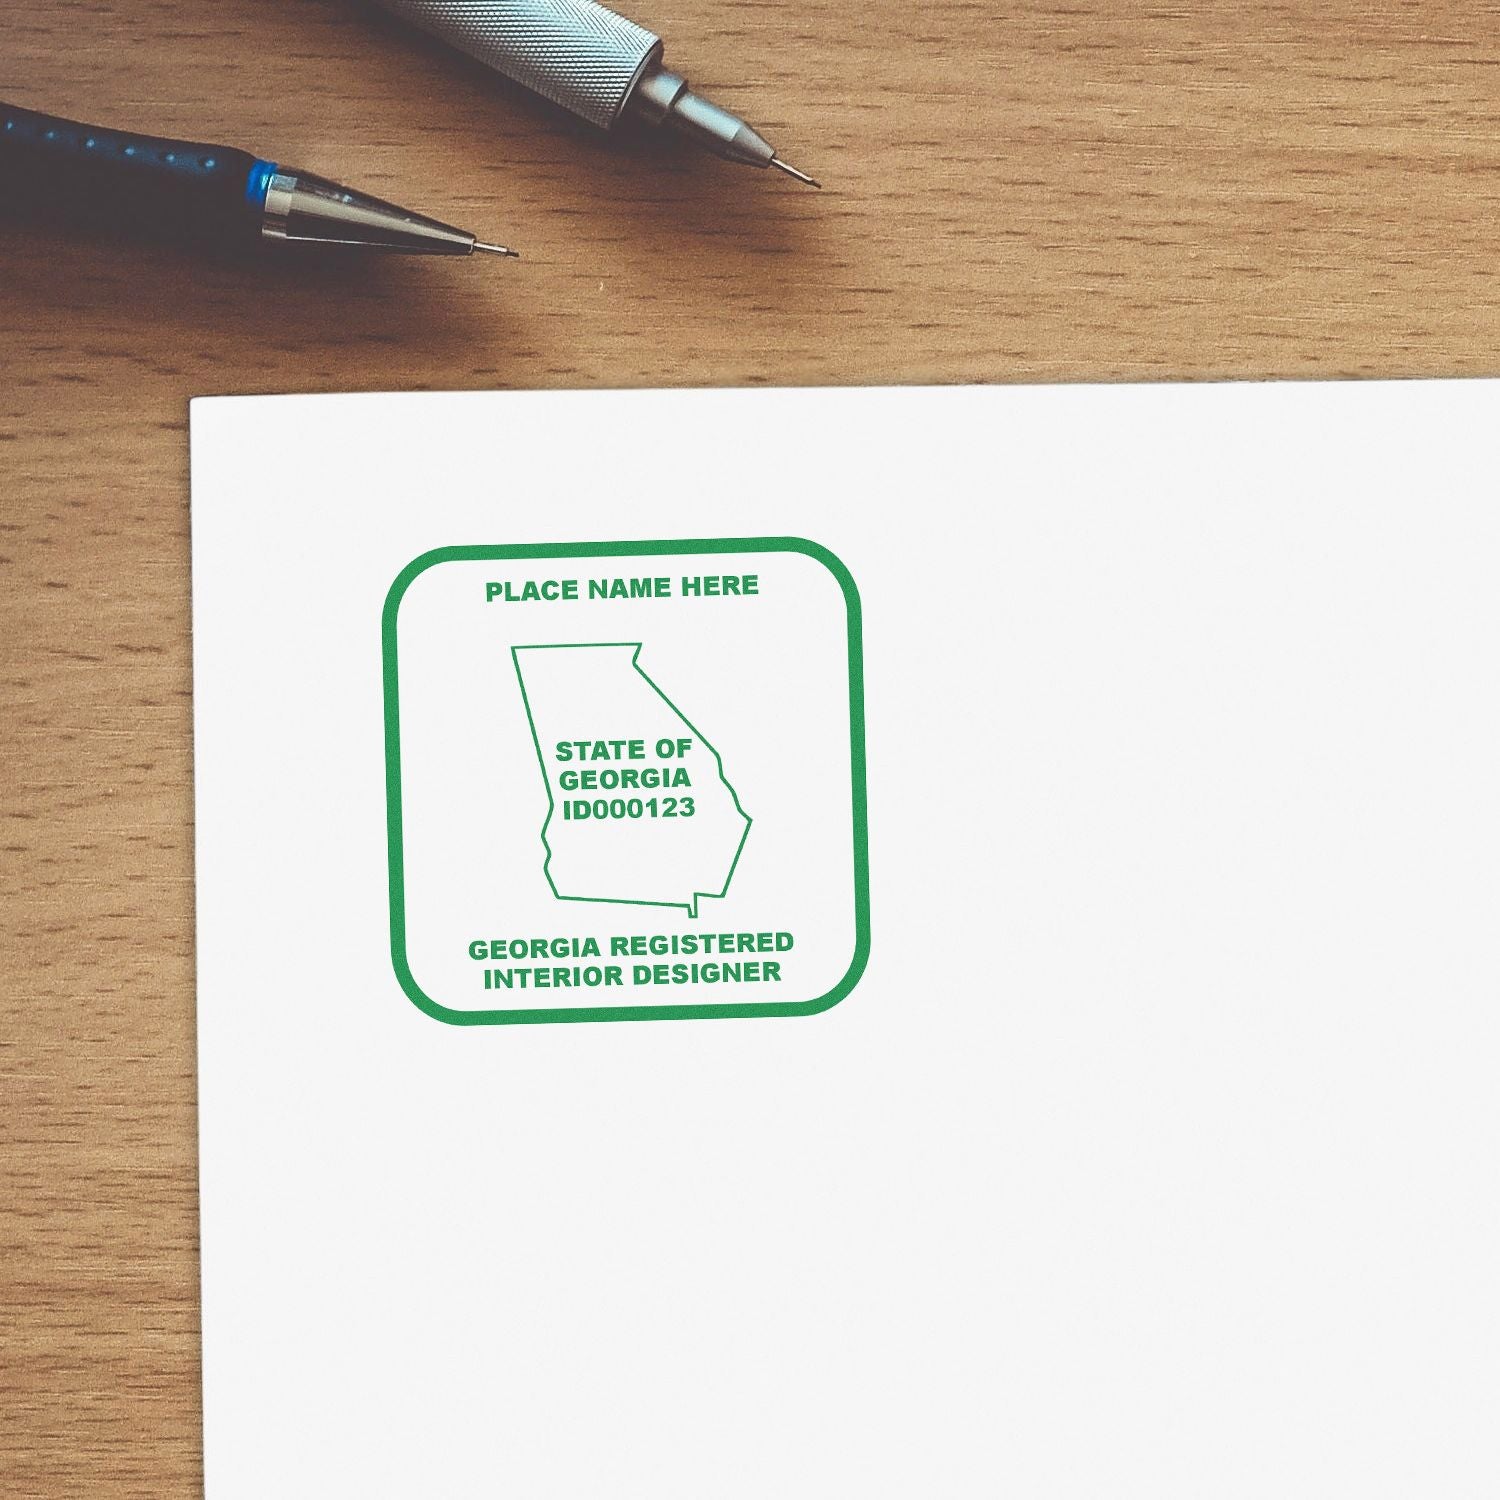
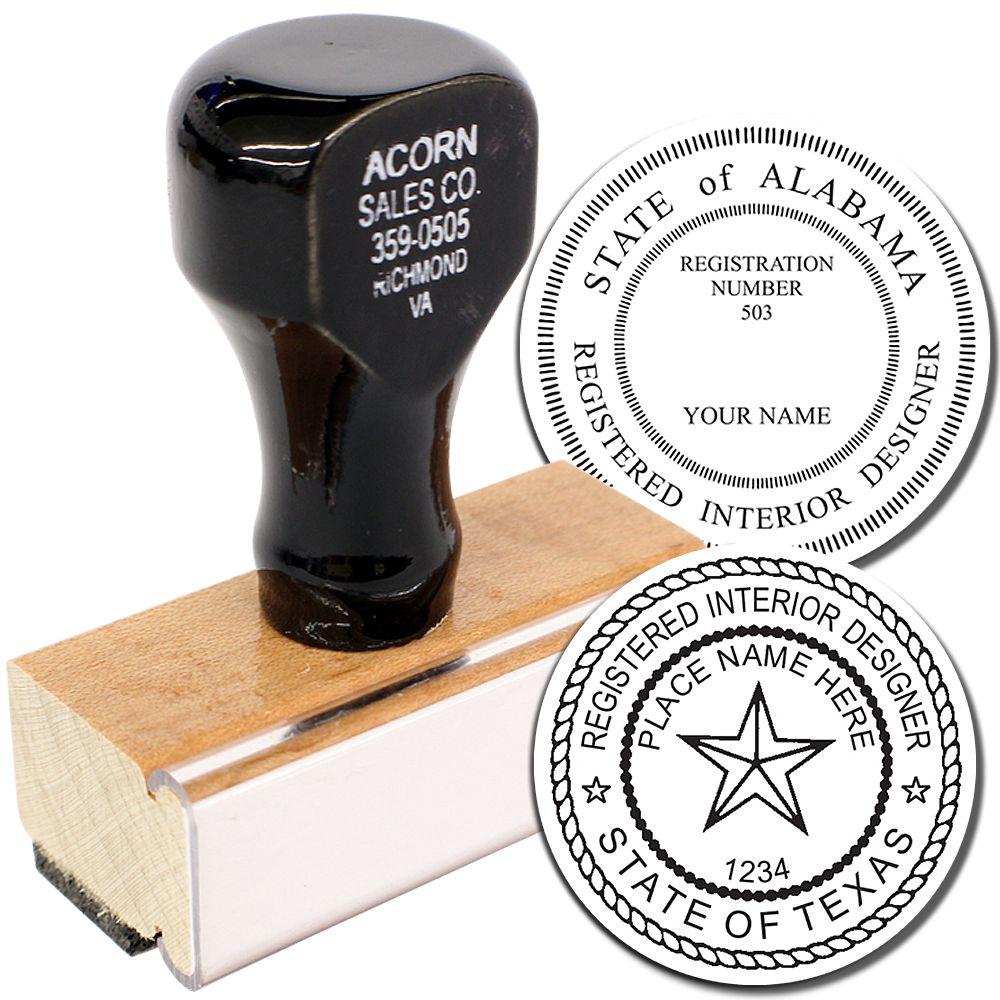

Remember, Florida has specific rules about where and how your seal should appear. If your seal is too faint, smudged, or missing key text (like your name and license number), it can lead to rejections or project delays. Staying on top of the guidelines now saves you time in the long run.
Recognize Why Embossing Matters
You might wonder, “Why do I even need Florida interior designer seal embossing if I can just rely on a stamp or a digital copy?” An embossed seal offers a physical impression that’s more difficult to alter or replicate improperly. That helps maintain authenticity and reduces the chance of tampering. In many jurisdictions, including Florida, an embossed seal is still taken as an extra mark of security.
Beyond security, an embossed seal can also add a professional feel to your documents, helping you stand out. Clients and review boards tend to appreciate that level of clarity. While digital seals are on the rise, the embossed version remains a staple for official paperwork.
Embossing vs. Rubber Stamps
- Embossing: Uses pressure to create a raised impression. Harder to forge and is easily recognized as official.
- Rubber Stamps: Transfers ink to a paper surface. Often faster but might be more prone to smudging if not handled with care.
Both methods have their place, but if you handle formal submissions, an embossed seal can be the safer choice to satisfy local authorities.
Prepare The Proper Materials
Getting set up for embossing means you need the right tools. By preparing ahead of time, you avoid last-minute surprises like fuzzy impressions or incomplete seals. Let’s talk about the essentials:
Tools You’ll Need
-
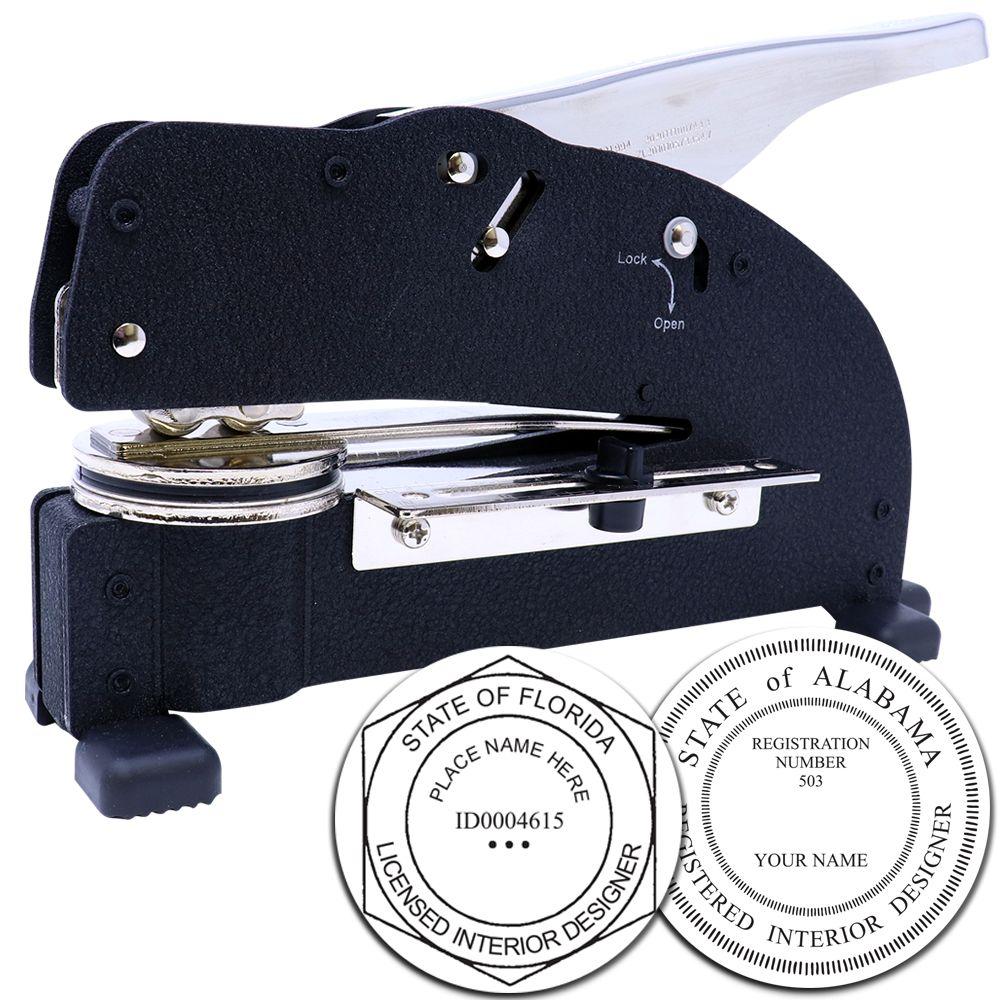
Embossing Device
A sturdy handheld or desk model that can apply consistent pressure. You might opt for a pocket-sized model if you’re always on the move. Desk models are heavier but can produce more uniform impressions. -
Quality Of The Die
Your seal die should include all the required text and graphics for Florida interior designers. Make sure the characters are crisp. Die quality affects the clarity of the final emboss. -
Proper Paper
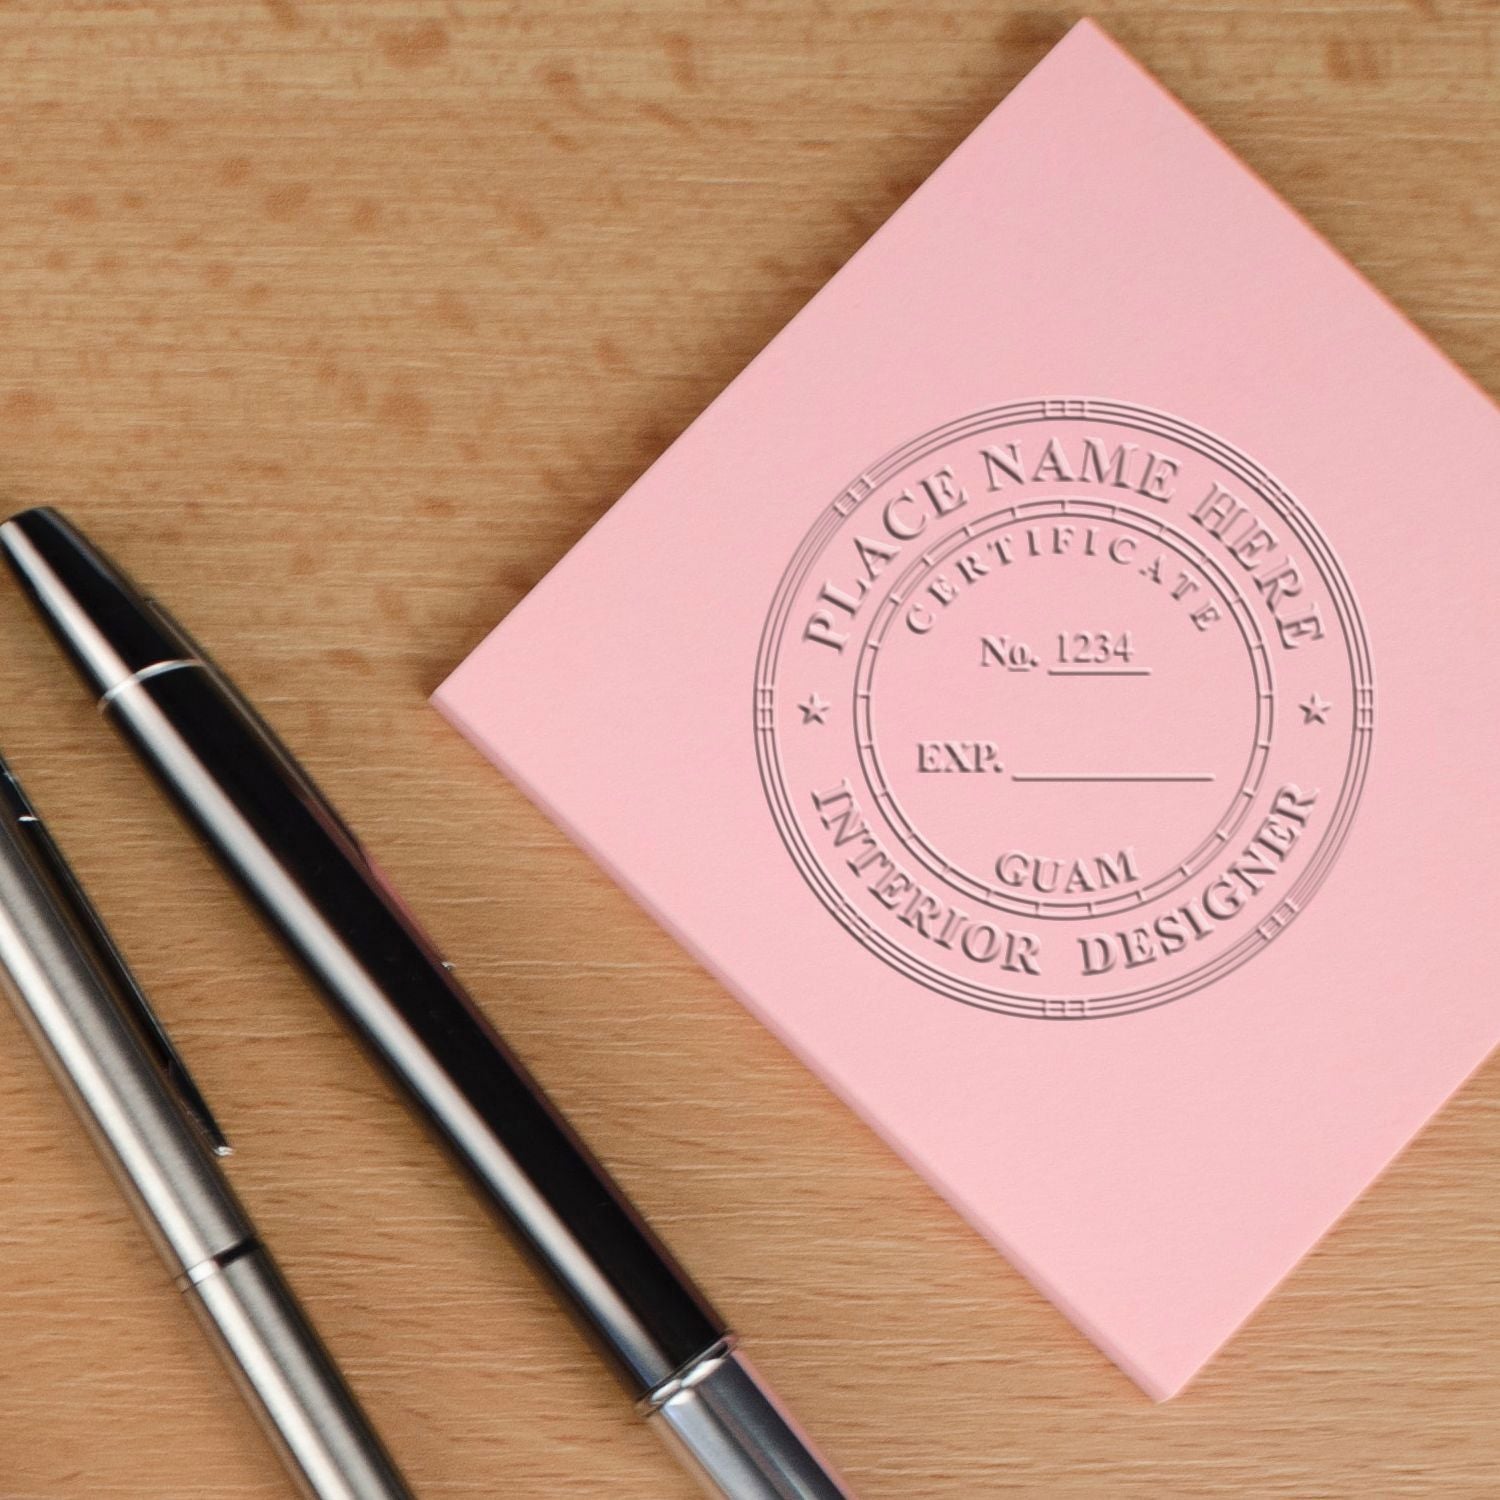
Thicker stock might create cleaner raised impressions. However, Florida does not specifically mandate a particular weight, so standard paper typically works as long as your seal is legible. -
Optional: Reinforcement Stickers
These stickers can increase paper thickness, giving a stronger imprint and highlighting the embossed area.

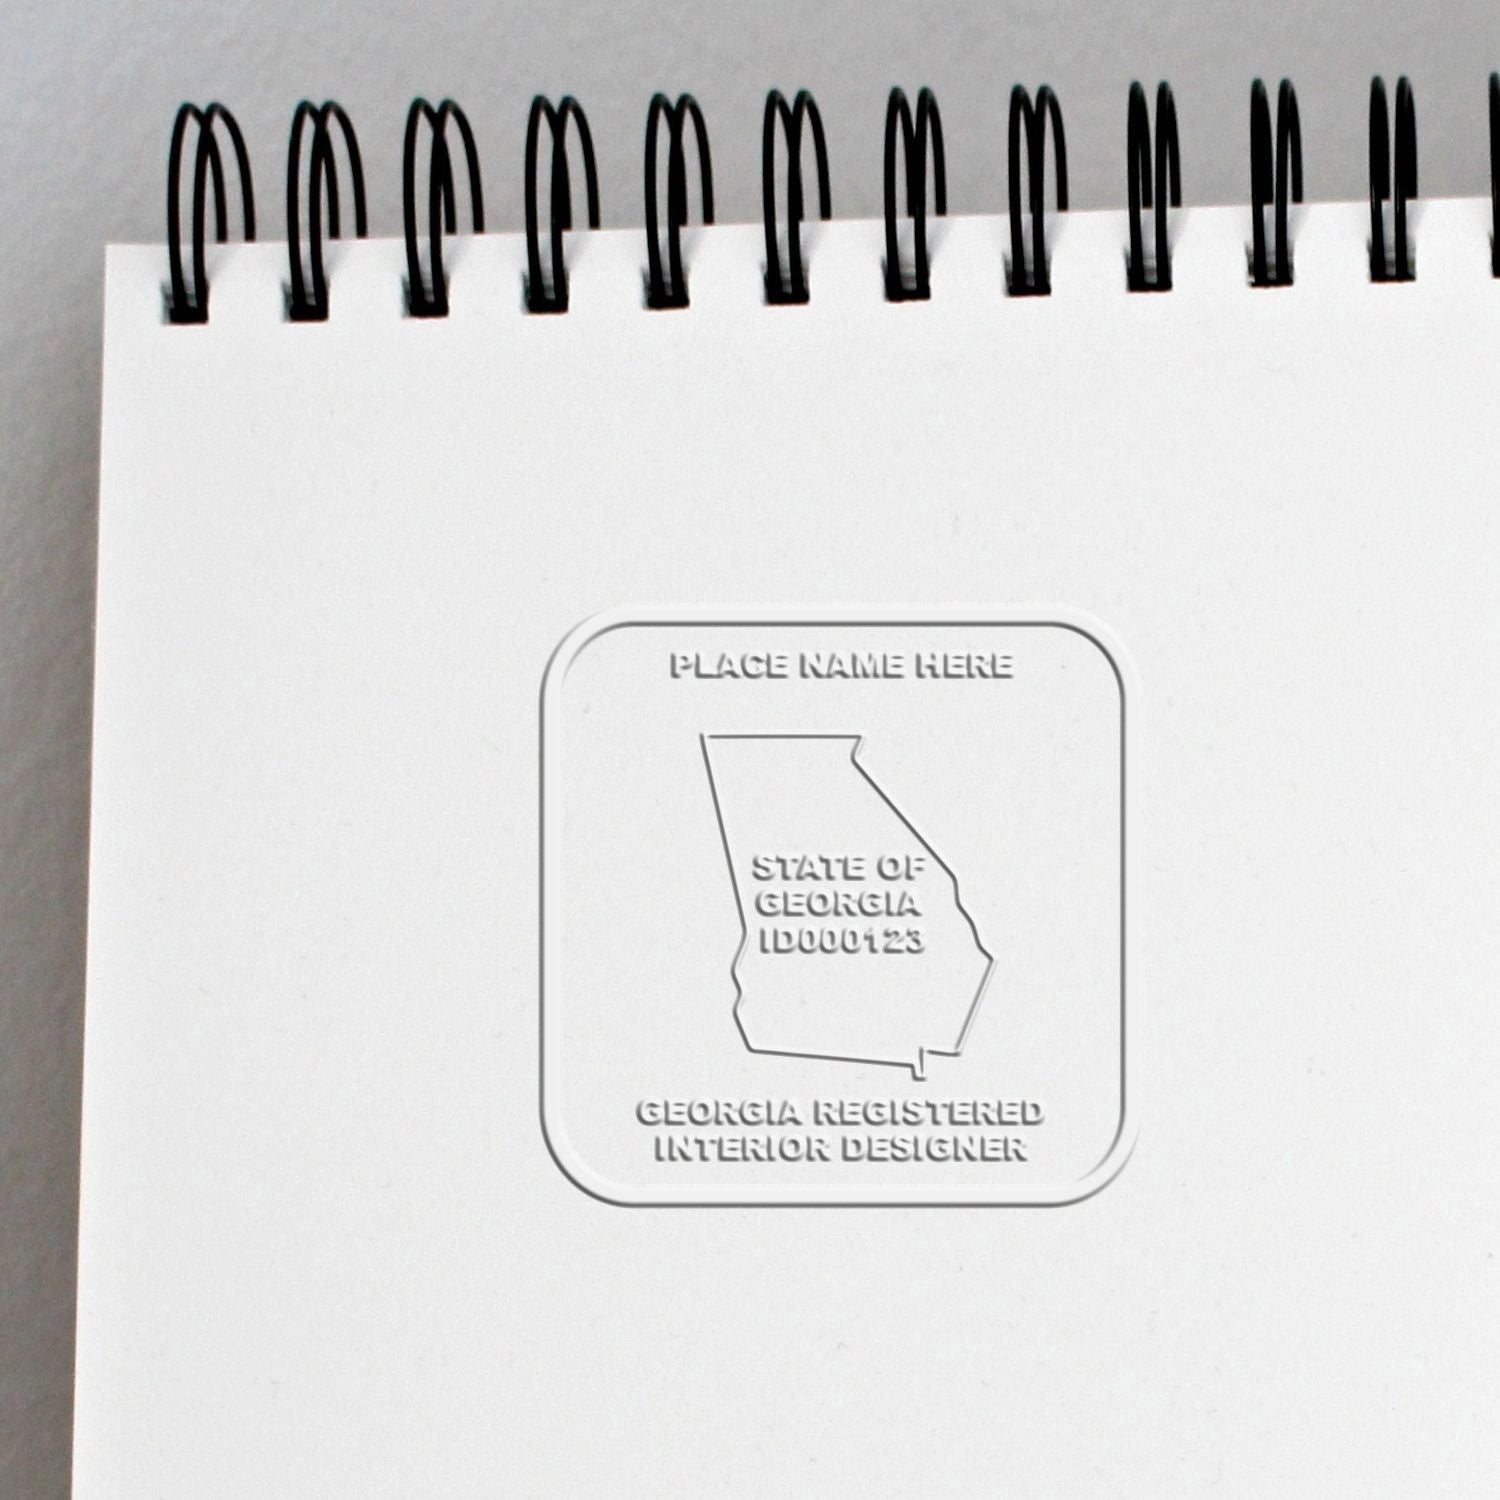
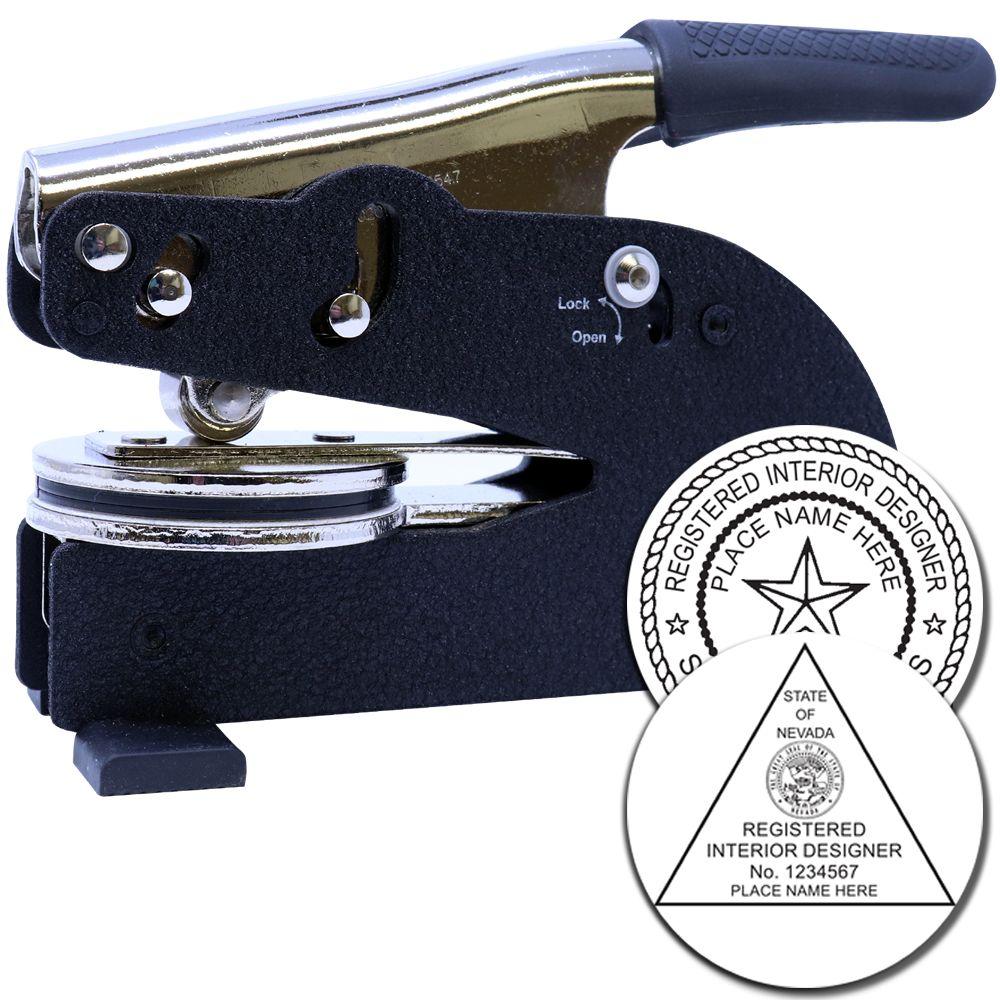
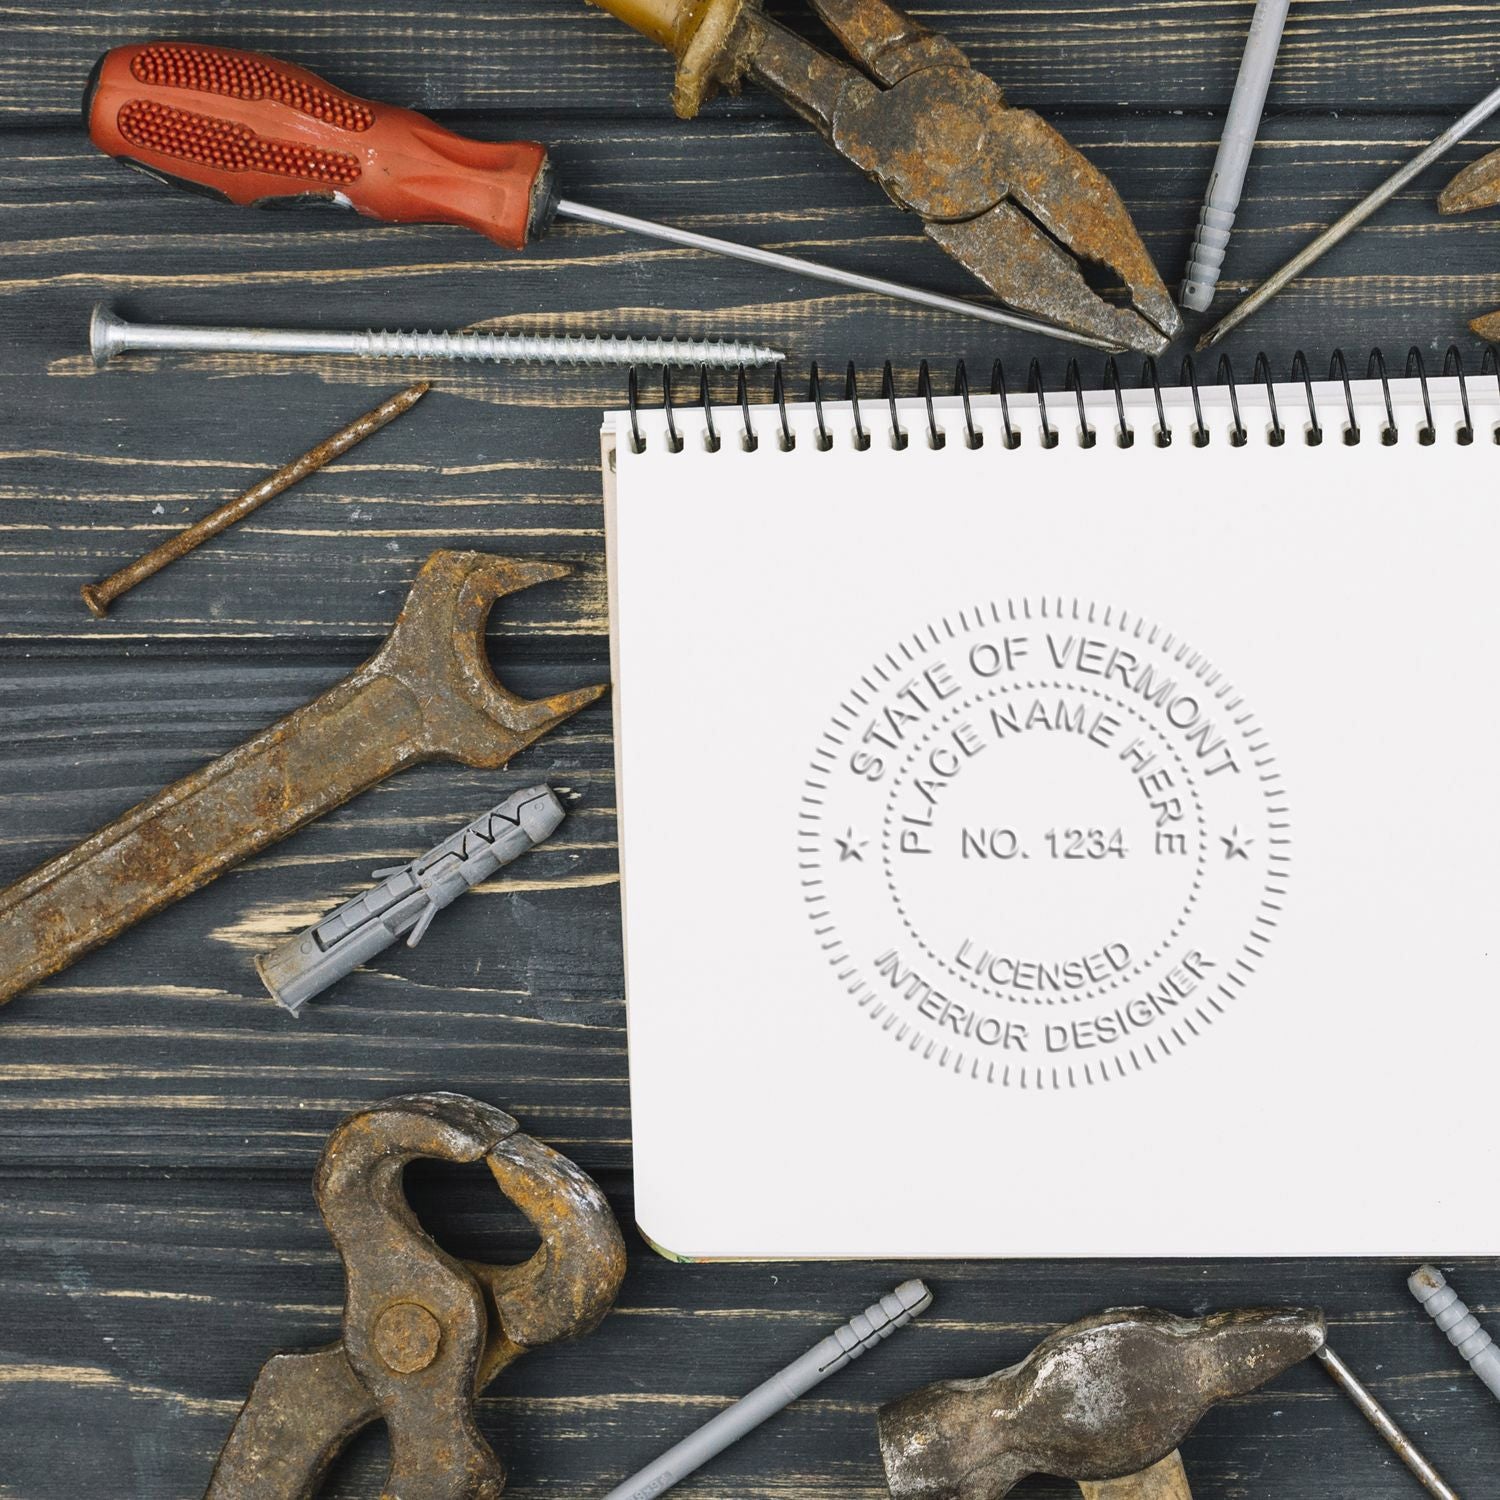

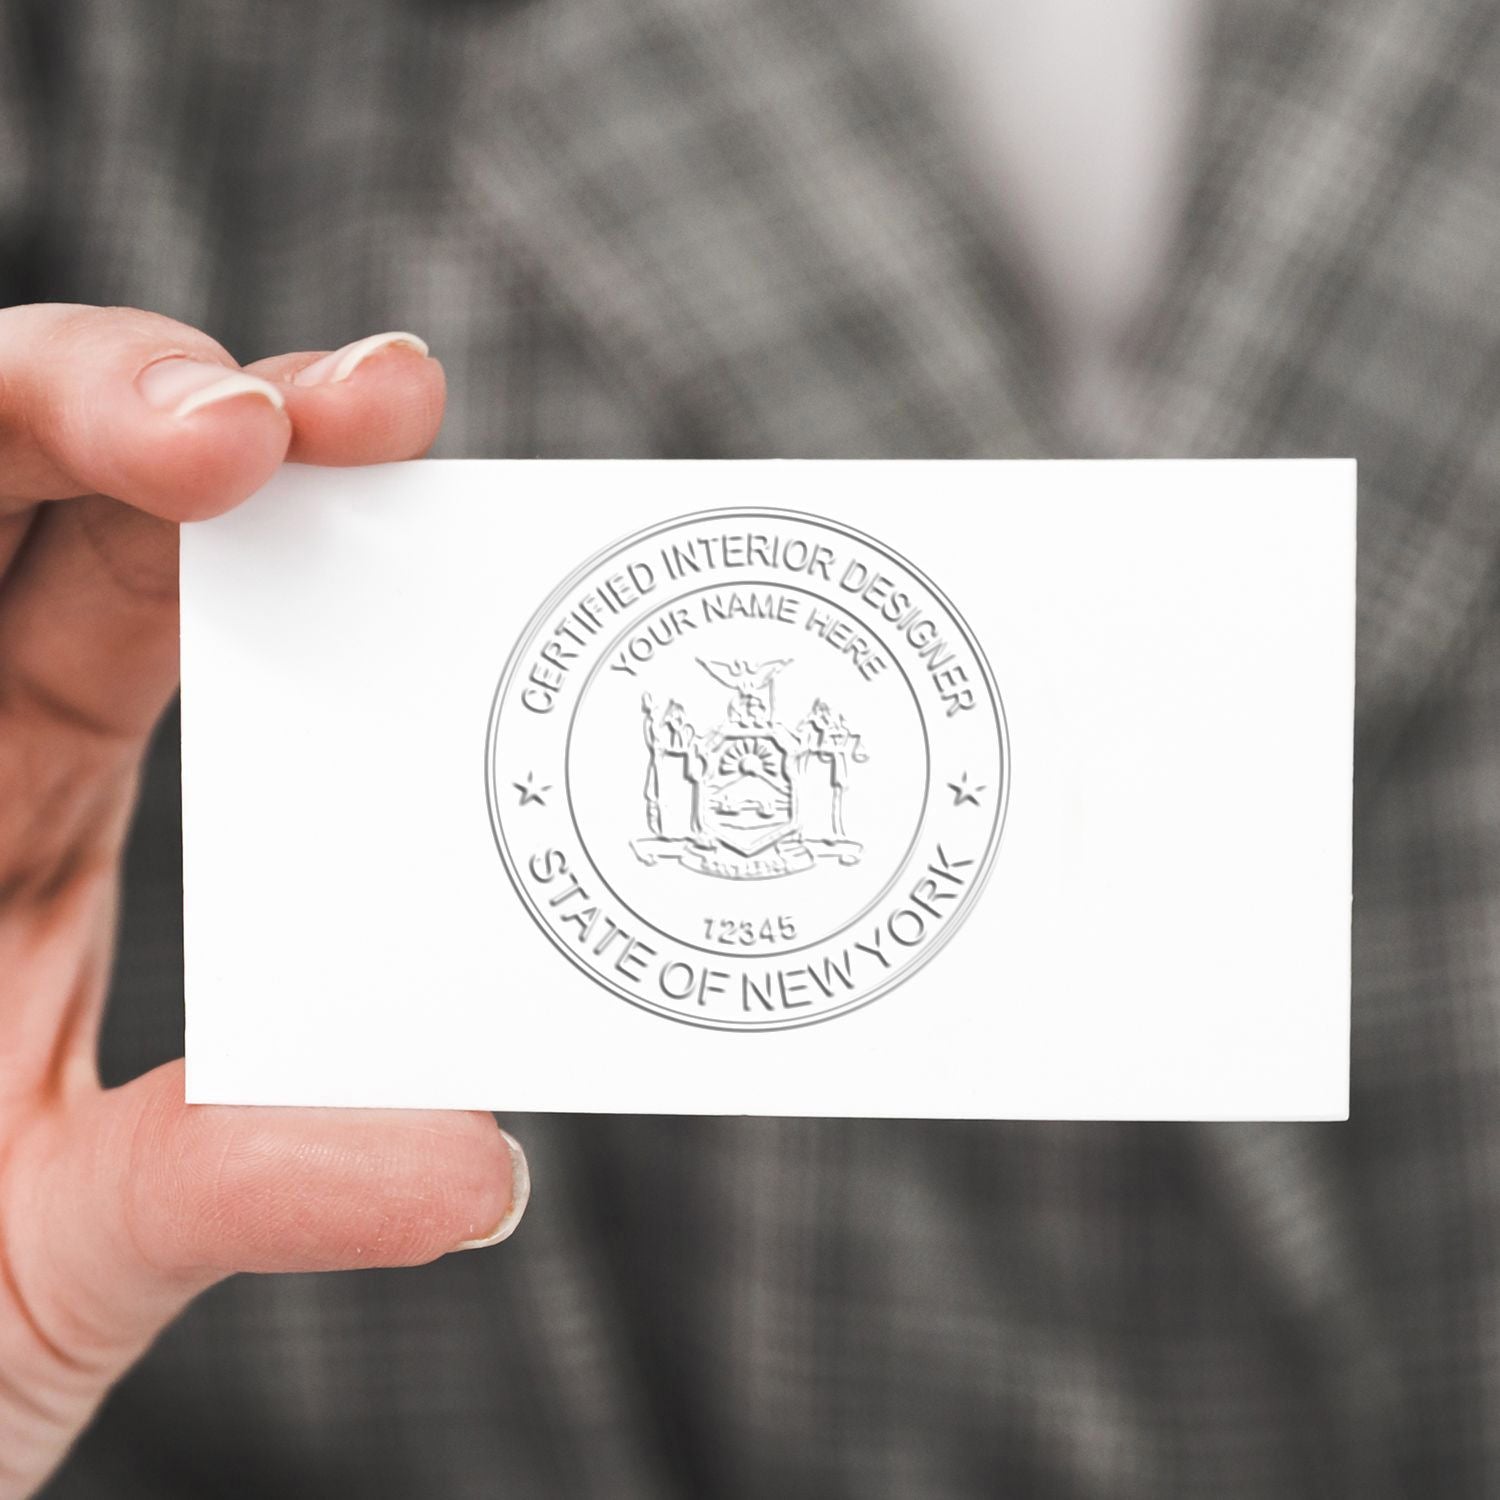
Setup Tips
- Test the embosser on a scrap sheet before you seal your actual drawing.
- Store your device in a clean, dry area to prevent dust from affecting its moving parts.
- Keep the seal aligned in its frame, so letters and numbers do not shift over time.
Follow The Correct Steps
Embossing your Florida interior designer seal doesn’t have to be tricky. Once you’ve got the right materials, it’s time to apply your seal systematically.
-
Align Your Paper
Position the paper so the part where you want the seal is exactly in the jaws of your embosser. Check that you’re not too close to any edge, because partial impressions can be hard to read. -
Check The Orientation
Your seal shouldn’t be upside down or tilted. A consistent orientation ensures clarity for anyone inspecting your paperwork. -
Press The Embosser
Squeeze firmly but not too hard. A steady, even press for a few seconds produces a clean, raised image without tearing the paper. -
Inspect The Result
Make sure your name, license number, and any required text are visible. If you spot a faint or incomplete impression, switch to a fresh sheet of paper, realign, and try again. -
Repeat As Needed
Each official page usually requires its own seal. Double-check submission guidelines for exactly where and how many times to apply it.

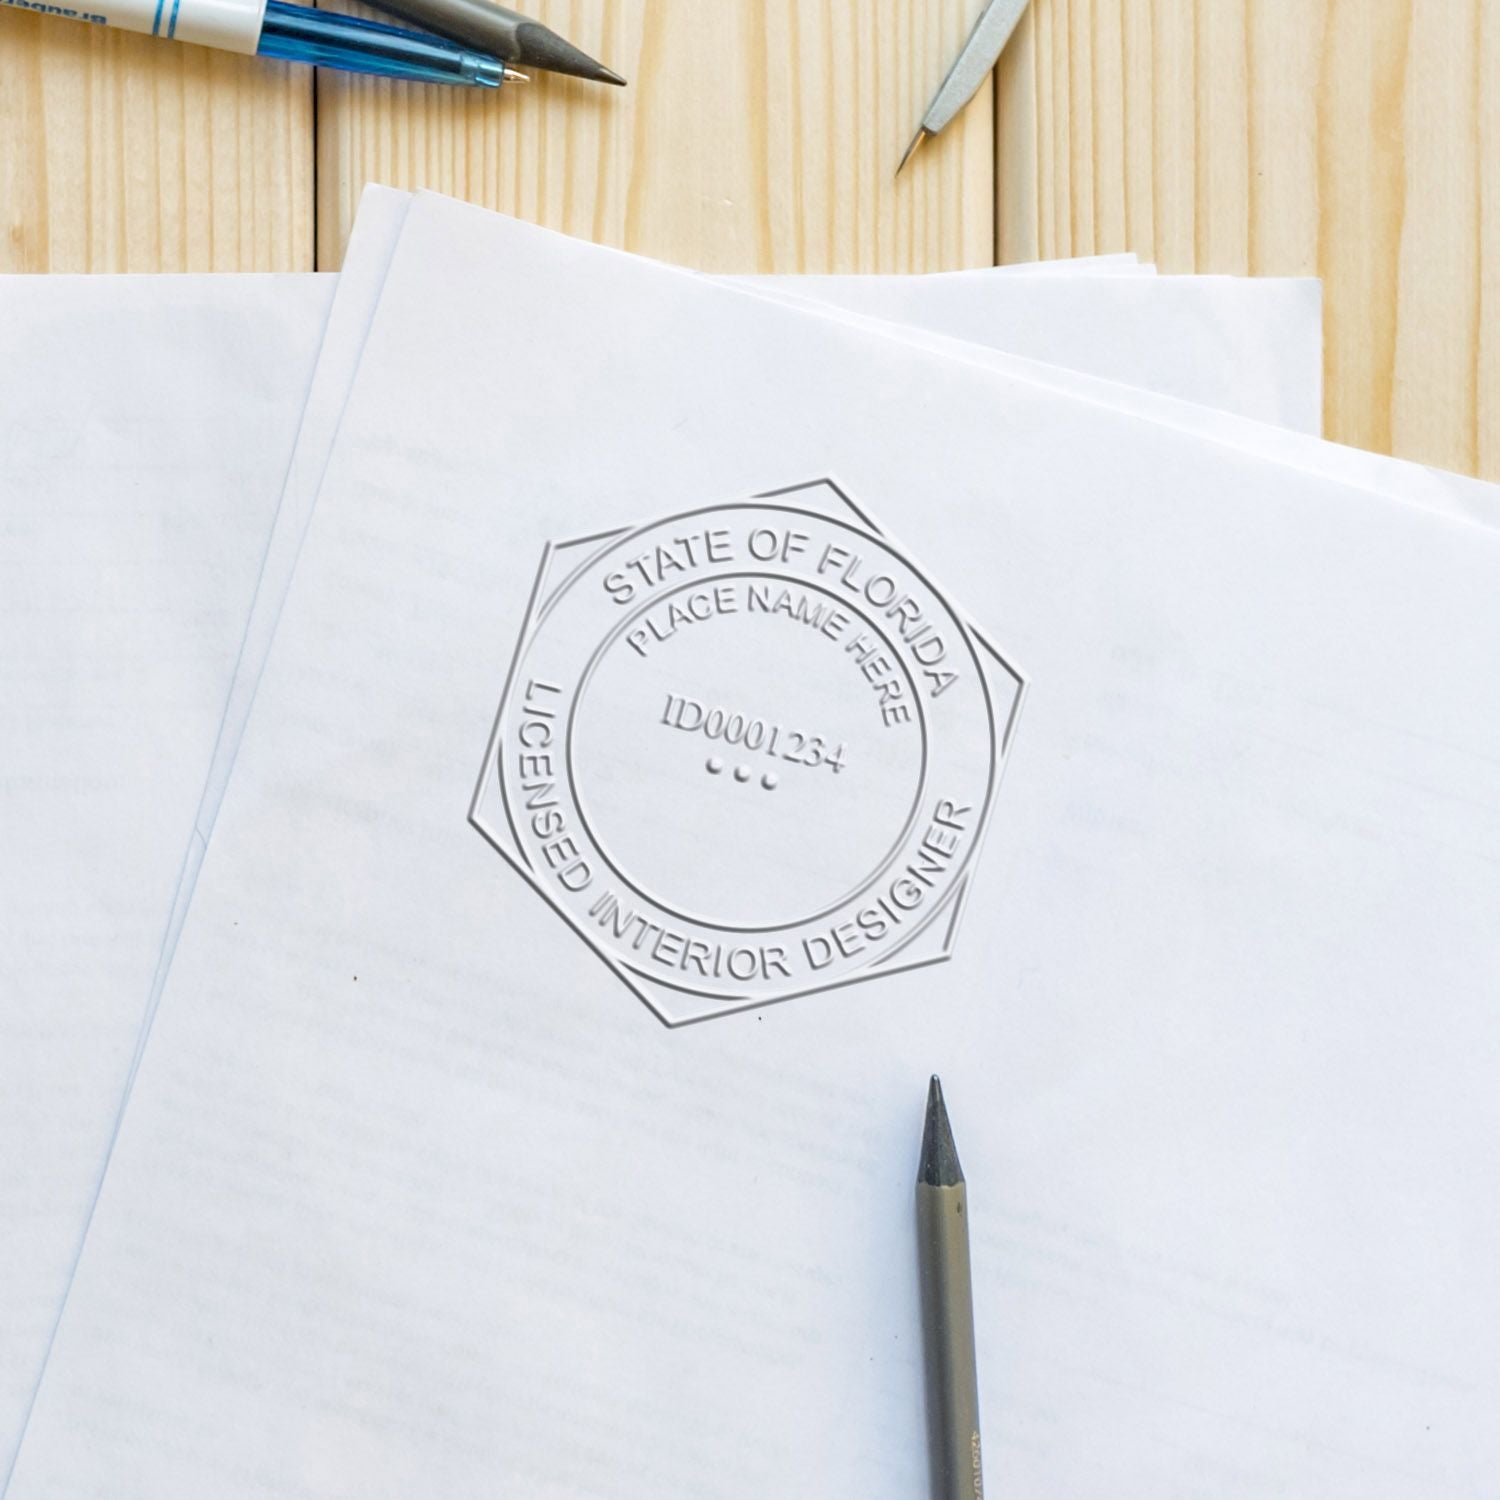
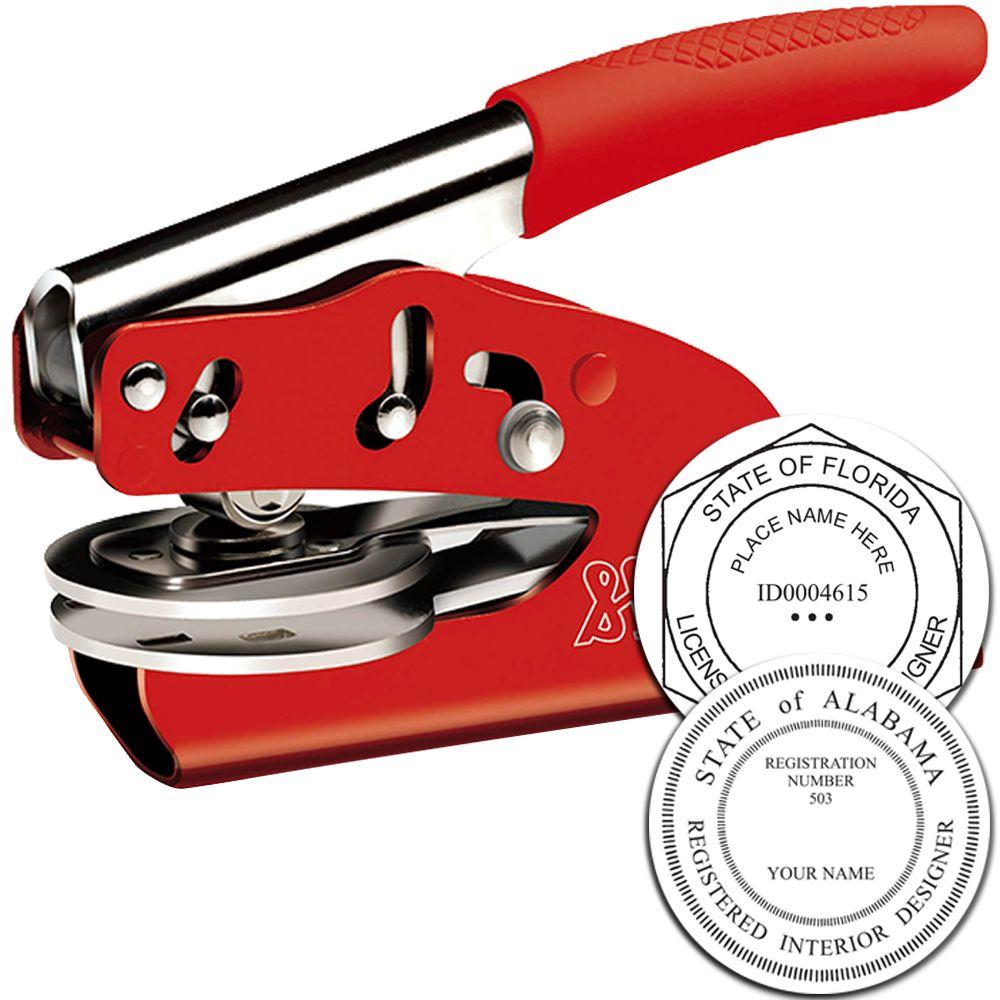

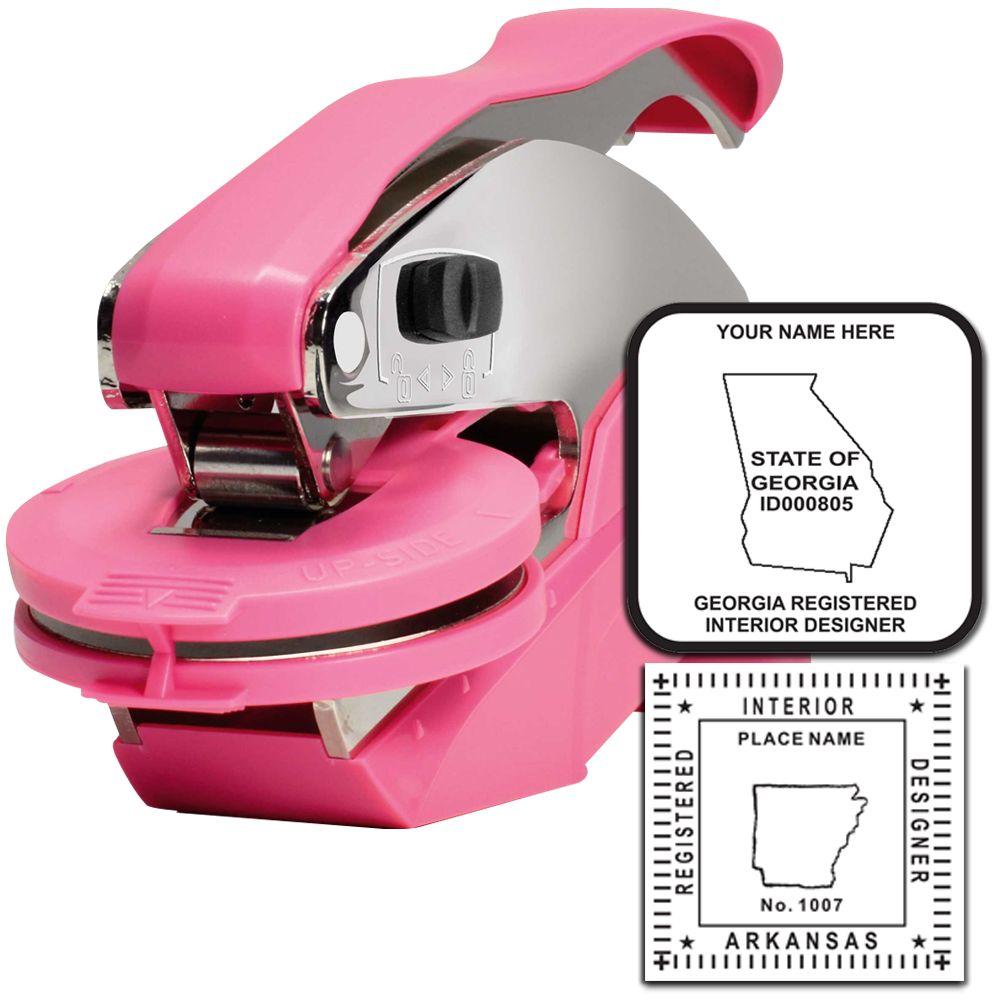

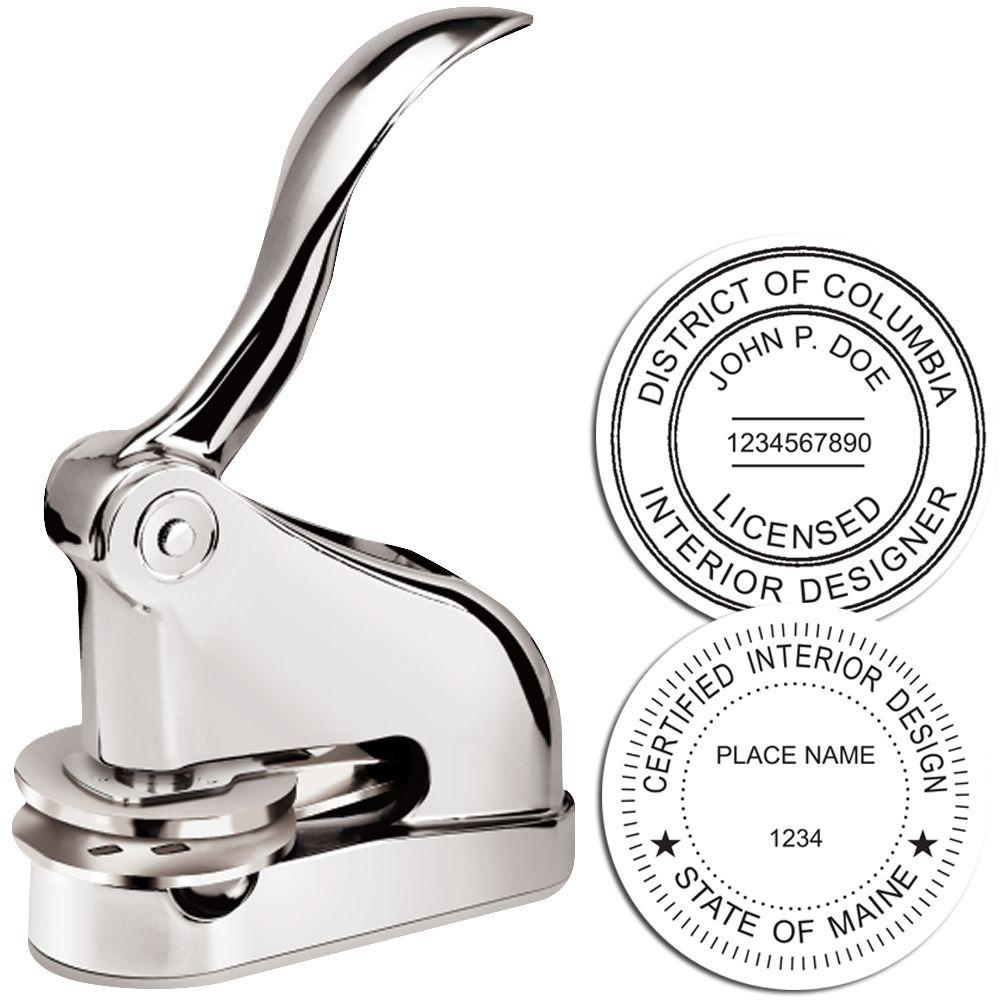
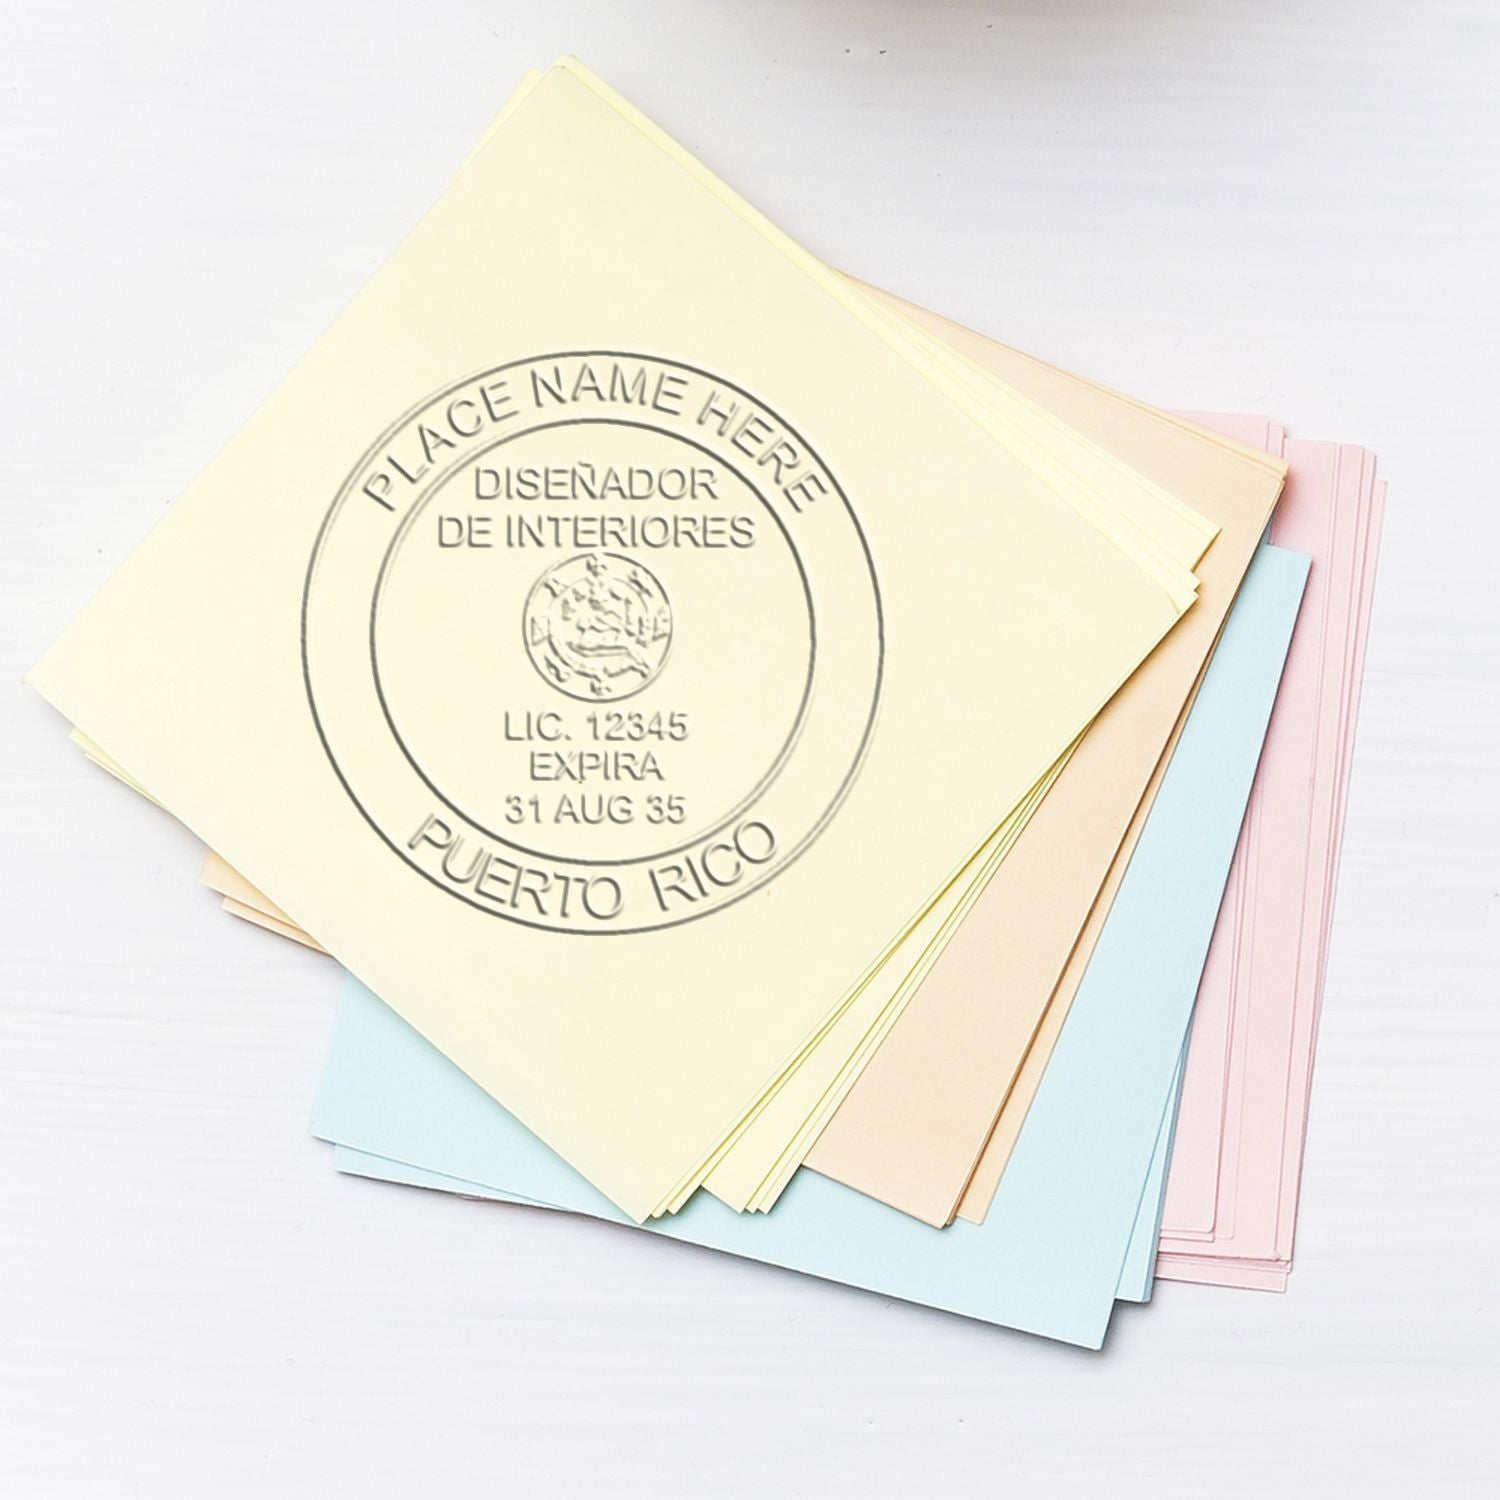
Remember to keep documentation of when and where you applied your seal. Some designers note it in a project log or on a copy of the sealed document. Doing so helps you stay organized and consistent across all your projects.
Know Digital Seal Benefits
While embossing is essential for that unmistakably official feel, you may also find digital seals help with any electronic submissions. In Florida, electronic files often require a digital signature and a digital version of your seal. It might feel like extra effort at first, but you’ll be glad you have this option if you’re working with online submission portals or remote clients.
Why Use A Digital Seal?
- Faster Approvals: Many review boards now accept digital submissions.
- Eco-Friendly: Less paper printing means fewer hassles and reduced costs.
- Security: Digital seals often come with encryption or timestamp features, reducing potential fraud.
At Acorn Sales, we offer a free electronic seal and free digital seal when you purchase a physical embosser or stamp. You might pick up your seal device for standard paperwork, but then discover the digital version is a handy complement for online project submissions. Since we’ve been around since 1964, we’ve seen this transition firsthand, and our goal is to continue making it easy for you to keep your paperwork in perfect shape.
Choose A Trusted Supplier
By now, you’re probably thinking about how to order or upgrade your Florida interior designer seal embossing equipment. You’ll want a supplier who knows Florida’s specific rules, delivers on time, and offers reliable products that last. You’re dealing with official documents, so the last thing you need is an unreliable embosser that breaks halfway through your submission process.
Why Acorn Sales?
- Longevity: We’ve been in business since 1964, offering stamps and seals to professionals who need top-tier accuracy.
- Florida Expertise: Our team stays on top of Florida’s evolving guidelines, so you always get a seal that meets current standards.
- Free Digital Seal: We know how the industry is shifting, so we throw in a free electronic and digital seal with your purchase.
- Quality Materials: Each seal die is made for durability, giving crisp impressions month after month.
Ordering from a reputable source is just one more assurance that your Florida interior designer seal embossing will go smoothly. You can also lean on us for quick answers if you run into any trouble. Whether it’s aligning your seal or verifying the correct text, we’ve seen it all and love to help.
When you order your Florida interior designer embosser from Acorn Sales, you automatically qualify for a free electronic seal and free digital seal. This perk helps you handle both paper and online submissions without extra hassle. We’ll guide you through how to integrate your digital seal into your workflow if you need help.
We’ve covered a lot of ground, but hopefully you feel more confident about the ins and outs of Florida interior designer seal embossing. Whether you’re looking to buy your first embosser or upgrade to a free digital seal, following these steps will help you stay compliant and professional in your day-to-day business. Take a moment to check your current stamping setup, see if it meets Florida’s requirements, and consider whether a new embosser or a handy e-seal might help your work shine even brighter.
Have fun embossing and designing! If you have a pressing question, feel free to explore more about florida interior designer stamp requirements or simply reach out to us. There’s no such thing as a silly question, and we’re here to ensure your paperwork is as flawless as your design work. Good luck, and happy sealing!
Frequently Asked Questions
Do I Need An Embosser If I Already Have A Rubber Stamp?
Plenty of professionals prefer a rubber stamp for everyday use and keep an embosser for official documents. Florida does allow stamps, but an embossed seal often adds extra security and a professional edge. You might choose both to cover all your bases, especially if certain documents strictly require a raised impression.
Where Should I Place My Embossed Seal On Plans?
Typically, you apply seals to the title block area of design documents, but always confirm the exact spot with your local jurisdiction or project manager. Some municipalities may have a specific location rule, while others follow a general best-practice guideline. Your goal is to ensure the seal is visible, legible, and cannot be easily cropped out.
Can I Emboss Over Different Types Of Paper?
Yes, but the thickness and texture of the paper can alter the clarity of the impression. Standard printer paper usually works fine. If you’re using heavier stock, do a quick test run to ensure the imprint is still sharp. You can also use reinforcement stickers to create an extra layer if you find your impression is too subtle.








