
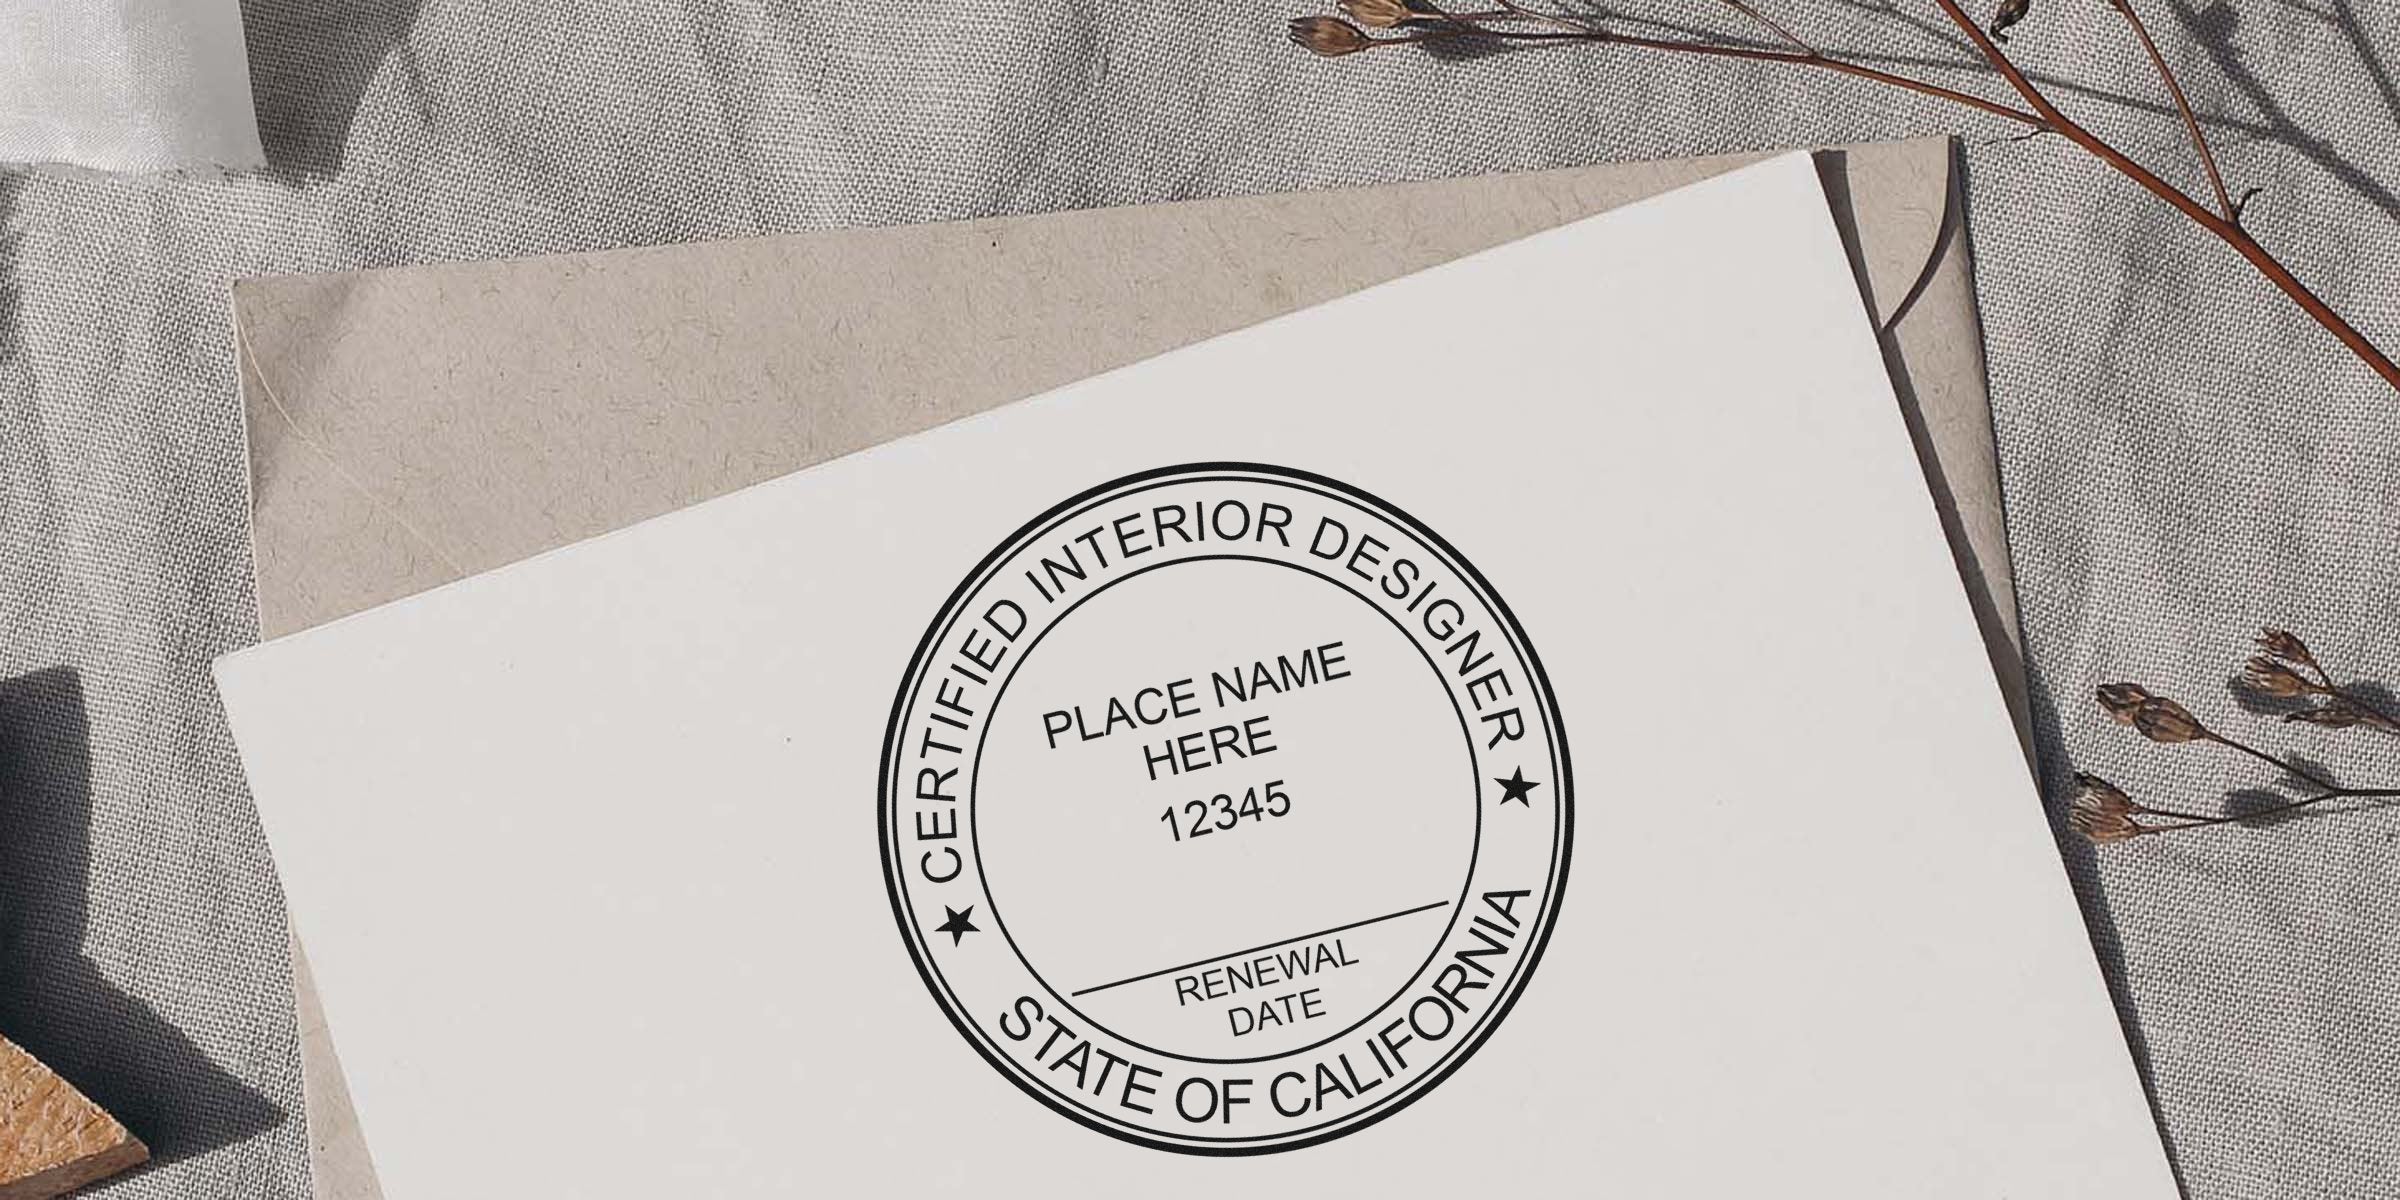
If you’re navigating California’s interior design field, you may have heard about the California Interior Designer Seal Embosser. This specialized tool helps you authenticate official plans and documents so that everything you present carries a professional stamp of approval. In this friendly guide, we’ll look at how this embosser works, why you need it, and how to keep it in top shape. By the end, you’ll know exactly what steps to take to ensure your projects meet state guidelines and shine.
Understand the Seal Embosser
Embossing is simply pressing a design into paper or another surface to create a raised effect. In the case of a seal embosser for interior designers, this raised design usually includes your name, license details, and official title. The embossed imprint shows clients, government bodies, and other stakeholders that your documentation is legitimate.
You might wonder if an inked stamp or digital file alone is enough. In California, many official materials require an embossment for added security. The raised seal is tougher to forge, making it a reliable marker of authenticity. Plus, an embossed seal adds a tactile element that feels instantly professional.
Review the Legal Requirements
California has specific regulations around using interior design stamps and seals, particularly for certain project documents. The state wants to ensure you're a qualified professional, and that your plans meet safety and design standards. While the rules can feel daunting at first, they are in place to protect both designers and their clients.
Every professional should keep up to date with the latest state mandates. For more specifics, you can review these California Interior Designer stamp requirements. You’ll find guidelines on what goes into your seal, when to apply it, and any restrictions on usage. Always confirm your paperwork lines up with these requirements before you ink or emboss.
Choose the Right Embosser
When it comes to your California Interior Designer Seal Embosser, options abound. The two most common styles are handheld and desktop. Which style you pick depends on everything from your workload to how often you’re stamping. Below is a quick comparison:
| Embosser Type | Best For | Key Advantage |
|---|---|---|
| Handheld | Light or occasional use | Portable and easy to store |
| Desktop | Frequent or high-volume use | Offers stable, consistent impressions |
Handheld embossers make sense if you travel between job sites or client offices. You can slip one into a tote bag or keep it in a desk drawer. Desktop embossers work best if you typically emboss larger stacks of documents in your home office or workspace. They provide greater leverage, so your seal impressions come out crisp and clear with minimal effort.
No matter which style you pick, be sure the embosser meets the design specifications set by California. Double-check the text and layout to confirm that your name, license number, and other essentials comply with state regulations.
Follow Usage Guidelines
Applying your new embosser is straightforward, but there are a few best practices to keep everything neat and compliant. First, decide where the seal should appear on your document. Design layouts typically place it in a corner, often next to your signature or near the title block on plans.
Next, squeeze the embosser firmly, making sure you press with enough force for every line of text to stand out. You might use a small alignment guide, such as a ruler, to keep everything straight. If you find the raised design too faint, consider adding a light slip of paper beneath your official page for extra leverage.
If you prefer a uniform look, you can also coordinate your embossed seal with an inked stamp. Some designers place an inked version of their seal directly over the embossment for visibility, especially when documents are scanned or photocopied. However, be sure any double impressions still comply with state standards.
Maintain Your Embosser
Your embosser is like any other tool: the more careful you are with it, the longer it will last. You’ll want to store it somewhere clean and dry. Excess moisture can corrode the metal plates, and dust can collect in the crevices, affecting the clarity of your impressions.
Below are a few general maintenance tips:
- Clean the Plates: Wipe them gently with a soft cloth every now and then.
- Check the Alignment: If the text starts looking lopsided, you may need a slight realignment.
- Inspect the Die: Over time, frequent use may wear the raised die. If impressions weaken, consider getting a replacement.
- Keep It Covered: A small dust cover or pouch is an easy way to keep dirt away from the delicate parts.
With these basics, your embosser should serve you for a long time without any hiccups. In case of persistent issues, contact the manufacturer or your supplier for advice.
Benefit From Acorn Sales
Once you understand the importance of a high-quality seal, where do you turn for a reliable supplier? Acorn Sales is here to help. We’ve been a trusted supplier for California Interior Designer stamps and seals since 1964, so we know a thing or two about durability and precision.
When you order your embosser through Acorn Sales, we’ll include a free electronic stamp to match your embossed imprint. This e-stamp is perfect for digital submissions and emailing layouts to clients, so you can handle both paper and online workflows with ease. Because we’ve been in the business so long, we also offer plenty of customization options, from different handle styles to tailored seal designs. Our goal is to ensure every impression you leave is professional and clear, no matter where your design projects take you.
Feel free to reach out if you have more questions or want a specialized quote. With the right California Interior Designer Seal Embosser, you’ll add an extra level of trust and credibility to your work. Whether you’re just starting out or you’ve been designing spaces for years, a crisp seal can make all the difference in how clients and authorities view your final documents. Happy designing!
Frequently Asked Questions
What Information Must My California Interior Designer Seal Contain?
Your seal typically includes your name, your professional title, and your license or registration number. California also sets guidelines for the diameter and wording. To stay compliant, confirm the precise layout in the California Interior Designer stamp requirements.
Can I Use Only a Digital Stamp Instead?
Generally, official documents in California call for a physical mark like an embossed seal or inked stamp. Digital stamps are handy for online files, but many agencies still require a raised seal on printed materials. Pairing both ensures your projects look professional and meet state regulations.
Which Materials Can I Emboss?
Most designers emboss paper plans or specification sheets. If you’re dealing with thicker materials, check the embossing depth capacity of your device. Some models handle poster board well, while others are designed for standard paperweight.
Do I Have to Replace the Entire Embosser or Just the Plates Over Time?
In many cases, you can update or replace the metal die plates if they wear down. This option is often more affordable than purchasing a new device. However, if the embosser mechanism itself becomes too loose or damaged, you might want to replace the entire unit for the best quality impressions.








