
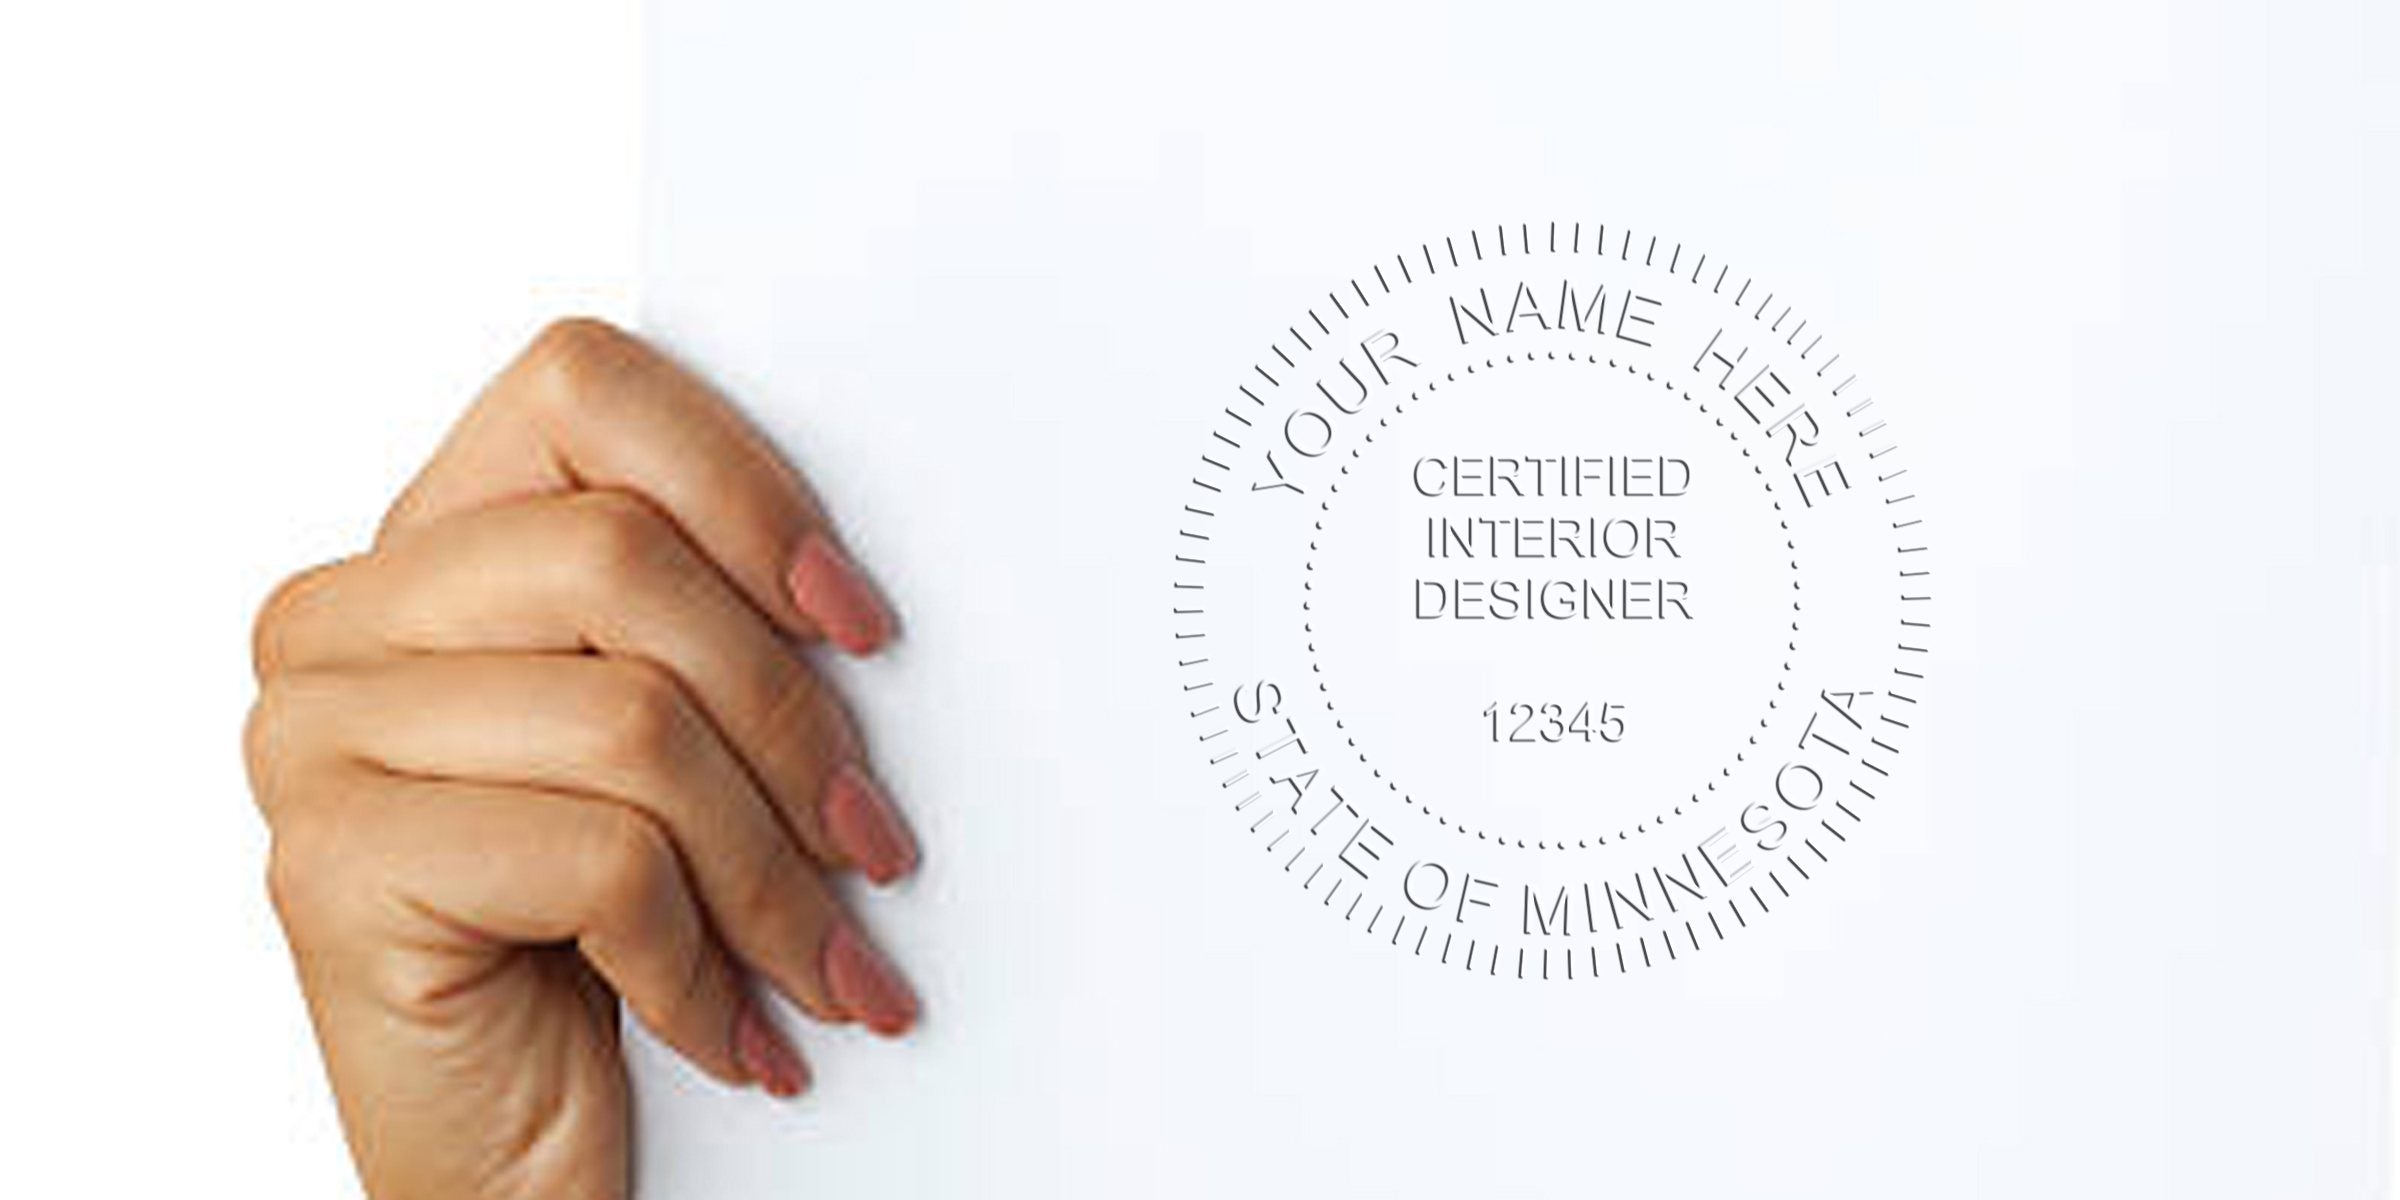
If you are planning a Minnesota interior designer stamp purchase, the first thing worth knowing is that no Minnesota rule makes you buy one. The seal is optional. What the state does care about is a block of text that travels with your signature, and that block is spelled out in statute. Get that right and the seal becomes what it should be: a mark you chose, on documents you want to look finished. This guide covers what Minnesota actually says, what goes on an optional seal, and how to order a device that holds up.
What Minnesota Says About the Seal
Minnesota certifies interior designers through the Minnesota Board of Architecture, Engineering, Land Surveying, Landscape Architecture, Geoscience, and Interior Design. The credential is the certified interior designer, and that wording matters, because it is the only one of the seven credentials under the same two rules that does not use the word licensed.
Minn. Stat. 326.12, subd. 2 uses the word may about the seal. So does Minn. R. 1800.4300. A certified interior designer in Minnesota is permitted to have a seal and is not obliged to own one. There is no state-issued die, no diameter to match, and nothing waiting to reject a document for lack of an impression.
What Goes on the Seal if You Have One
Here is the part that makes the page worth reading. Minnesota does not make you carry a seal, but it does say what one contains. Two elements:
- Your name.
- The legend certified interior designer.
Note what is not there. The statute does not name Licensed Interior Designer, and a Minnesota seal carrying that phrase would describe a credential Minnesota does not issue. If you have seen a template online with the word licensed on it, that template was not written for this state.
The Block That Does Travel With Your Signature
Minn. Stat. 326.12, subd. 3 is where the real obligation sits, and it is about text next to your signature rather than about a die. On plans, drawings, specifications, reports and other documents prepared under Minn. Stat. 326.02 to 326.15 that call for a signature, the certification block carries:
- The prescribed interior designer certification sentence.
- Your signature.
- Your typed or printed name.
- The date.
- Your certificate number, labeled Cert. No.
Those five things travel together. That is the single most useful line on this page: a reader who leaves knowing exactly what sits beside the signature has the answer they came for. For the statutory text and the citations, read Minnesota Certified Interior Designer Seal Rules.

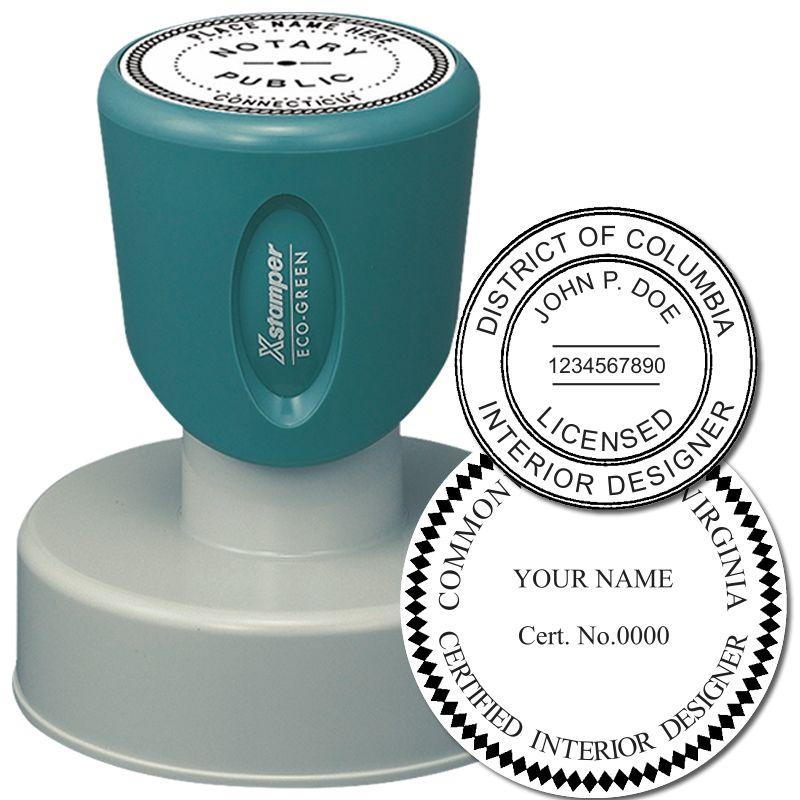



Why Designers Order a Seal Anyway
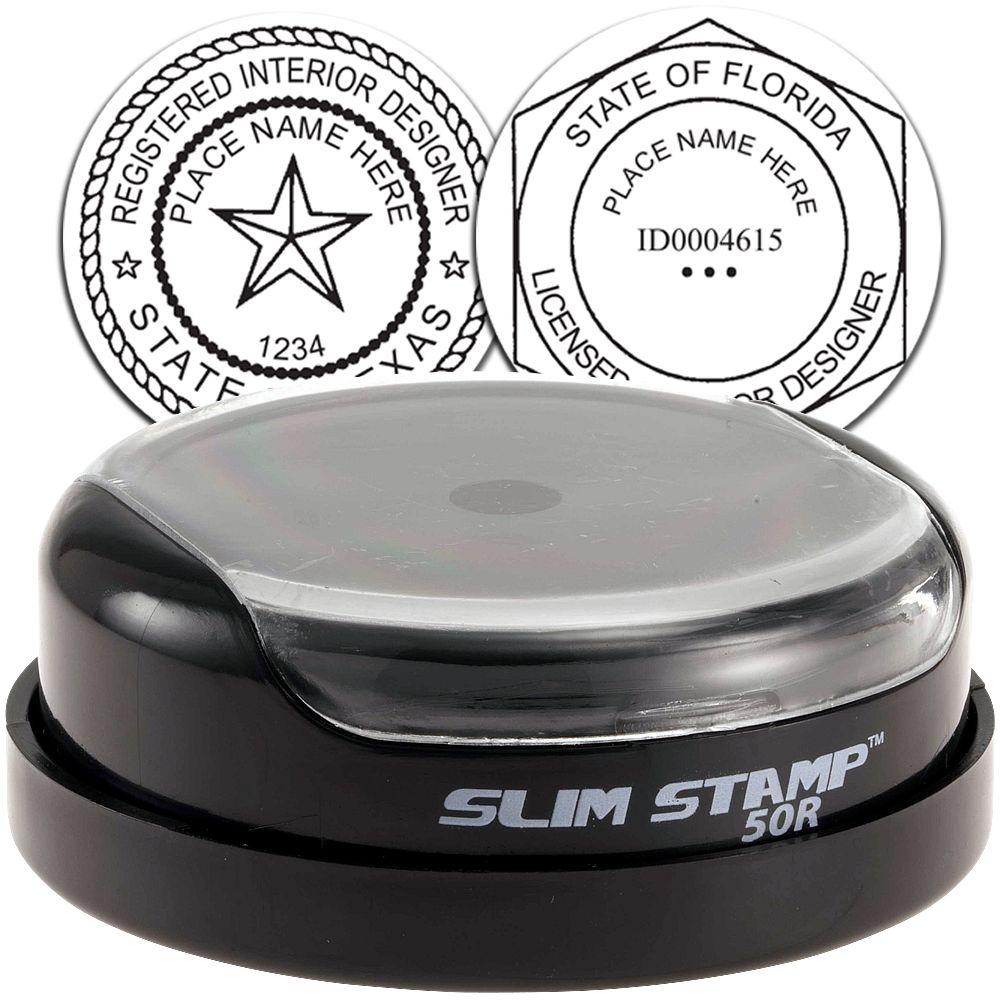
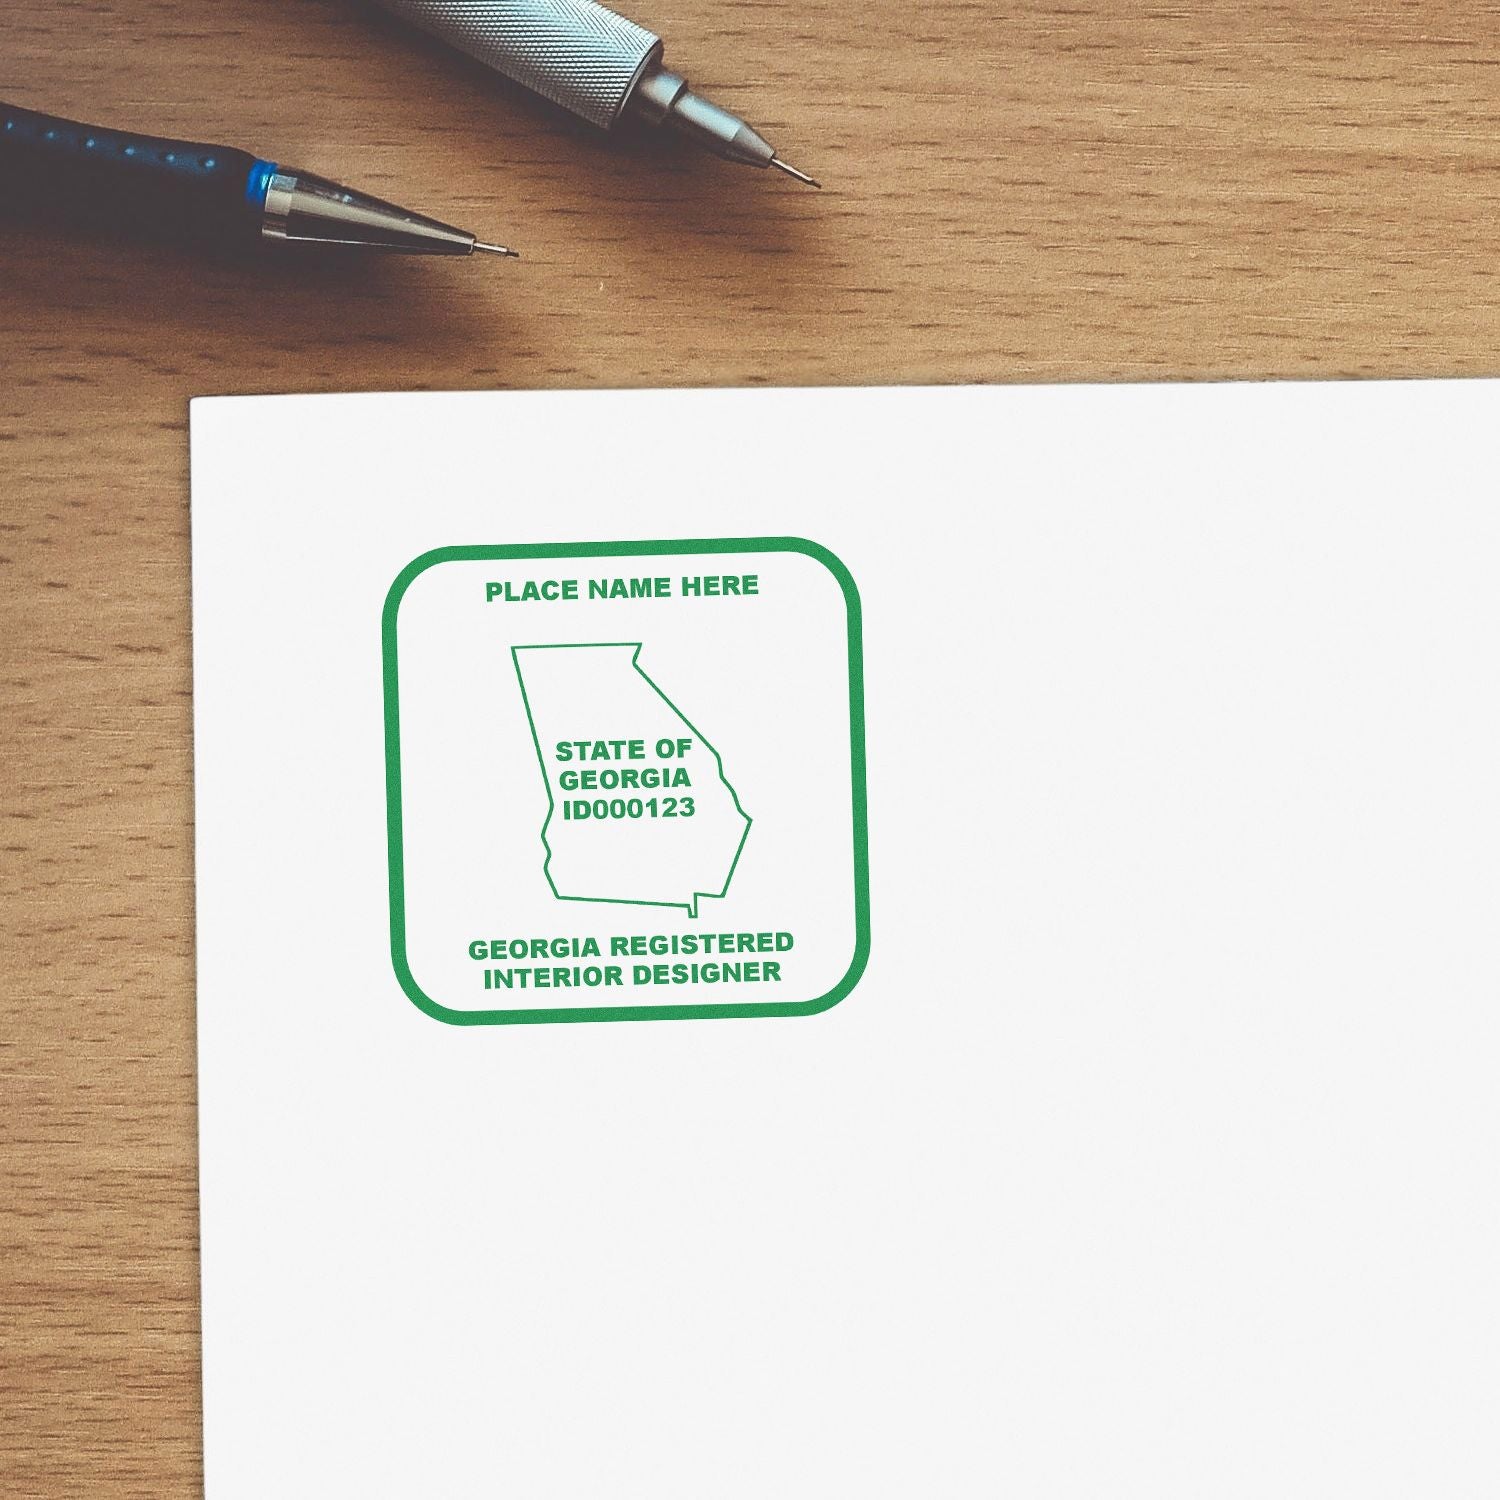
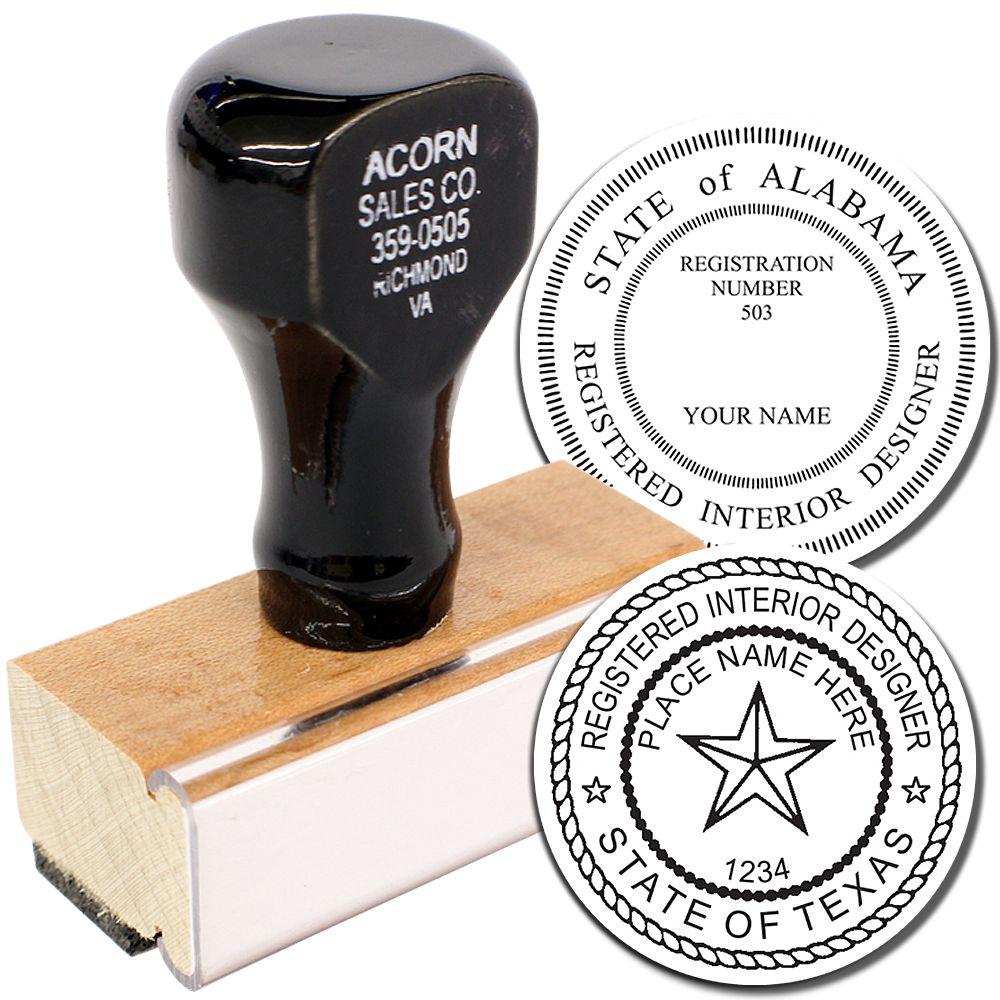
The block is text. The seal is a mark. They do different jobs, which is why a lot of certified interior designers in Minnesota keep both.
- It identifies the author on sight. A finish schedule, a drawing set or a specification passes through a client's hands, a contractor's hands and a reviewer's. A round impression beside the signature keeps your name attached through every copy and every scan.
- It finishes the document. A typed block is information. An impression next to it reads as a deliverable someone stood behind.
- It saves rebuilding a graphic. With a device in the drawer you are not composing a mark in a word processor before each transmittal goes out.
- It looks deliberate on a proposal. On a desk beside two competing submissions, polish is not a small thing.
That is an honest reason to buy, and it is the only one on offer here. Nobody is going to reject your submission for lack of a seal.
Design Your Seal
Since nothing prescribes a diameter, a border weight or a typeface, the layout is yours. The two lines the statute names give you a starting point, and most designers stop there or add very little.
Wording to Use
- Your name, spelled as it appears on your certificate, middle initial and suffix included if you use them.
- The legend certified interior designer.
- Your certificate number, if you want it readable off the page without hunting for the block.
- Minnesota, if you want the state named. That is your choice, not a rule.
Wording to Skip
- Licensed Interior Designer. Minnesota certifies; it does not license this credential.
- Registered Interior Designer. Same problem, different word.
- Any credential you no longer hold. A lapsed line goes out on every page the seal touches.
- An approval phrase such as approved or endorsed. The mark says who prepared the work, not that anyone signed off on it.
Legibility
- Choose a font size that still reads at the size you actually stamp, not the size of the proof on your screen.
- Give the text room. Crowded rings fill in with ink faster than open ones.
- Pick a diameter that fits the corner of the sheets you use most, rather than the largest one on the page.
Select a Supplier
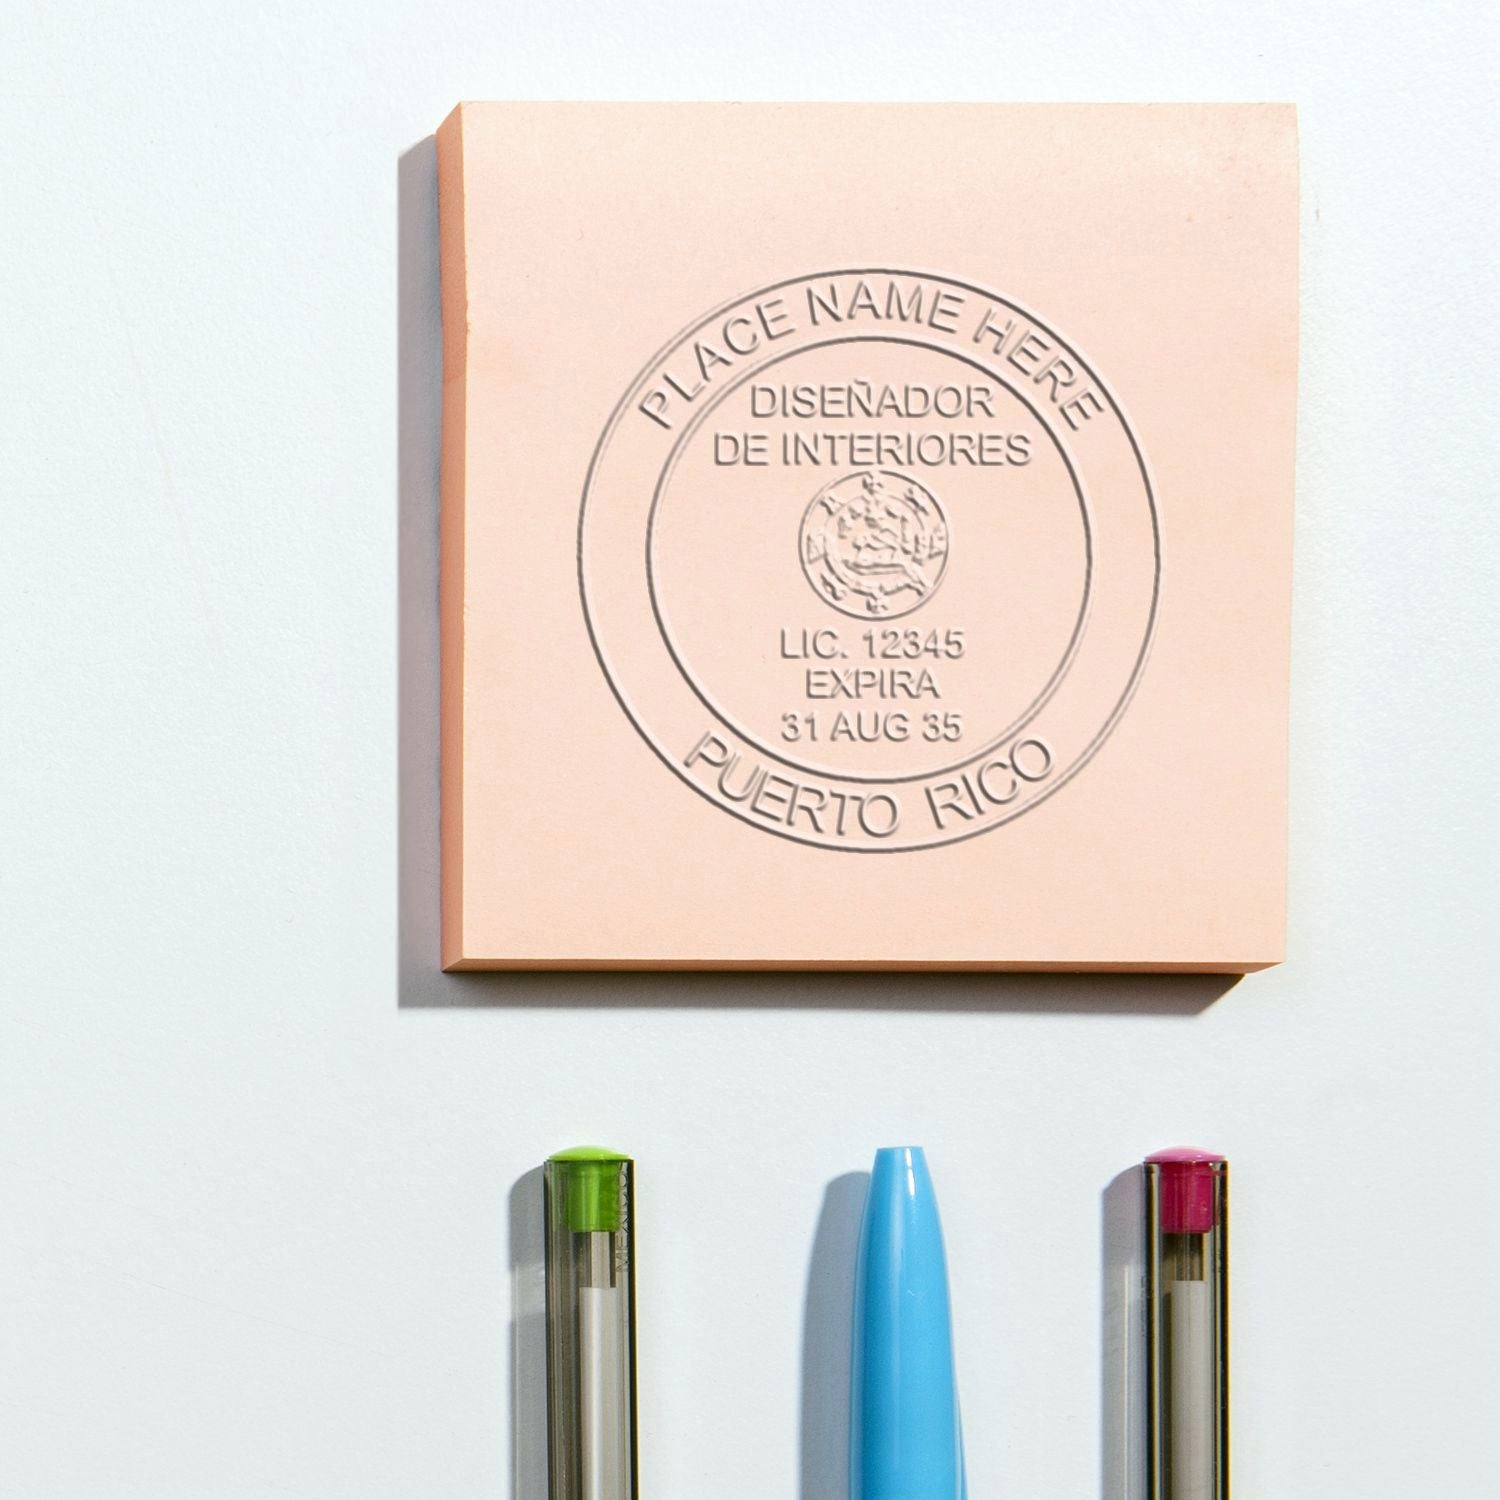
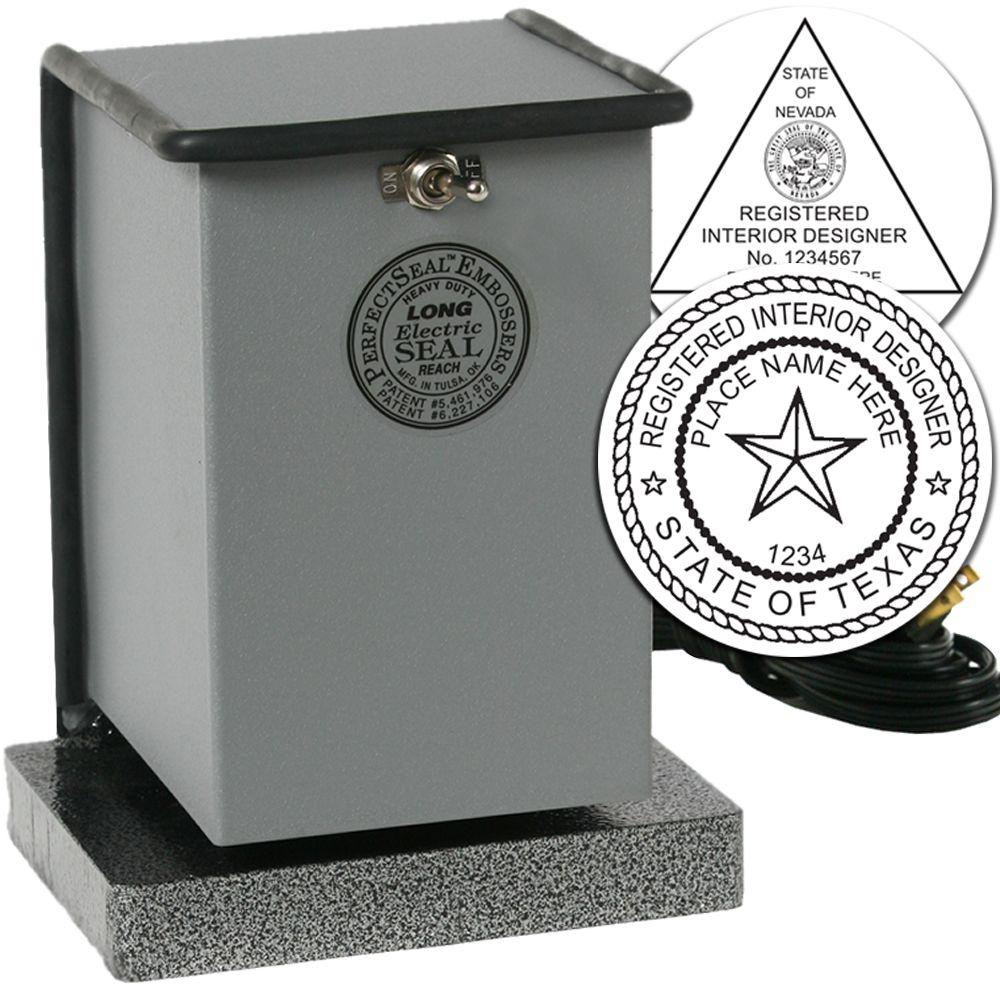
The device is the part that either holds fine detail for years or closes up after a few hundred impressions. That is where the money goes.
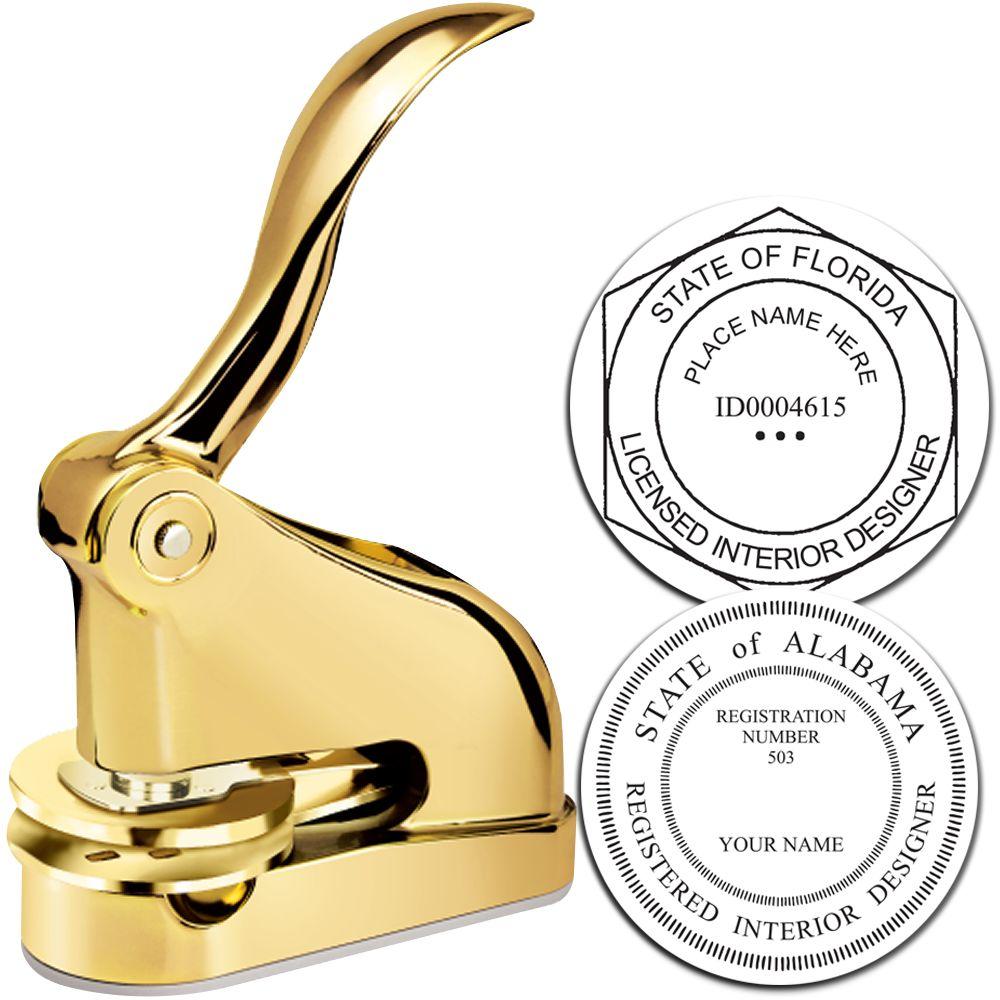
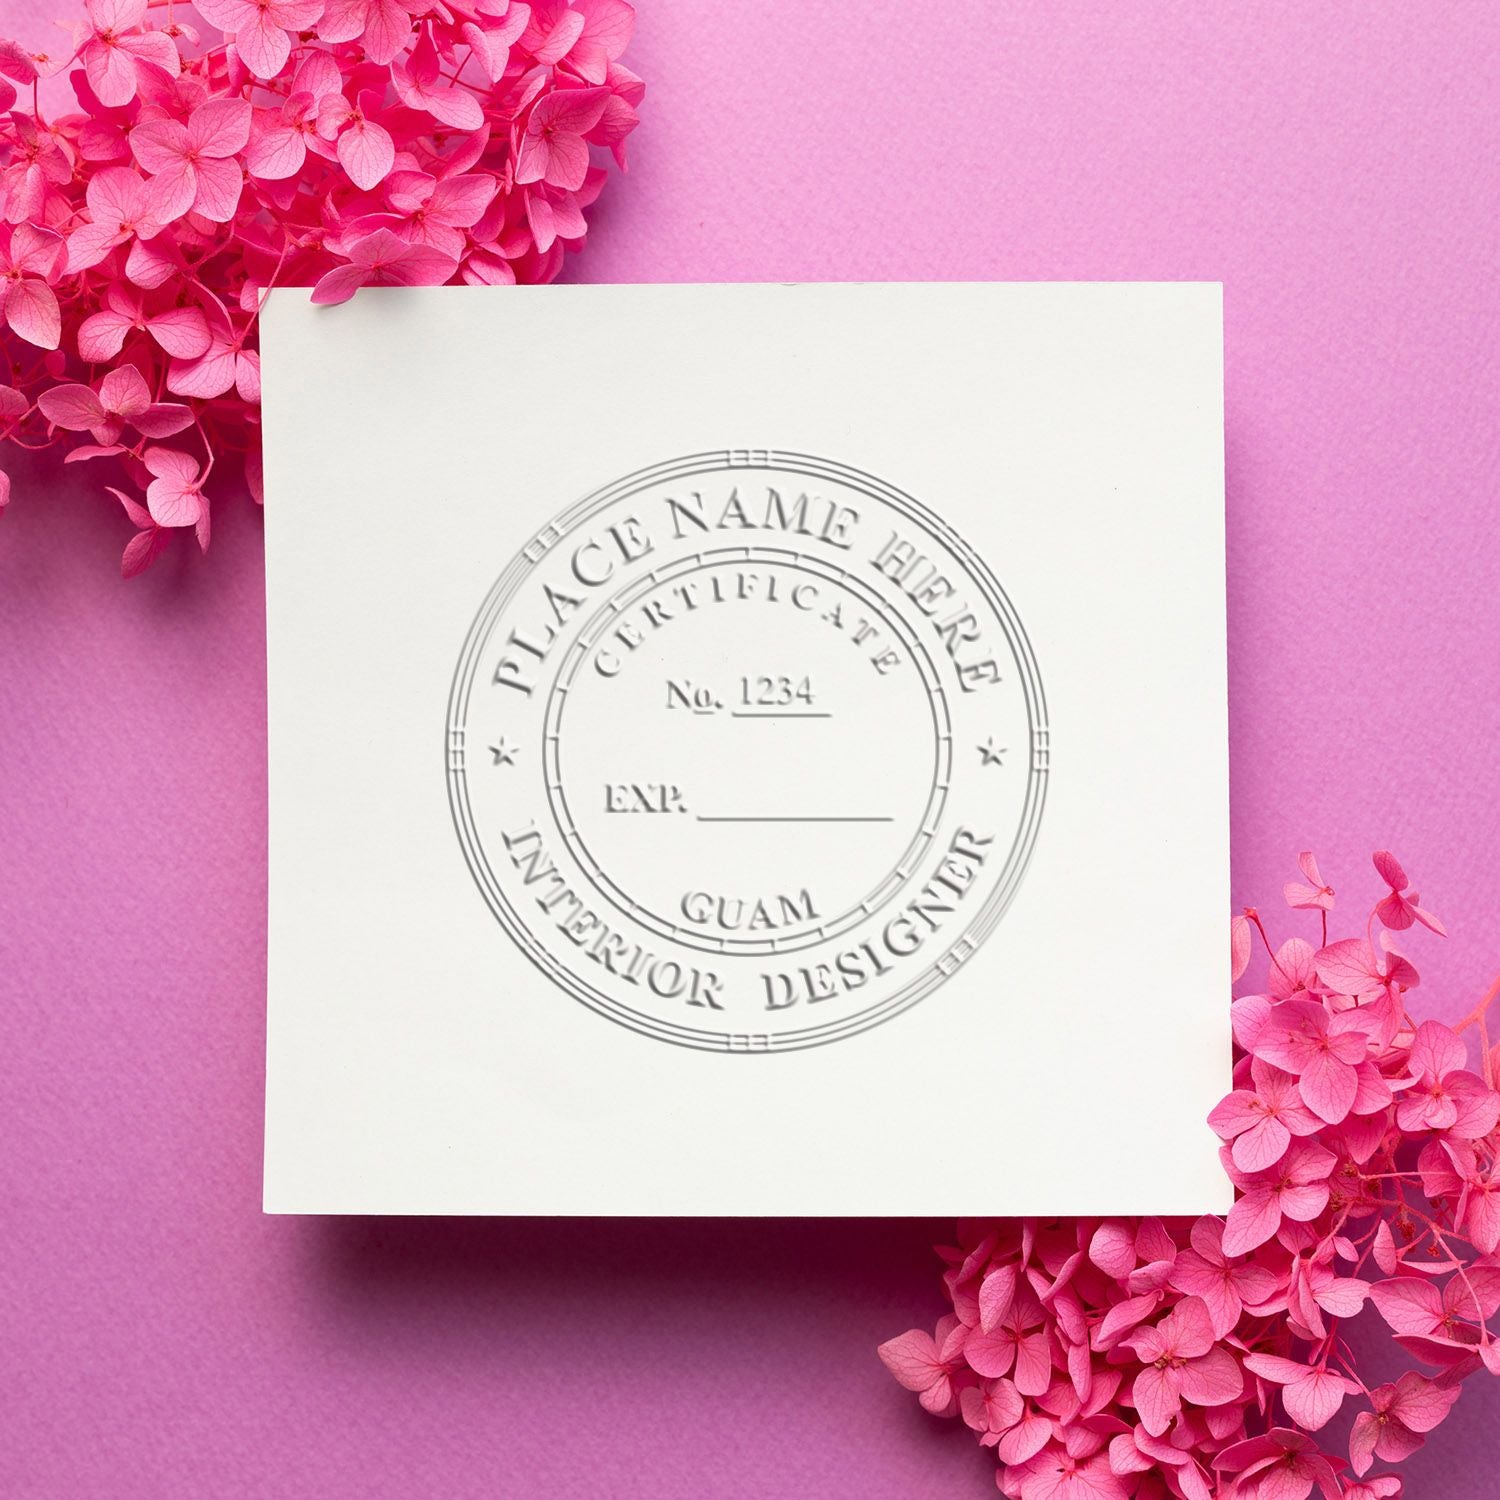
Acorn Sales has been making stamps and seals for design professionals since 1964. In practice that means a layout proof before anything is manufactured, someone who will flag a line of text that will not read at the size you picked, and hardware that keeps returning a clean impression. If you would like your wording looked over before production, contact us with the text you have in mind, and you can browse finished examples in the interior designer stamp range.
Checking Your Order
- Confirm the spelling of your name and your certificate number before you approve the proof.
- Ask for the proof image if one is not offered.
- Look at the impression size against a real document, not in isolation.
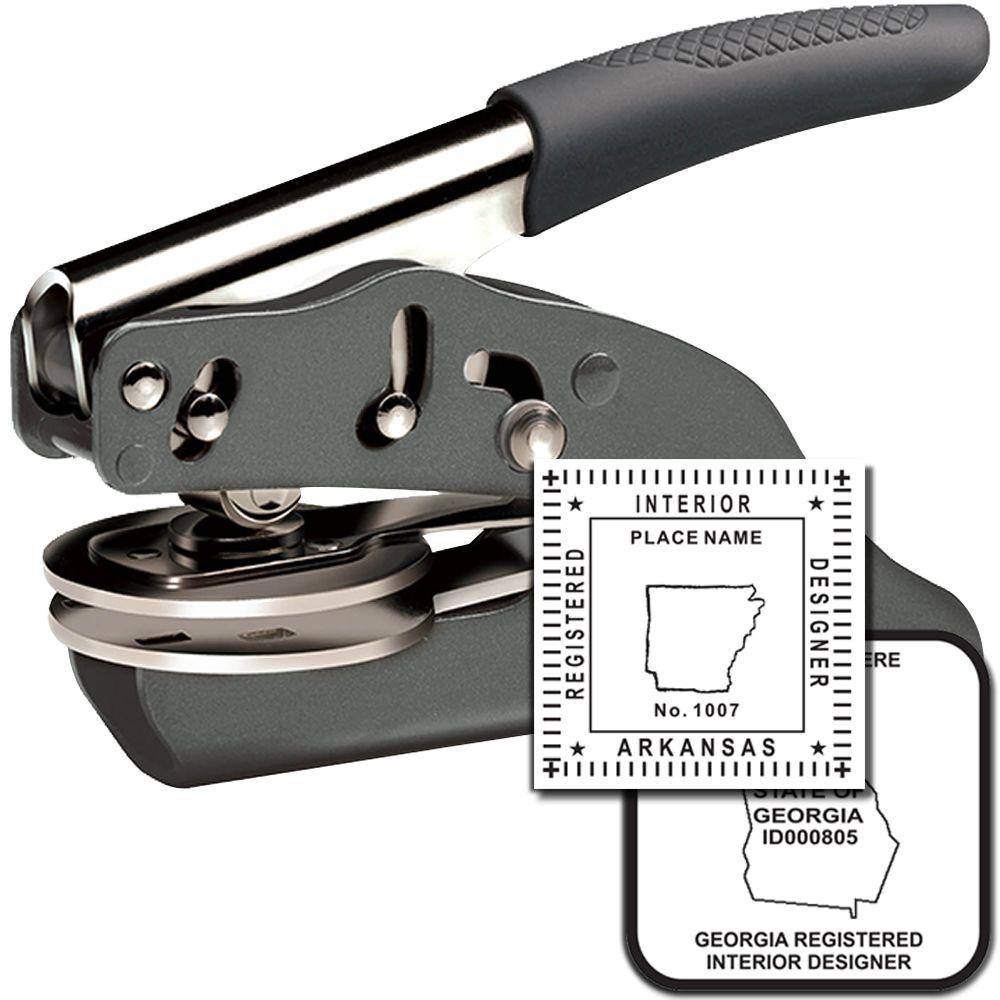
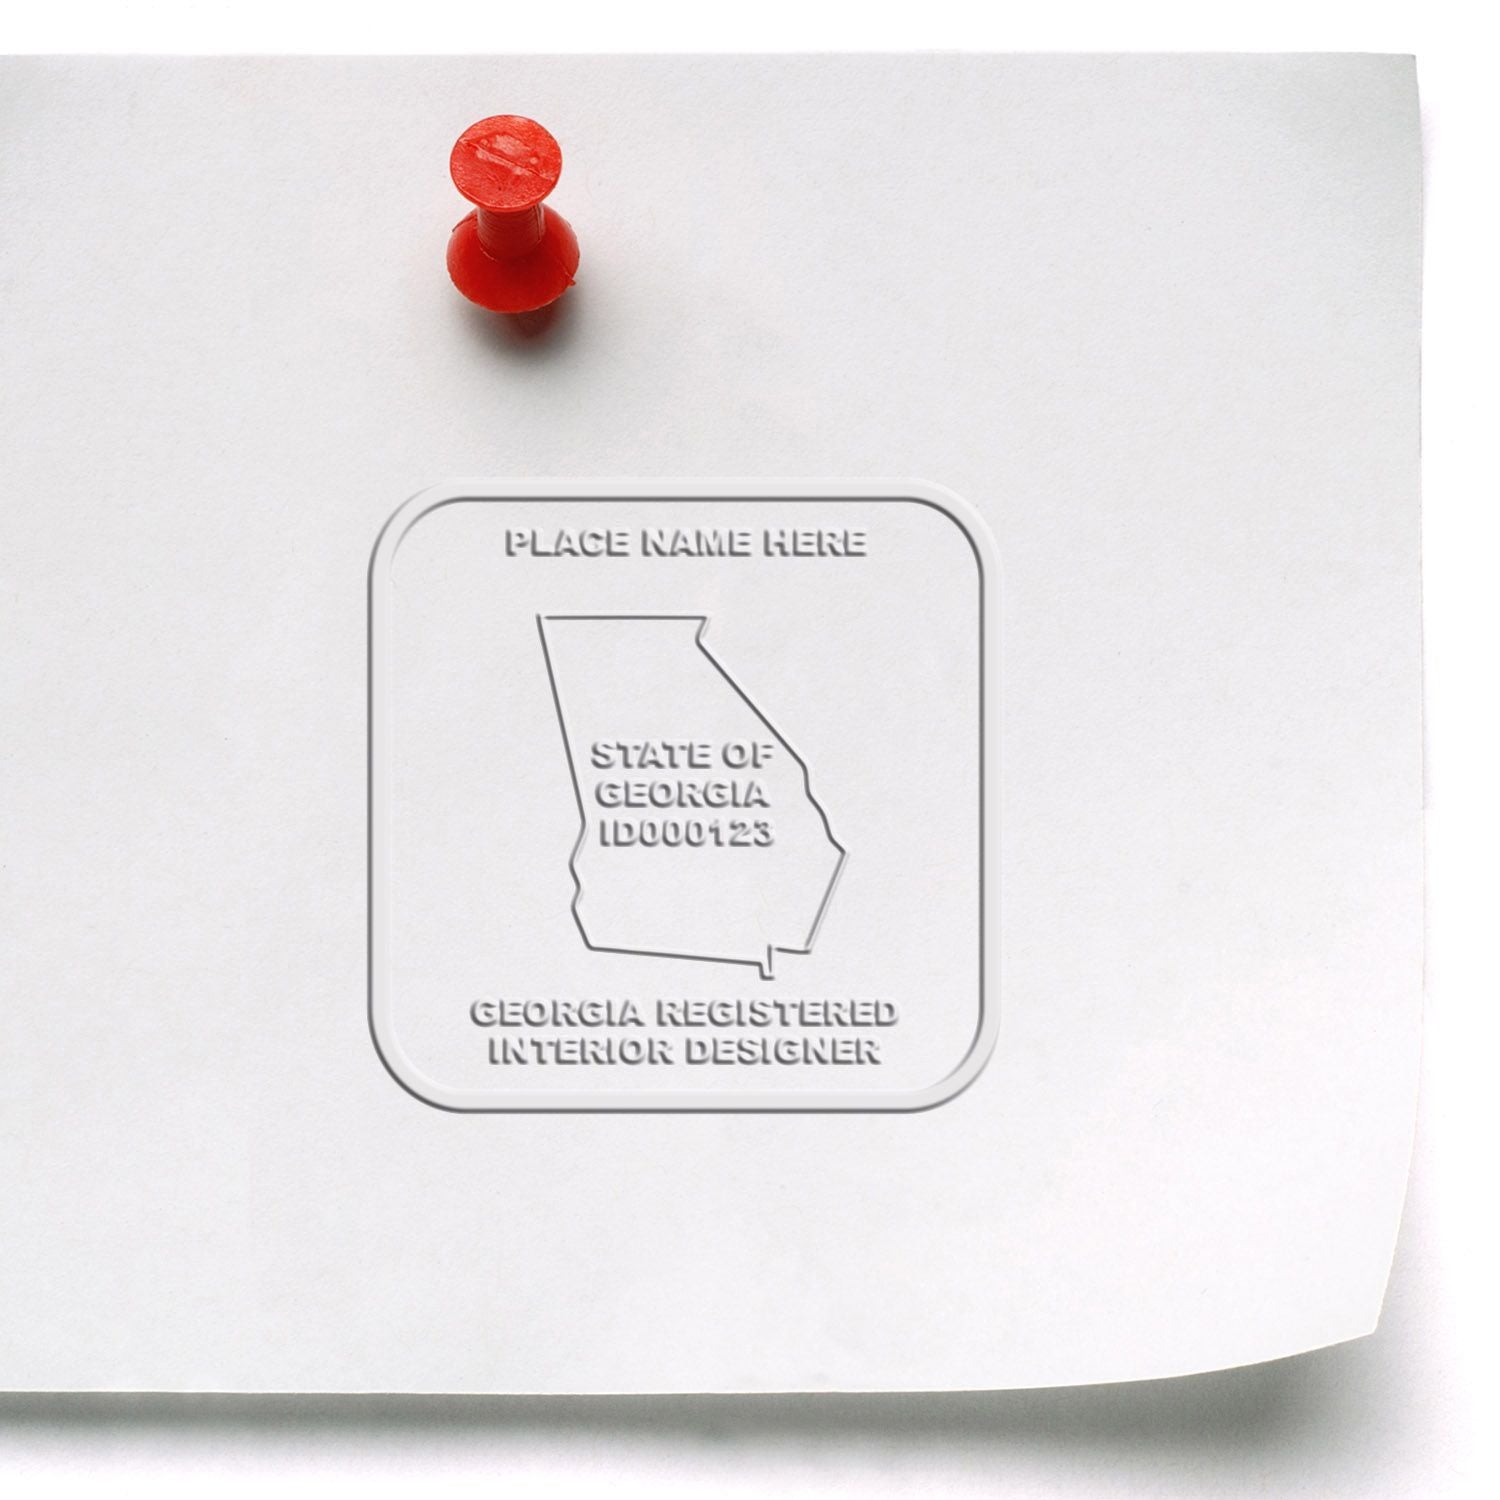
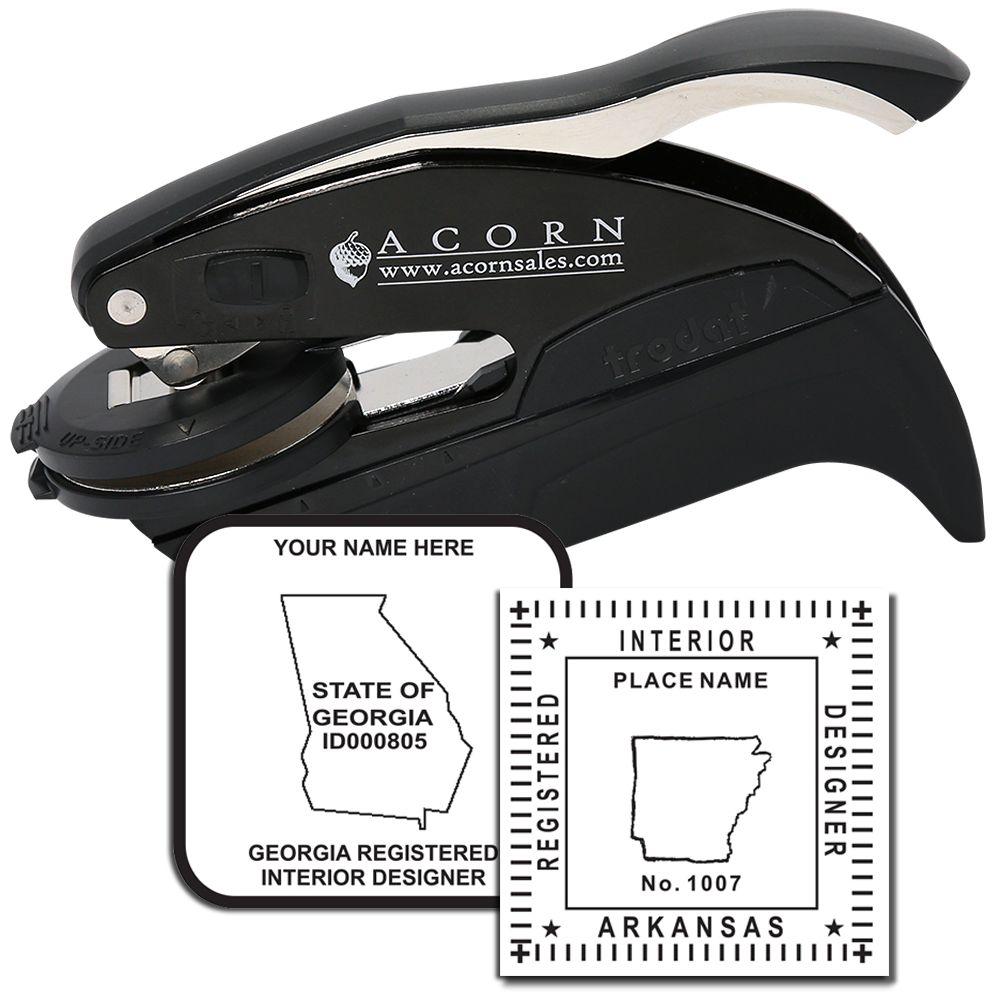



Use It in Daily Practice
Owning the device is one thing. Working out where it goes is another, and since Minnesota sets no placement rule for the seal, the habit you build is your own.
Most designers put the impression beside the certification block, so the mark and the required text sit together and a reader takes in both at once. Keep the placement consistent across a set. A seal that wanders from sheet to sheet looks like an afterthought, which undoes the reason you bought it.
Documents Worth Marking
- Design plans that go to a reviewing office.
- Construction drawings that clients and contractors work from.
- Revisions and addenda that change a significant part of an approved design.
- Proposals, transmittals and client copies, where the mark is doing purely presentational work.
Physical and Electronic
More of this work moves as PDFs every year. Minn. R. 1800.4200, subp. 1 allows the certification and the signature to be electronic as defined by Minn. Stat. 325L.02, paragraph (h), facsimile, or digital. The cross reference is to the Uniform Electronic Transactions Act definition, and no technology, certificate authority or tamper evidence test is named. So the state leaves the mechanics open.
Acorn Sales includes a free electronic seal with a physical stamp purchase, which is simply an image file carrying the same artwork. Keep the two identical. A digital mark that does not match the inked one invites questions nobody needs to answer.
Keep It Accurate Over Time
Your certificate has a renewal cycle; the device does not. The seal has no expiry and no reissue, and nothing about renewing your certificate obliges you to buy a new one.
When a Reorder Actually Makes Sense
- Your name changes.
- Your certificate number changes.
- The impression has gone soft.
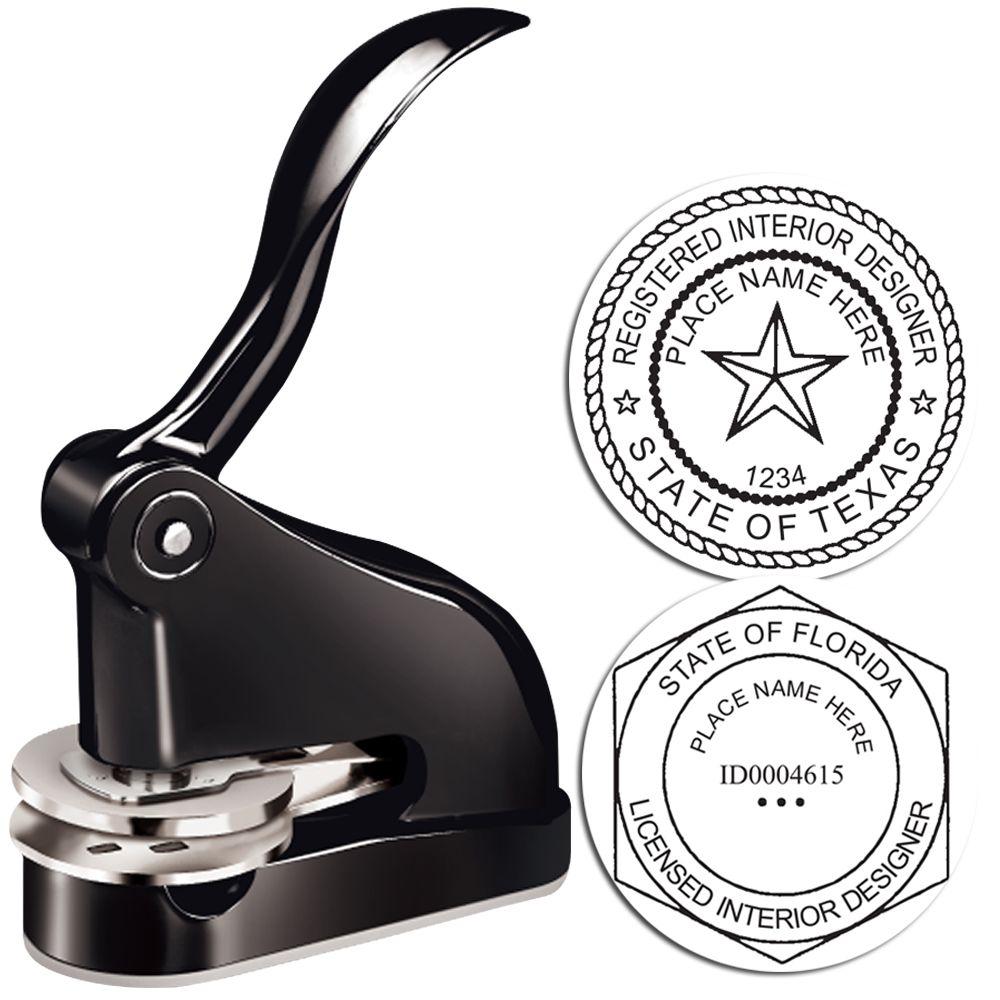
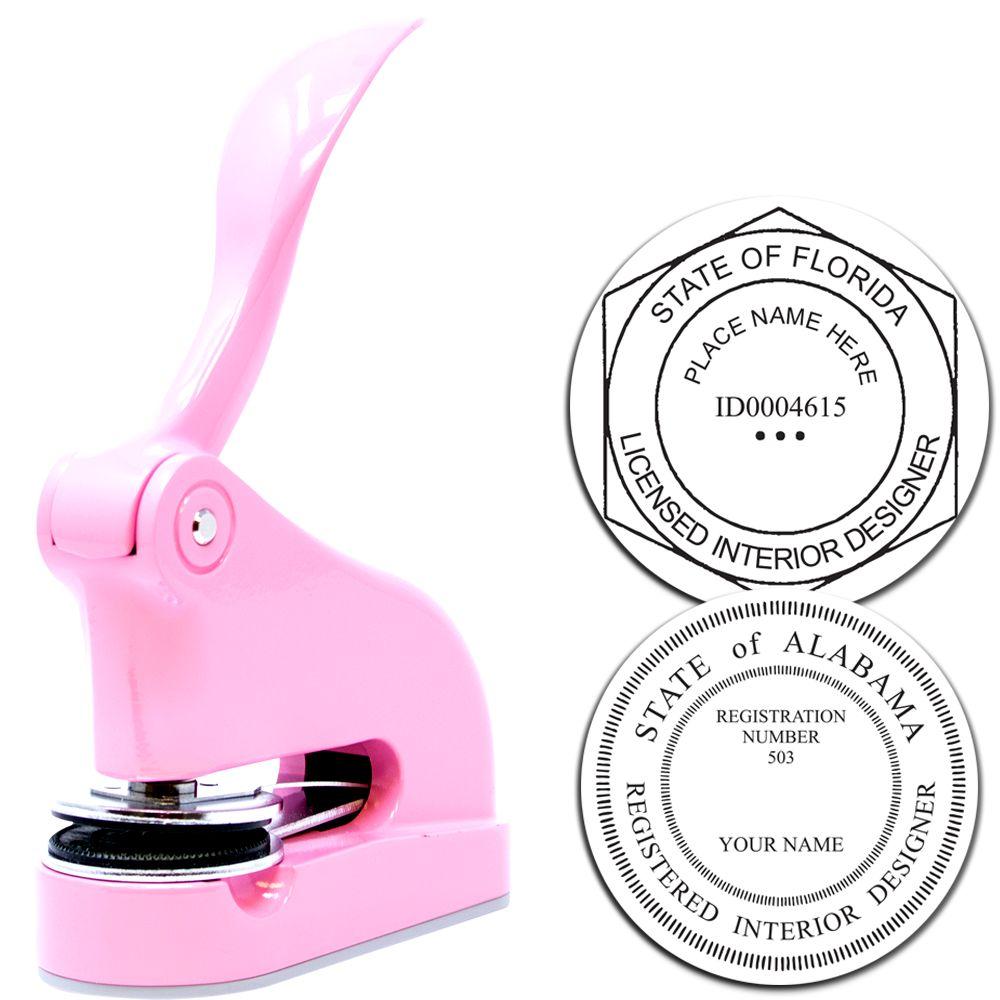
- You want a second device, for a second office or for a different format.




Common Mistakes
Copying a Template From Another State
This is the frequent one. Seal layouts circulate online with the word licensed or registered on them, pulled from states that use those words. Minnesota uses certified, and the legend in the statute is certified interior designer. Copying the wrong legend puts a claim on your seal that the state does not back.
Treating the Seal as the Requirement
The seal is the optional half. The certification block is the half the statute describes for documents that call for a signature. A designer who buys a beautiful seal and leaves the block incomplete has solved the wrong problem.
Lending It Out
If your name is on the impression, the work is yours in the eyes of everyone who reads it. Keep the device where a colleague cannot borrow it in a hurry, and keep the image file somewhere access is limited rather than on a shared drive everyone can reach.
Losing Track of the Image File
Save the electronic seal somewhere you will find it again, named clearly, at the resolution you were sent. Hunting through folders at the end of a deadline week is a self-inflicted wound.
Keeping a Clean Impression
- Press once on scrap paper before the real sheet so the ink is even.
- Wipe the die occasionally with a mild cleaner or a damp cloth, then dry it properly.
- Store the device out of direct sun, which dries ink and warps housings.
A clean impression also scans cleanly, which matters more than it used to now that most sets end up as a PDF in somebody's file.
Before You Buy Your Minnesota Stamp
Short version: Minnesota does not make you own a seal, it tells you what one says if you have it, and it describes a certification block that goes with your signature on documents prepared under Minn. Stat. 326.02 to 326.15. Get the block right, then decide about the device on its own merits.
When you are ready, settle your wording, pick a format that matches how often you mark documents, and order from someone like Acorn Sales who will show you a proof before anything is cut. The electronic file comes with it. After that, the only thing left is to use it consistently and let your documents look like work somebody cared about.
Frequently Asked Questions
Is a Seal Required for Minnesota Interior Designers?
No. Minn. Stat. 326.12, subd. 2 and Minn. R. 1800.4300 both use the word may. A certified interior designer is permitted to have a seal and is not obliged to own one. Designers order a seal because an impression beside the signature names the author at a glance and makes a drawing set or a proposal look finished.
What Has to Appear With My Signature?
Minn. Stat. 326.12, subd. 3 describes a certification block carrying the prescribed interior designer certification sentence, your signature, your typed or printed name, the date, and your certificate number labeled Cert. No. That applies to plans, drawings, specifications, reports and other documents prepared under Minn. Stat. 326.02 to 326.15 that call for a signature.
Should My Seal Say Licensed Interior Designer?
No. Minnesota certifies interior designers rather than licensing them, and the legend named in the statute is certified interior designer. A seal reading licensed would claim a credential the state does not issue for this profession.
Can I Use an Electronic Seal and Signature?
Minn. R. 1800.4200, subp. 1 allows the certification and signature to be electronic as defined by Minn. Stat. 325L.02, paragraph (h), facsimile, or digital. No technology, certificate authority or tamper evidence standard is named, so the mechanics are left open. Acorn Sales includes a free electronic seal with a physical stamp purchase.
Do I Need a New Stamp When I Renew My Certificate?
No. The device has no expiry and renewal does not change what it says. Reorder when your name or certificate number changes, or when the impression has worn out.








