
Create Memorable Wedding Invitations
If you’re looking to add flair to your special day, custom rubber stamps for wedding invitations can be the perfect solution. They’re budget-friendly, easy to use, and give you a chance to show off your personal style. Plus, when you have a big stack of invitations, addressing them all by hand can get tedious. That’s where a stamp helps you save time while still keeping your invitations unique and beautiful.
You don’t have to be a calligraphy pro or a seasoned crafter to pull this off. Stamping is straightforward, and learning a few basics makes the process enjoyable. In this guide, you’ll discover how to choose and design your stamp, find the right ink, and keep everything in tip-top shape long after the wedding. Let’s jump in, so you can start creating invitations that guests will love opening.
Know Your Stamp Options
Before you look at designing, it helps to understand the different types of stamps available. Some stamps require a bit more prep, and others come ready to roll (literally, with ink already in place). Here are the three main kinds you’ll see when browsing online or visiting a craft store.
Traditional Wood Mount
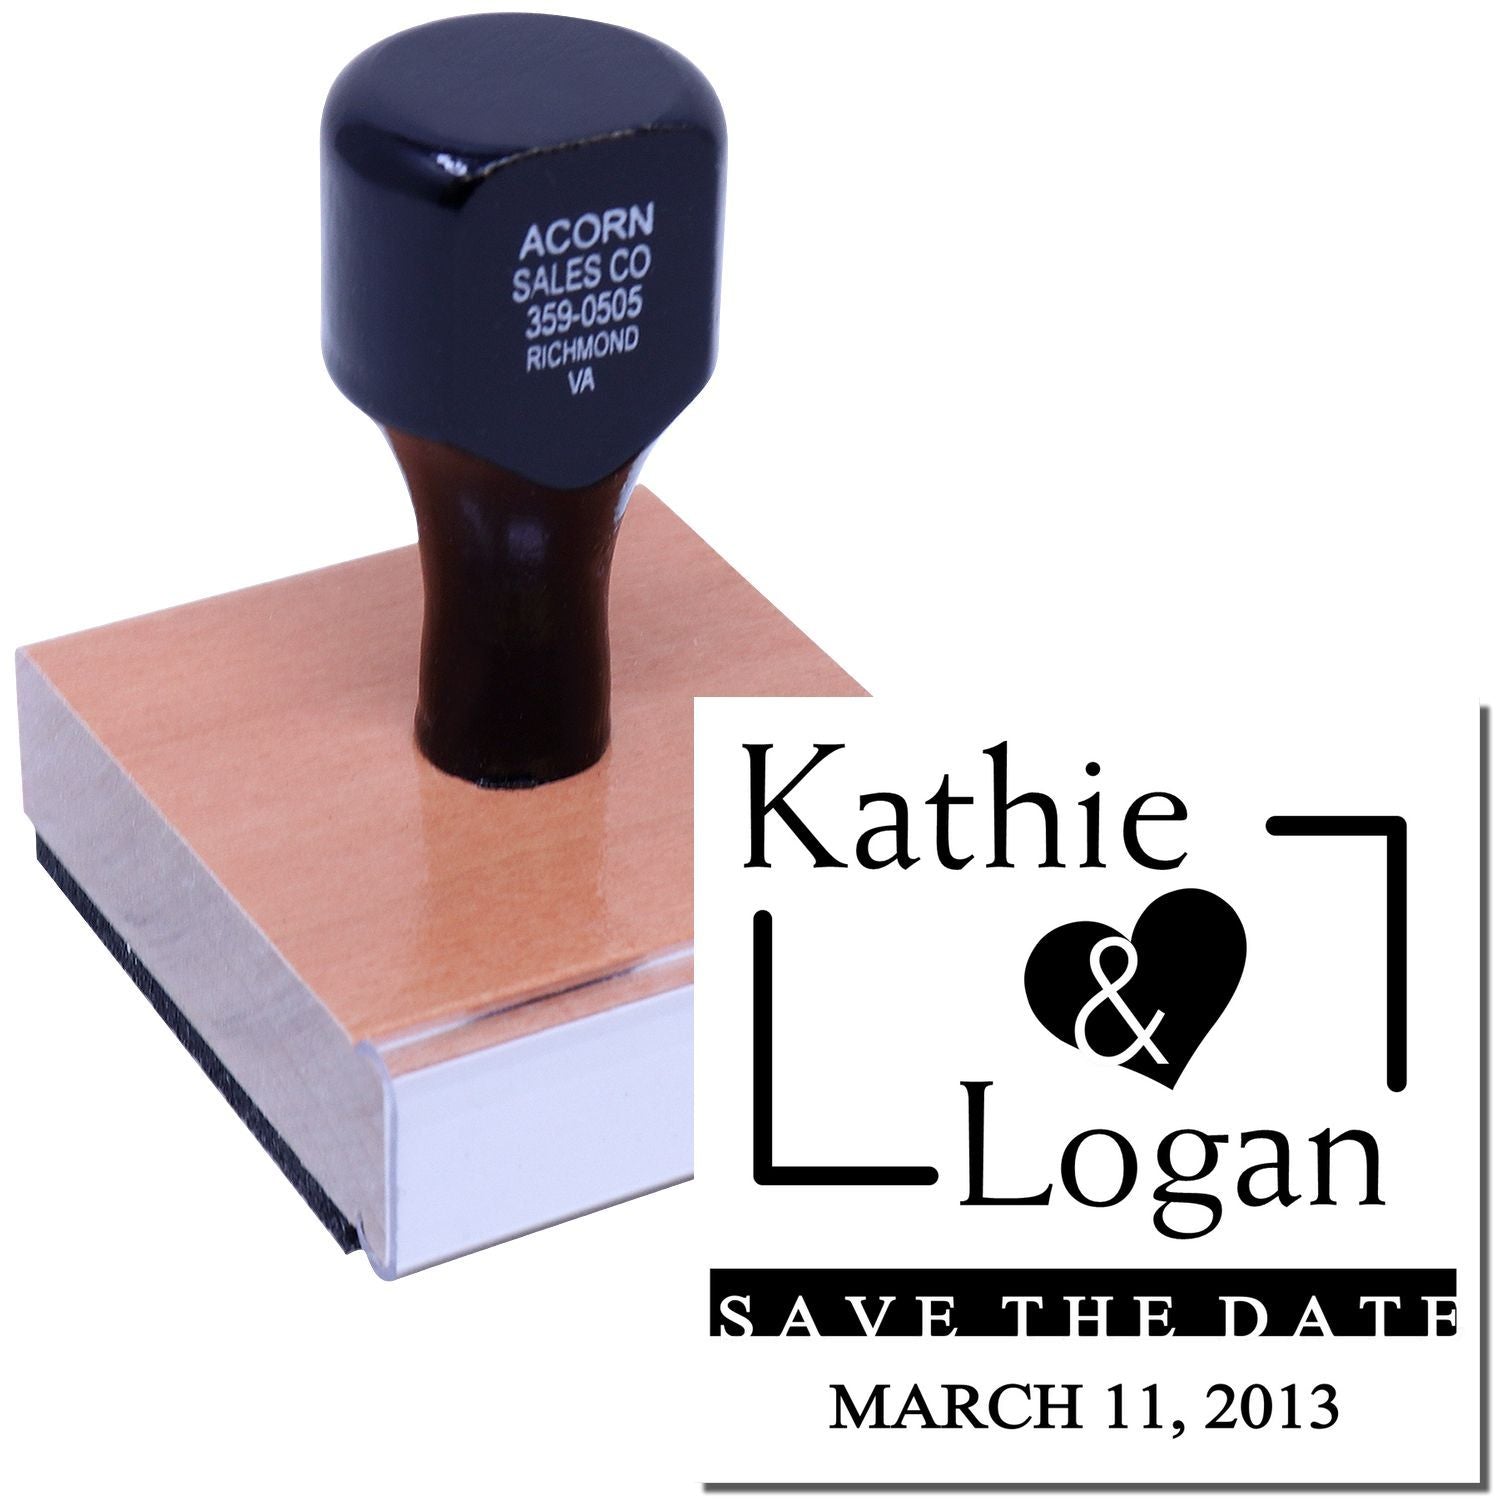
A wood-mounted stamp is the classic style many of us picture when we think “rubber stamp.” It consists of a rubber die (the portion that creates the impression) attached to a piece of foam, which is secured to a wooden block. You’ll need a separate ink pad, but that’s part of the charm if you like experimenting with different ink colors.
- Pros: Sturdy feel and charming design, often easy to clean.
- Cons: You have to buy separate ink pads, and the stamp can be bulky to store.
Self-Inking Stamps
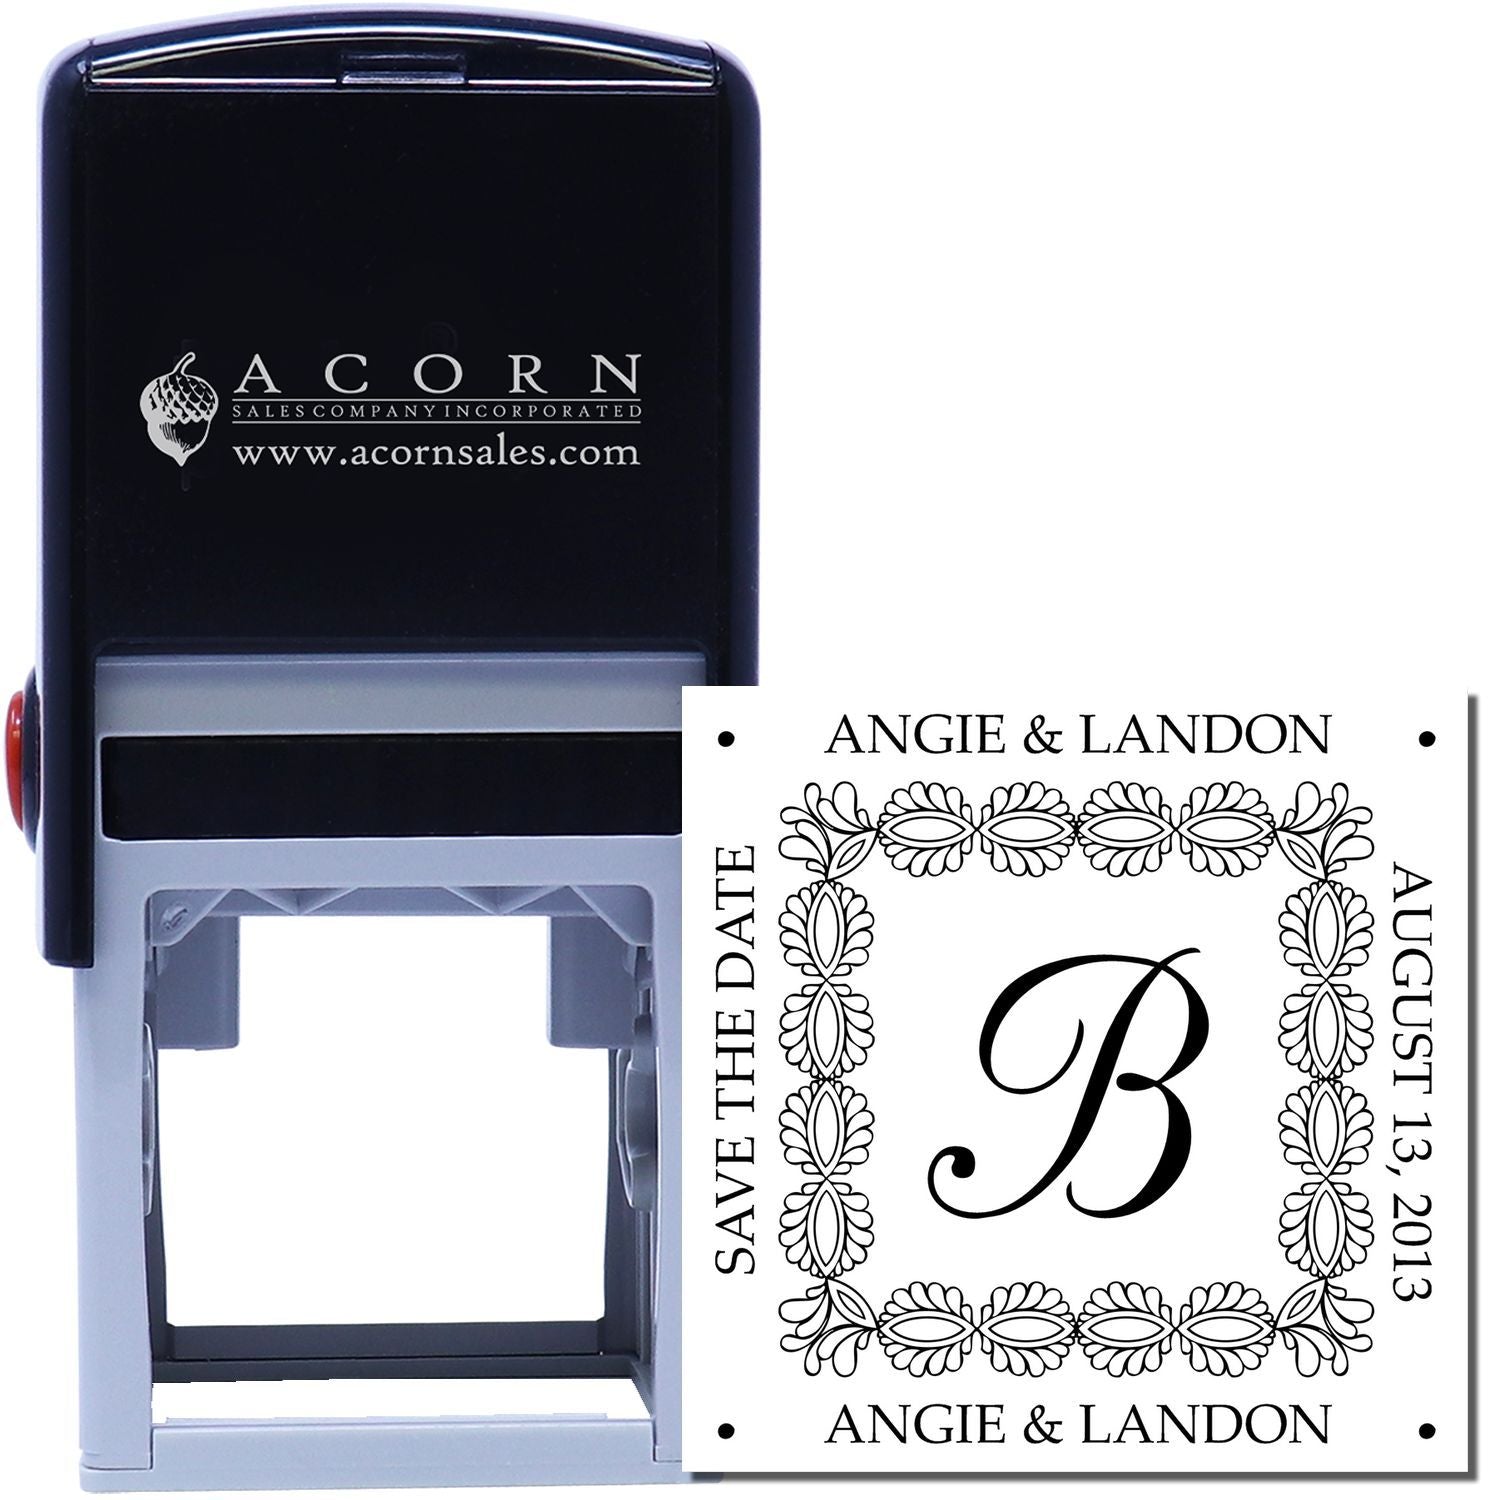
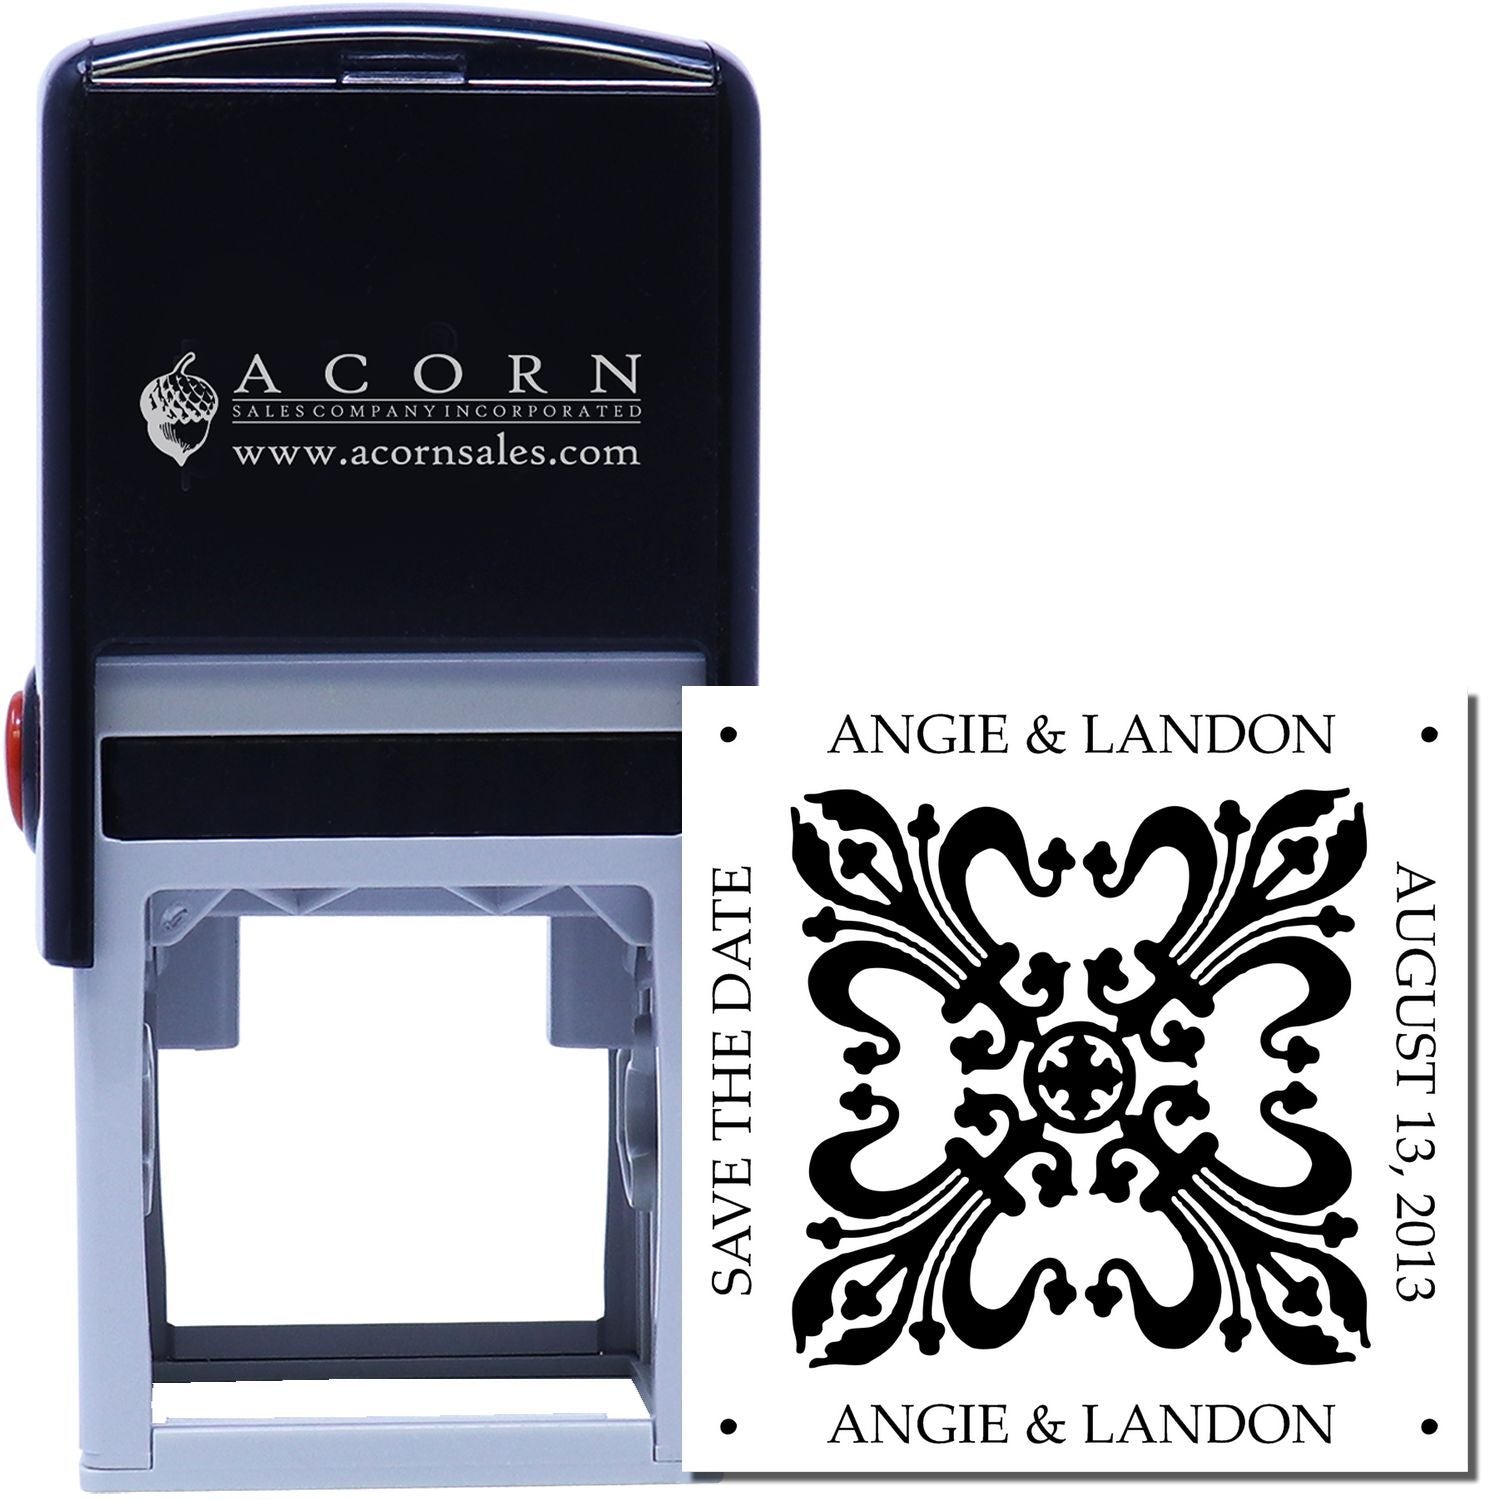
A self-inking stamp has an internal ink pad that inks the die each time you flip the mechanism. With a quick press, the stamp produces a clean impression. This type can be great if you have a long list of invitations or if you tend to lose track of separate pads.
- Pros: Convenient, fast, no separate ink necessary.
- Cons: Limited to the pad installed inside, so changing colors is trickier.
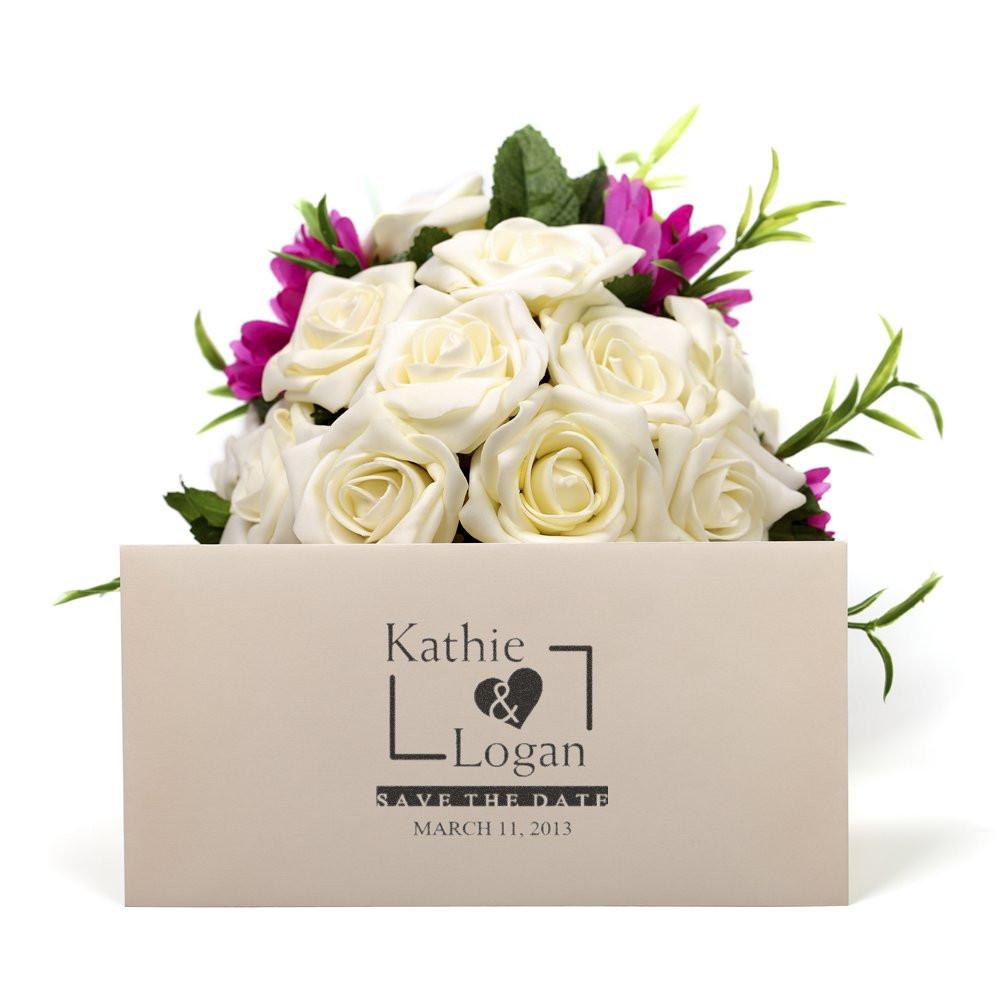
Pre-Inked Stamps
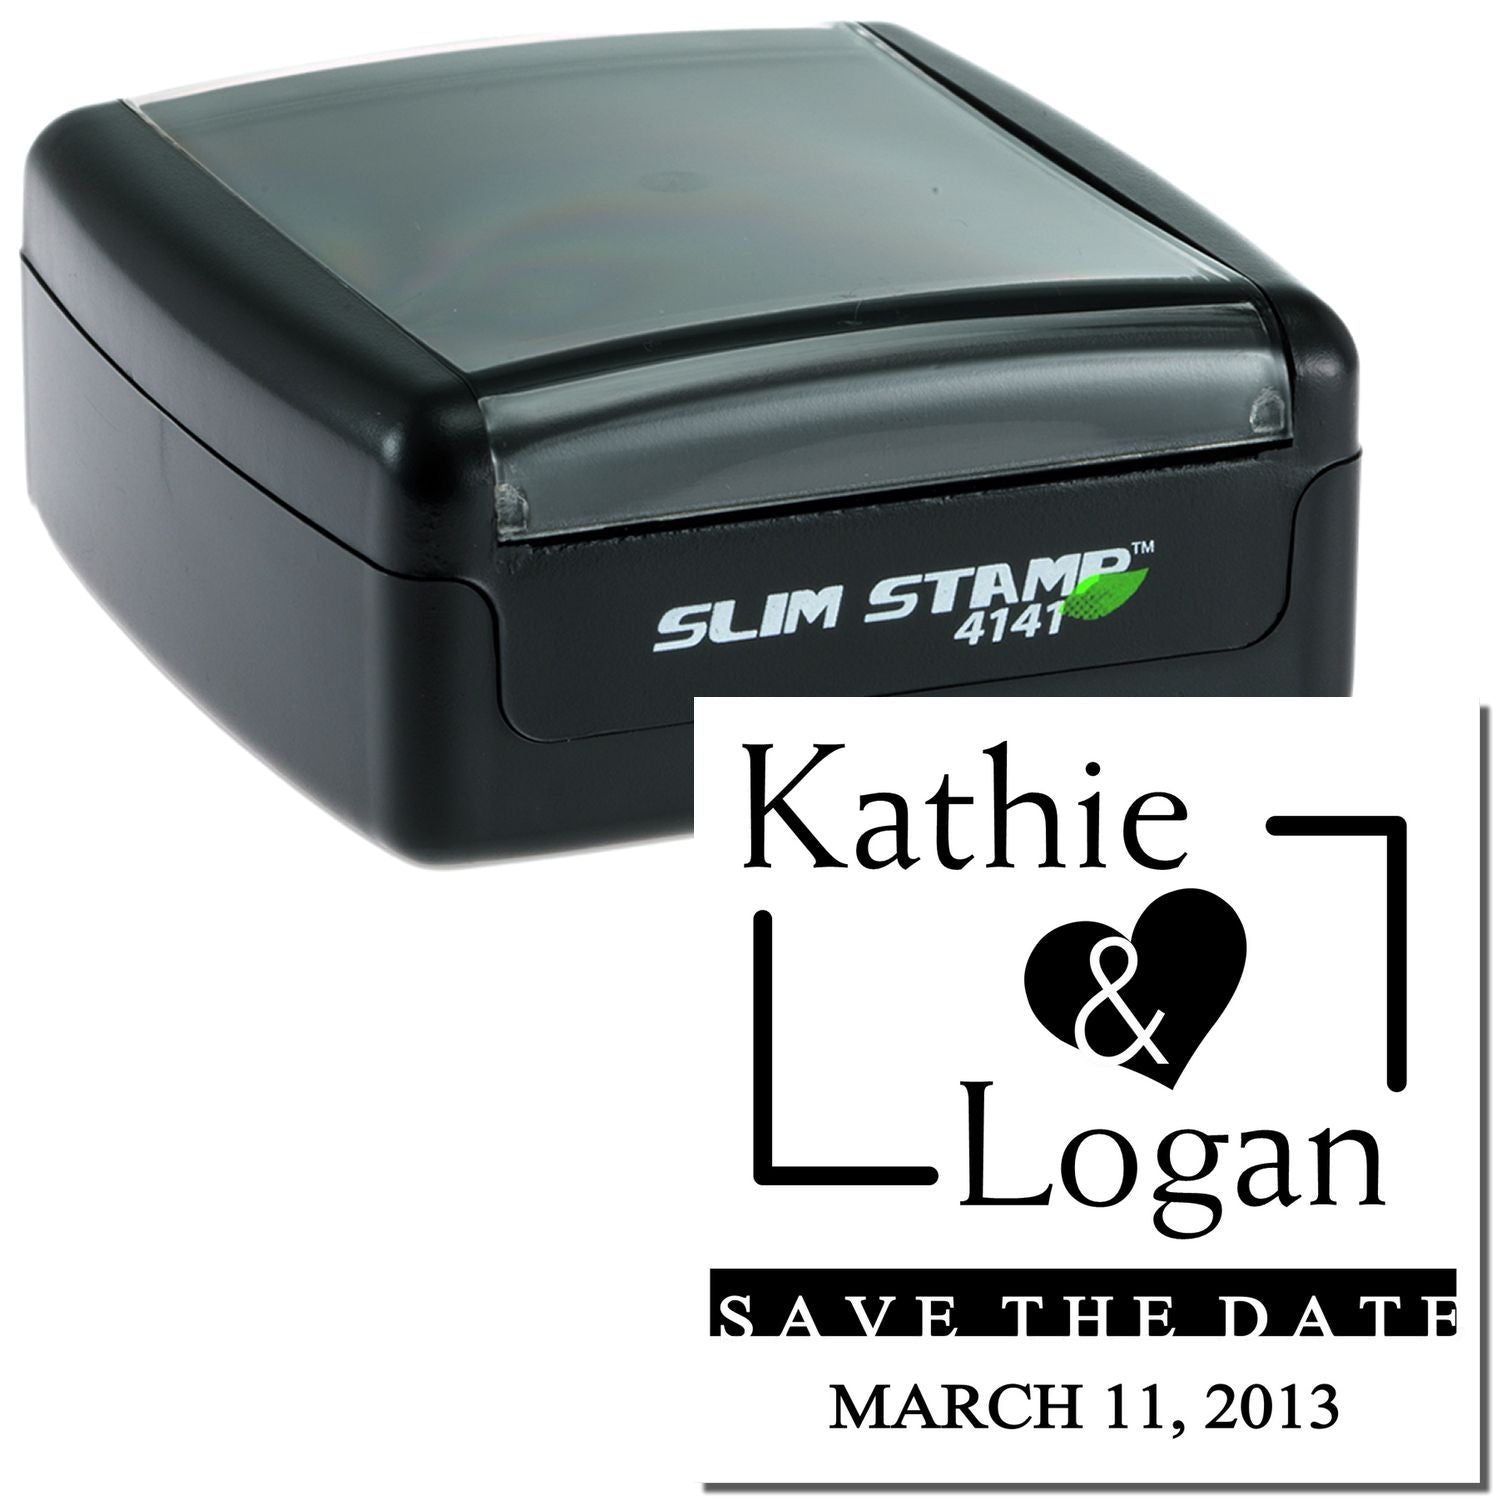
Pre-inked stamps differ from self-inking models because the ink is built into the rubber itself. Each impression is crisp, and you can often get thousands of uses before the ink runs out. If you want super-sharp details or you’re using high-resolution artwork, these might be your favorite option.
- Pros: Very crisp impressions, lasts for thousands of stamps.
- Cons: Usually more expensive.
Design a Unique Look
For wedding invitations, you want to wow your guests from the moment they open the envelope. Your stamp can incorporate names, dates, monograms, decorative flourishes, or even meaningful quotes. The design process should be fun, so don’t be afraid to get creative.
Choose Fonts and Layout
Your font choice sets the tone. You might pick a classic script if your wedding theme is elegant, or maybe a modern sans-serif if you’re going minimalist. Keep legibility in mind, thin script can look lovely on screen but might not stamp perfectly on textured paper. Pair one decorative font with a simpler complementary font for balance.
The layout is equally important. Do you want big, bold names and a smaller date underneath? Or would you rather showcase the date as the centerpiece, with a smaller phrase around it? You might calibrate your design around where the stamp will sit on the invite or envelope.
Add Decorative Elements
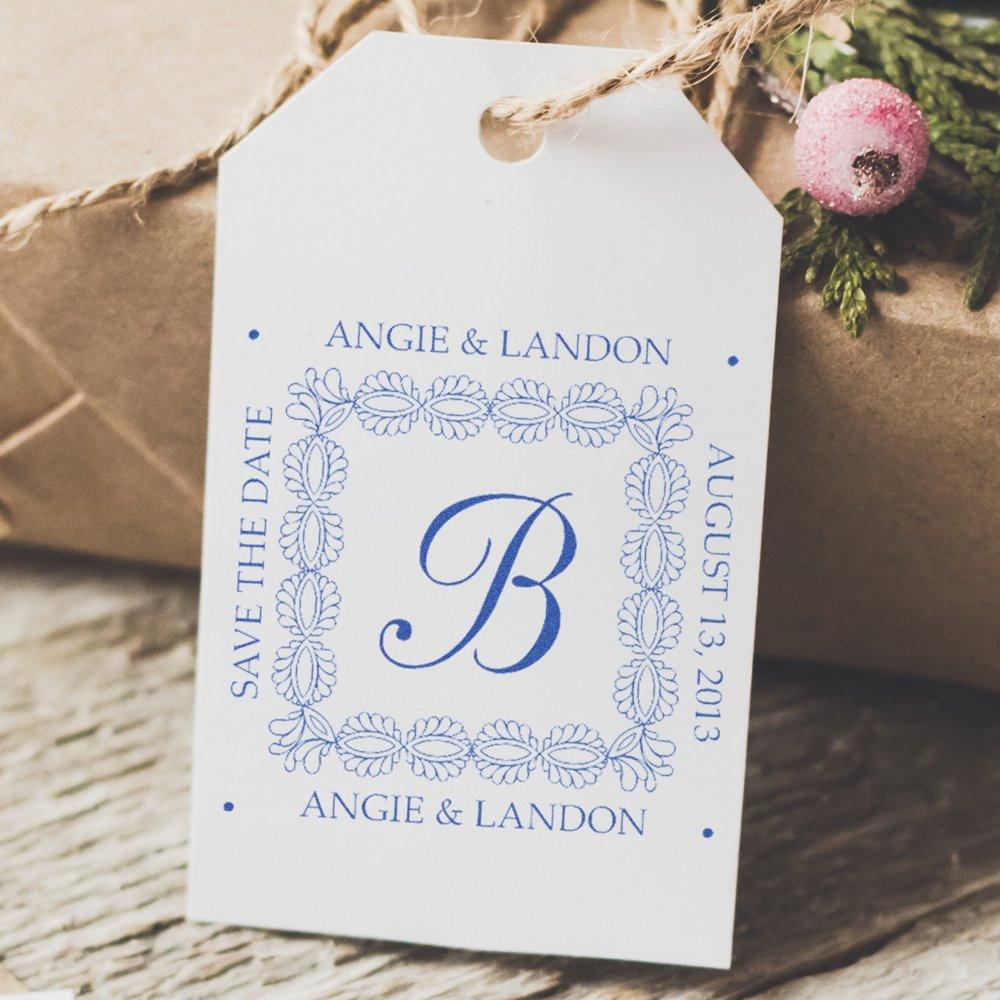
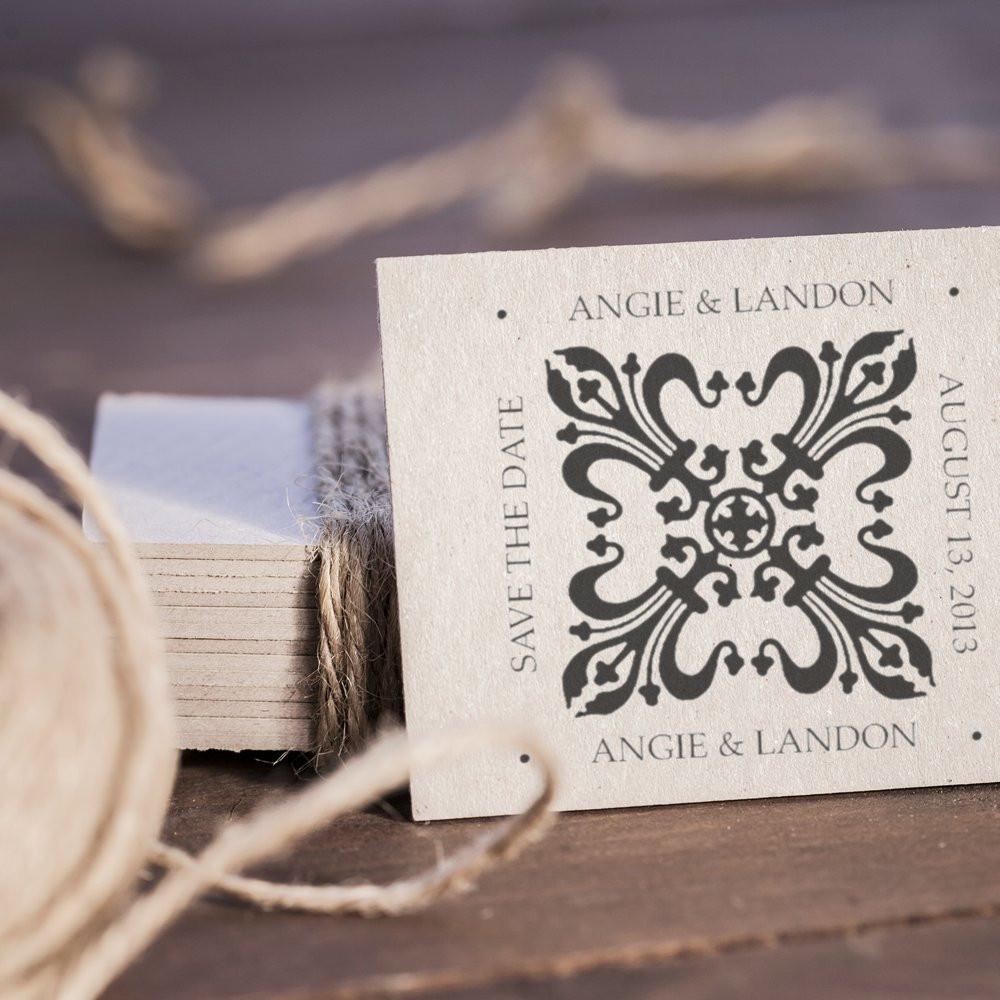
Embellishments like floral borders, geometric lines, or even a subtle hint of color can take your stamp to the next level. If you have a specific wedding motif, say, an autumn leaf for a fall wedding or a small anchor for a coastal celebration, incorporating that into your stamp ties everything together.


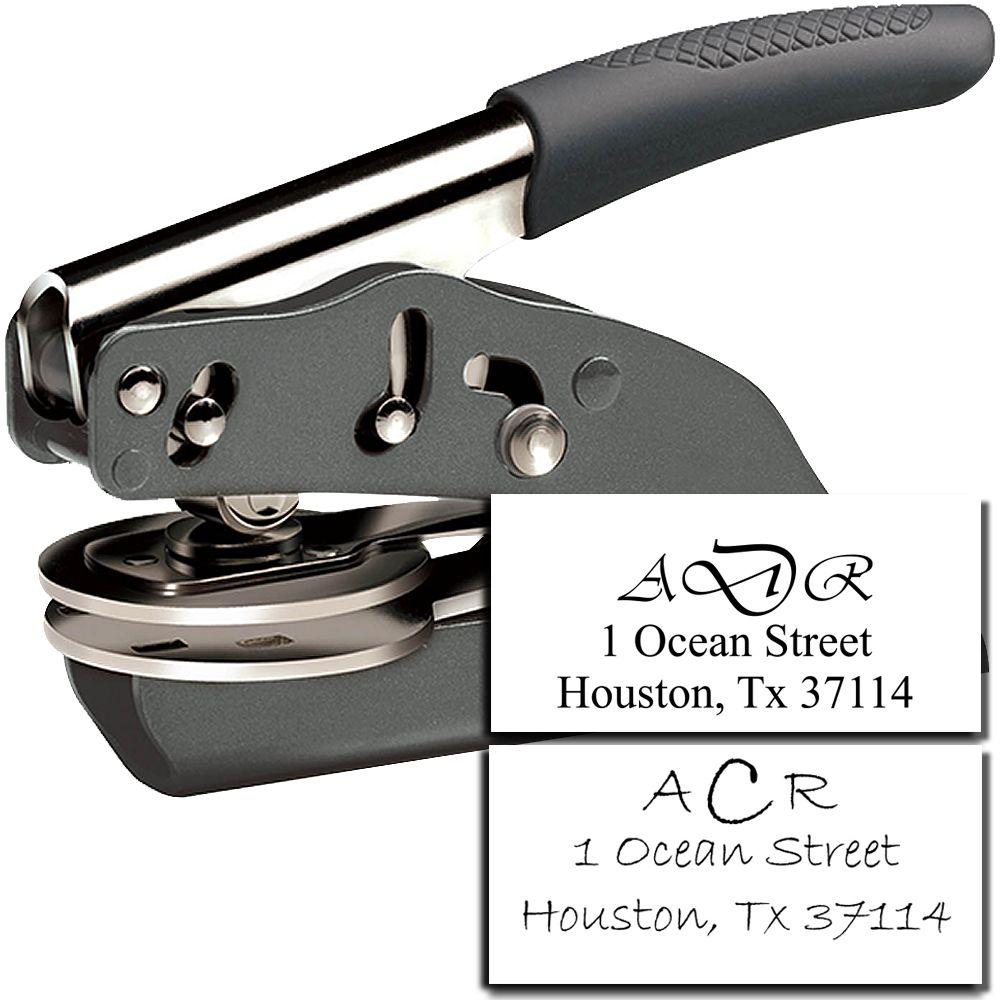
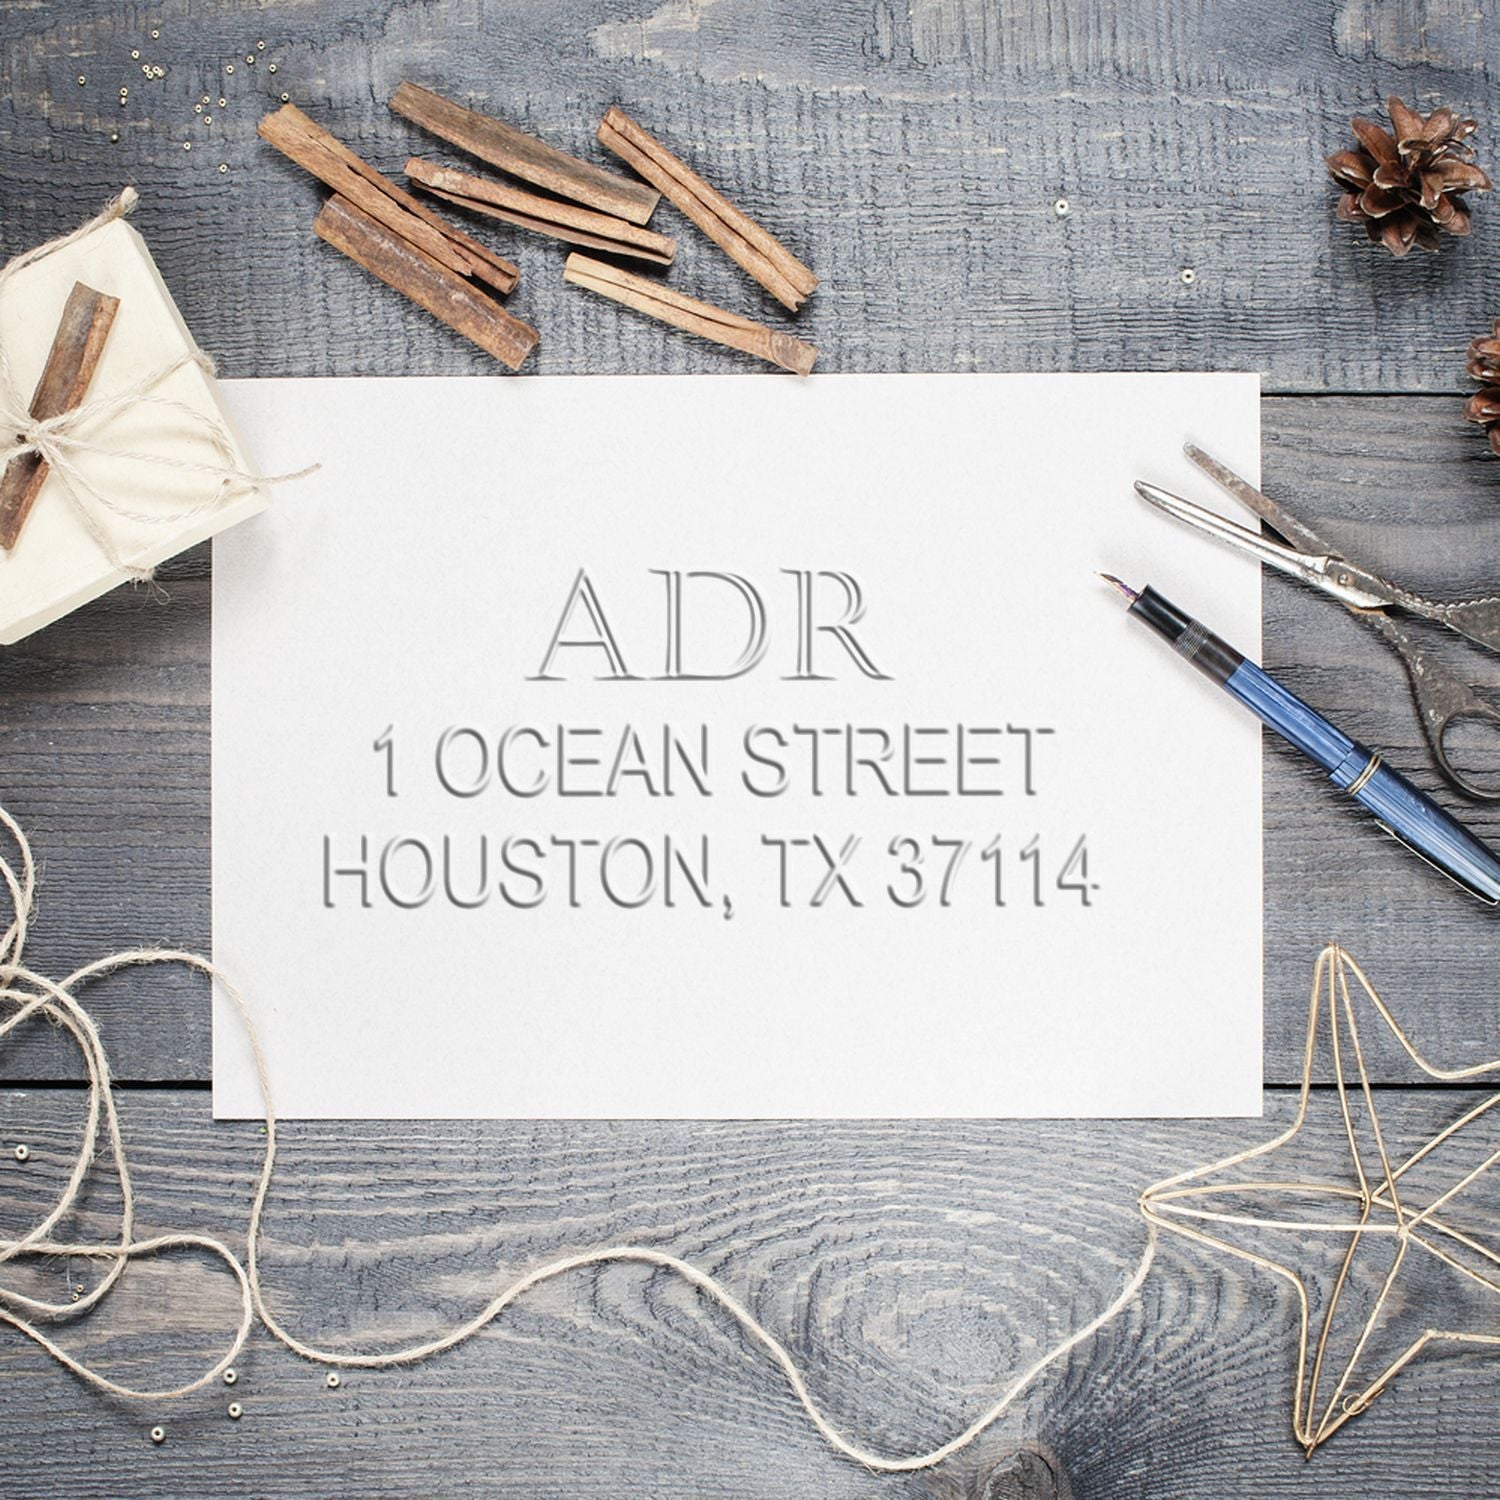
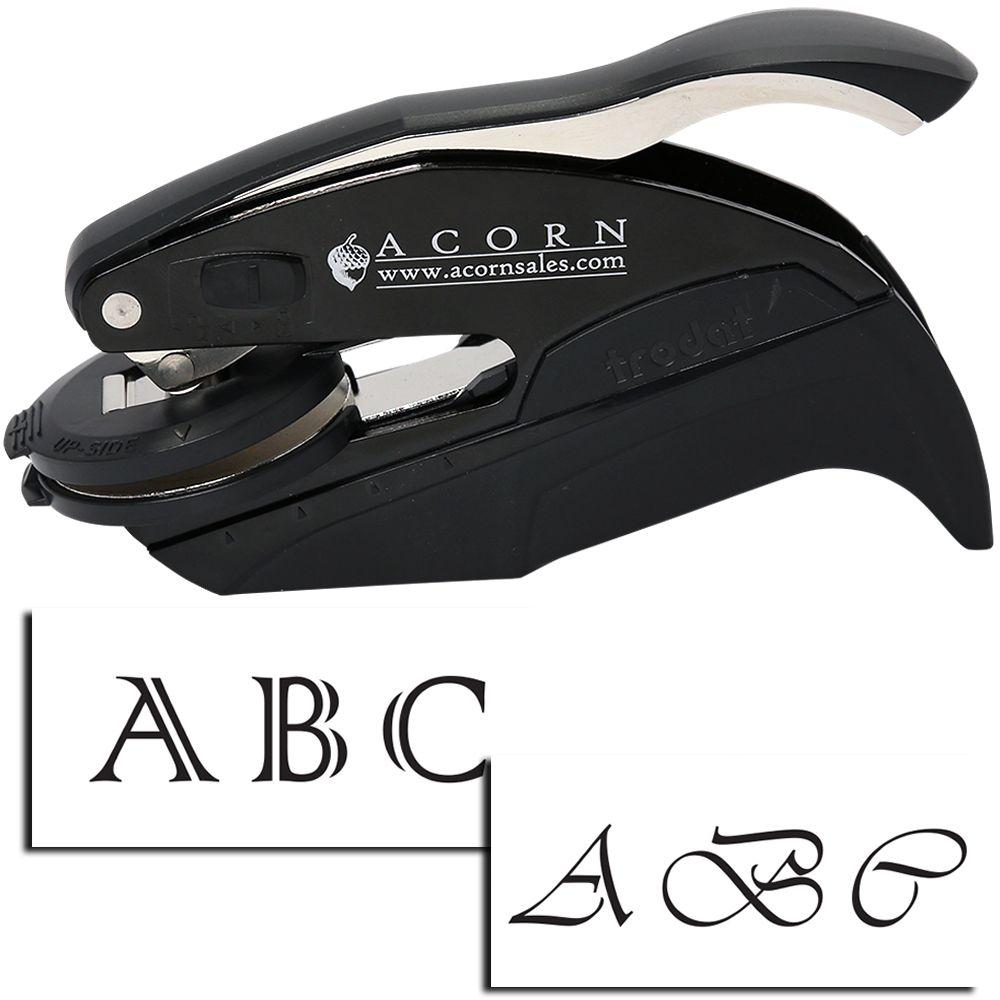
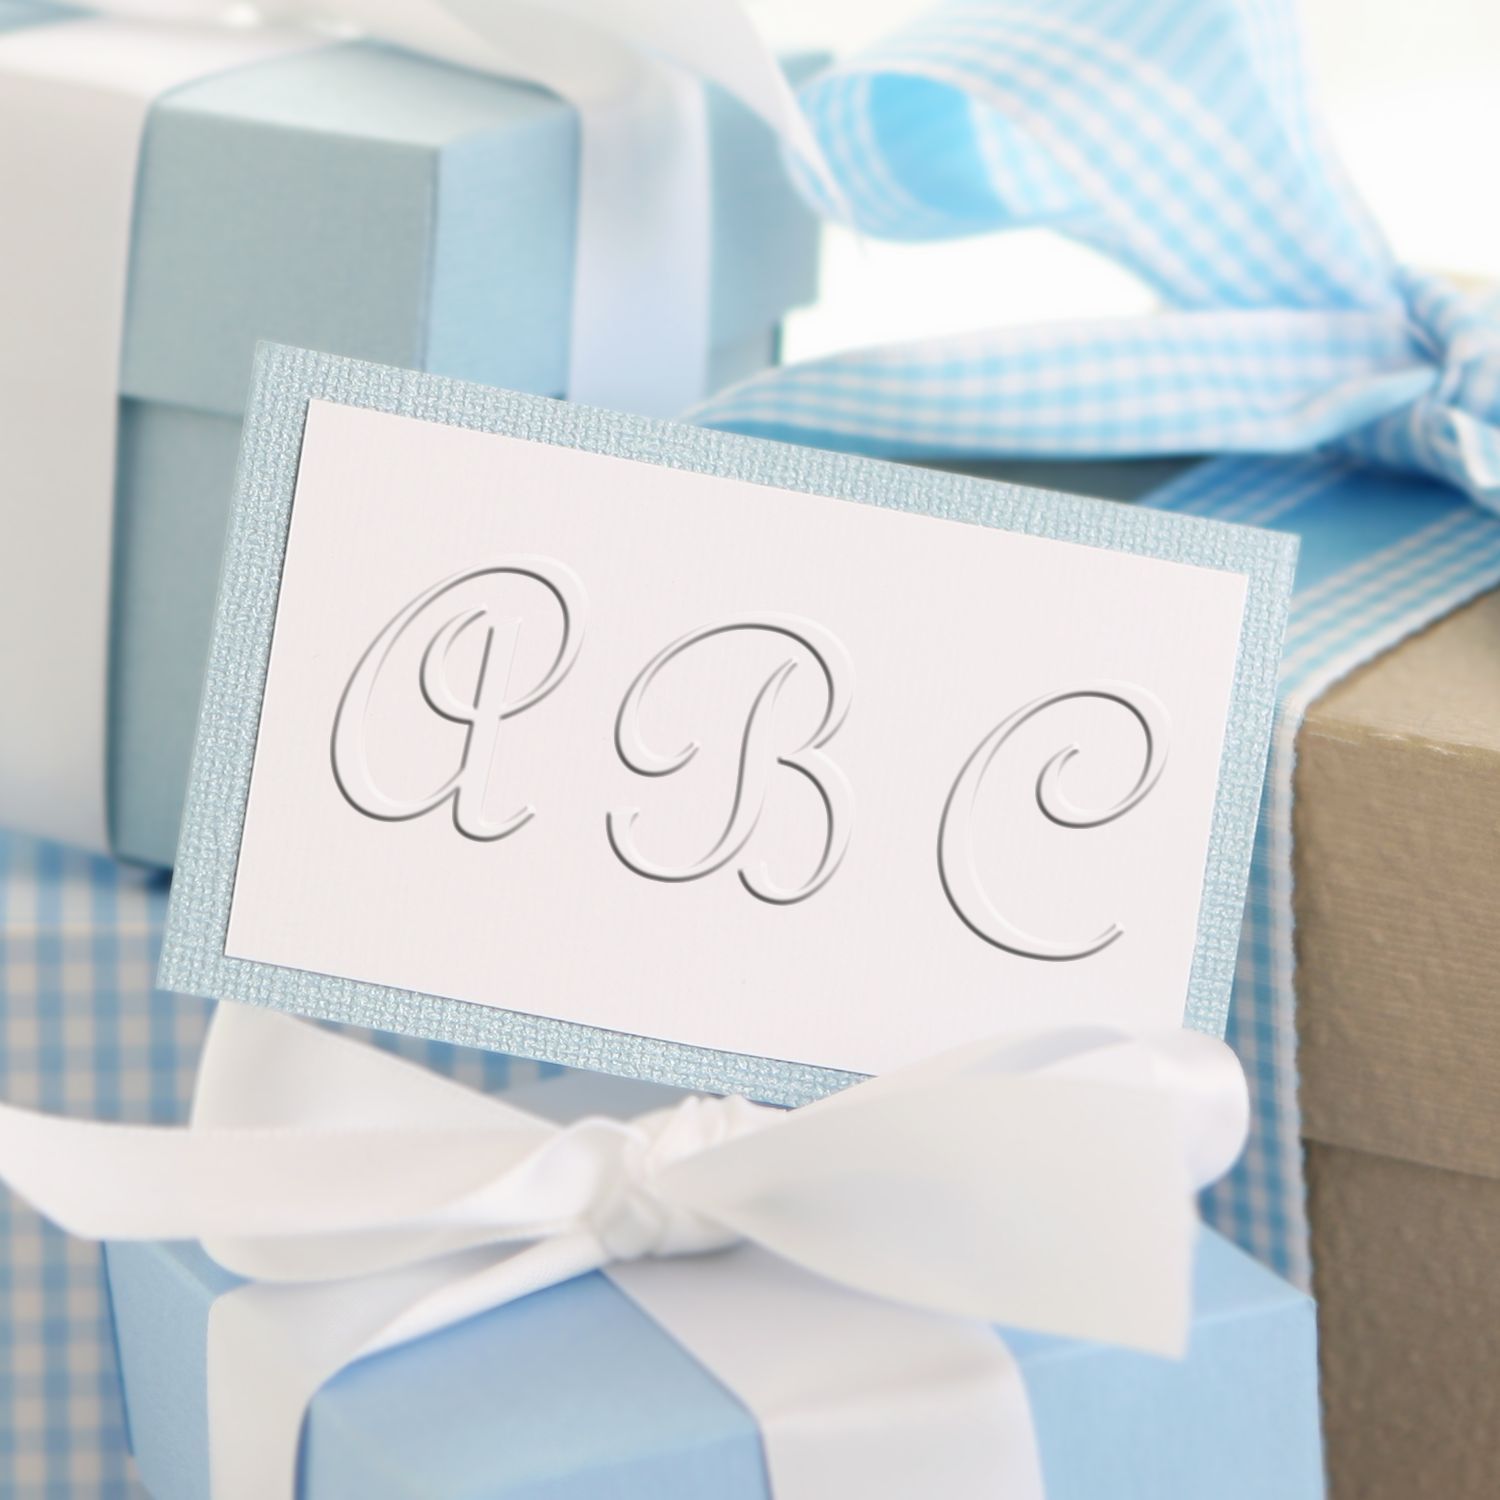
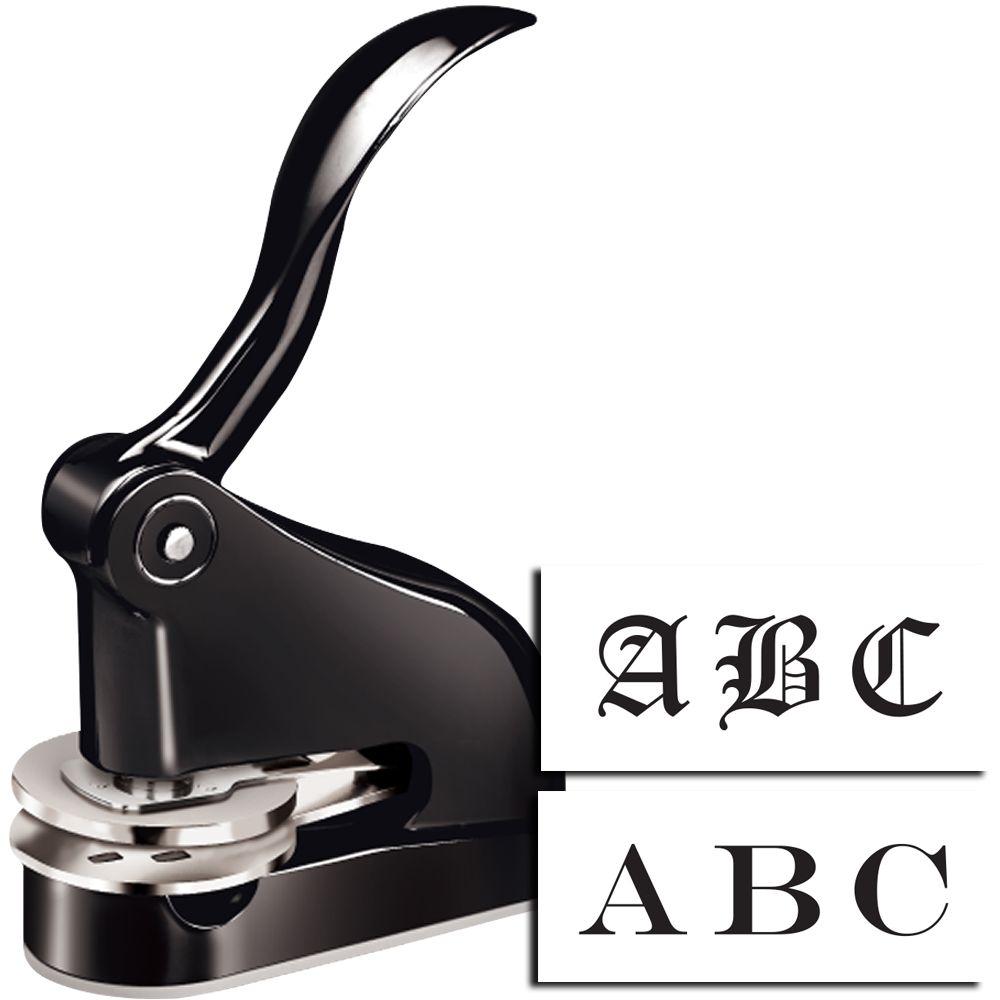
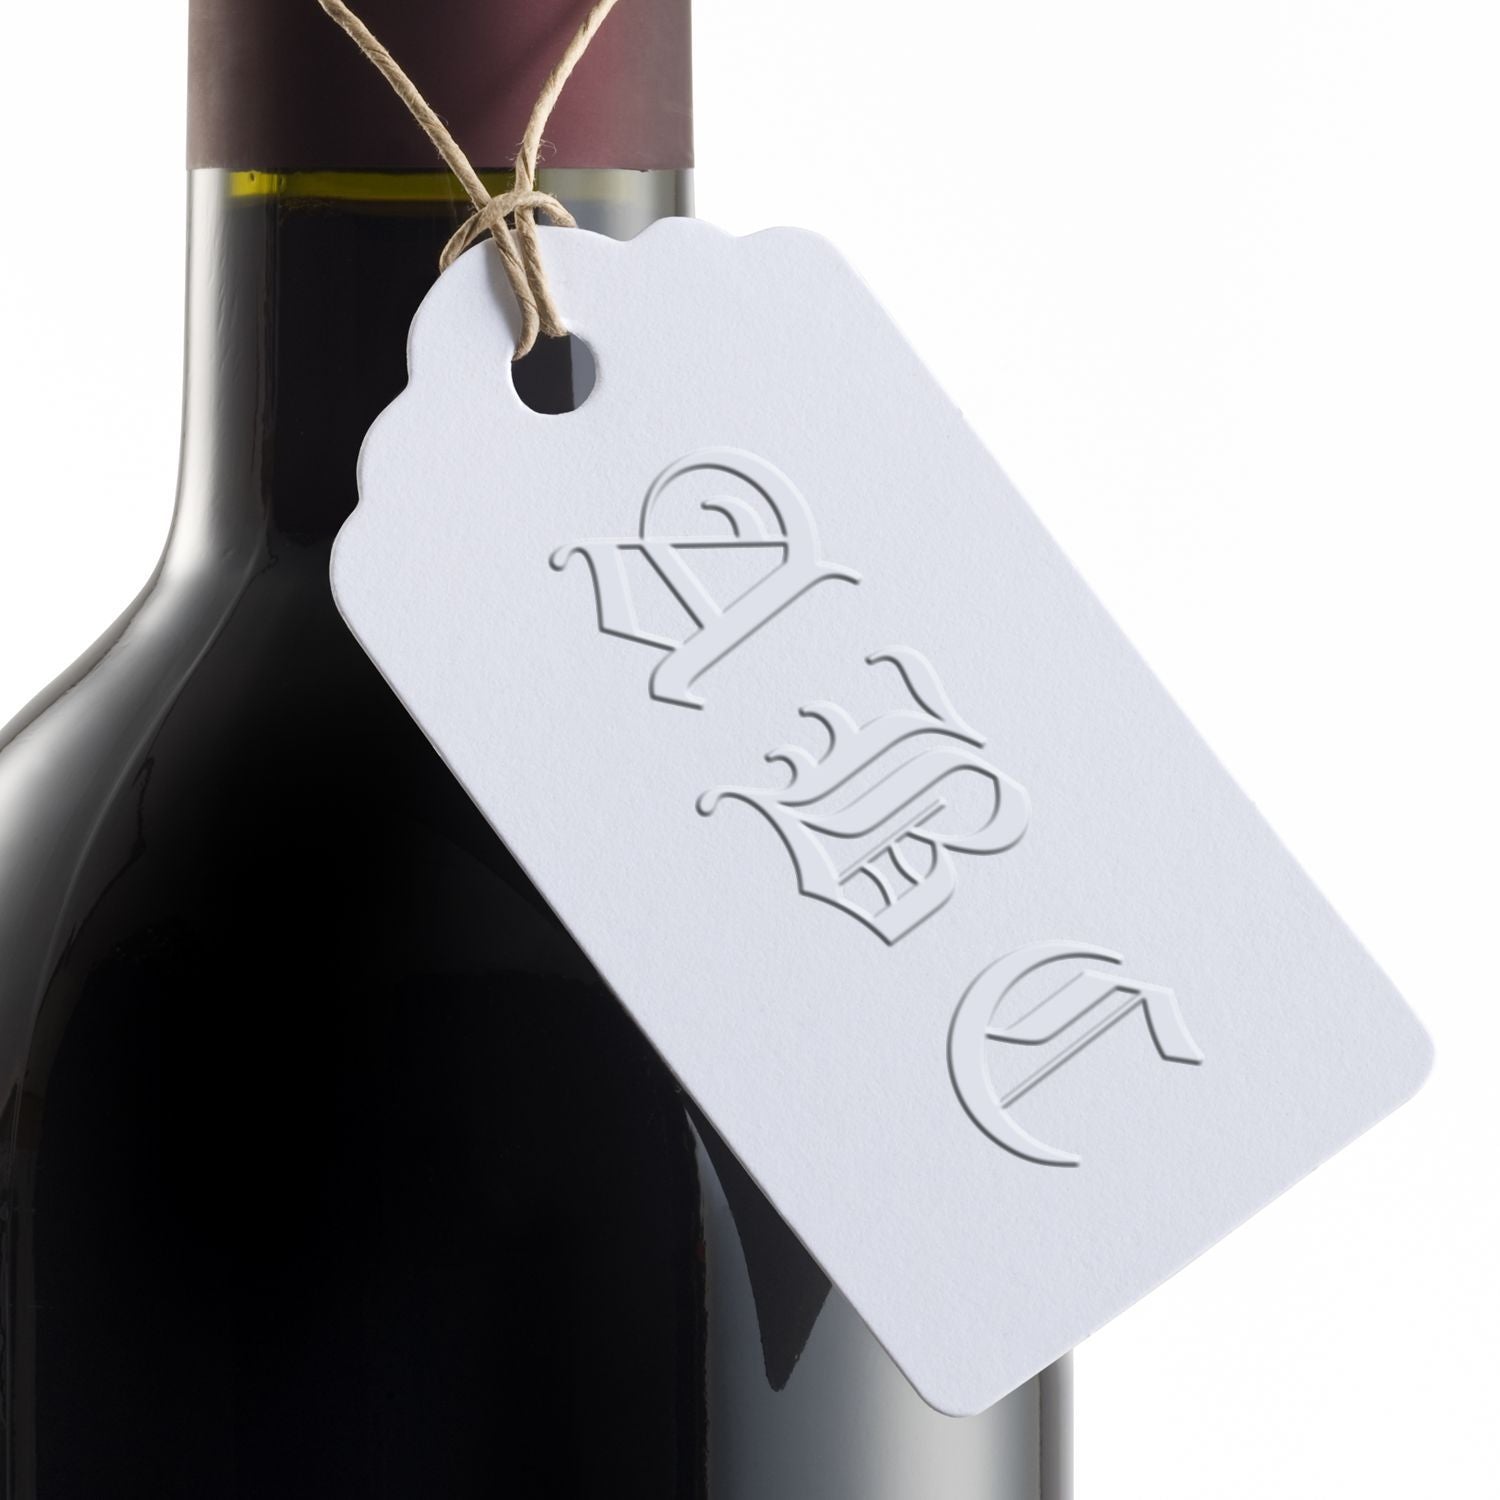
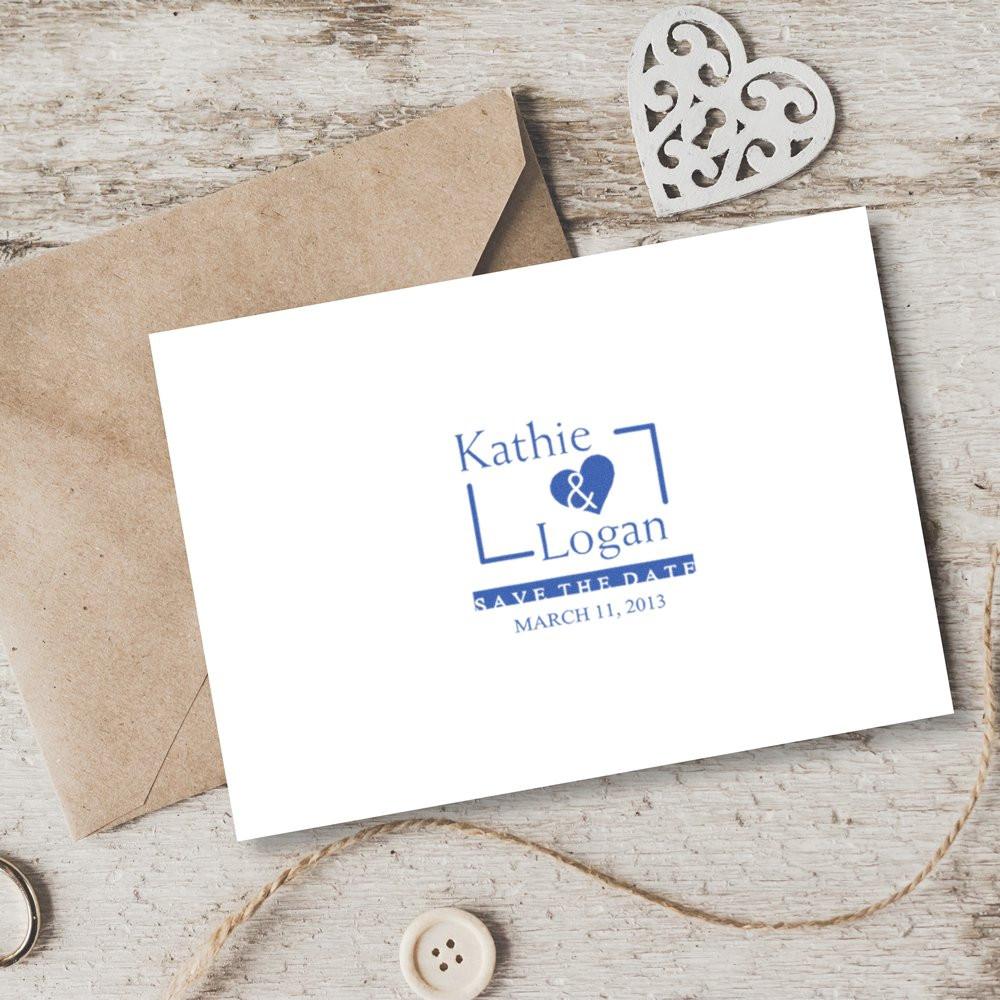
To create something truly yours, consider custom rubber stamps with design. Many suppliers offer options that let you upload a simple drawing or graphic. If your wedding has a monogram or crest, you can ensure it appears consistently across your stationery suite.
Use the Right Ink and Paper
Not all inks (and papers) are created equal. A mismatched combo can lead to smudges, faded text, or an off-center impression. Let’s clear up a few considerations so you get consistently good results.
-
Ink Type
- Dye-based Ink: Dries quickly and is often water-based. It works well for invitations you plan to mail soon, because there’s less risk of smudging. However, it can soak into thinner papers if you’re not careful.
- Pigment Ink: Takes slightly longer to dry but tends to produce more vibrant colors. Excellent for thicker cardstock and can be heat-embossed if you want a raised, shiny surface.
-
Paper Choice
- Smooth Cardstock: Ideal for crisp, detailed impressions. Look for acid-free options if you’re preserving invites or scrapbooking.
- Textured or Handmade Paper: Adds a beautiful rustic vibe, but the rough surface can reduce detail. If you love this look, do a test stamp first to ensure the text remains clear.
-
Drying Time
- Always allow ample time for ink to set before stacking your invitations. If you’re working in batches, you can fan them out to dry. Alternatively, place each invitation on a separate sheet of paper so they don’t smudge each other.
Put Your Stamp to Work
Once you have the perfect design, it’s time to roll up your sleeves. You can do more than a basic address or monogram. From the front of the envelope to the details tucked inside, there’s a lot of potential.
Addressing Envelopes
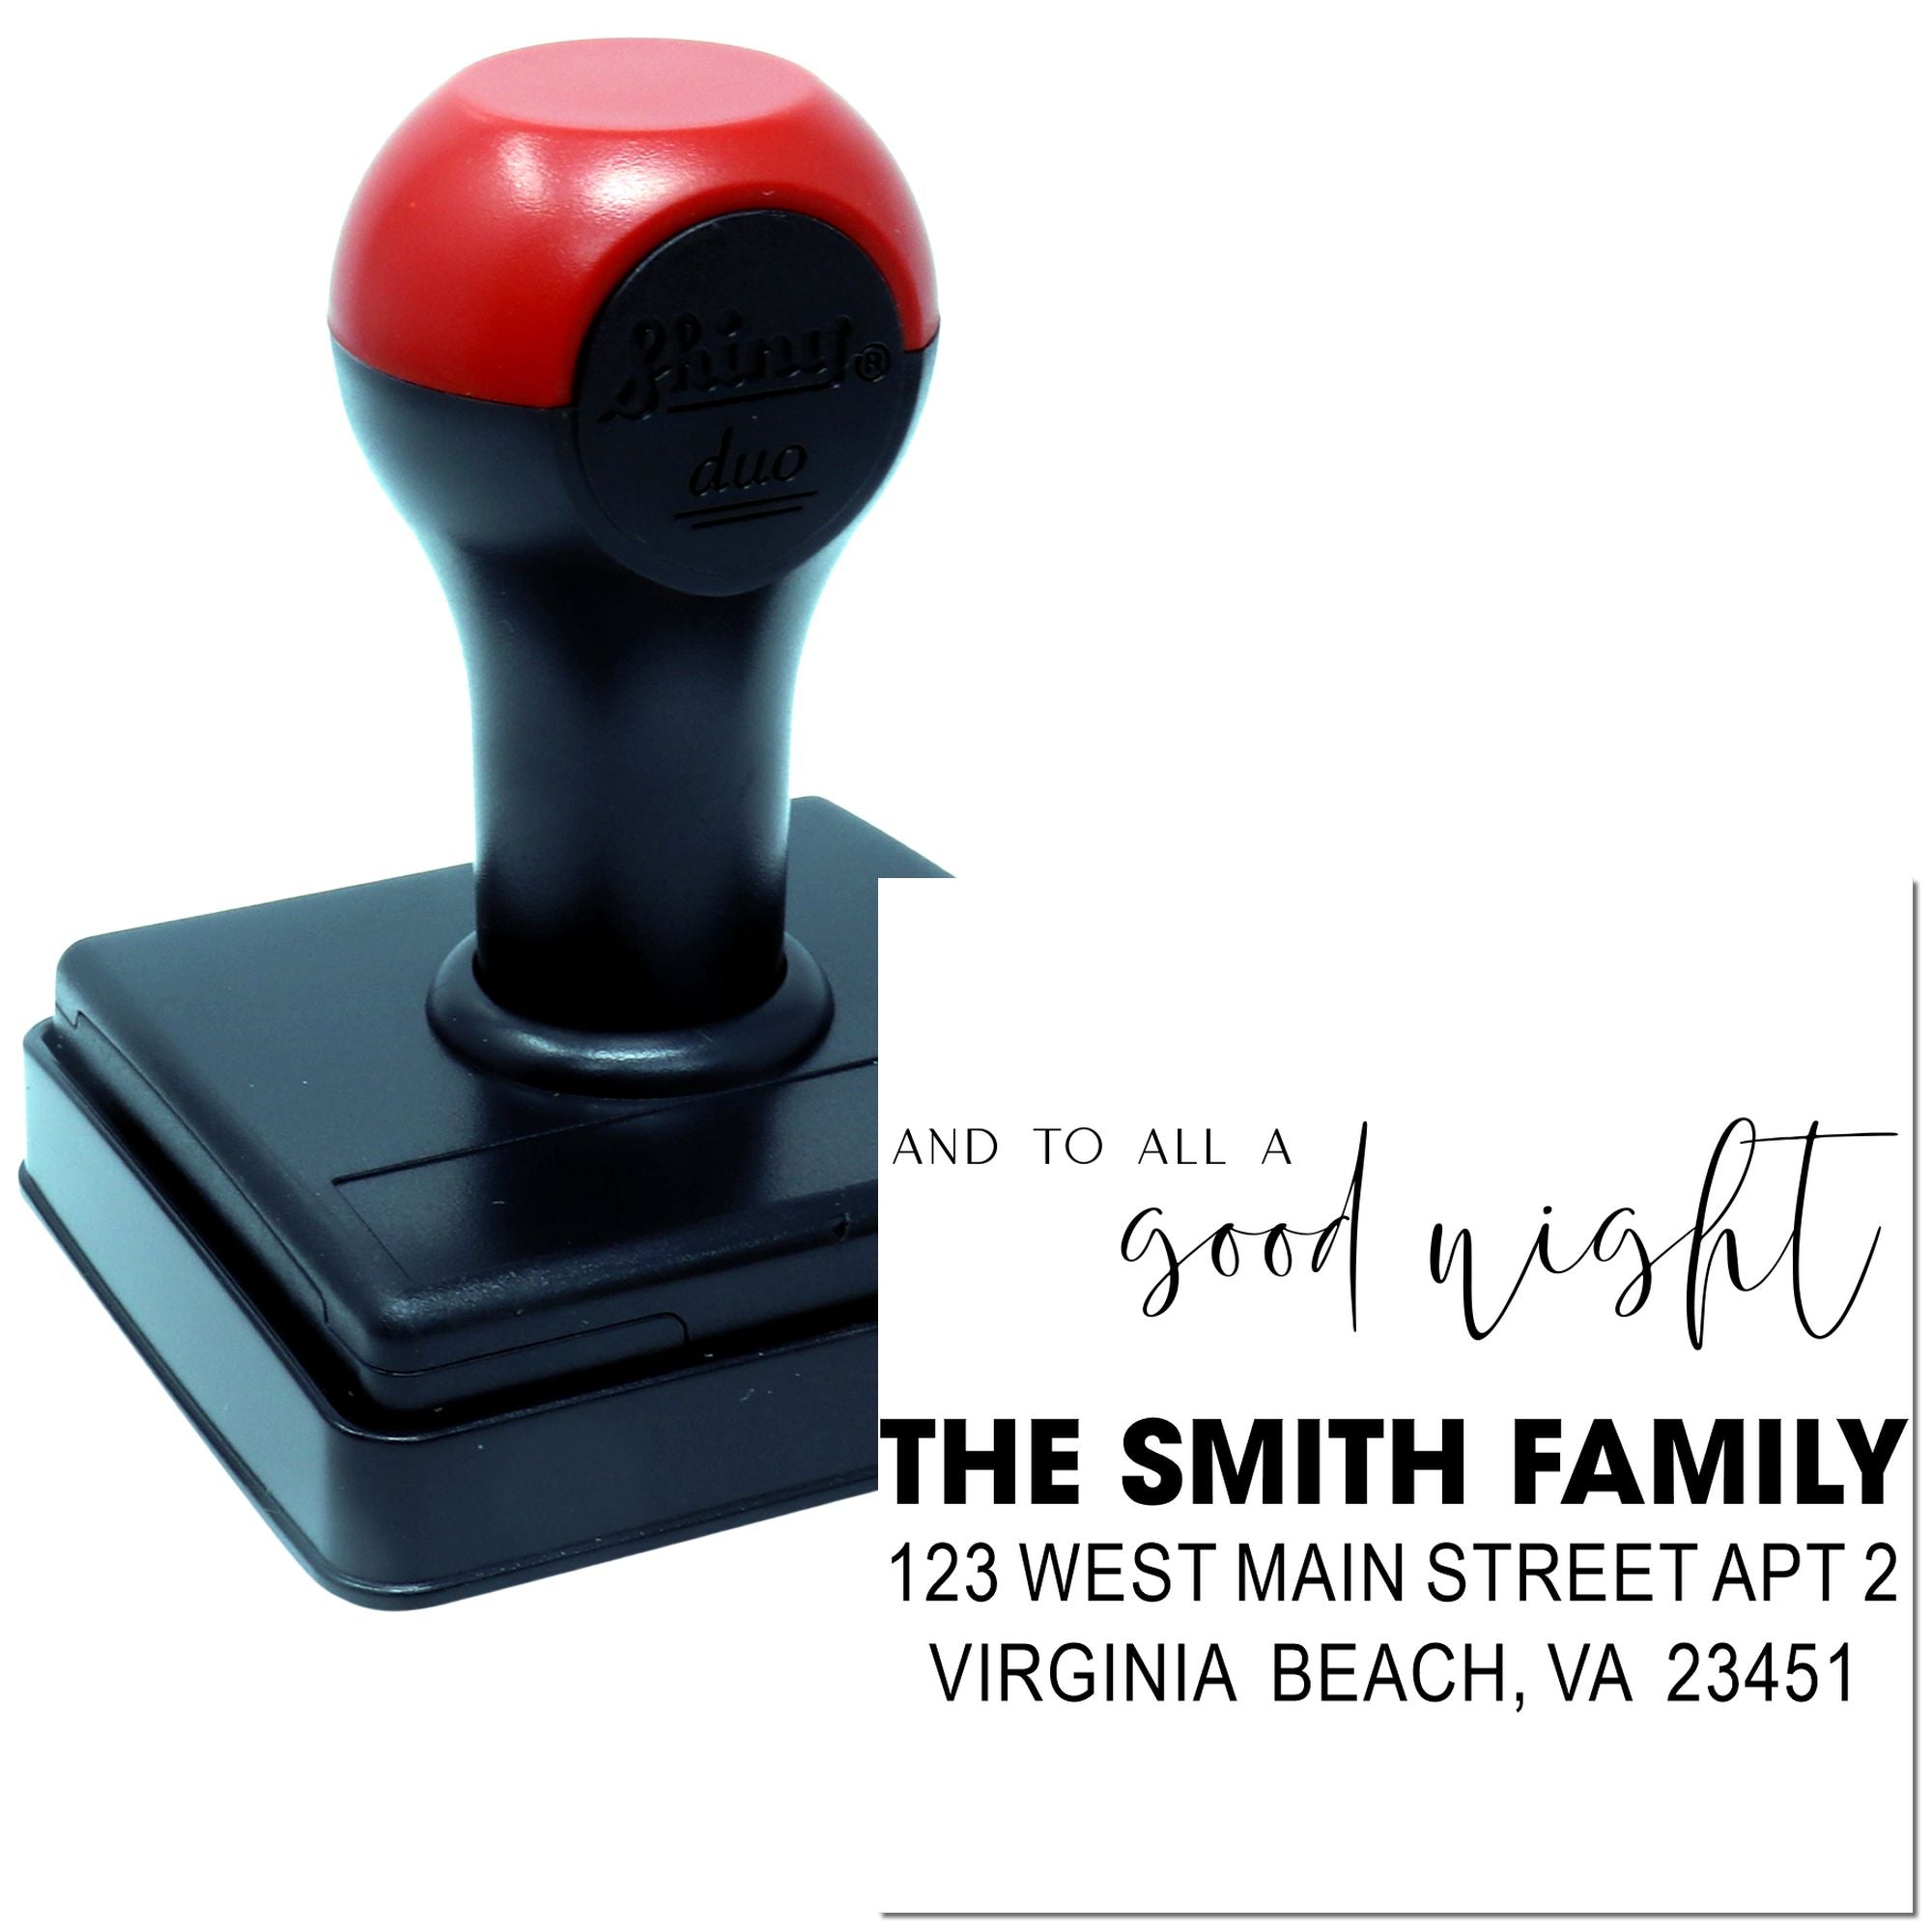
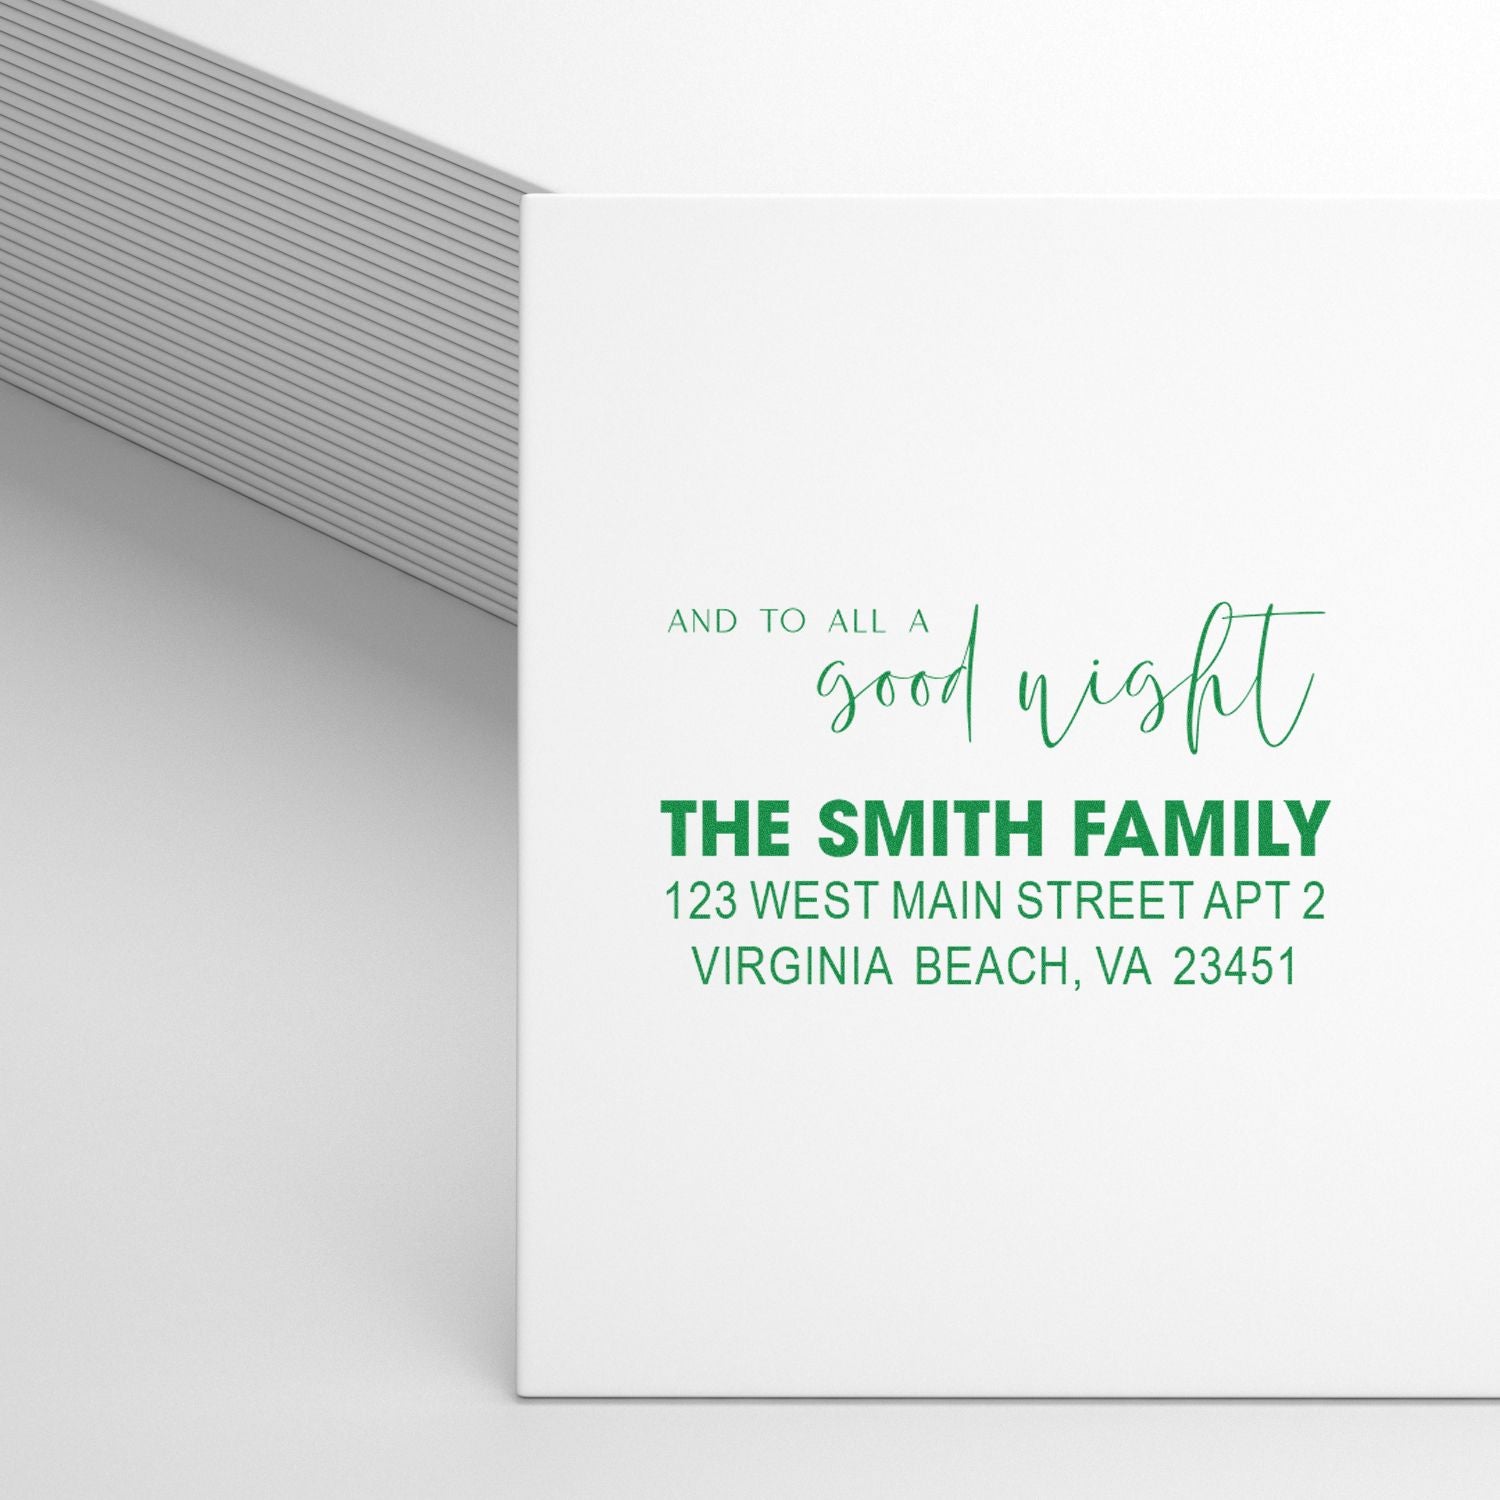
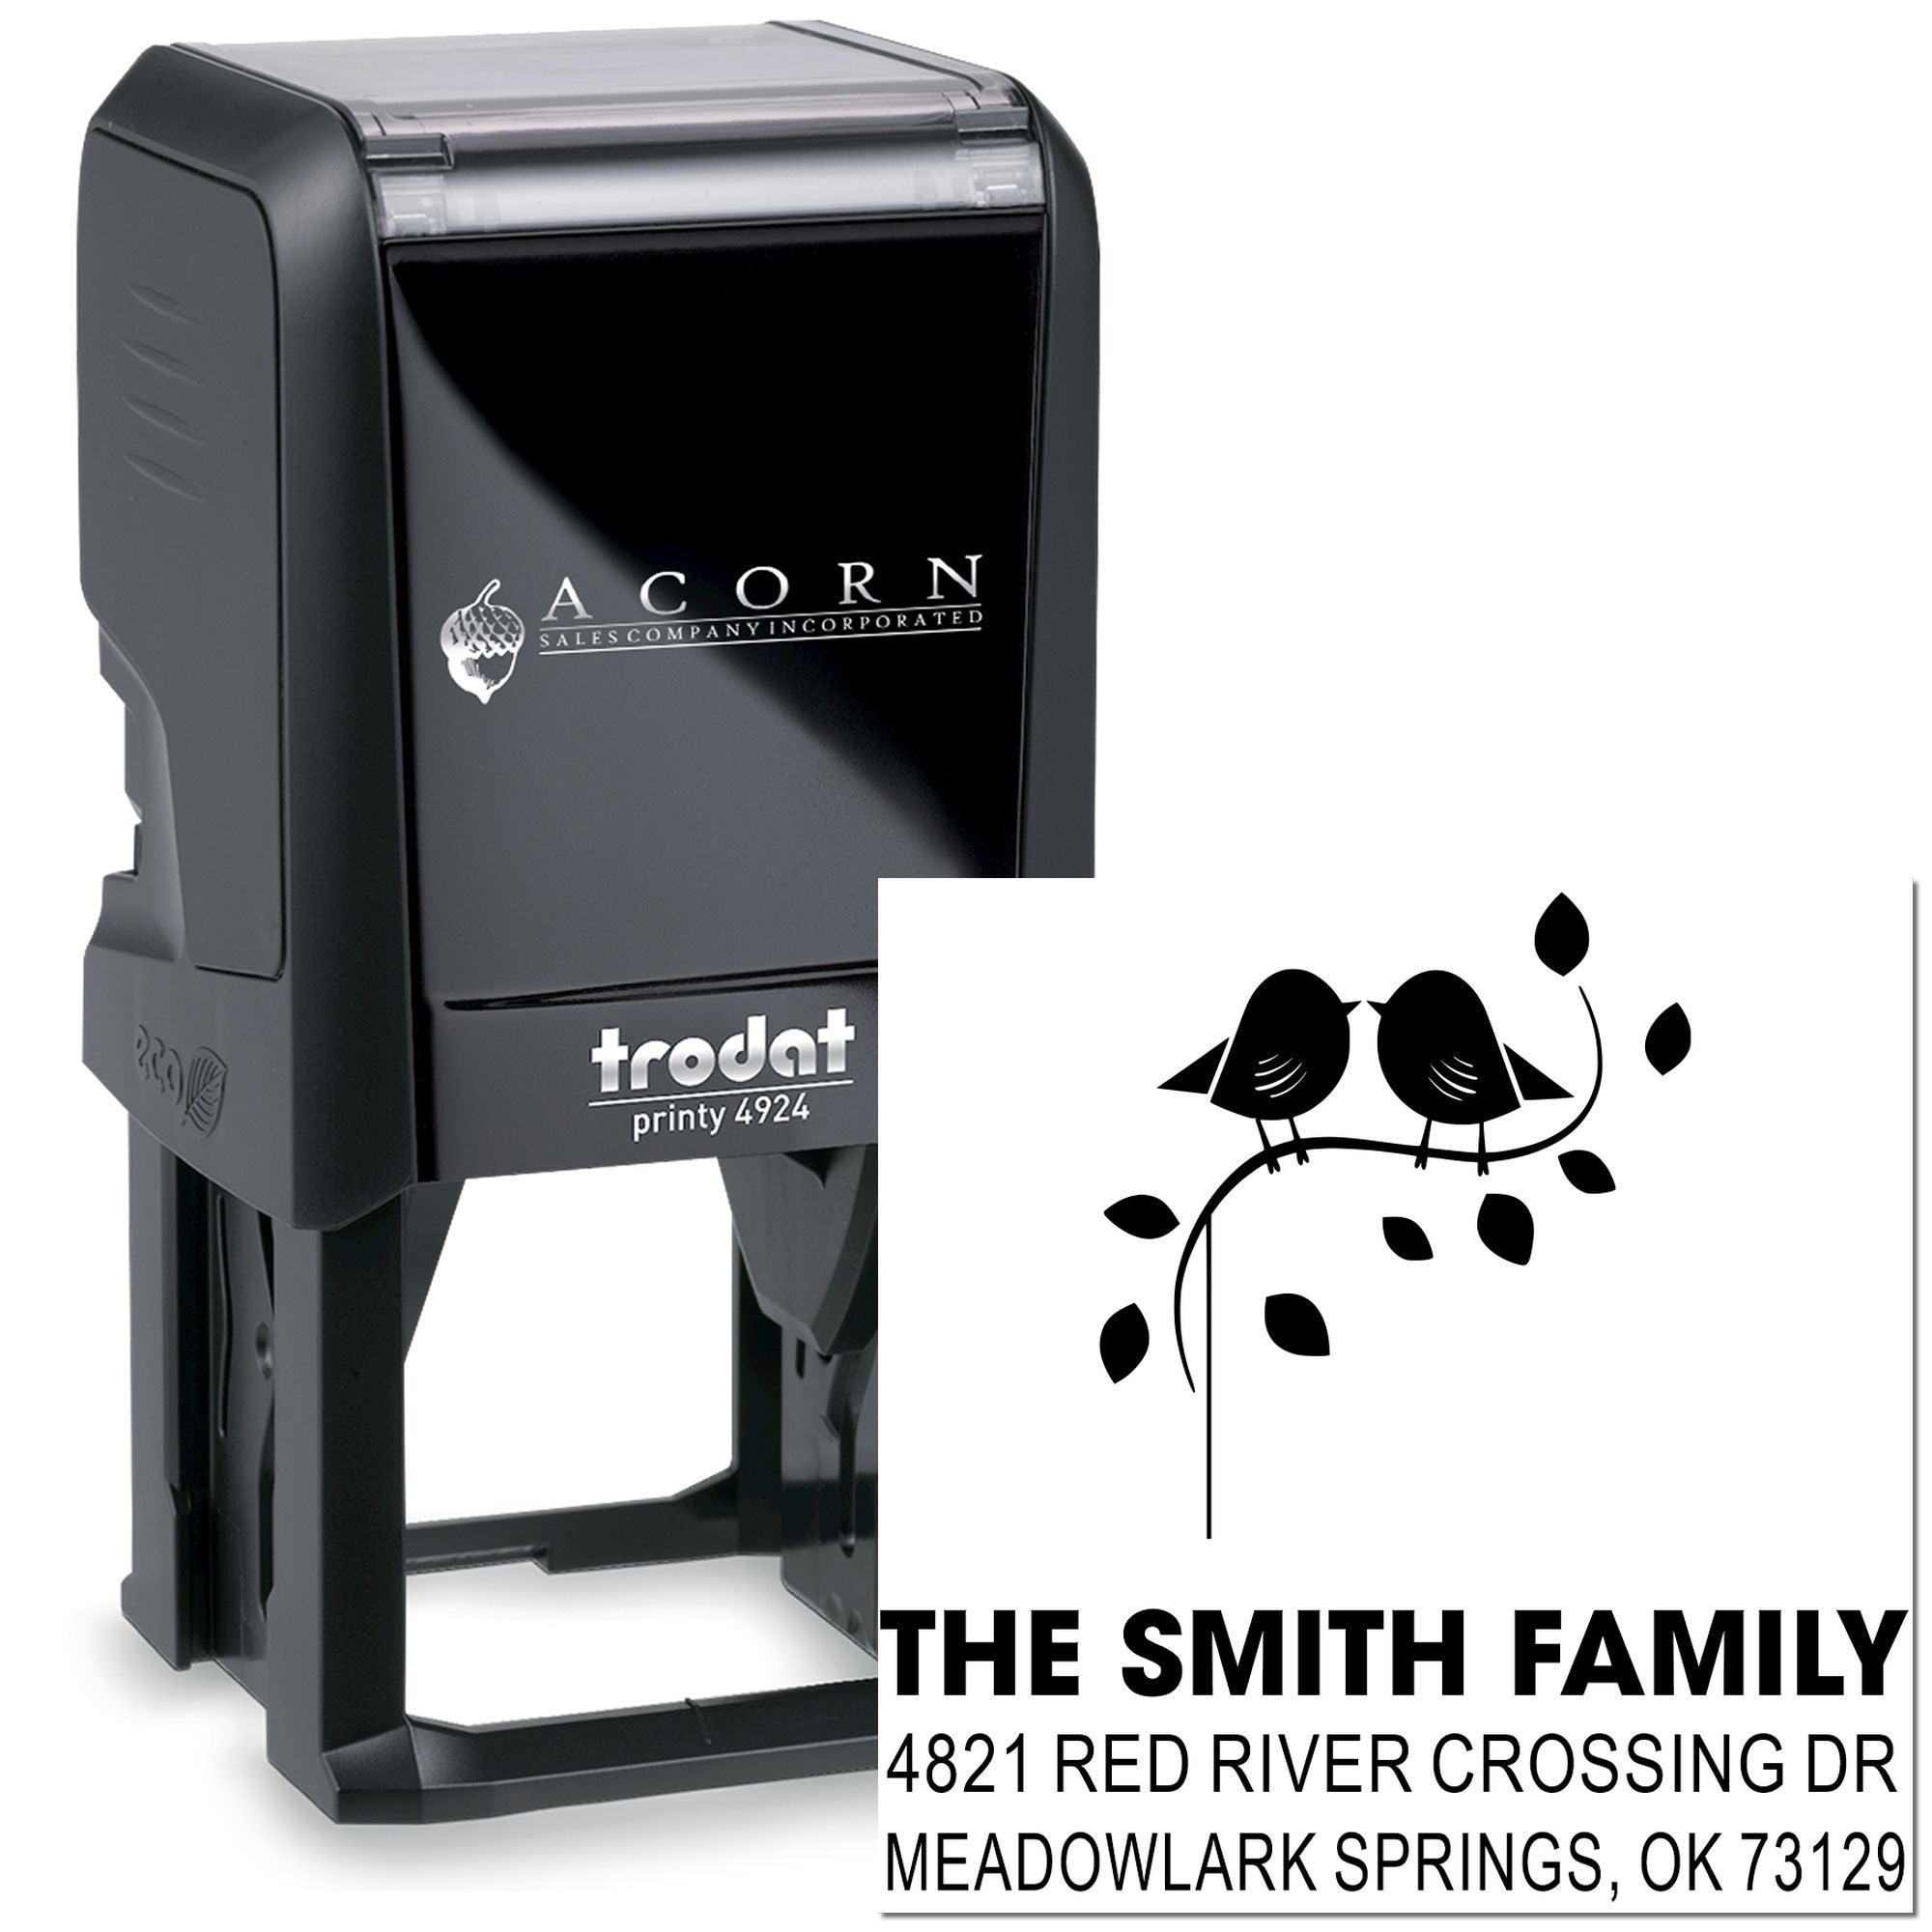
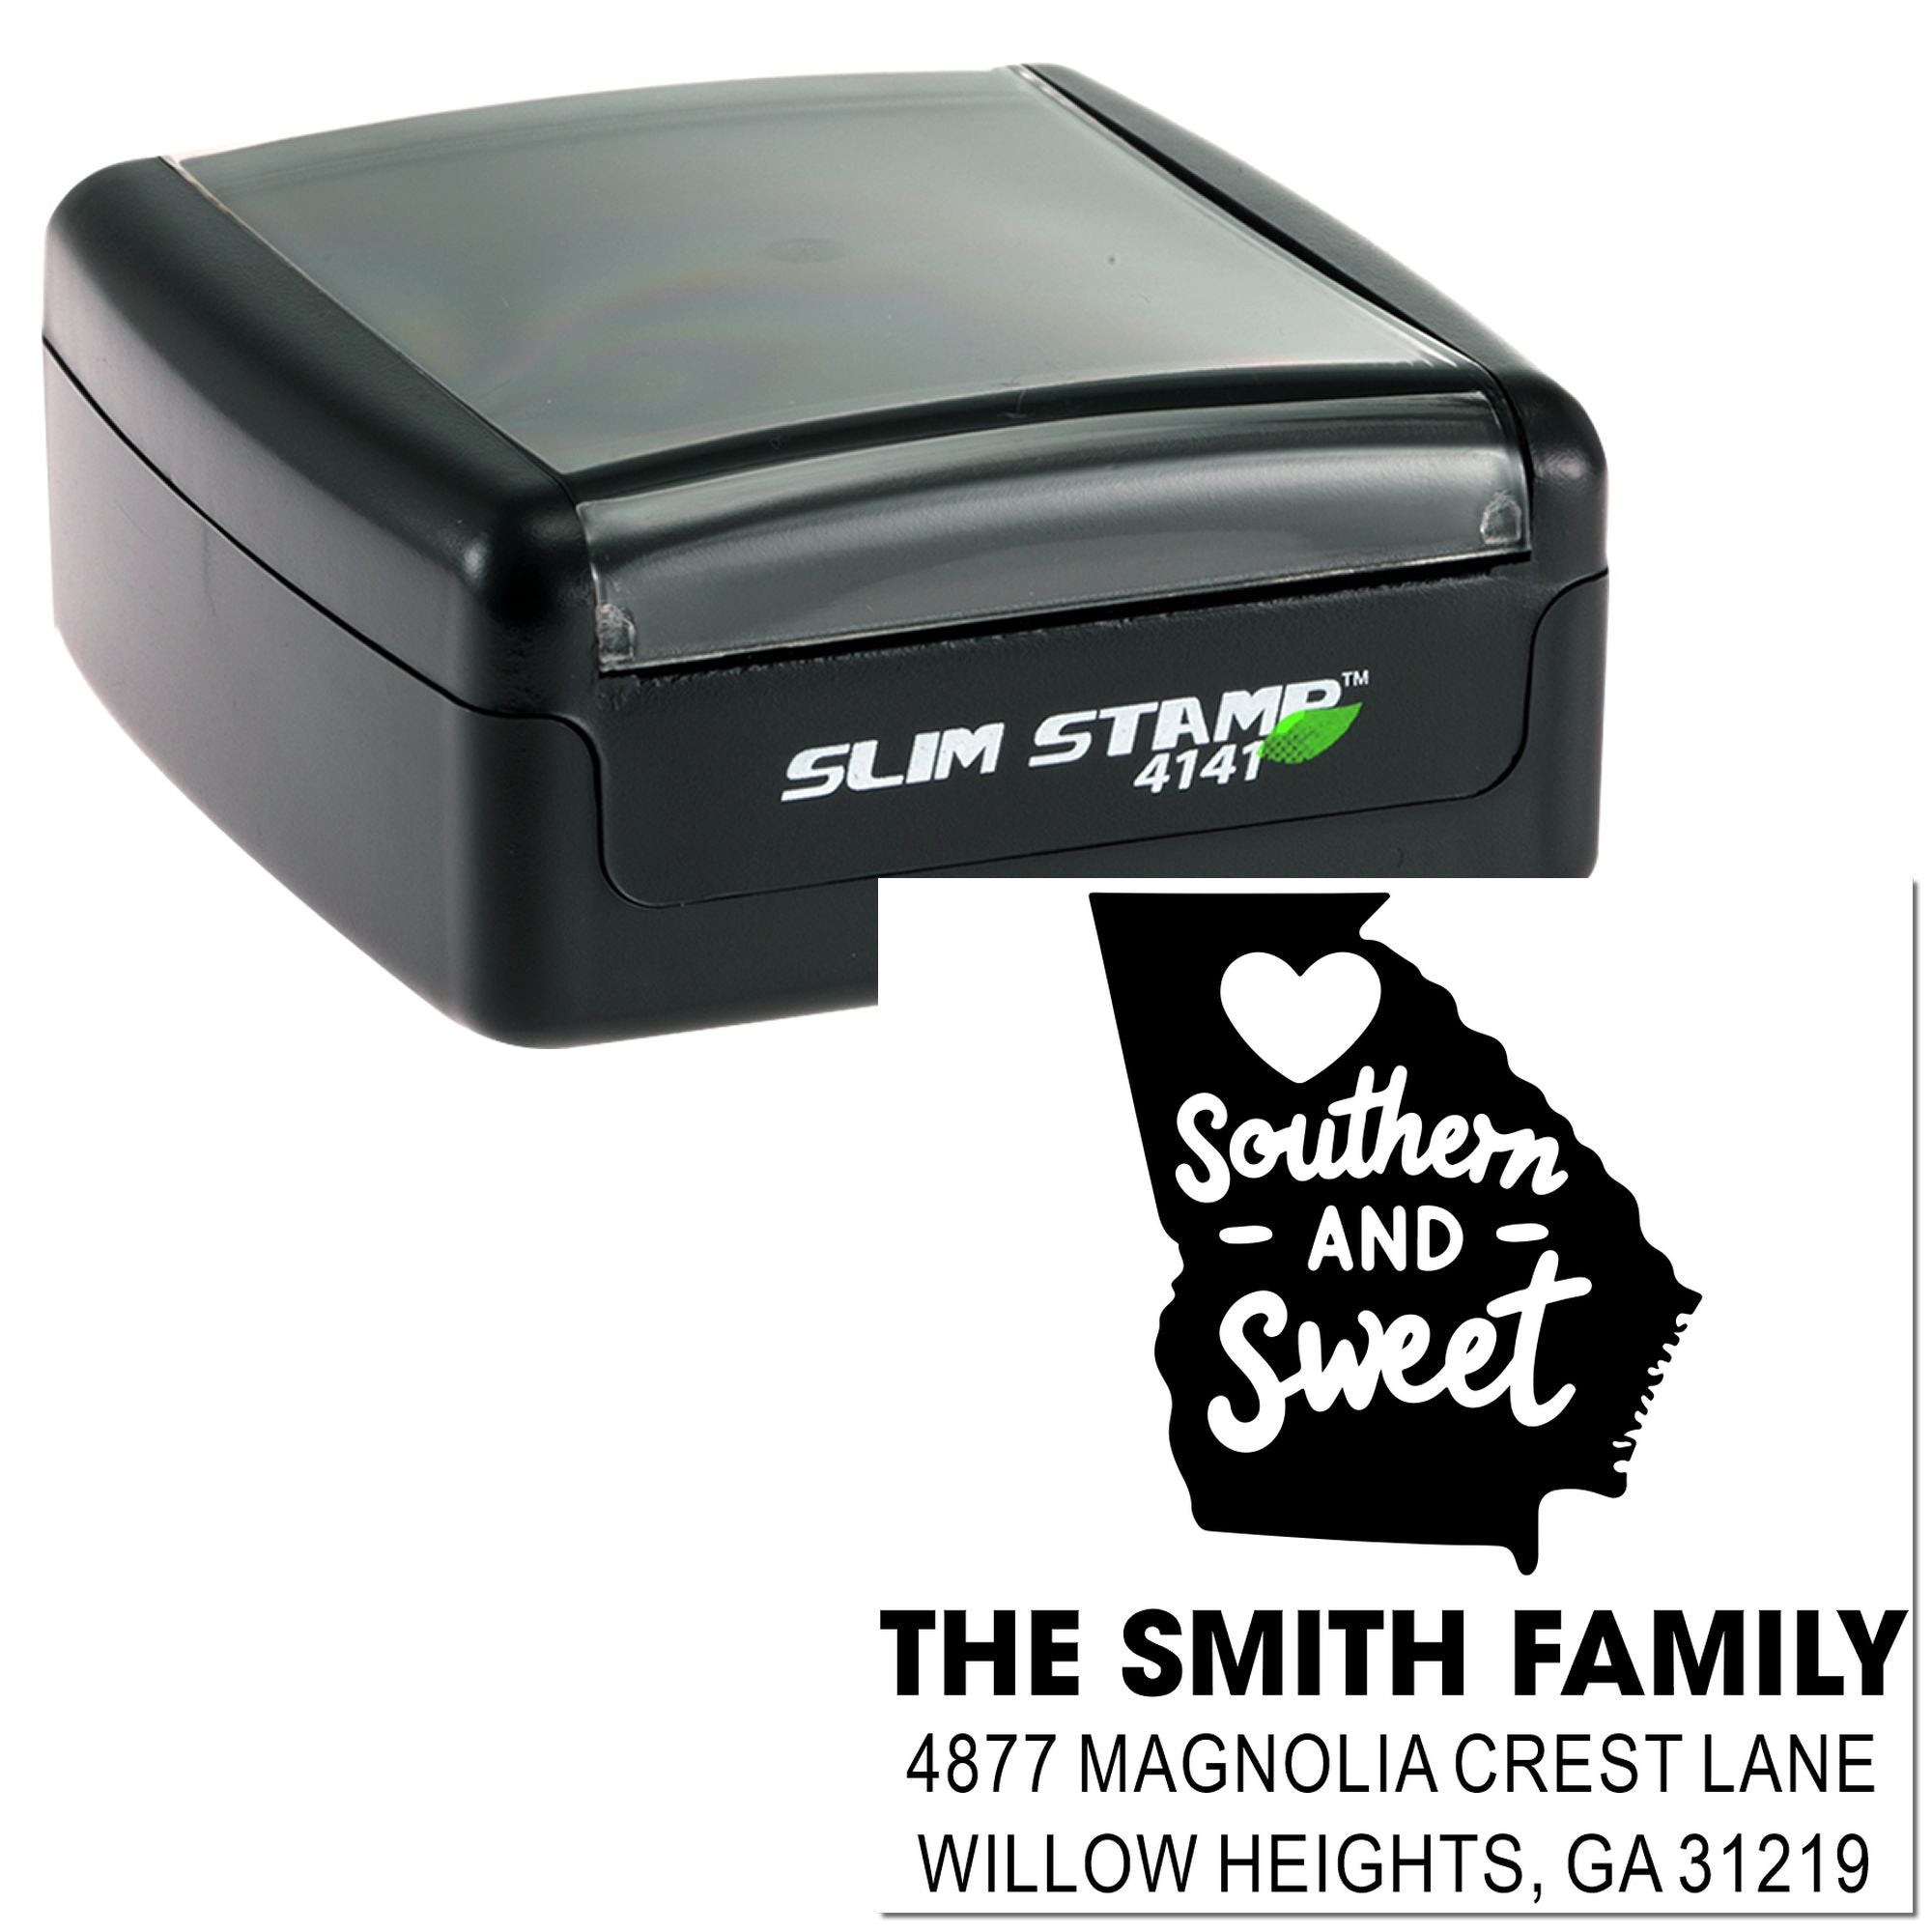
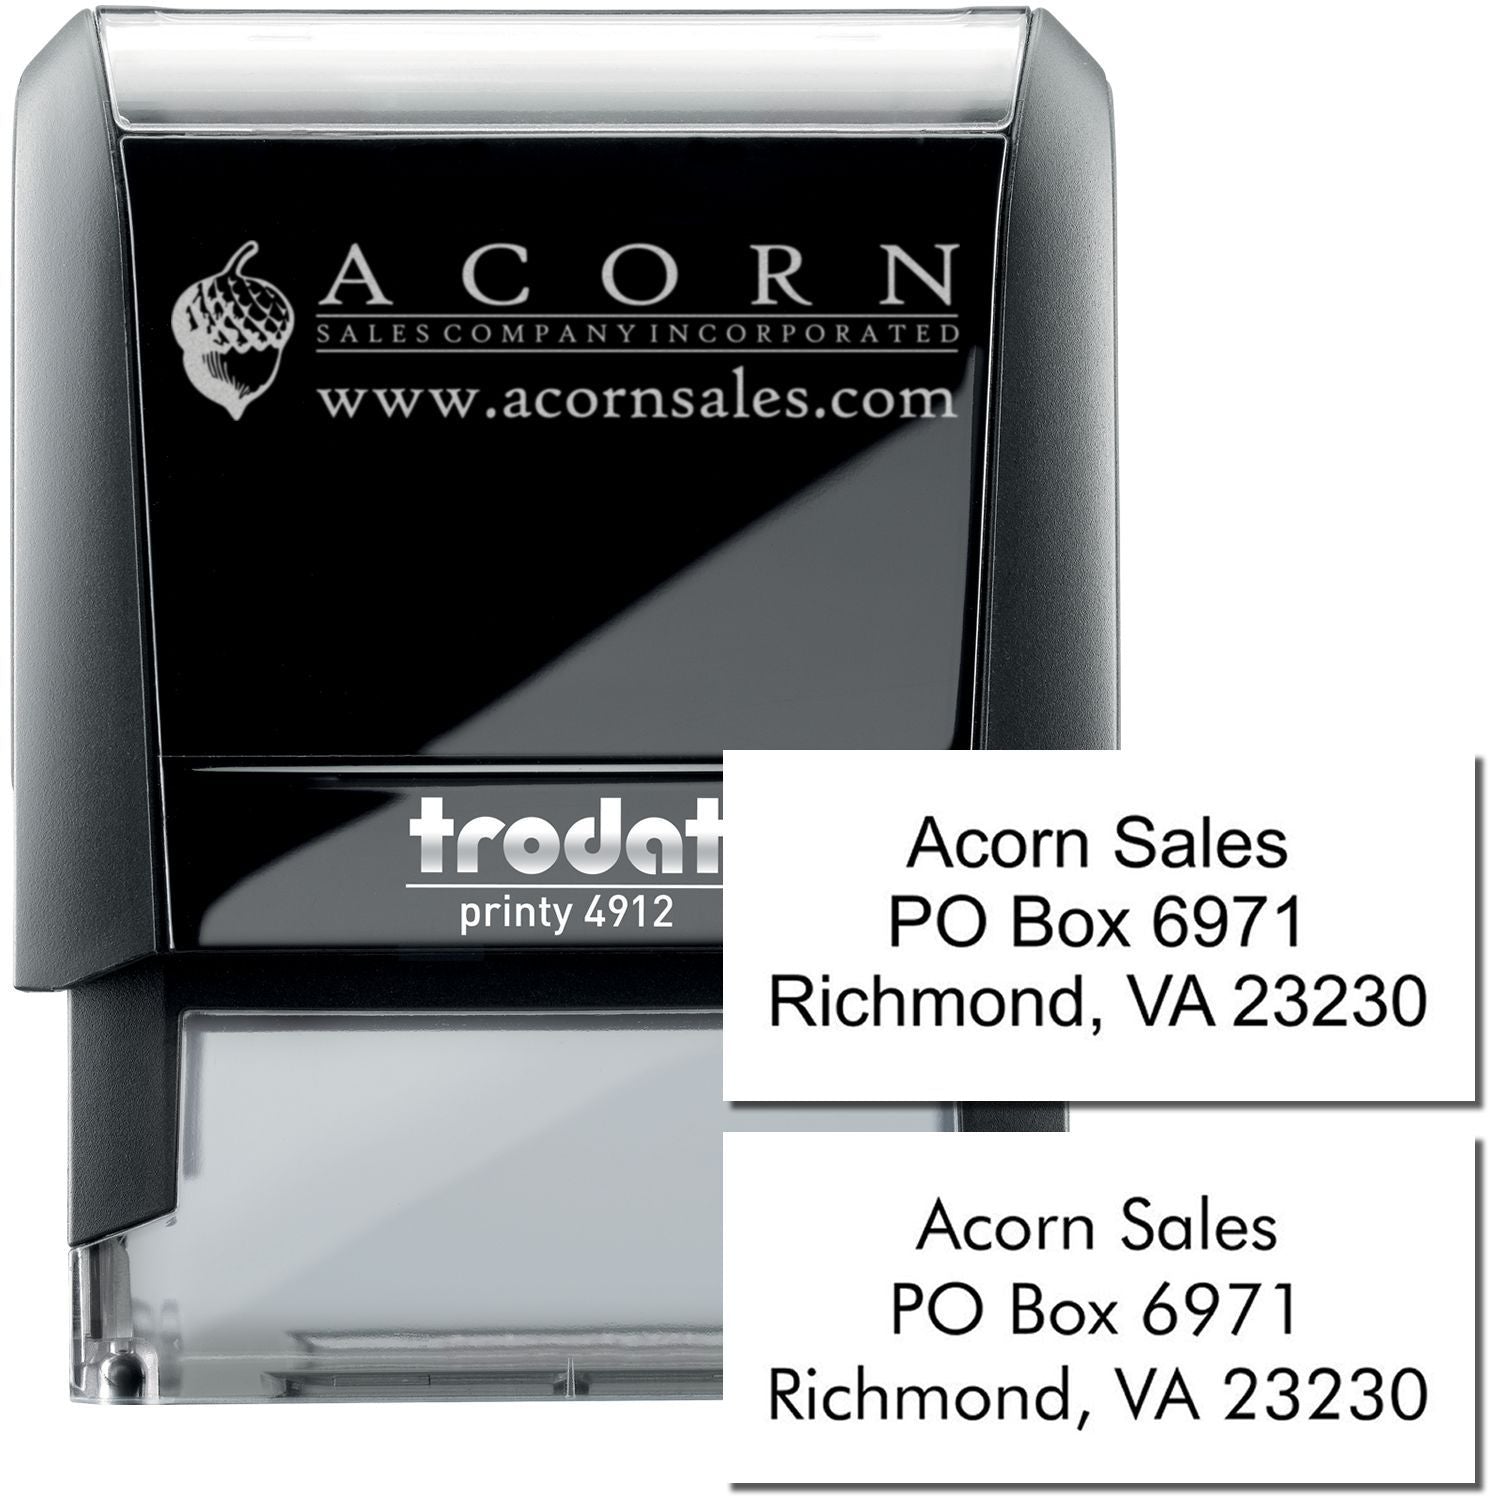
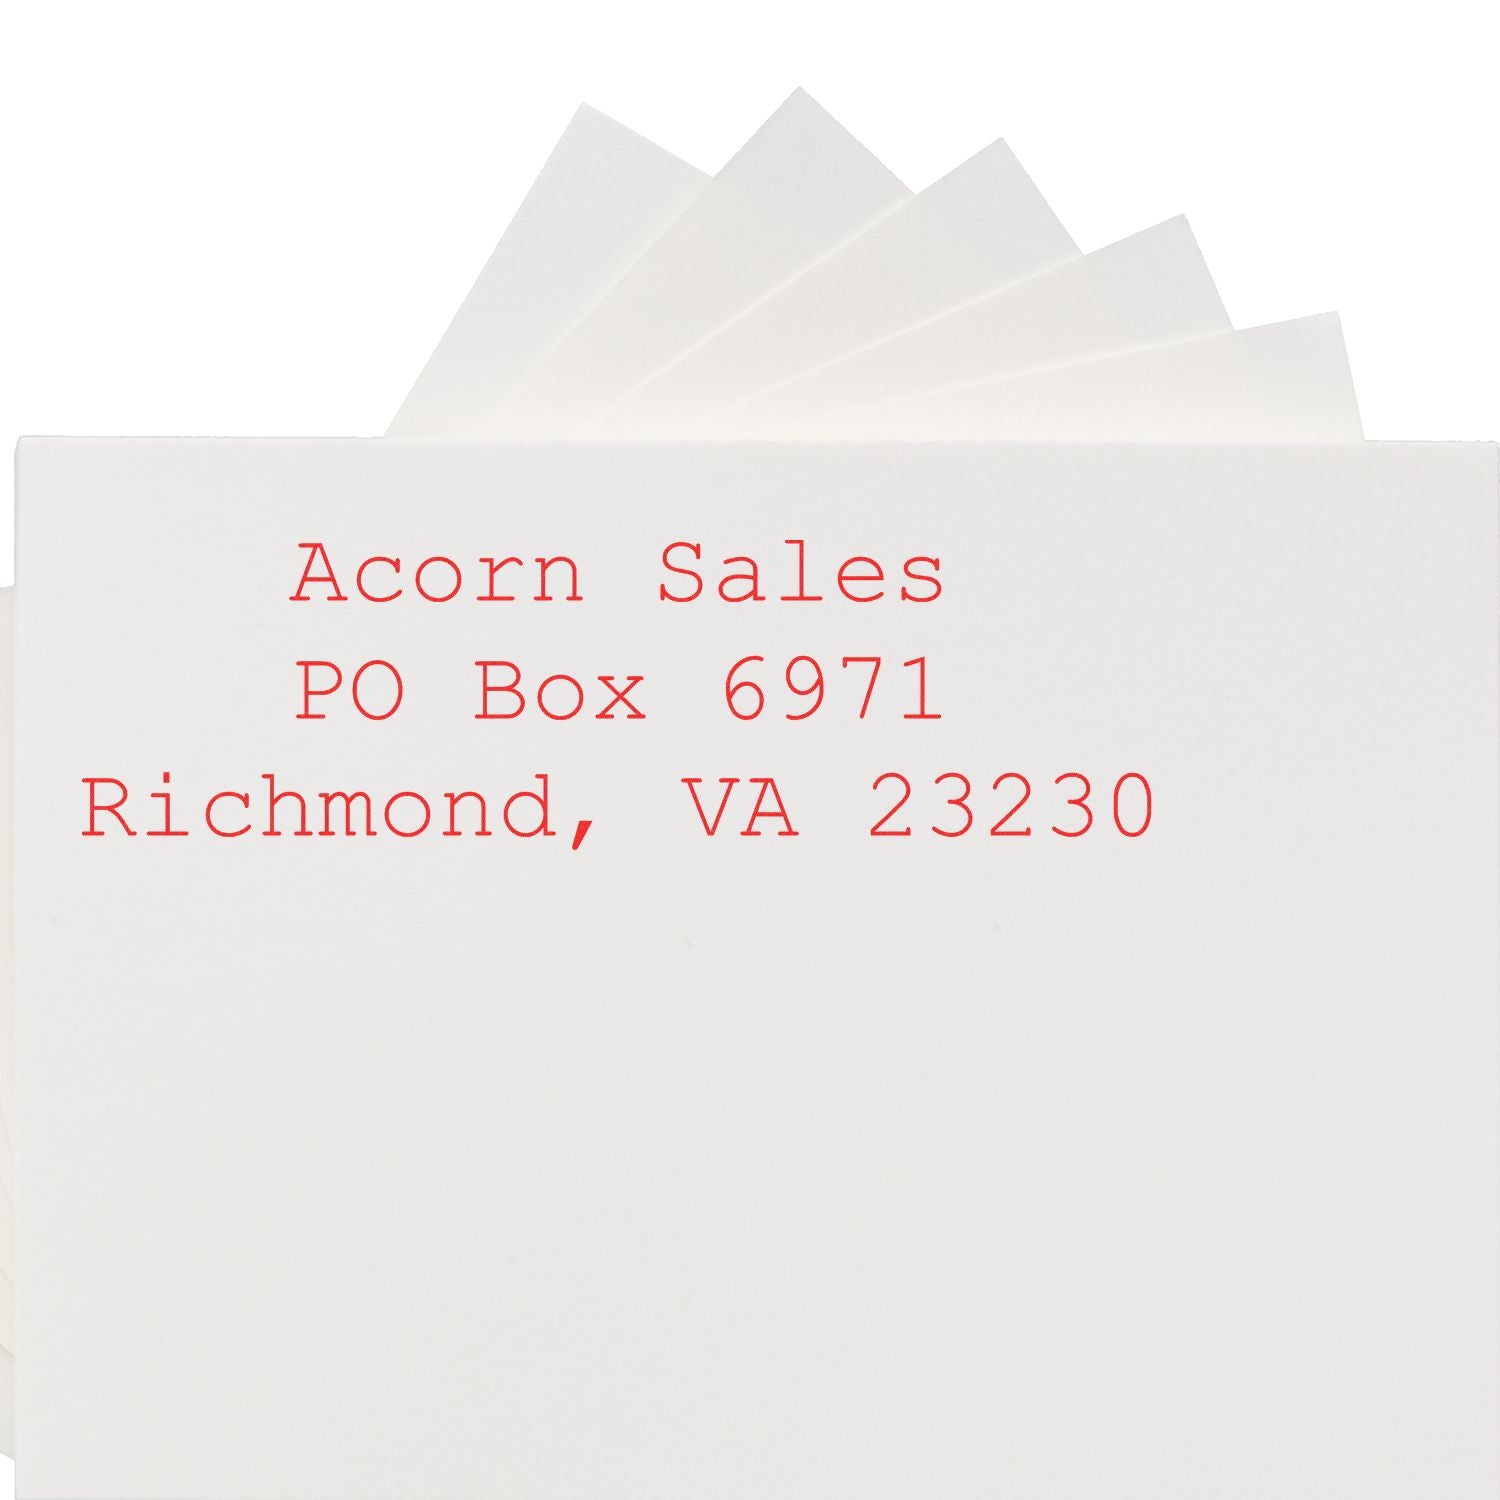
A stylish address stamp can save you major hand cramps. It also lends a polished, coordinated touch to your stationery suite. For a personal or business return address, consider custom rubber stamps for envelopes that pair beautifully with your main invitation stamp.
- Return Address: Placed on the back flap, often in a matching font to your main invitation motif.
- Guest Names or Shipping Labels: For bigger celebrations, you could stamp guest names on labels, then affix them to invites. Or you can keep it simple with your own address stamp.


Sealing and Embellishing
Beyond addresses, think about how to decorate your envelopes and inserts. A small floral motif on the corner of your RSVP card or a monogram stamp to seal your inner envelope can add a feeling of refinement.
If you prefer using a wax seal, you can still combine it with your stamp design. For instance, stamp your design onto a wafer seal sticker, then affix that seal over the flap. It’s less messy than melted wax but looks just as elegant.
Maintain and Store Your Stamps
You’ve put thought into your stamp design, so treat it with a bit of TLC to keep it looking sharp. Proper maintenance ensures you’ll be able to reuse it for thank-you notes, future events, or even holiday cards.
- Clean After Each Session: Use a gentle stamp cleaner or mild soap and water, especially if you used pigment ink. Blot the stamp dry with a soft cloth, making sure you don’t leave any oil residue or lint.
- Store Flat and Cool: Keep your stamps in a drawer or box, away from direct sunlight and heat. Excessive heat over time can harden or crack the rubber.
- Avoid Scrubbing: You don’t want to scratch the surface of the rubber. A soft brush is okay if you have stubborn ink in small crevices, but avoid scrubbing too hard.
Why Choose Acorn Sales
Finding the right supplier can be a huge weight off your shoulders, especially when you’re juggling wedding planning. Acorn Sales has been a trusted stamp and seal maker since 1964, offering everything from custom rubber stamps for weddings to daily office solutions. We know that friendly, helpful service matters just as much as top-quality materials.
Quick Turnaround
You’ve got a date on the horizon, and you want your invitations out sooner rather than later. Our production process is simpler, so most orders ship fast. That gives you some breathing room if your RSVP timeline is tight.-
Stellar Customer Service
We’ve been in business for over 60 years. During that time, we’ve learned that personal attention sets us apart. We’ll happily guide you through design questions, ink recommendations, or any little detail that helps you get exactly what you envision. Wide Selection
Maybe you need an adorable motif that fits a rustic barn wedding, or perhaps you prefer a sleek monogram for a chic city celebration. We can help you customize your stamp to match your wedding style. If you ever need to expand your collection, we also offer custom rubber stamps with text, self-inking stamps, and more.
It’s incredible how a little creativity and a simple tool can transform your wedding invitations. By choosing the right stamp style, finalizing a neat design, and paying attention to ink and paper, you’ll create a dazzling impression from the start. If you’re ready to craft those memorable invites, check out Acorn Sales for quality stamps, quick service, and a touch of personalization that’s sure to stand out.
Now is a perfect time to pick your favorite design, gather your supplies, and start stamping. You’ll not only save time, but you’ll also set a warm, personal tone for your guests. Feel free to share any fun ideas or tips you discover along the way. We’re all about celebrating each unique love story, one stamped invitation at a time.
Frequently Asked Questions
Can I Include the Wedding Date on My Stamp?
Absolutely. Many couples prefer to have their names and the date front and center. You can also try custom rubber stamps with date if you want a separate design that highlights your special day.
How Do I Avoid Smudging?
The key is to let each impression dry thoroughly. Use a quick-drying ink if you’re worried, or place each stamped invite on a clean sheet of paper before stacking. If the paper is especially glossy, consider using pigment ink that sets more slowly, then give it extra drying time.
Is a Self-Inking Stamp Better Than a Wood-Mounted Stamp?
It depends on your preference. A self-inking design is quicker for large batches, and it doesn’t require a separate pad. A traditional wood-mounted stamp offers more flexibility with ink colors and can feel more personal. Either option works great for wedding invitations.
Should I Hire a Professional Designer?
Not necessarily. Many stamp suppliers provide templates you can tweak. If you’ve got a creative streak, go for it yourself! If you’re after something more elaborate, you can certainly work with a pro to develop a design that translates well to a rubber stamp.
Will I Be Able to Use My Stamp in the Future?
Yes. Your wedding date may only come around once, but you can easily reuse portions of the design. Some couples keep the same monogram for thank-you notes or other personalized stationery. Proper cleaning and storage will keep your stamp in great shape.








