
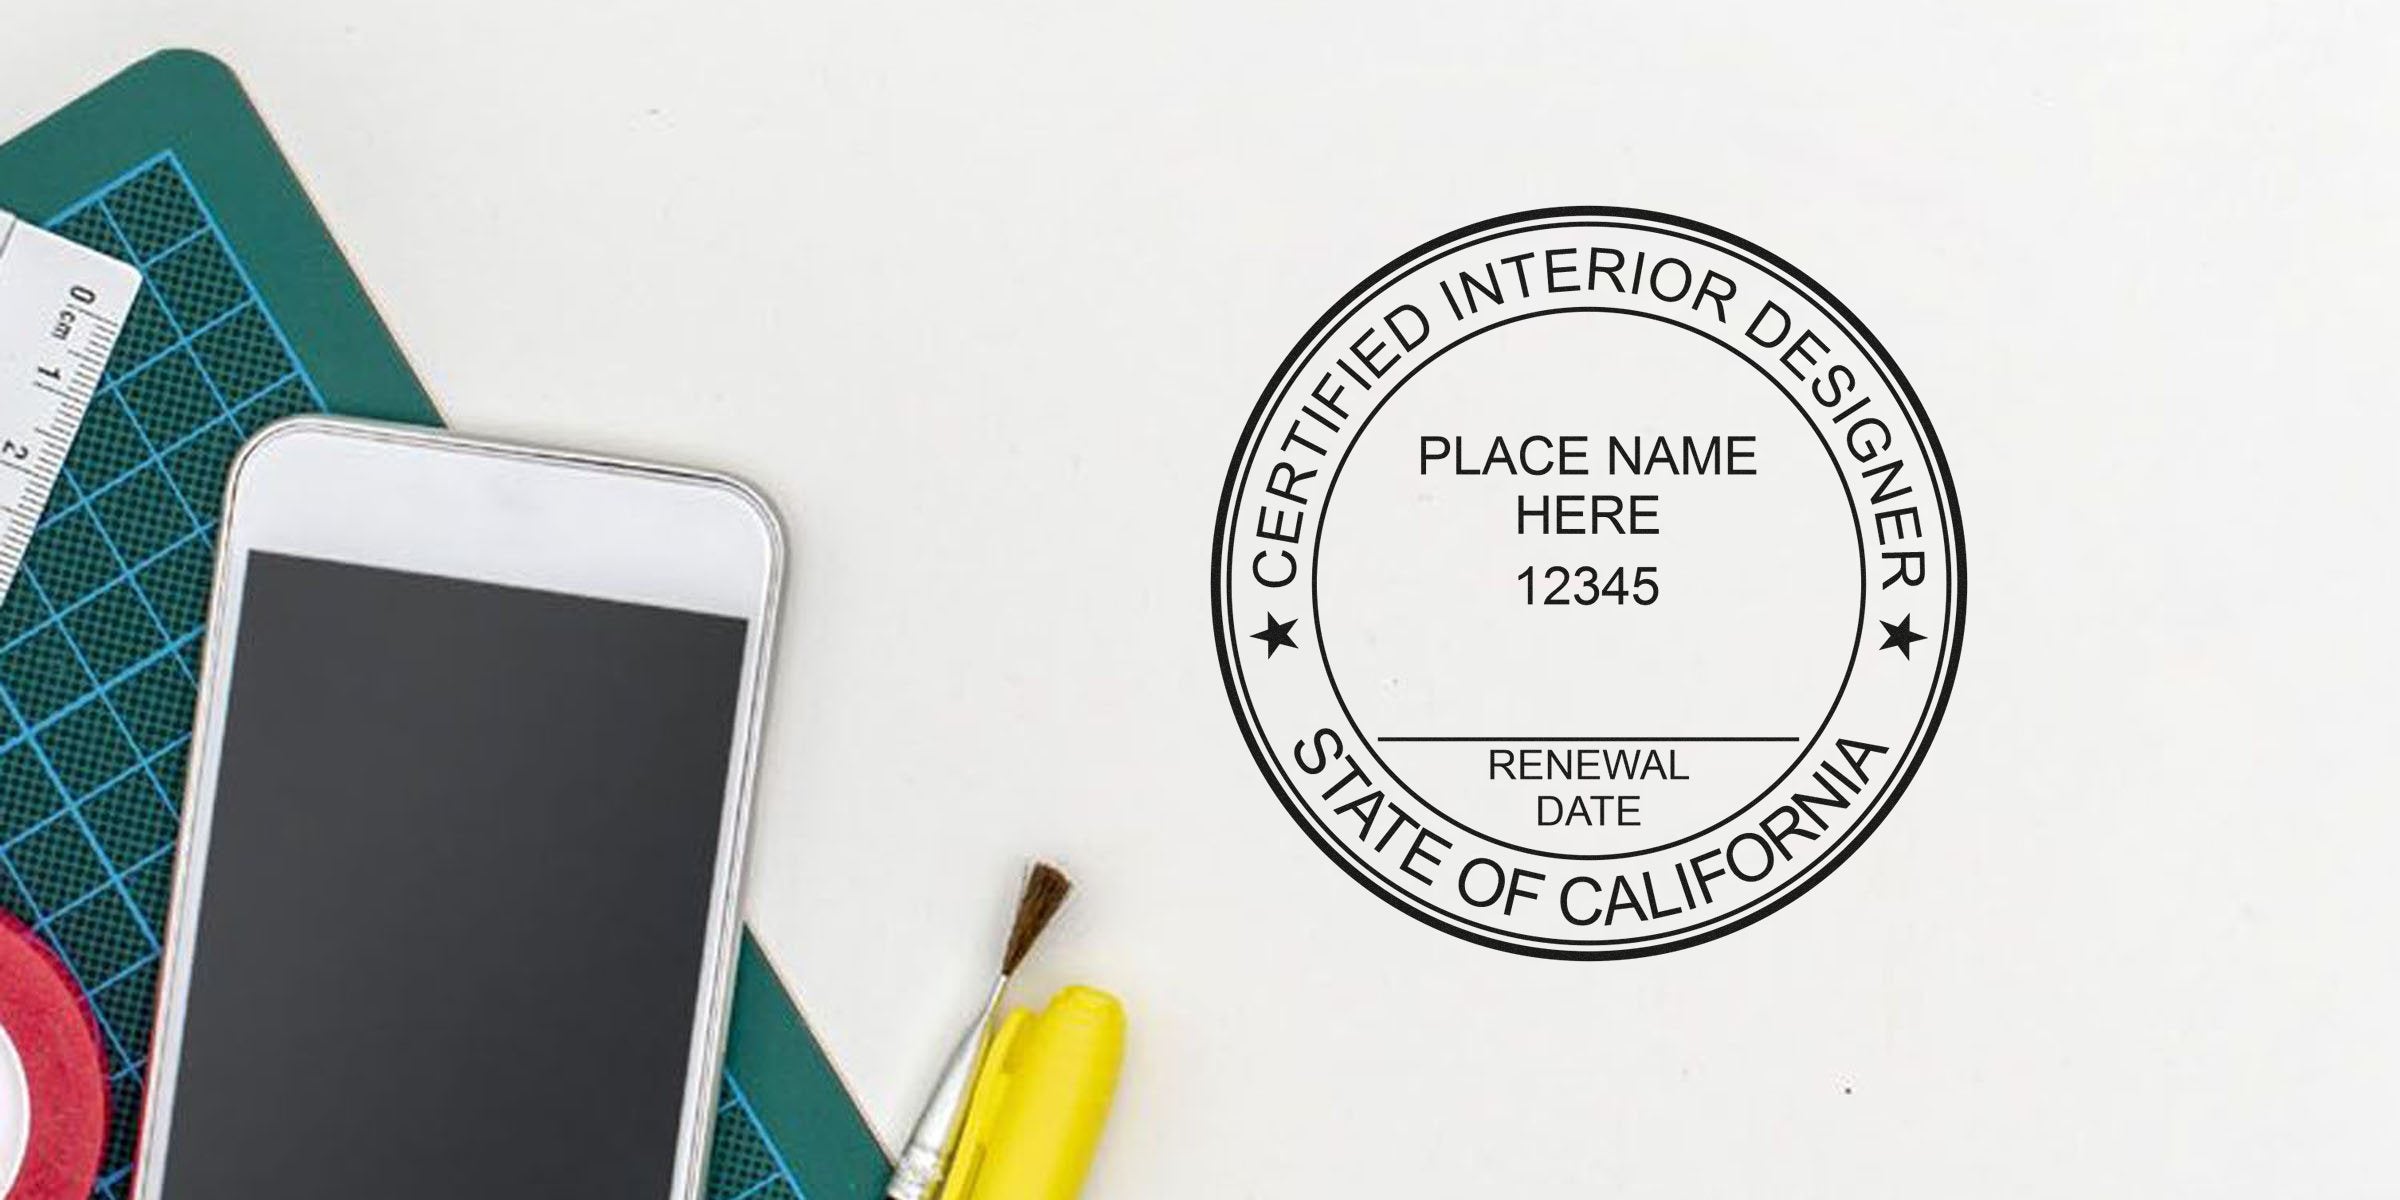
If you’re an interior designer in California, you probably know how essential it is to keep your documentation on point. But have you ever stopped to think about how your seal design reflects your professionalism? A well-planned California interior designer seal design can do more than simply meet legal requirements, it also reinforces your credibility whenever you approve plans, verify project details, or sign off on proposals.
Most of the time, fast-paced projects and client demands might tempt you to skip the details of seal creation. Still, focusing on accuracy now can save you loads of hassle down the road. If this is your first time navigating the intricacies of California’s requirements, don’t worry. We’ll walk through each essential element so you can feel confident that your stamps and seals match the regulations, look professional, and keep your projects running smoothly.
Understand The Role Of A California Interior Designer Seal
Legal Recognition And Enforcement
Your seal isn’t just a fancy mark, it’s a legal symbol that verifies your status as an interior designer recognized by the state. When you affix your seal to official documents, such as project drawings or design specifications, you’re essentially declaring, “I stand behind the accuracy and standards of this work.”
If there’s a misunderstanding or dispute about a project, state boards and local agencies often take this seal as tangible proof of who holds legal responsibility for the design. That’s why it’s critical to ensure your seal includes accurate identifying details and meets California’s guidelines. Missing or incorrect information could lead to unnecessary questions and potential project delays.
Why Your Seal Matters For Clients
From your client’s perspective, a professional seal signals trustworthiness. Clients feel reassured knowing they’ve hired someone qualified and accountable for the projects they’re completing. Think of your seal like a signature guarantee — it shows that the designer they’re working with has gone through the official steps, knows the rules, and is confident in the quality of their work. Plus, sealed documents are often required for permitting processes and legal validations. If you’re aiming for a hassle-free permit experience, your seal will be your best friend.
Check The State Requirements
Basic Format And Size
California has specific guidelines on what your stamp or seal should look like. Even though the state leaves room for design creativity, you’ll find that most official seals share some standard features. Commonly, the outer circle includes the phrase “Registered Interior Designer” followed by “State of California.” Inside this layout, you’d typically place your name and license number. The exact diameter may vary, but many designers opt for a two-inch circle to fit comfortably on official documents.
Before you finalize the design, you’ll want to make sure you comply with any current size requirements. If you’re unsure whether your seal is the right size, it’s always a good idea to check the most recent California interior designer stamp requirements. Staying up to date will help prevent any headaches when authorities review your submissions.
Additional Markings
In addition to your name and registration number, many seals include an expiration date or a license renewal date. While not always mandatory, adding this information can help agencies and clients confirm that your credentials are in good standing. Some designers also include the word “Interior Design” in a stylized way to emphasize their profession. As long as you remain within the bounds of the state’s guidelines, you can take small liberties with the typography or arrangement to reflect your personal brand, as long as everything stays clear and legible.
Include Essential Elements
Name, License Number, And More
Your name should appear exactly as it does on your state-issued license. If you go by a nickname in casual circumstances, this isn’t the place to use it. Consistency across your license, business cards, and official documentation helps prevent possible confusion. Next, clearly display your license number. Ensure it’s readable but doesn’t overshadow your name or other vital text. This number is indispensable when verifying your status with local building authorities or permit offices.
For additional authenticity, consider adding the phrase “Registered Interior Designer” within the seal. This can serve as a quick confirmation of your professional standing for clients who may not be fully versed in licensing details.
Layout And Legibility
When it comes to seal layouts, simpler is usually better. You might want to use a clear font, such as a sans-serif typeface, so each letter stands out. Dark ink, typically black, is standard for official stamps. If you’re unsure about color usage, default to black not only for tradition but also for easier photocopying and scanning. Bear in mind that some local agencies might reject colorful or stylized seals because they worry it won’t reproduce accurately if the document is duplicated. Test-print your seal at different scales to confirm that every detail remains legible.
Select A Trusted Supplier
Why Choose Acorn Sales
Finding a reliable supplier for your stamp or seal is a crucial step. If you’re shopping around for a California interior designer seal, you want it done right the first time. At Acorn Sales, we’ve specialized in seals, stamps, and marking devices since 1964, delivering professional solutions to design and architecture experts across the nation. Longevity in this industry isn’t just a feather in our cap, it’s a reassurance we use to show we’ll be here for you if a question arises about your seal years from now.
When you get your seal from Acorn Sales, you also receive a free electronic stamp, perfect for adding to PDFs or digital files. That way, even if you’re sending documents electronically, you can maintain an official look with minimal hassle. We believe in making the process easy, which is why our team double-checks the legislative requirements and helps you finalize the design so you can focus on what you do best: creating amazing living and workspace environments for your clients.
Design Tips For Clarity
Font Choice
Readability should be your top priority. If you pick a script or ornate font, you might end up with unclear letters. While decorative typography can look cool, keep it to a minimum. Opt for a standard, crisp typeface in both your name and license data. This ensures building departments and clients alike can effortlessly read your credentials.
Avoid Clutter
Have you ever seen a seal with too many lines, graphics, or random elements? It can be distracting, not to mention potentially confusing. The best approach is to keep your seal simple with just enough detail to communicate your relevant information. A tidy circle or oval border, a strong font, and a few well-placed lines are usually all you need. Also, ensuring consistent spacing between lines and circles helps your seal look polished.
Proper Maintenance And Use
Stamping Materials
Even if you have the perfect seal design, using substandard ink or older stamping tools can ruin the final impression. For physical stamps, you’ll want to pick a quality ink pad that won’t blotch or fade. Some professionals prefer a self-inking stamp for simplicity. Others lean toward a traditional wood handle because it allows for easy control over ink levels. Whichever route you choose, test your stamp on a few scrap sheets first. This way, you’ll catch any issues before stamping an important document.
If you rely on an electronic version, ensure your digital seal has a high resolution. A pixelated seal looks unprofessional and could cause confusion about numbers or letters. Save your file in multiple formats (for example, PNG or PDF) so you can insert it into various documents without losing clarity.
Storage And Security
Your seal is a powerful symbol. In the wrong hands, it can be misused to approve work you didn’t actually oversee. Treat your stamps and digital seal files as you would important financial or legal documents. Store physical stamps in a locked drawer or cabinet. Password-protect any files containing electronic stamps or digital signatures. Regularly back up those files, particularly if they exist on a laptop or shared workstation. It’s one of the simplest ways to protect yourself and your clients from fraudulent or accidental misuse.
Wrap Up
At the end of the day, your stamp or seal isn’t just about following the law. It’s about presenting yourself as a knowledgeable, reliable professional that takes compliance seriously. Streamlining your California interior designer seal design is a straightforward way to protect your credentials and reassure clients that you meet the industry’s high standards.
If you’re ready to equip yourself with a seal that aligns with California’s latest rules, Acorn Sales can get you set up in no time. We’ve been around since 1964, so we understand the ins and outs of official stamping. With our free electronic stamp and specialized guidance, you’ll never miss a beat in your next project presentation or submission. Take control of your professional image by investing in a seal that’s clear, compliant, and uniquely yours.
Frequently Asked Questions
How soon can I start using my California interior designer stamp or seal?
You should begin using your seal as soon as you’ve received your official registration from the state and acquired a properly designed stamp that meets the guidelines. If in doubt, verify with the relevant licensing board to confirm everything is valid.
Do I really need both a physical stamp and a digital version?
While it’s not always mandatory, having both options can be incredibly handy. Many jurisdictions still prefer physical copies, but more paperwork has moved online these days. With an electronic seal, you can sign off on digital submissions quickly without sacrificing professionalism.
What if my seal wears out or becomes difficult to read?
If you notice that your physical stamp starts producing blotchy or faded impressions, it’s time for a replacement. Most suppliers, including Acorn Sales, can promptly re-create your seal based on the original design so you’re never left scrambling for something acceptable during a busy project season.
Can I change my seal design after registering?
Yes, but you’ll want to keep the necessary information identical (like your name and license number). If you decide to update the font or overall layout, just ensure it still meets state standards. Notify the relevant authorities if you make any significant modifications.








